We may earn revenue from the products available on this page and participate in affiliate programs. Learn More ›
A clean shower is a healthy shower. After washing up, you leave behind dirt, water minerals, body oil, skin cells, soap lather, and more. This combination of shower debris starts to build up and become a real problem. Regularly scrubbing your shower surfaces removes unhealthy mold and mildew, and the soap scum that makes a bathroom look dingy.
However, not all shower materials are created equal. Before you reach for any random cleaner, read through this guide and learn how to clean a shower safely and properly. And you should know there isn’t really an easy shower cleaner. All products and methods require a little elbow grease!
RELATED: 13 Unusual Tips for Your Cleanest Bathroom Ever
BEFORE YOU BEGIN
There are a couple of things to note before cleaning a shower.
- Work in a well-ventilated area, especially when using a chemical cleaning product.
- Turn on the bathroom fan to help with the air quality.
- Always read the labels of cleaning products to make sure they won’t damage your tile or grout.
- Test any new products in an inconspicuous area before cleaning the entire shower.
- It’s advisable to start with mild cleaning solutions first and change to stronger products if needed.
- Do not mix cleaning products as it may result in toxic fumes or other disastrous outcomes.
How to Clean a Tile Shower

Many tiles are tough and made to withstand cleaning agents and stiff-bristled brushes. Stiffer brushes help agitate and lift away soil and soap scum on tiles and grout. It’s important to be aware of the type of tile you have and understand how it responds to your cleaning agent. Keep your tiles looking bright by cleaning them twice a week.
Supplies
Plastic mesh non-scratch scrubber
White vinegar
Spray bottle
Rubber gloves
Tile cleaner
Grout brush
Oxygenated bleach or chlorine bleach
Towel
STEP 1: Pre-scrub the soap scum and stains on tiles and shower doors.
Prep the cleaning area by running the shower as hot as possible for about 5 minutes. This helps soften soap scum and other dirt and debris, making it easier to clean. Turn off the water and use a dry, non-scratch plastic scrubber to give your shower a preliminary once-over. This makes the cleaning product more effective, as it can penetrate deeper into caked-on scum and dirt.
STEP 2: Spray and soak tile and grout before scrubbing the shower.
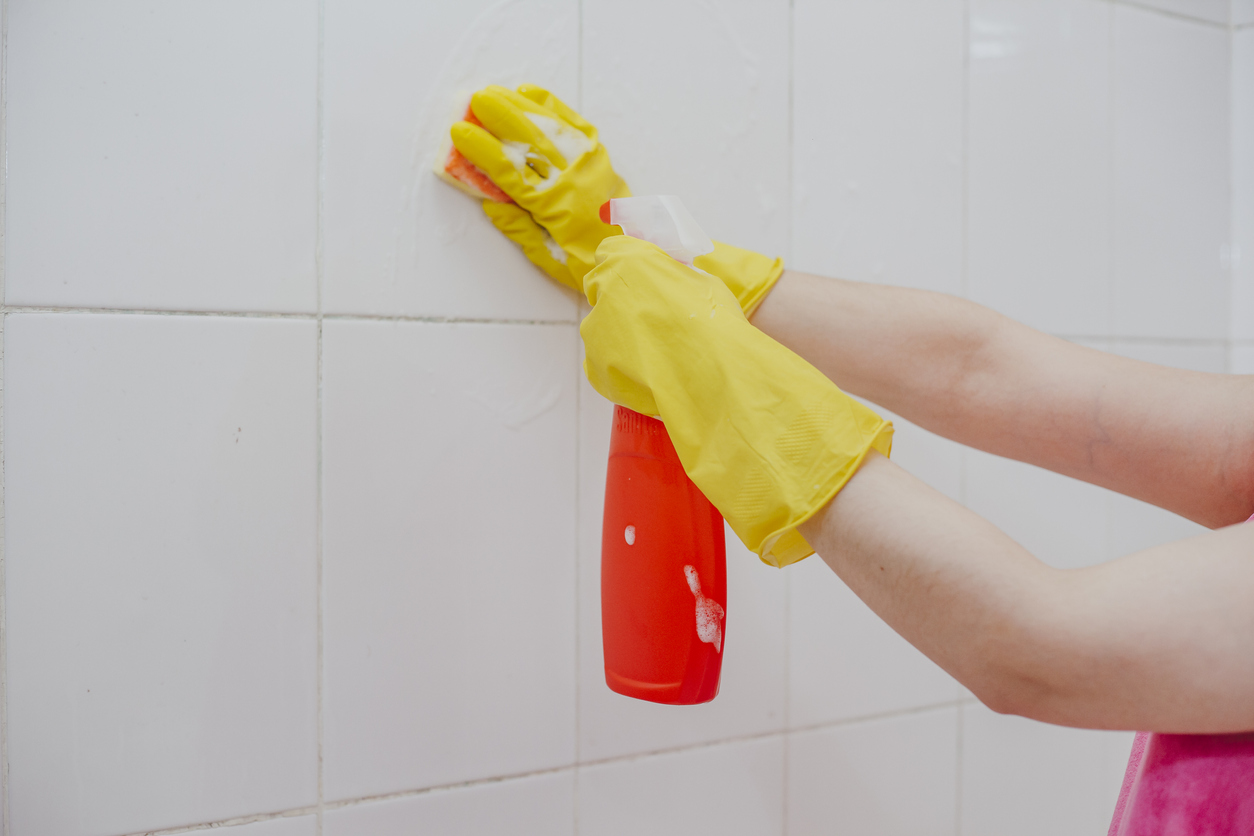
Put on some rubber gloves and pretreat the tile and grout with a tile cleaner or natural cleaning solution. If there is minimal soap scum, a simple spray bottle with equal parts white vinegar and warm water should be sufficient. However, make sure your tile withstands acidic cleaners before going with this option.
Generously coat all shower surfaces and let stand for about 5 minutes, giving the cleaner time to work into the grime’s layers. Pretreating loosens the gunk, then you can use the plastic scouring pad to scrub the tile surface until it’s clean. Use a brush to scrub and brighten up the grout.
STEP 3: For stubborn soap scum, rinse the shower before applying a stronger cleaning agent.
If the vinegar solution or mild cleaner isn’t removing all the grime, thoroughly rinse the entire shower before upgrading to a stronger cleaning agent that’s suitable for your tile.
For bad stains and heavy grime, make a paste using oxygenated bleach per the manufacturer’s instructions, and leave it for 5 to 10 minutes before rinsing with clean water. For extremely dirty grout, carefully and sparingly apply chlorine bleach (per the manufacturer’s instructions) and rinse off completely after 5 minutes.
RELATED: How to Remove Soap Scum From Tubs and Showers
STEP 4: Rinse all shower surfaces and dry off the tile with a towel.
Rinse the shower tiles and grout with hot water to remove any remaining loose grime, soap, or cleaning agent. Use a microfiber towel and dry off the shower door and tiles. This removes any excess moisture and slows the return of mold and mildew. Run the bathroom fan for a few minutes once you’re finished to remove any remaining humidity.
How to Clean a Fiberglass Shower

Fiberglass is an affordable and common material for showers, but for fiberglass to last, it needs to be cleaned often and be well maintained. Rough or abrasive scouring pads can damage fiberglass, and bleach products can ruin the resin in fiberglass, so try to stick to natural cleaning products. Clean your fiberglass shower once a week to remove dirt, mildew, and soap scum.
Supplies
White vinegar
Spray bottle
Non-abrasive sponge
Dishwashing liquid
Baking soda
Microfiber towel
STEP 1: Run the shower at its hottest for 2 to 5 minutes.
Hot water makes cleaning a shower easier. The heat and water vapor soften fatty dirt, making it easier to clean. Run the water as hot as possible, as the steam from the shower means you’ll need less elbow grease when it’s time to scrub the shower walls. Keep a fan running to minimize the humidity of the bathroom while you prep and clean the shower. After 5 minutes, shut off the water.
STEP 2: Spray a warm water and white vinegar mixture on the steamy shower walls.
In a spray bottle, mix together equal parts white vinegar and warm water. Generously spray the mixture over the steamy shower walls. The acidic nature of vinegar helps it dissolve mineral deposits, dirt, grease, and grime. It also kills bacteria without harmful chemicals.
Let the vinegar solution sit for 10 minutes to half an hour. The longer it sits, the better it cleans. For slightly dirty showers, 10 minutes should be enough, for super dirty showers, leave it for the full 30 minutes.
RELATED: How to Make Homemade Shower Cleaner
STEP 3: Run the shower to rinse the walls, then wipe with a non-abrasive sponge.
Use your shower head or a spray bottle of warm water to rinse the walls, then wipe all surfaces with a non-abrasive sponge in a circular motion to remove the grime. For any stubborn spots, add a few drops of a mild dishwashing liquid to your vinegar and water mixture and repeat step two. Adding soap produces foamy bubbles which help loosen stains and lift grimy particles to the surface, where they can be wiped off.
In super stubborn areas, mix a teaspoon of baking soda with a few drops of dishwashing liquid and rub this paste on tough grime. Baking soda is a bit more abrasive without scratching the fiberglass.
STEP 4: Do a warm rinse then a cold rinse before drying off the shower surfaces.
Once your shower reaches the desired level of cleanliness, run a warm (but not super hot) shower to build up some steam and wash away any oily residue in the shower. Use a handheld shower head or spray bottle filled with clean warm water to rinse the shower walls.
Follow the warm rinse with a rinse of cold water to wash away any soap. Grab a soft microfiber towel and dry off the shower walls to prevent watermarks from forming. Run the fan or open a window for several minutes to expel any remaining humidity.
How to Clean a Natural Stone Shower

Caring for stone surfaces can be a bit tricky as you need to be careful of any potential damage caused by abrasion, which makes it vital to select the right cleaning products. Acid or ammonia can damage or scratch natural stone, cause discoloration, or break down any sealants. Never use vinegar or other acidic cleaners on marble, limestone, travertine, or onyx. Natural stone showers require frequent cleaning to look their best.
Supplies
Rubber gloves
pH neutral cleaning product or bleach
Spray bottle
Non-abrasive sponge
Soft toothbrush
Microfiber towel
Microfiber cloth
Baking soda
Medium-size bucket or bowl
STEP 1: Rinse the shower, then cover all stone surfaces with a cleaning solution.
Run the shower on hot for 2 to 5 minutes to loosen up any hardened soap scum. Put on some rubber gloves and prepare your cleaning solution by diluting a pH-neutral cleaning product for stone (per manufacturer’s instructions) or mix equal parts bleach and warm water in a spray bottle. Diluted bleach is not acidic and will sterilize the stone and kill off mildew and other bacteria.
Generously spray the stone with the cleaning solution and let sit for 5 minutes.
RELATED: The Best Shower Cleaners for a Squeaky-Clean Bathroom
STEP 2: Gently scrub all surfaces with a soft bristle brush or non-scratch sponge.
A non-scratch sponge cleans the stone without leaving scratches or damage. Scrub in a circular motion with a little elbow grease to bring the stone back to its former glory. In areas of tough soap scum, hard water stains, or stubborn grime, spray more of the cleansing mixture and give it a few more minutes before scrubbing again.
Use a soft toothbrush to clean the grout between the stones. Generally, grout brushes are made with stiff bristles, which may damage natural stone.
STEP 3: Rinse the shower with clean water and wipe the stone dry with a towel.
Use the detachable shower head or a spray bottle filled with clean, warm water to rinse the shower walls and floors. Starting from the top tiles and working your way down helps wash off the remaining cleaner, and helps prevent overlooking any areas of the shower. Once all the natural stone surfaces are rinsed clean, use a microfiber towel to make everything completely dry.
STEP 4: Polish the stone and dry buff with a microfiber cloth
Make a baking soda and water mixture in a medium-sized bowl or bucket. Mix together 1/2 cup of baking soda and 1 quart of warm water and use a microfiber cloth to apply the mixture to the stone surface. This paste needs to dry for about 5 hours, then it can be rinsed with warm water and dry buffed with a clean microfiber cloth. Buffing brings out the shine of the stone and helps diminish small imperfections.
Don’t Forget

You’ve just learned tactics for how to clean a shower, but for a true clean, you need to remember to clean a few other areas too. Here are a few reminders to make sure you’re cleaning every inch of your shower:
- The shower floor is home to a lot of bacteria and soap scum, and you may be wondering how to clean a shower floor. For many floors, baking soda and vinegar are gentle and natural cleaners, but for some surfaces, you may need something non-acidic like diluted ammonia.
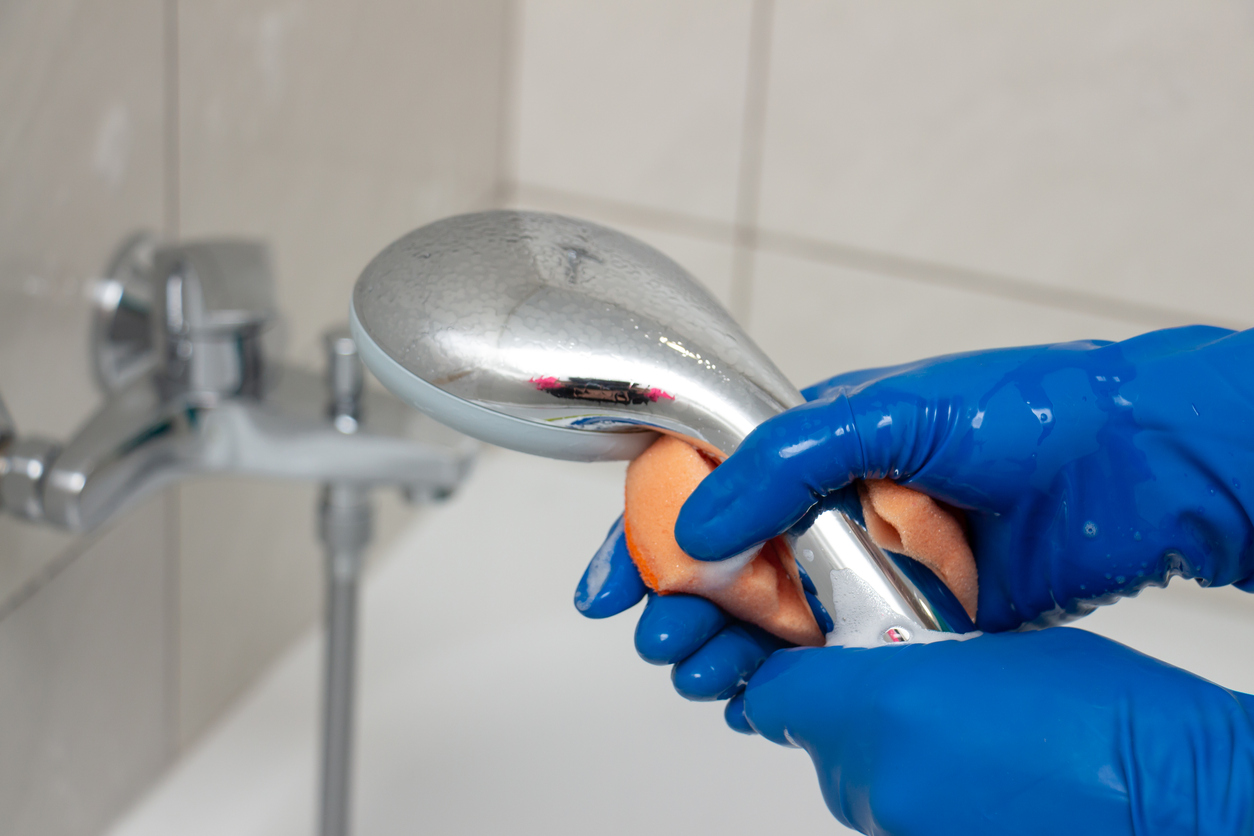
- Don’t neglect the shower head. Soaking the shower head in a cleanser helps unclog the nozzles for improved water flow.
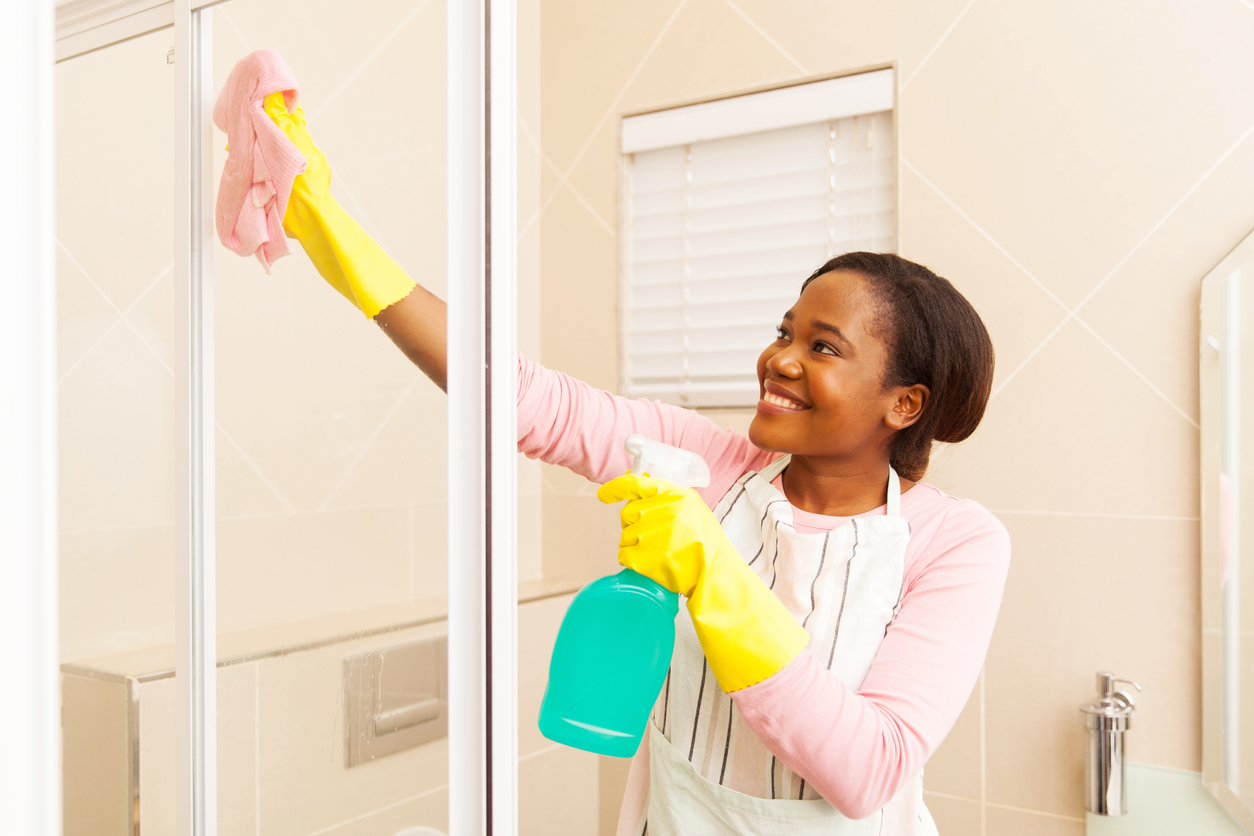
- Glass shower doors can generally be soaked with white vinegar for a few minutes and scrubbed with a sponge dipped in baking soda.
- Many shower curtains can go in the washing machine with warm water and vinegar, baking soda, or a gentle laundry detergent and hang dry afterwards.
- To cap off cleaning your shower, learn the best ways to unclog your shower drain.


