We may earn revenue from the products available on this page and participate in affiliate programs. Learn More ›
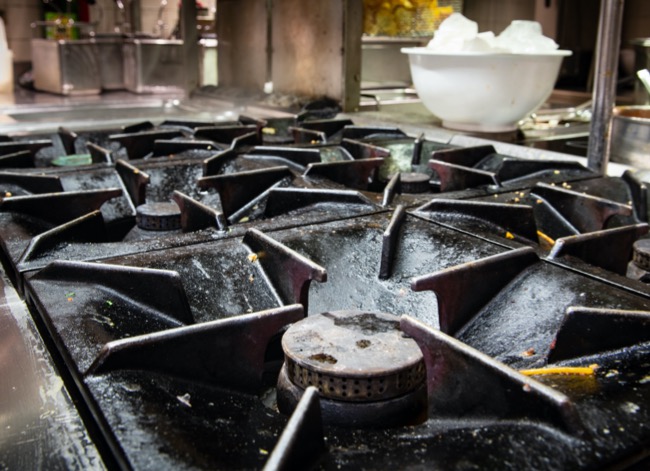
Kitchen surfaces are bound to get messy from meal prep, but arguably none more than your stovetop. Take a good look at the drip pans at each burner. Chances are they’re covered with spaghetti sauce, cooking oil, and scrambled eggs that sloshed out of the pan and hardened into a concrete-like coating. But don’t whip out the toxic chemicals just yet—it’s easy for homeowners to achieve sparkling cooktops with minimal effort. Here’s how to clean stove drip pans with just a little elbow grease and a few household items you probably already have on hand.
What to Know Before Cleaning Stove Drip Pans
Before getting started, make sure your stove drip pans are at room temperature. If you’ve just finished cooking, you’ll need to wait for the drip pans to cool down; otherwise you risk burning your fingers as you clean.
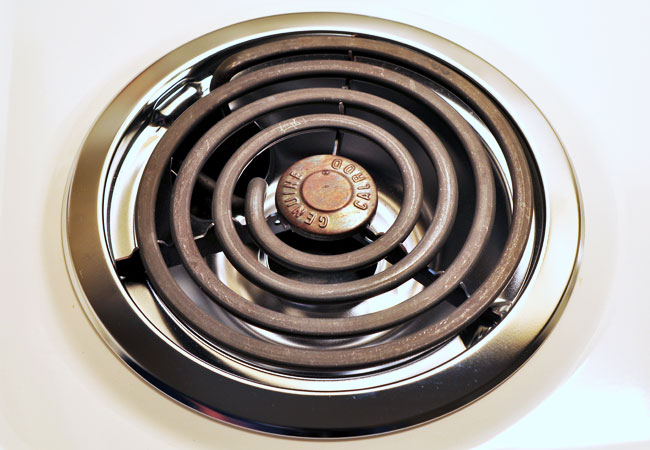
You’ll need to remove the drip pans for cleaning, which means first removing the coils or grates sitting on top of them. If you have an electric stove, remove the burner coil by lifting one side slightly. You’ll see the socket that the burner coil plugs into; it’s on the other side of the hole in your drip pan. Gently tug the burner coil straight out of the socket to remove it, and set it aside. Now you can lift out the drip pan.
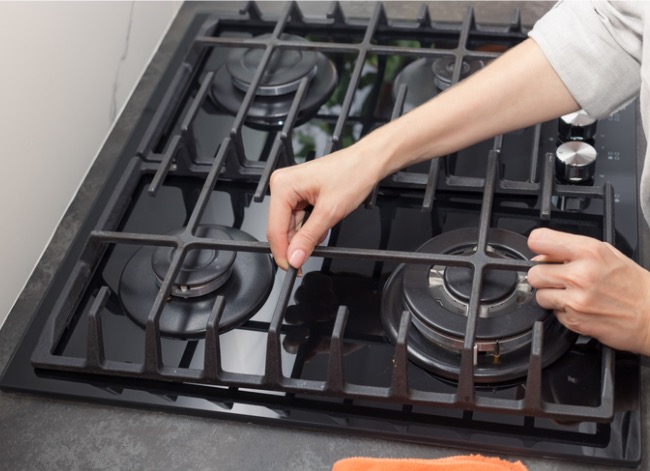
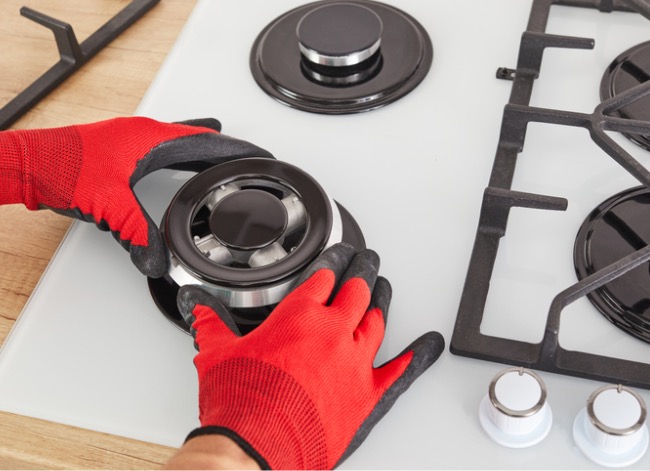
Most gas stoves have metal grates that simply lift off for easy access to the drip pan underneath.
Now you’re ready to start cleaning those grungy drip pans. Note that the following cleaning techniques work both for electric stove drip pans and gas stove cook pans made from either chrome or porcelain.
Method 1: Cleaning stove drip pans with baking soda and dish soap.
In a hurry to clean those stove drip pans? Perhaps you have someone scheduled to come over for dinner? You can start this super-speedy method at lunchtime and be ready to cook by dinnertime. (Don’t worry: Most of that time will be for soaking, not scrubbing.)
SUPPLIES
– Bowl
– Sponge
– Rag
STEP 1: Remove the drip pans from the stovetop.
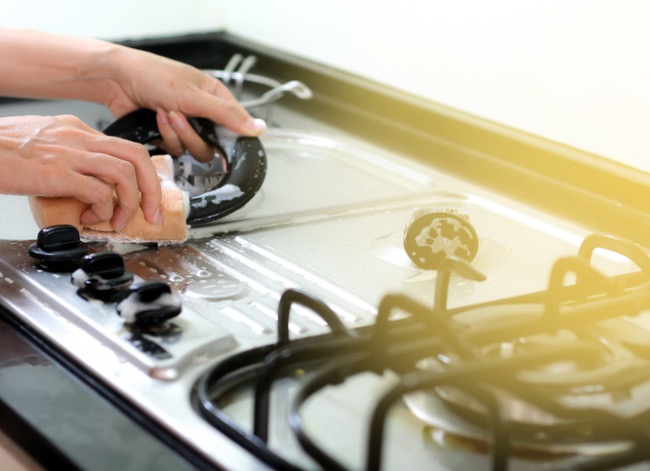
Remove your (completely cooled) drip pans, shake off loose crumbs into the garbage can, and rinse the pans thoroughly in the sink with the hottest water possible.
STEP 2: Prepare and mix the cleaning solution.
In a small bowl, mix liquid dish soap and baking soda in a 1:1 ratio. A half-cup of each is a good starting point, but you can add more if necessary.
STEP 3: Apply mixture to stove drip pans.
Use your fingers or a pastry brush to liberally coat each drip pan with the soap/baking soda mixture, scrubbing it into the pans. Some of the stuck-on gunk should start to loosen right away—if not, fear not and proceed to the next step.
STEP 4: Let the soapy drip pans sit.
Stack the soapy drip plates out of the way in your sink, and let them sit for about an hour. While you’re waiting, scrub the rest of your stovetop with a damp sponge dipped in baking soda so that it’s ready to match your soon-to-be-sparkling drip pans. Wipe the baking soda off with a clean damp rag, then dry the stove with a soft dishcloth.
STEP 5: Rinse the drip pans, and scrub them again if necessary.
Rinse the drip pans thoroughly with hot water to remove the soap mixture. Tackle any remaining dirty spots with a scrub brush or a sponge freshly dipped in baking soda.
STEP 6: Dry the drip pans and replace them on the stovetop.
Dry the drip pans with a dish towel and return them to your stovetop. Replace the burners, and enjoy cooking on your clean stovetop!
Method 2: Use ammonia to cut grease (and cleaning time) from your stovetop drip pans.
For an equally effective method that requires even less scrubbing, follow these directions for cleaning stove drip pans. The tricks to this method? More soaking and stronger cleaning agents. It’s best to start this method after dinner so that you have a spot-free stovetop before the next day’s lunch.
SUPPLIES
– Sponge
STEP 1: Prepare to clean stove drip pans.
After dinner, wait for your drip pans to cool. Remove them from the stove top, rinse them in hot water, and place each one inside its own 1-gallon ziplock plastic bag.
STEP 2: Add solution to the bags.
Add 1/4 cup of household ammonia to each bag. You don’t need to worry about coating the drip pans completely with ammonia; the fumes are going to do the dirty work to loosen burnt-on food splatter.
STEP 3: Soak the drip pans in ammonia overnight.
Seal the tops of the plastic bags, then leave them stacked in your emptied kitchen sink overnight, or for at least 12 hours.
STEP 4: Remove the drip pans from the solution.
Open the bags in a well-ventilated location (the ammonia fumes will be strong) and remove the drip pans. Then, seal and dispose of the used bags. Dilute the ammonia with cold water and pour it down the sink drain; if you have a septic system, neutralize the ammonia before disposing of it.
STEP 5: Rinse and scrub the drip pans as necessary.
If any dirty spots remain on the drip pans, wipe them away with a sponge and dish soap—it shouldn’t take much elbow grease at all. Rinse the drip pans thoroughly with hot water.
STEP 6: Dry and replace your clean stove top drip pans back on the stovetop.
Dry the drip pans with a towel and return them to the stovetop. Voilà! You’ll find zero traces of last night’s dinner on your hardworking kitchen appliance.
Save yourself some trouble in the future: The best way to avoid spending time cleaning up the stovetop is being conscientious about cleaning messes during and after cooking. Make a mental note of the mess as it happens, then wipe the stovetop drip pans clean of splatter, dust, and grease as soon as they cool down after each meal.
Final Thoughts
Whether you choose the faster cleaning method with baking soda or the slower method with ammonia, you’ll end up with clean drip pans that help improve the appearance of your entire kitchen. Keep them looking their best by wiping away any spills or drips after every cooking session (and remember to let the stove cool down before touching the surface). Clean your stovetop thoroughly at least once a month, or more often if you cook frequently or tend to make dishes that splatter or splash.
FAQs About How to Clean Drip Pans
It’s not difficult to clean drip pans, although the task can be a bit tedious. While the procedures outlined above should guide you through the process, read on for answers to other questions you might have about the care of your stovetop drip pans.
Q. Are drip pans necessary?
All stoves need some type of drip pan to catch spills and splatters, but not every stove has removable drip pans. Some stoves merely have molded basins around the burners which serve the same function as a removable drip pan, but need to be scrubbed while in place on the stovetop. The cleaning procedures given here only apply to removable drip pans.
Q. How long do drip pans last?
Their lifespan depends on how often you use the stove but, in general, if they’re cleaned regularly drip pans should last for several years. Once the drip pan is warped, stained or dirty beyond your cleaning capabilities, or worn through, it’s time for a replacement.
Q. Can you put aluminum foil on drip pans?
Although it’s a common practice, it’s actually not a good idea to line your drip pans with aluminum foil. Heat can build up underneath the foil, leading to uneven cooking results or even a potential fire hazard.
Q. How often should I clean drip pans?
Ideally, you should wipe away spills and splatters every time you cook on your stovetop. It’s also a good idea to give the drip pans a more thorough cleaning once a week if you cook daily, or once a month if you don’t use your stovetop often.
Q. Are stove drip pans dishwasher safe?
Both chrome and porcelain drip pans are generally dishwasher safe, so if you want to save yourself the time and effort, go ahead and put them on the top rack during your regular dishwashing cycle.
Q. Why do drip pans have holes?
You might wonder why most replacement drip pans have small holes at the edges. The reason is that many ovens vent out through one of the back stovetop burners, requiring a vent hole to release heat. Of course, drip pans for electric stovetops also have a large hole for the burner plug as well.
