We may earn revenue from the products available on this page and participate in affiliate programs. Learn More ›
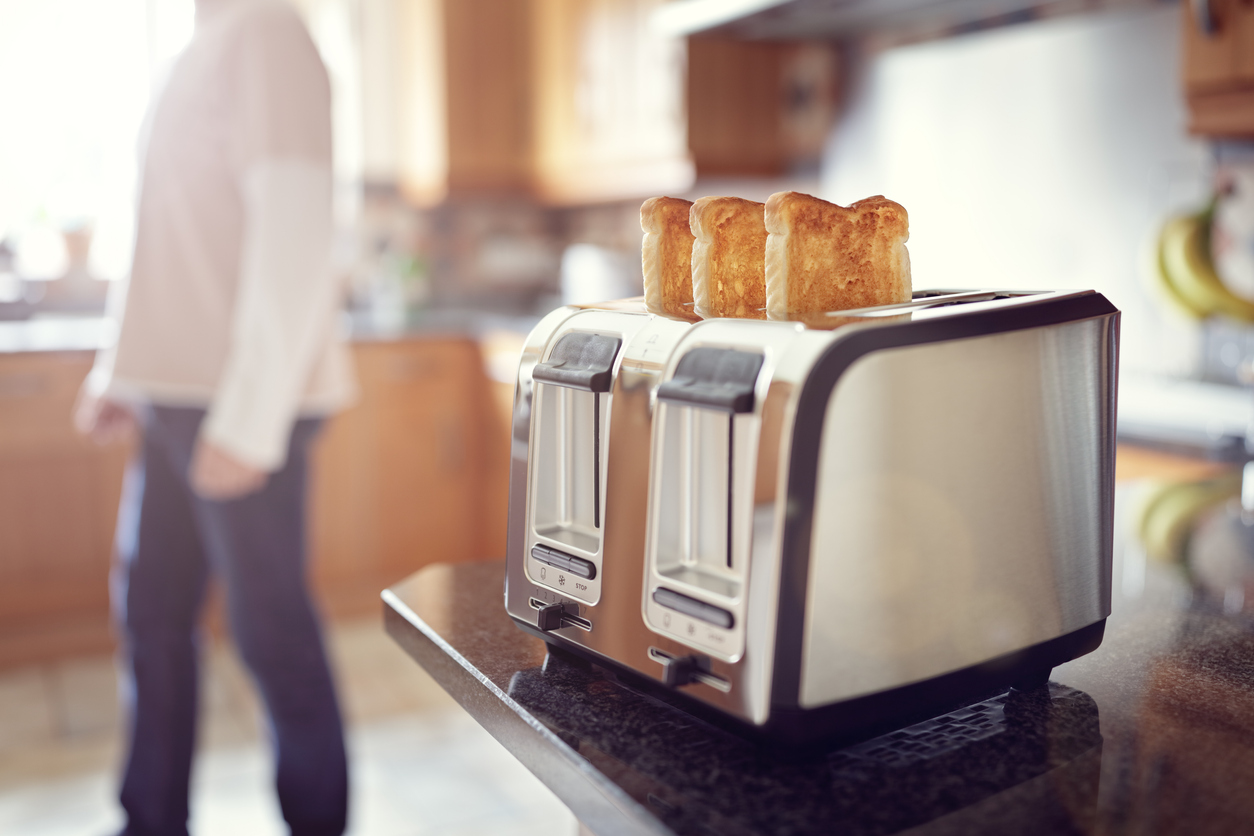
You may use your toaster almost daily, but when was the last time you cleaned out the burnt crumbs? There’s no need to put off this chore any longer. Cleaning this particular workhorse kitchen appliance is almost as easy as crisping up a delicious piece of bread.
With minimal tools and just a few short steps, you’ll immediately notice a huge difference—namely a crumb-free counter space where your toaster sits and the absence of a smoky scent the next time bread is browning for breakfast. Just follow these easy steps to get started and learn how to clean a toaster oven or upright toaster.
Tools & Materials
Bobvila.com may earn a commission from purchases made through these links.
Step 1: Unplug the toaster and set up a crumb catcher.
Unplugging is the first step in how to clean any appliance, including your toaster. Be sure it has cooled completely before getting started. If you can, bring the unplugged appliance over to the sink or an open trash can for cleaning. It’s easy to accidentally dump crumbs everywhere when you jostle a toaster, so working over a catchall can minimize necessary clean-up efforts when you’re all done.

Step 2: Remove and clean the crumb tray.
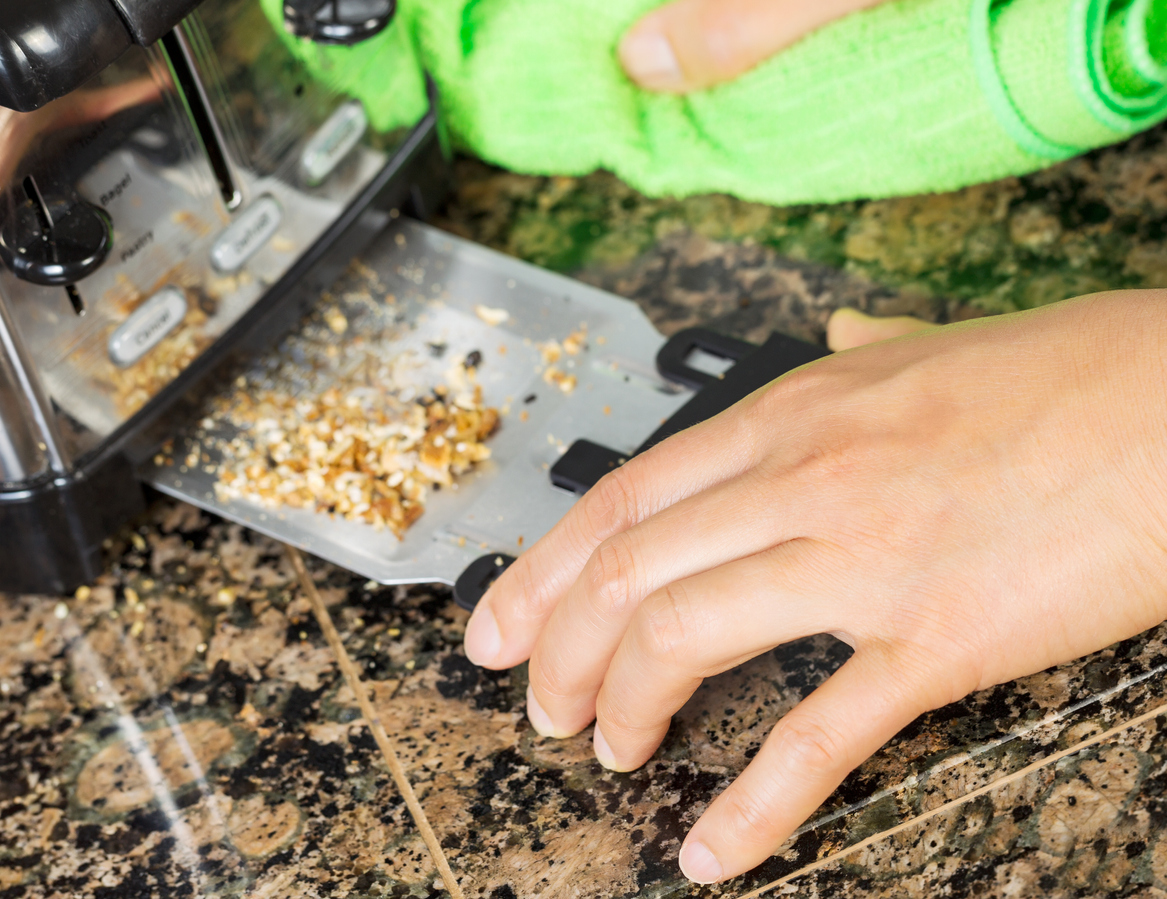
Many standard 2-slice toasters include a removable crumb tray located at the very bottom of the appliance for easy collection and disposal of leftover crispy bread chips. If yours does, pull out the shallow drawer and shake off any loose crumbs. Then wash it with warm soapy water until it’s completely clean. Set the crumb tray aside to dry while you move on.
Step 3: Turn the toaster upside down and shake crumbs out.
You may be wondering how do you clean a toaster that doesn’t have a crumb tray. If your toaster doesn’t come with a crumb tray, don’t fret; simply turn the appliance upside down over your sink or trash bin and shake out as many crumbs as you can. (And if you do have a crumb tray, it’s still helpful to turn the toaster upside down to knock any remaining crumbs loose before you continue to the next step of how to clean the inside of a toaster.)
Step 4: Use a pastry brush to sweep out stuck-on crumbs.
A good shake won’t always dislodge the pieces that are really burnt and crusted onto the coils. To get every last crumb out of the tricky, tough-to-reach corners, stick a pastry brush in through the top slots and give the inside of the appliance a good sweeping. The bristles help to easily break up any clumps and remove crumbs without scratching or damaging your appliance.

Step 5: Clean the outside of the toaster.
Next, wipe down your toaster’s casing, knobs, and levers with a damp cloth and some gentle dish soap to remove any finger smudges.
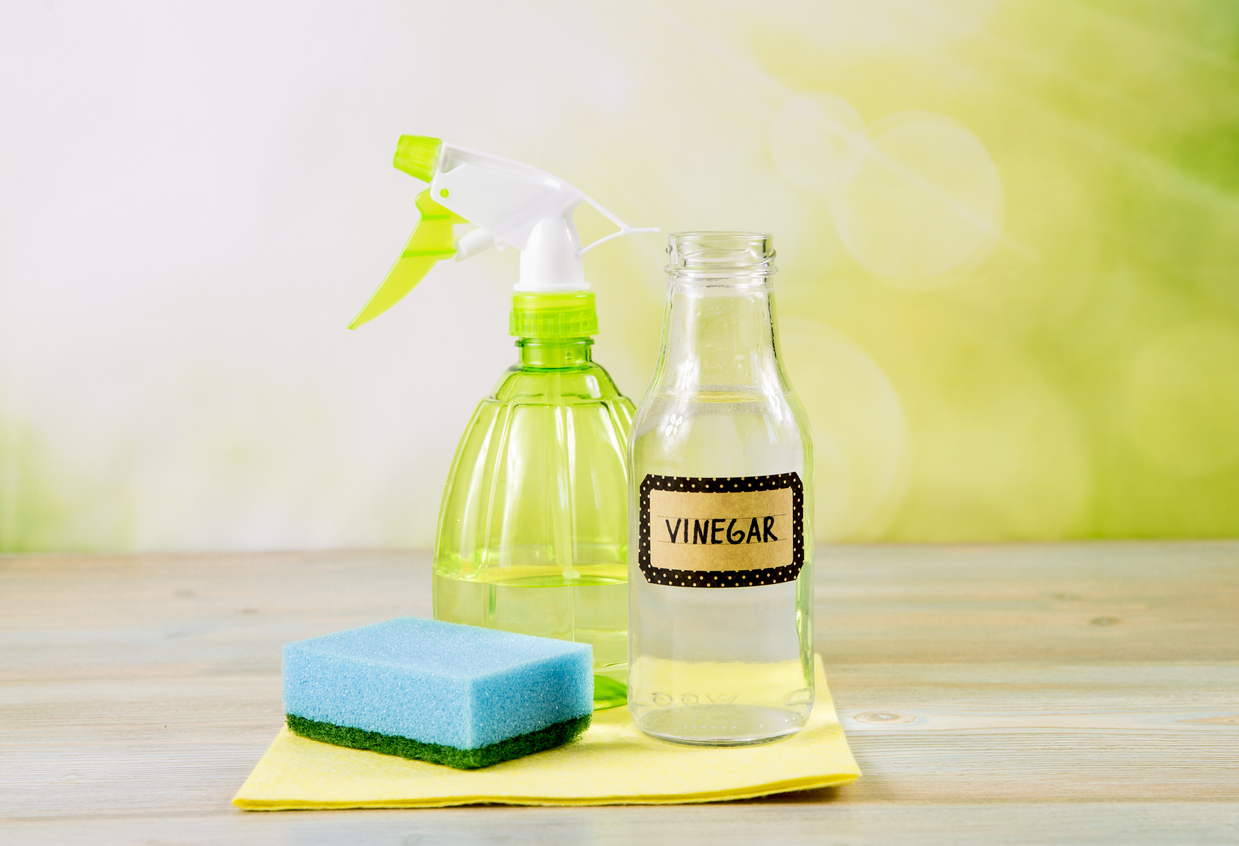
If your toaster is stainless steel, a little vinegar goes a long way to restoring its exterior with a nice shine. Fill a spare spray bottle with equal parts water and vinegar, plus a drop of dish soap. Mix up the solution, spray it onto a fresh microfiber cloth, and wipe down your toaster.
You can use whatever’s left in the bottle to care for your other stainless steel appliances around the kitchen and tackle any other corners you may be forgetting to clean regularly, too.
Step 6: Reinsert the clean crumb tray, and use the toaster.
Push the crumb tray—now completely dry—back into place, and wipe down the counter to remove any remaining crumbs. Now that you’ve undone the source of your crumb collection, future kitchen cleanup will be a cinch. Just remember to repeat these clean-up steps every few weeks to keep the toaster and counter free from crumbs.

FAQs About How to Clean a Toaster
While cleaning a toaster can be a straightforward chore, how you clean a toaster can depend on the toaster. The variety of toasters on the market can bring up different questions and concerns. It may be helpful to read the following answers to popular questions about toaster cleaning. If you have additional questions, check with the manufacturer of the specific toaster to ensure you are using safe cleaning practices.
Q. How often should you clean a toaster?
A toaster that’s used daily to make multiple pieces of toast may need to be cleaned as often as every week. If the toaster isn’t used often, it may need to be cleared about once a month.
Q. Can I put my toaster in the dishwasher?
It is potentially dangerous to put a toaster in a dishwasher. Since it is an electric appliance, water could damage the heating elements, and it may not completely dry.
Q. How do you clean an upright toaster?
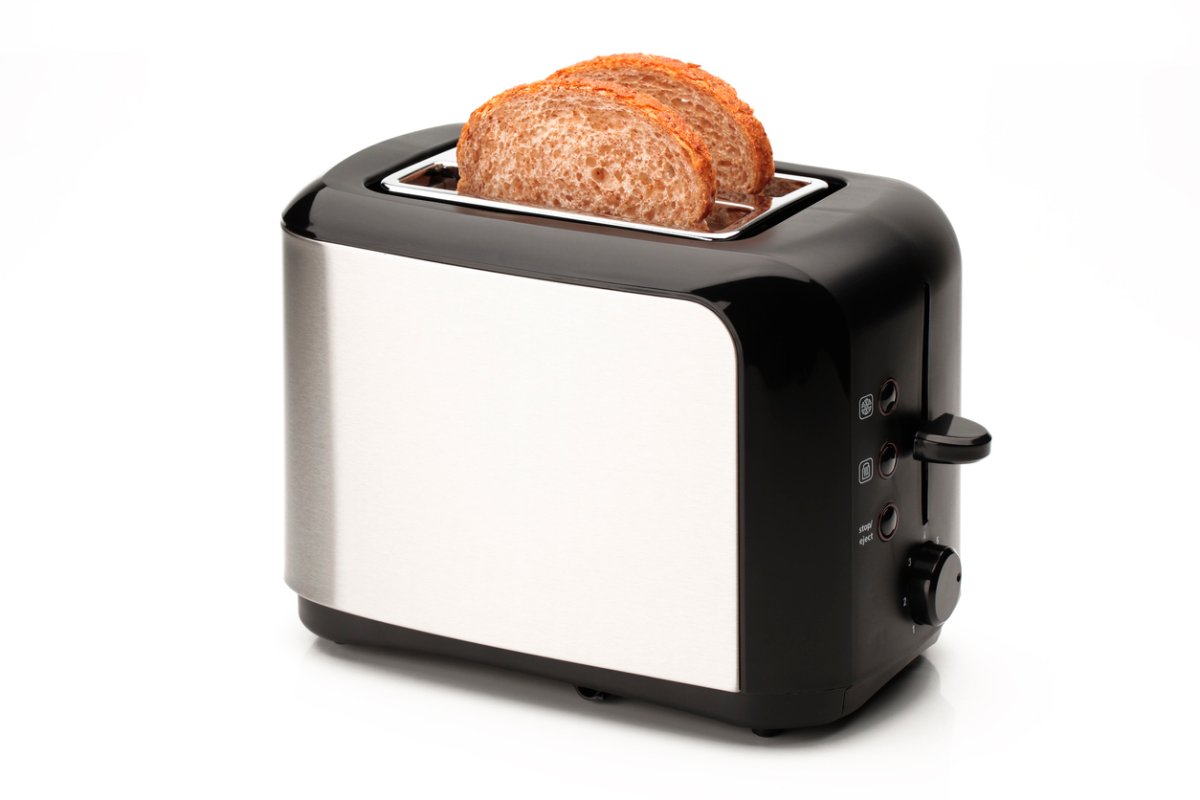
Cleaning an upright toaster starts with unplugging it. After it’s unplugged, remove the crumb tray and turn the toaster upside down to dislodge any remaining crumbs. A pastry brush may help remove any stuck-on crumbs. If you choose to hand-wash the crumb tray, completely dry it before reinserting back into the toaster. Wipe down the exterior of the toaster and knobs with a damp cloth. When the toaster is dry, it can be plugged in and used again.
Q. How do you deep clean a toaster?
Deep cleaning a toaster involves cleaning the inside and outside of the appliance. To deep clean the inside, follow the steps outlined above. Deep cleaning the outside of the toaster may involve different cleaning solutions, and depends upon the toaster’s materials.
It may be helpful to use a small toothbrush to clean around knobs or remove any built-up residue. Follow the manufacturer’s instructions to make sure you choose the proper cleaning solution for your toaster.
Final Thoughts
Cleaning a toaster is an easy task that can take as little as 10 minutes to complete. Beyond making sure your toaster is functioning properly and looks great in your kitchen, cleaning helps remove any food particles that could burn and become smoky while toasting bread. Just a few simple steps is all it takes to keep your toaster in tip-top shape for mealtime prep.


