
We may earn revenue from the products available on this page and participate in affiliate programs. Learn More ›
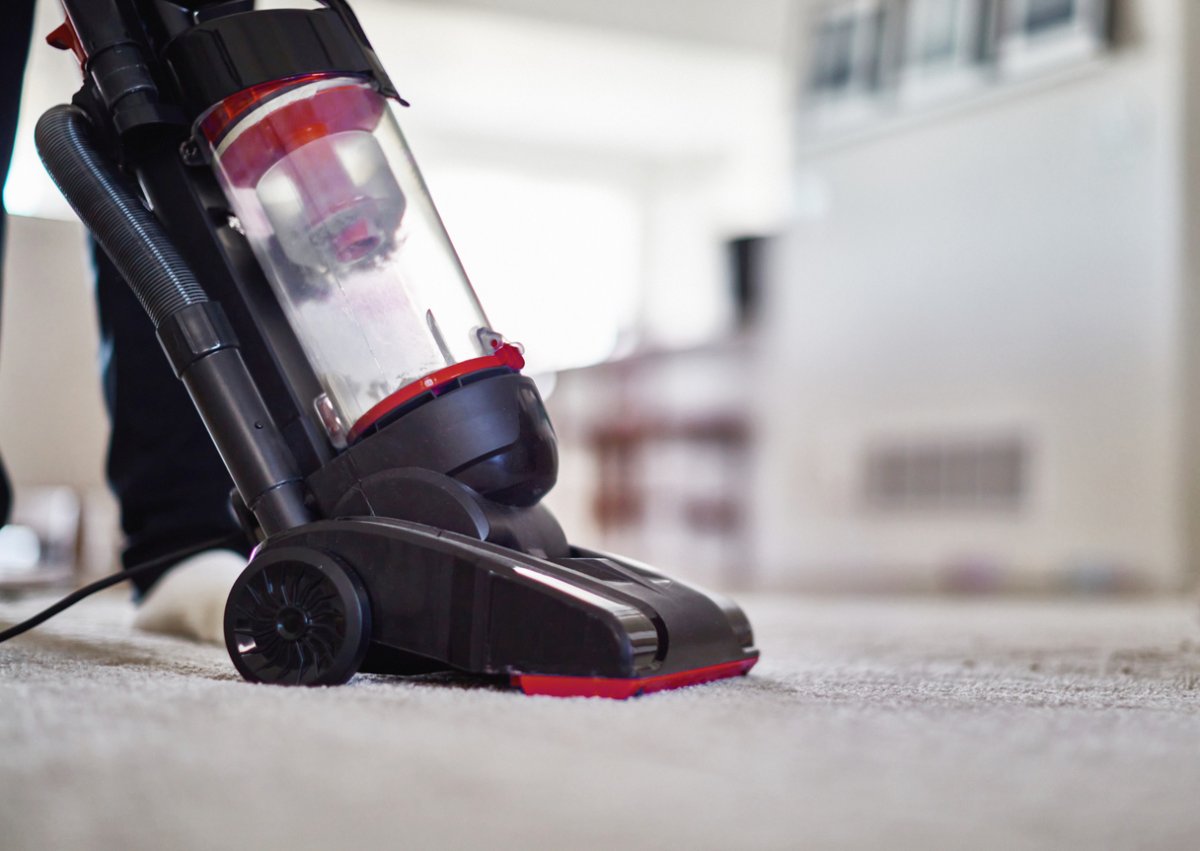
Is your vacuum cleaner losing suction power, emitting strange smells, or not performing as well as it once did? It might be time for a deep clean. Hashi Mohamed, president of Minneapolis cleaning service Ivy Cleans, says, “Over time, dust, dirt, and debris accumulate within the vacuum’s filters, brushes, and hoses, compromising efficiency and performance.” He adds, “Not only does a dirty vacuum diminish its suction power, it can also lead to unpleasant odors and potentially worsen indoor air quality.”
This guide will walk you through the steps of how to clean your vacuum, whether it’s bagless or bagged, ensuring maximum cleaning power for your home. We’ll focus on cleaning essential parts of a vacuum cleaner like the brush, filter, and hose, and provide tips for both types of vacuums.
Tools & Materials
Bobvila.com may earn a commission from purchases made through these links.
Project Overview
Working Time: 30 minutes
Total Time: Varies based on drying time for washed parts
Skill Level: Beginner
Estimated Cost: $10-$30
Before You Begin
Before starting the cleaning process, ensure your vacuum is unplugged to stay on the safe side. Additionally, check the manufacturer’s instructions for any specific cleaning recommendations or warnings to avoid damaging any vacuum parts.
Since most vacuums are full of dirt and dust, it’s best to clean them outside or in a well-ventilated area devoid of things you’d rather keep clean, if possible. Consider wearing a tight-fitting mask over your nose and mouth during the cleaning process, especially if you have dust allergies or respiratory issues.
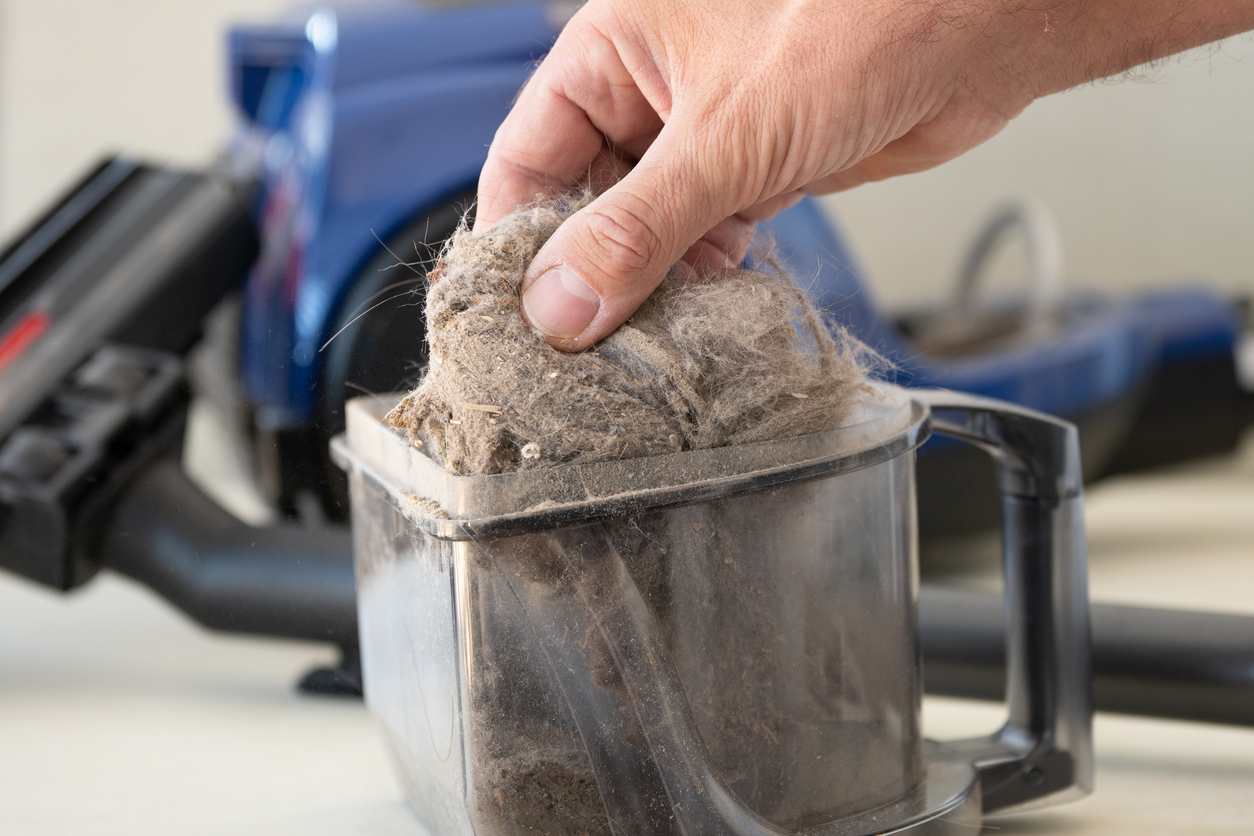
STEP 1: Clear the dustbin or replace the vacuum bag and remove all attachments.

Chris Willatt is the owner of Alpine Maids, a cleaning service in Denver, and as he explains it, “Vacuum cleaners are pretty simple machines. They use a roller to agitate dirt and grime, an electric fan to move air, and a filter to keep the fan clear of debris.”
Before cleaning your vacuum, you need to clear the way to the above parts. Make sure it’s unplugged, and start by emptying the dustbin if you have a bagless vacuum or replacing the bag if you have a bagged vacuum. Remove any vacuum attachments like the crevice tool or upholstery brush, as they may prevent you from accessing crucial areas that need cleaning.
STEP 2: Remove debris from the vacuum hose using a dryer vent brush.
The vacuum hose is a common area for blockages, which can significantly reduce suction power. Cleaning the hose regularly ensures that airflow remains uninterrupted, and a clean vacuum hose will improve the appliance’s overall performance.
To clean it, detach the hose from the vacuum and check it for any visible obstructions. Use a dryer vent brush—or even the handle of a broom—to dislodge any debris trapped inside the hose. Work carefully and avoid damaging the hose, and pay special attention to bends and crevices where dirt would tend to accumulate.
STEP 3: Hand-wash removable parts with warm water and mild detergent.

Removable parts like the dustbin, hose, and attachments should be hand-washed. Fill your sink or a basin with warm water and add a small amount of mild dish soap or detergent. Submerge the parts in the soapy water and gently wash them with a soft dish brush or sponge to remove dirt and grime. Rinse the parts thoroughly under cold water to remove any soap residue. After washing, allow the parts to air dry completely before reassembling the vacuum. Wipe down the body of the vacuum with a microfiber cloth dampened with water to remove any dust or smudges.
STEP 4: Remove hair and debris from the roller brush.
The main roller brush underneath the vacuum is a magnet for pet hair, dust, and other debris, which can impede its ability to effectively agitate and lift dirt from carpets and floors. Willatt says, “We need to use a razor to cut the hair off the brush roller after each home that we clean. If we don’t remove hair, it wraps around the roller, making the roller useless for picking up pet hair.”
To clean it, simply remove any visible hair or debris by hand or with scissors, taking care to avoid cutting any roller brush bristles. You can also use a hair brush or comb to loosen stubborn hair that’s stuck in the bristles. Regularly cleaning the brush roll not only improves suction power but also extends the lifespan of your vacuum cleaner.
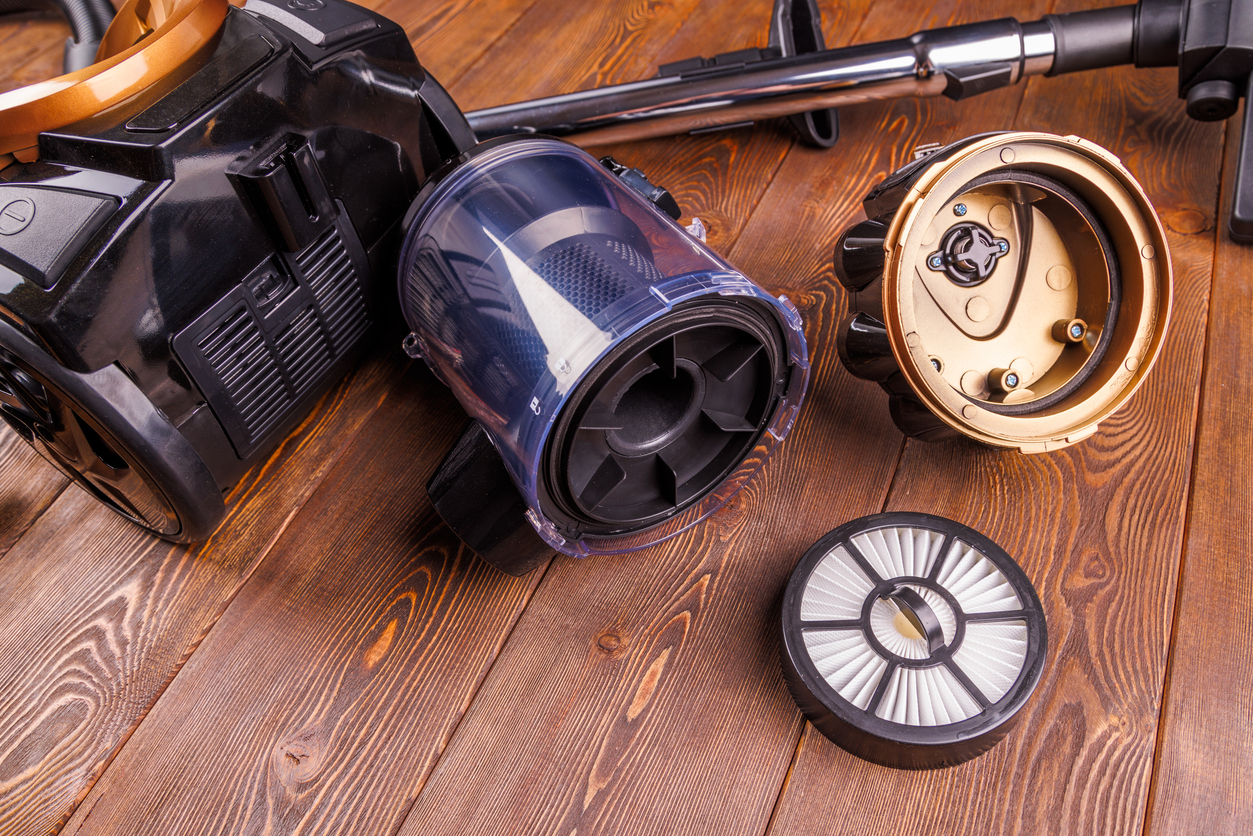
STEP 5: Determine if you have a washable vacuum filter—if so, clean it.

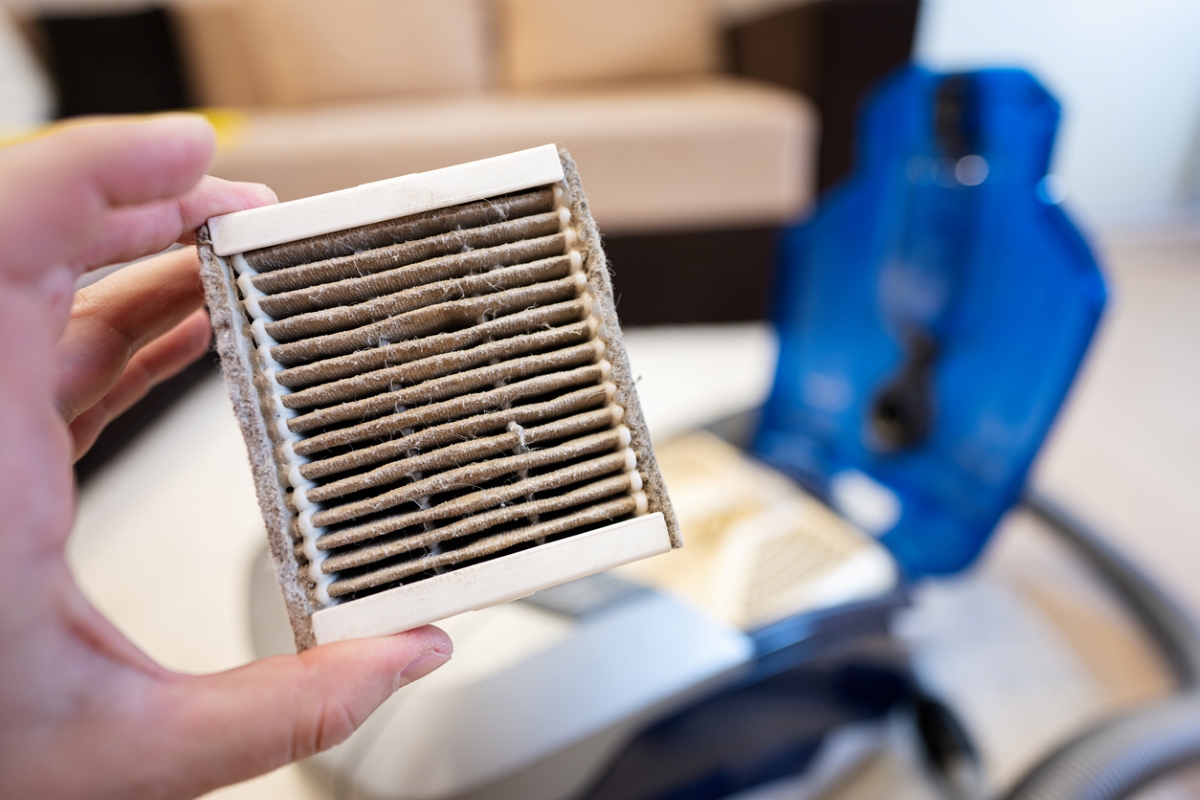
Vacuum filters play a crucial role in trapping fine particles and allergens, and they can become clogged over time, reducing suction power and overall efficiency. Check your vacuum’s instruction manual to see if your filter is washable or requires replacement. If your vacuum includes a HEPA filter, it should be replaced every 6 months.
Williatt advises, “After each clean, we remove the filter and beat it on the ground outside to remove the dust and allow for maximum suction on our vacuums.” If it’s washable, gently rinse it with water until the water runs clear, then allow it to air dry completely before reinstalling it. For non-washable filters, properly dispose of the old filter and replace it with a new one. A clean vacuum filter ensures that your vacuum continues to operate efficiently and keeps your indoor air clean.
STEP 6: Reattach all parts and test the vacuum to ensure it’s working properly.
Once all the individual components are clean and dry, reassemble your vacuum. Reattach the roller brush, filter, and hose, ensuring everything is locked securely into place. Before you put the vacuum away, do a quick test run to make sure it’s running smoothly and efficiently. Power on the vacuum and run it over different surfaces (if applicable) to check its suction power and maneuverability. If everything looks and sounds good, your vacuum is now ready to tackle dirt and debris like a factory-fresh model.
Final Thoughts

Regular, thorough vacuum cleaner maintenance is key to ensuring your vacuum operates at peak performance, while eliminating any lingering vacuum cleaner smells. By regularly cleaning the brush, filter, and hose, you not only enhance its suction power but also prolong its lifespan. This simple yet effective routine won’t just make your home cleaner in the long run, but it will also save you the hassle and cost of premature repair or replacement.
