We may earn revenue from the products available on this page and participate in affiliate programs. Learn More ›
When you throw a load of laundry into the washing machine, your clothes emerge stain- and sweat-free, and that’s a wonderful thing. But how often do you actually wash the washer? It might seem counterintuitive, since this appliance deals entirely in detergent and suds, but if left untouched, it could eventually leave your favorite outfit smelling worse than it did in the hamper. Fortunately, using only a few household staples, cleaning your washing machine is a breeze.
Before You Begin Cleaning Your Washing Machine
Savvy DIYers know that any cleaning or home improvement project will run smoother and take far less time if you do a little bit of prep work in advance, including organizing your supplies and preparing the work area. When it comes to cleaning your washing machine, the first thing is to remove any clothing from the interior and any items, such as detergent bottles, from the top.
Next, unplug the unit and secure the plug above the machine with tape or a clamp so that it is not exposed to water or cleaning fluids. Some water might remain standing in the interior or in the drum, and therefore it is necessary to drain the water. There are slightly different procedures for draining a top-loading unit and a front-loading model (see How to Drain a Washing Machine for detailed instructions).
Once you have drained the water, follow your nose: A general sour odor can be readily addressed with commercial washing machine cleaners. If you smell mildew or mold in the washing machine, you might want to break out the bleach or vinegar, depending on what type of tub you have.
Finally, if you have hard water, you might need to give your washing machine some extra TLC. Hard water can wreak havoc on home appliances, causing limescale buildup and diminished performance over time.
Cleaning Product Recommendations
There are a variety of commercial cleaning supplies on the market today that are specially formulated to leave your washing machine sparkling and free of odors. (You can also use some DIY cleaning staples—such as hydrogen peroxide, bleach, or vinegar—depending on the construction of your washer.) Commercial cleansers come in four basic types: liquids or gels, tablets, sprays, and wipes. Here are some of our top-rated picks:
- OxiClean Washing Machine Cleaner with Odor Blasters is a powder that comes in premeasured pouches. To use it, simply add it to the washer drum and run a hot wash cycle. This product is safe for septic tanks and does not contain phosphates.
- Lemi Shine Natural Washing Machine Cleaner + Wipes, a citrus-based cleaner that combines a cleaning powder and wipes to tackle both the inner and outer surfaces of your washing machine. It’s nontoxic and biodegradable, and contains no bleaches or phosphates.
- Eco-Gals Eco Swirlz Washing Machine Cleaner tablets dissolve into a cleansing foam during the wash cycle. The eco-friendly cleansers are safe for septic systems and don’t have a heavy fragrance.
- Oh Yuk Washing Machine Cleaner for All Washers is a liquid that breaks down leftover detergent, dirt, and oils, removing them in the rinse cycle and leaving behind a natural fresh citrus scent.
- Glisten Washer Magic Machine Cleaner is a liquid cleanser formulated to target limescale, dissolve mineral deposits, and remove soap scum and odors without harsh chemicals. It can be used to clean the inside and outside of a washing machine.
- Affresh Washing Machine Cleaner Tablets dissolve slowly into a cleansing foam during a hot water cycle. The tablets can dissolve limescale and other deposits and leave behind a light, fresh scent. (Be sure to read a Bob Vila contributor’s evaluation of how well Affresh washing machine tablets work.)
If You Have Hard Water
Hard water can cause a number of issues with major appliances, including limescale and mineral deposits in your washing machine, as well as in water lines and hoses. An estimated 85 percent of U.S. homes have some degree of hard water, which is caused by minerals such as magnesium and calcium dissolved in the water.
Hard water can reduce the performance and efficiency of your washer, and shorten its effective lifespan. Excessive buildup of limescale and minerals also can lead to the need for costly repairs. Hard water also can leave an unsightly and hard-to-remove white residue on your freshly-cleaned laundry, or leave laundry feeling stiff and scratchy.
Many commercial cleansers are specially formulated to remove limescale and mineral deposits; you also can turn to good old-fashioned white vinegar as part of your regular cleaning routine by pouring a few cups of white vinegar and running the hot water cycle. (If you use vinegar, don’t do it often—over time, the acid can break down the rubber gaskets in your washing machine.) A more expensive but effective solution is to invest in a whole-home water softener, which will help prevent limescale and mineral buildup inside your washing machine, as well as in any other water-using appliances such as dishwashers and ice makers.
How to Clean a Top-Load Washing Machine
Like it or not, loose dirt inevitably collects in a top-load washing machine. And if you own a pet, you can be sure that some of its fur—somehow, some way—will find its way into the appliance. So even though your clothes come out clean, contaminants are left behind on the inside of the washer. From week to week, remember to wipe it out so that lingering crud doesn’t land in your next load of laundry.
Tools & Materials
Bobvila.com may earn a commission from purchases made through these links.
STEP 1: Vacuum out dirt and debris.
When cleaning a washing machine of big debris, a vacuum cleaner is best for a first pass. Outfit your vacuum with a brush attachment, double-check that the washing machine’s drum has dried completely, then run the vacuum head over all parts of the cylinder. You might be surprised by how much you pick up!
STEP 2: Run a hot-water cycle.
Newer washing machines have a special self-cleaning cycle that helps eliminate odors. If you don’t have a self-cleaning washing machine, you can fight smells by running the empty machine on a hot-water cycle, with your chosen cleaner added to the washer’s drum. Afterward, open the door to the wash tub so the interior can fully dry out. Repeat this exercise at least once a month to keep your machine smelling its freshest.
Alternatively, you can add 1 to 2 cups of white vinegar to the washer’s drum and run it on the hot cycle. (Though effective, don’t forget that vinegar can degrade the washing machine’s rubber parts over time and eventually cause the machine to leak.) To really get the most out of a natural DIY clean, after running a wash cycle with vinegar, add 1 cup of baking soda to the hottest temperature cycle and let it sit for an hour, then finish the cycle. Between the vinegar and the baking soda, the washer should be clean and all musty smells and odors neutralized.
Another household cleanser that can work as a washing machine cleaner is bleach, although you should not use bleach if your washer has a stainless steel drum or pipes—bleach will cause them to corrode. Bleach can safely clean washers with ceramic tubs, however: Use 1 quart of bleach poured into the highest-level and highest temperature water setting; let sit for one hour, then finish the cycle.
Similarly, you can substitute hydrogen peroxide for bleach, adding 2 cups of hydrogen peroxide to a hot-water cycle to clean the washer. Note: Never mix vinegar and bleach. The combination produces a toxic gas that is extremely dangerous.
STEP 3: Remove and clean detergent trays and component parts.
If, despite your best efforts, a musty odor lingers in the washing machine, mold or mildew may be the reason. Particularly vulnerable are those components of the machine where water collects—the detergent tray, for example, and other removable component parts.
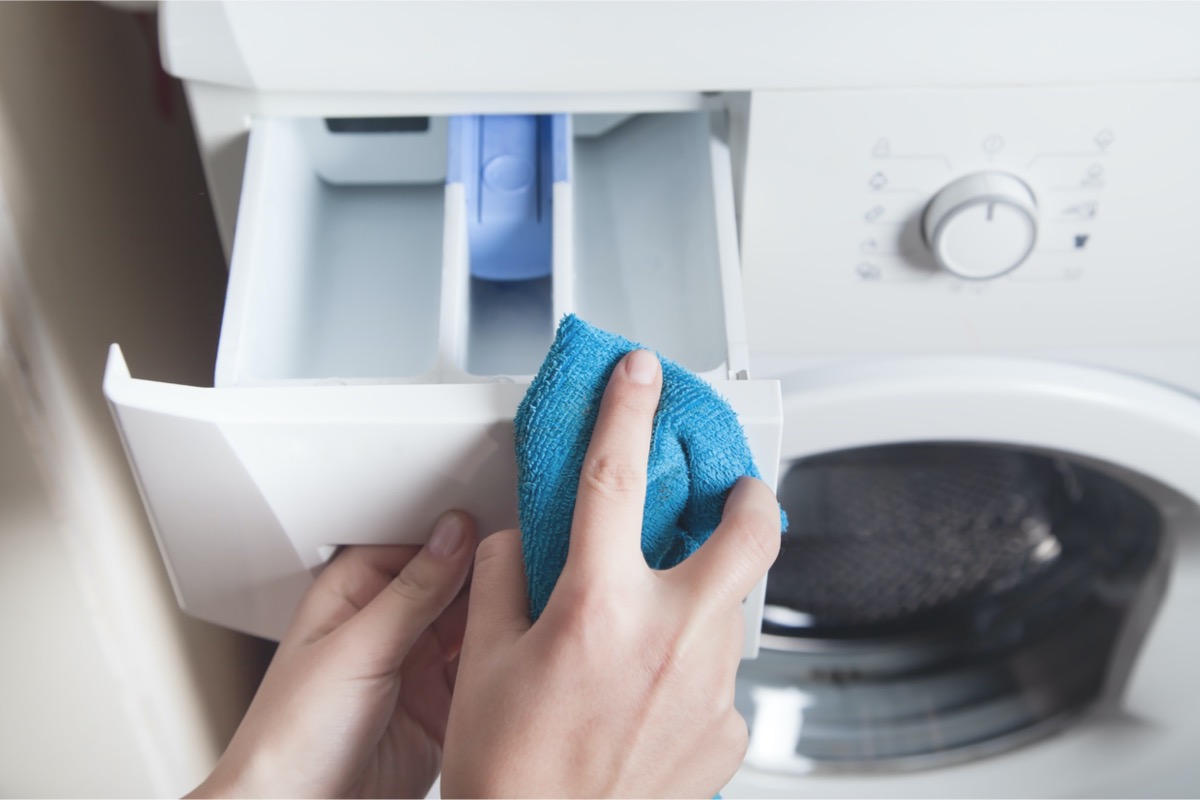
If the detergent dispenser is removable, carefully take it out of the machine and soak it in a solution of one part vinegar to three parts hot water for an hour or so; remove any stubborn residue with an old toothbrush; rinse and wipe down with a damp microfiber cloth. If the dispenser is not removable, heat one cup of vinegar on the stove or microwave and carefully pour into the dispenser. Allow to sit for about 15 minutes, and clean any lingering residue with an old toothbrush or a bottle brush. Rinse with warm water and wipe clean with a microfiber cloth.
STEP 4: Clean the washing machine door.
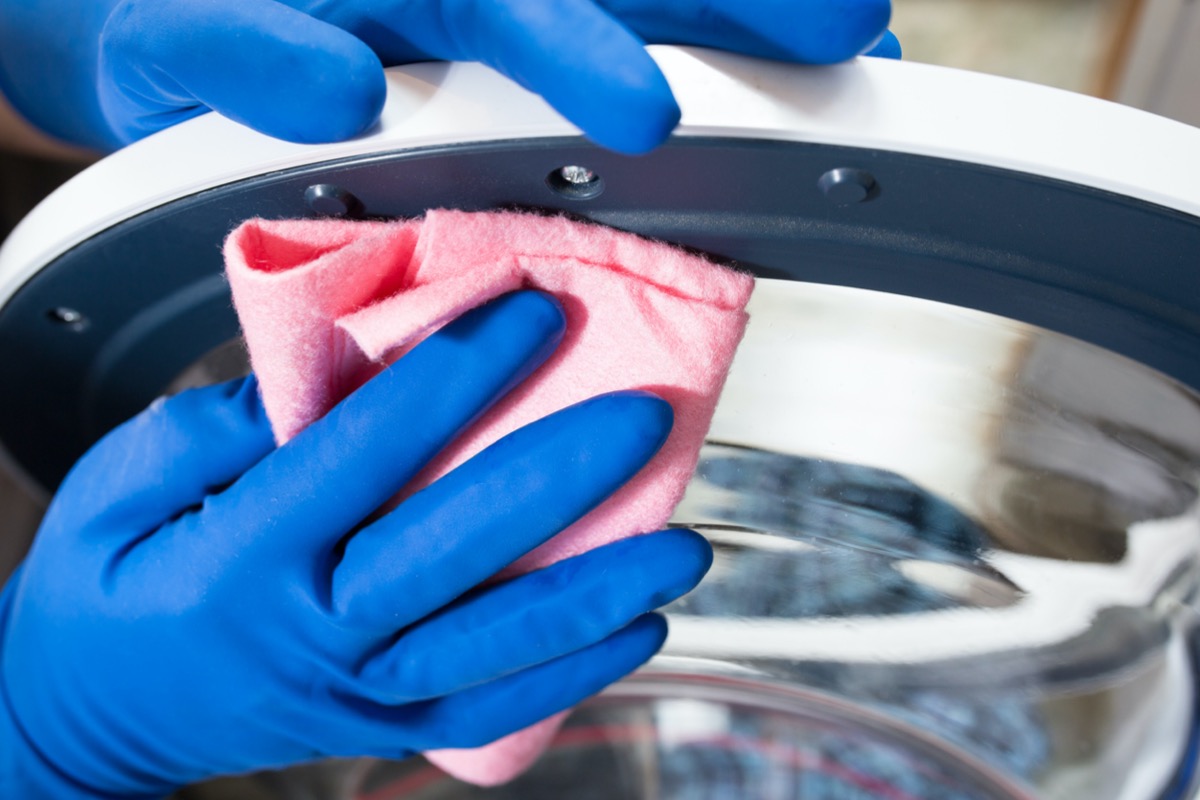
Open the door to the washer and clean it with wipes that are specially formulated for cleaning a washing machine, such as Lemi Shine’s biodegradable washing machine wipes. Pay particular attention to cleaning the door’s edges and seals. You also can use a damp microfiber cloth, either with plain warm water, or with a solution of warm water and vinegar. If you use vinegar, be sure to rinse the surface with plain water after the vinegar. Don’t use any sharp objects to clean; these could damage the door, seals or gasket.
STEP 5: Wipe around and inside the door gasket.
The gasket is a rubber ring that creates a seal, preventing water from leaking out of the washer. Carefully examine the gasket and gently pull back on the edge to check for debris such as loose coins, bobby pins, or other foreign matter. Do not be too aggressive when pulling on the gasket. Gently wipe down the entire surface of the gasket with a damp microfiber cloth or a commercial wipe; make sure to go over the surface thoroughly, both top and bottom. Follow the same procedure for cleaning the door seals.
STEP 6: Remove and clean the agitator.
Most top-loading washers have an agitator in the center, which usually comes in two pieces. The top piece can be removed and soaked in a solution of one part vinegar to three parts warm water. You also can pour the same vinegar and water mixture into the bottom part of the agitator and let it soak for 15 minutes. Use an old toothbrush or bottle brush on both pieces to remove any caked-on residue. Rinse and replace the top part of the agitator, then run a hot-water rinse cycle to remove any leftover “gunk.”
Some washing machines have a one-piece agitator, which is usually bolted to the bottom of the tub and can be removed using a socket wrench. For these types of agitators, you can remove the entire unit and soak it in a vinegar and water mixture to clean it. Remove any residue with a scrub brush, then rinse and replace it.
STEP 7: Wipe down the outside of the washing machine.
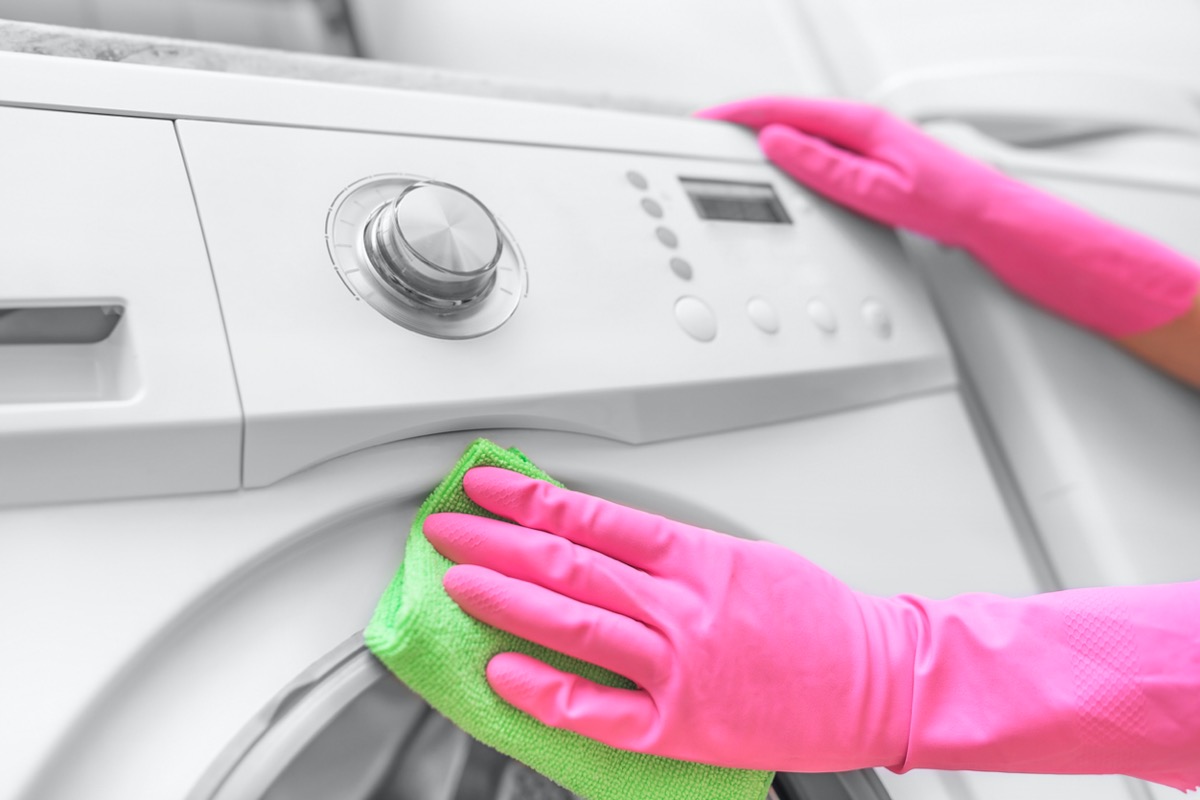
Using a clean, damp microfiber cloth or a commercial cleaning wipe formulated for appliances, wipe down the exterior of the washing machine, paying careful attention to all of its nooks and crannies. Make sure to clean around the buttons and knobs, and wipe dry with a clean cloth.
STEP 8: Remove and clean the inlet screen.
On the back of most washing machines there are inlet screens that filter out particles that are suspended in the water that comes into the machine. Here, dirt and limescale accumulate over time. Occasionally, that buildup can disturb washer operation. If you’ve noticed that your washer isn’t performing up to par, the first thing to check is the inlet screen.
After unplugging the washer and turning off its water supply, unhook the hot and cold water lines and remove the filters with a careful twist. Soak each in vinegar to remove the limescale. Quickly rinse and reconnect them, then plug the machine back in. You should see immediate improvement in the washer’s performance.
How to Clean a Front-Load Washing Machine
Cleaning a front-loading washing machine is similar to cleaning a top-loading model, but there are a few significant differences. The main difference is in the gasket: Because of its position in the front of the drum, the gasket on a front-loading machine is more likely to collect dirt and small items such as coins, rocks, and socks. It is therefore important to spend ample time cleaning the gasket, taking care not to tear or damage it by handling it too roughly.
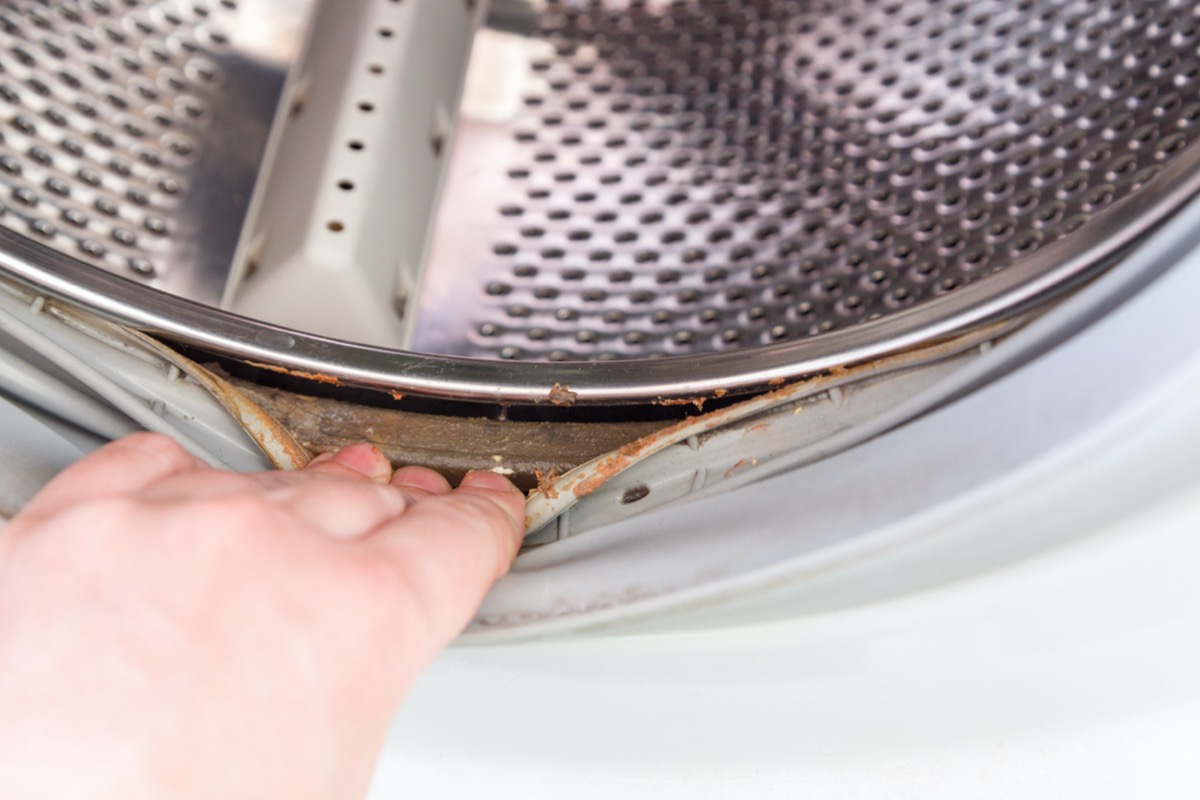
The rest of the cleaning routine for a front-load washing machine is much like that for a top-load machine: First, vacuum out dirt and debris from the drum, and also vacuum the exterior. Then, run a hot-water cycle containing a commercial washing machine cleaner (or a DIY cleaner such as vinegar). Remove and clean the detergent trays; clean the door; clean the intake filter.
Finally, wipe down the washing machine’s exterior. Leave the washer door and detergent tray open when the machine is not in use to allow the machine to dry out between loads, which will prevent moisture buildup and keep mold and mildew from forming.
Tips for Maintaining a Clean Washer
An ounce of prevention, as they say, is worth a pound of cure. A regular monthly maintenance routine will help keep your washing machine clean and odor free. Here are a few tips to keep your washer in tip-top shape:
· Use the proper type and the recommended amount of laundry detergent. Adding too much detergent to laundry can allow mildew to grow, and will make your machine smell.
· Before running a load of laundry, check dirty clothes for any items that could come loose and damage the washer, paying particular attention to the accumulated detritus in pockets. Coins, pins, hair ties, tissues, hardware, and similar items can cause problems for your washer.
· Remove the laundry as soon as a cycle finishes. Don’t leave wet clothes sitting in the washer—they can cause mildew and odors.
· Open or remove the detergent dispenser between loads to let it dry out. Rinse any detergent residue regularly, before it gets a chance to build up and harden.
· Leave the door open when the machine is not in use to prevent moisture buildup. You also may want to dry the door between loads, using an old towel or soft microfiber cloth.
· Dry the gasket between loads, using an old towel or a soft microfiber cloth.
Final Thoughts
Whether you have a classic top-loading washing machine or a front-loading washer—or the latest and greatest combination of stackable washer and dryer units—learning how to clean a washing machine and establishing a regular cleaning routine will help you maximize the performance and lifespan of your unit, and help prevent musty smells and odors in your laundry room. Regular cleaning also will help prevent mold and mildew from growing on your washing machine.
A clean washing machine also will function better, keeping your laundry fresh and sanitary, and extending the lifespan of your clothing as well. Between the cost of appliances and the cost of clothing, spending a little bit of time and elbow grease on cleaning your washing machine can add up to big savings in the future.
FAQs About How to Clean a Washer
Laundry day is certainly not most people’s favorite day of the week, but nearly everyone has to grapple with the same issues. Here are some of the typical problems and questions that can come up regarding your washing machine cleaning routine.
Q: How long do washers last?
The National Association of Home Builders says that washing machines have an average lifespan of about 10 years. Cleaning your washing machine on a regular basis will help maximize performance and longevity, as will running the washer only when you have a full load.
Q: How long can clothes sit in the washer before they mold?
It is a good idea to get into the habit of removing clothes from the washing machine as soon as the cycle finishes. But, sometimes things come up. A good rule of thumb is to never leave wet clothes for more than 12 hours; after that time, bacteria will begin to grow, causing a musty, sour smell. If your clothes smell when you remove them, rewash them immediately. Otherwise, the smell will persist.
Q: Is bleach or vinegar better for cleaning a washing machine?
Both vinegar and bleach are good DIY cleansers for washing machines, but bleach can cause irritating fumes that many people find objectionable; the fumes can bring on headaches, nausea, and dizziness in sensitive individuals. Bleach is a powerful disinfectant that kills 99.9 percent of bacteria, viruses, and mold. Vinegar is also a powerful disinfectant, killing about 90 percent of bacteria and 80 percent of viruses and mold.
Q: Does salt really clean a washing machine?
Salt used to be a popular additive to laundry to whiten and brighten fabrics, but with today’s more advanced fabrics and dyes, it has very little benefit. Salt is not an effective cleanser for your washing machine, and can actually get trapped in the seals and gaskets, reducing overall performance. So, skip the salt.
Q: What should you never put in a washing machine?
There are numerous items that you should avoid putting in the washing machine, including: anything covered in a flammable stain; foam products; delicate fabrics such as wool, velvet, silk, cashmere, leather, lace, and embroidery; swimwear, bras, and delicate lingerie; raincoats and shoes; rubber items; and items typically left in pockets, including coins, pens, keys, cell phones, small toys, and hardware.

