
We may earn revenue from the products available on this page and participate in affiliate programs. Learn More ›
Marble is a natural stone that is used for countertops, walls, and flooring. This material is reliable, durable, and long-lasting, but if it has one major drawback it’s that is porous and is thus prone to staining. For this reason, it’s particularly important to learn what you can and can’t use to clean marble countertops and other marble surfaces.
As you learn how to take care of marble surfaces in your home, and select appropriate products to clean up these messes, the key point to remember is that marble and acids don’t mix. This means any acid, like a splash of lemon juice, a damp margarita glass, or an acidic cleaner, can eat away at the surface, creating dull spots known as etches. This guide will take you through how to clean marble, how to remove stains on marble, and how to seal marble surfaces.
How to Clean Marble

Marble is one of the most popular kitchen countertop materials, but it can also be used for bathroom countertops, shower walls, and flooring. Follow these straightforward steps to learn the best way to clean marble surfaces.
SUPPLIES
Marble stone cleaner
Gentle dish soap
Spray bottle
Microfiber cloth
Soft, absorbent towel
Step 1: Mix non-abrasive dish soap with warm water.
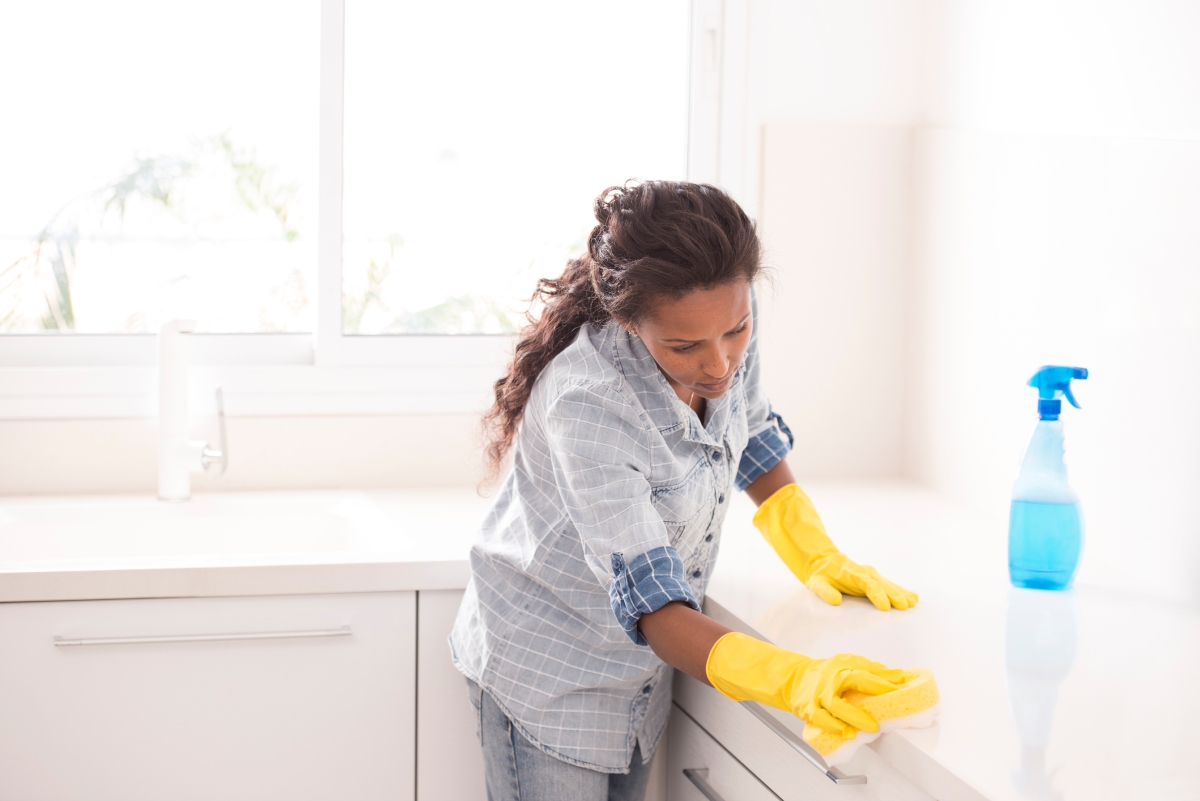
When cleaning marble, you can pick up one of the best marble cleaner products online or at a home improvement store, but if you’re not using marble cleaner, mix a squirt of dish soap with warm water in a spray bottle and spray the marble surface generously. Make sure the dish soap is non-abrasive, meaning that it does not have any small abrasive particles mixed into the soap. “Twice a month, you can add 3 ounces of rubbing alcohol to this mix, just to sanitize the surface. Use this solution after handling raw meat or poultry,” says Steve Evans, owner of Memphis Maids.
Step 2: Wipe the surface with a damp sponge or microfiber cloth.
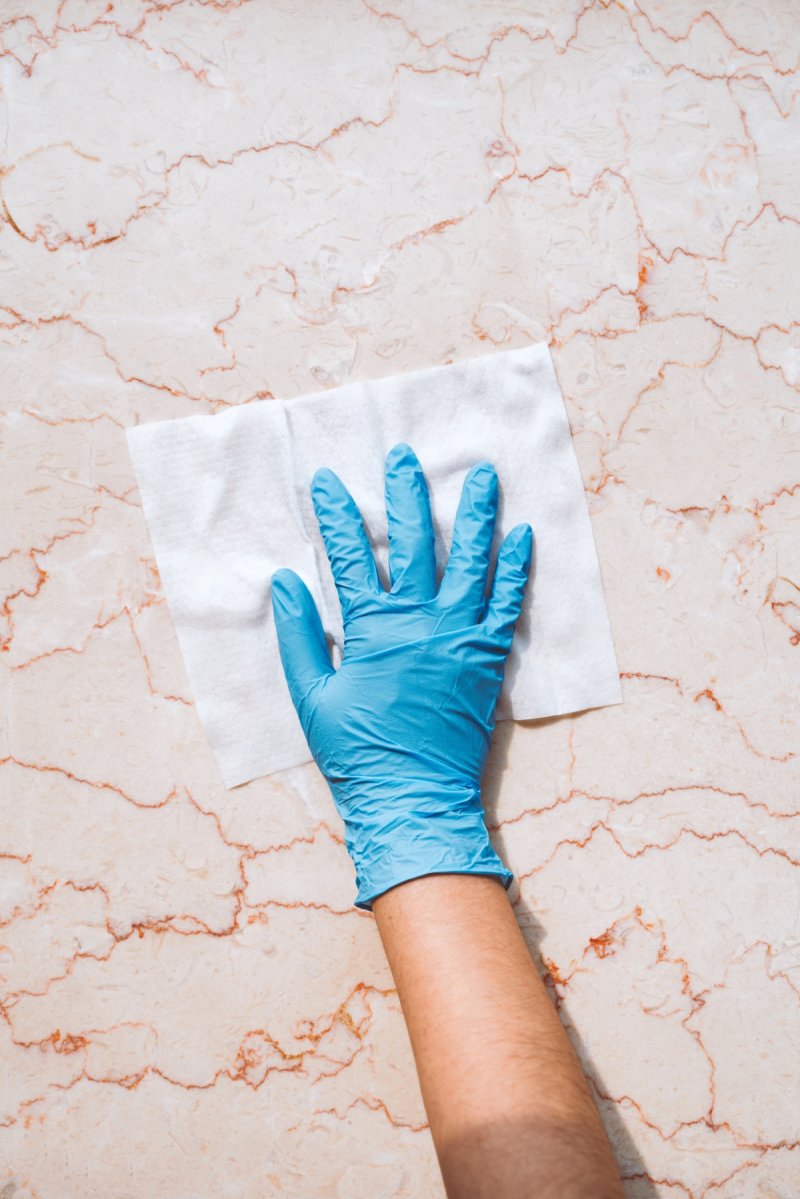
Scrub gently and wipe the marble surface with a damp sponge or a clean wet microfiber cloth. While a microfiber cloth or sponge is the best option for cleaning marble countertops, you can use a mop to clean marble flooring. Just make sure not to scrub too hard, as you may damage the marble sealant.
Step 3: Rinse and wipe down the surface with clean water.
Rinsing is an often-overlooked step in cleaning marble countertop stains and other surfaces. While you don’t want to soak the marble surface, make sure you rinse and wipe down the marble with clean water to remove any excess soap. Limit the amount of water you use to avoid staining or damaging the porous material.
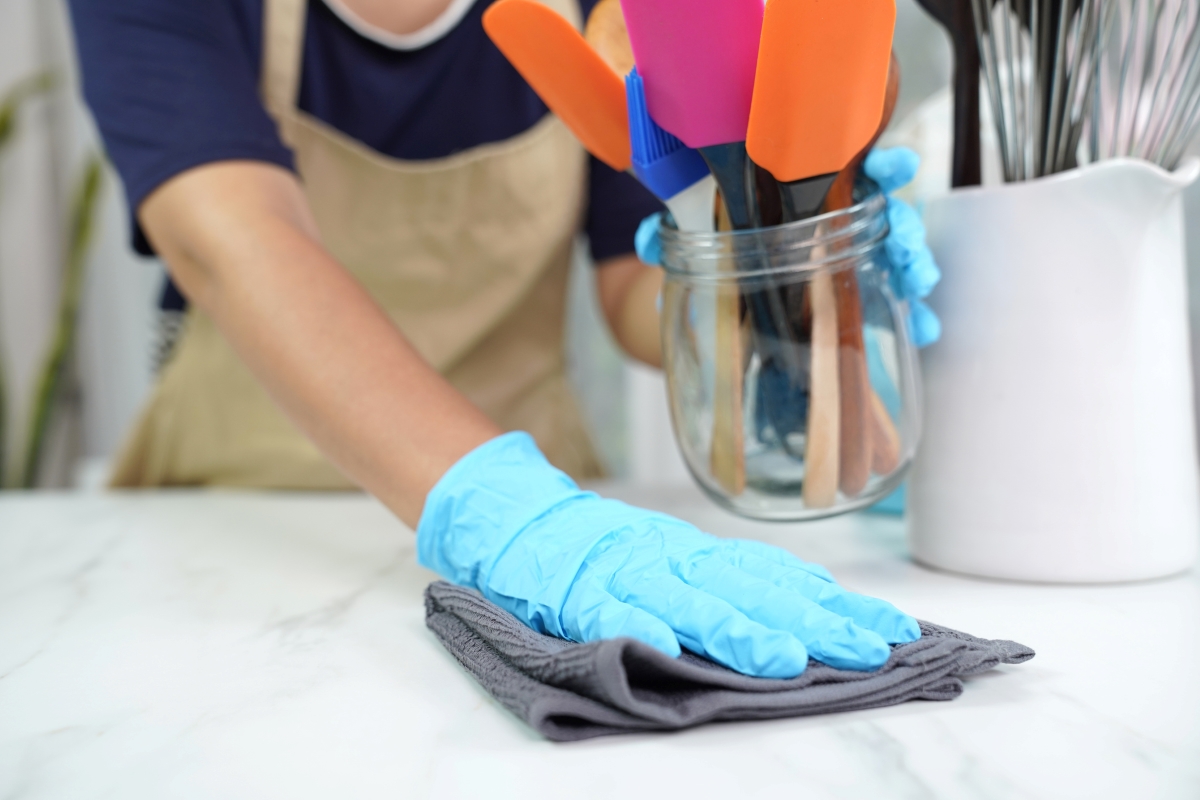
Step 4: Dry the surface with a soft, absorbent towel.
Marble may be one of the best countertop materials for durability and appearance, but if you don’t dry it properly, the moisture can seep into the porous stone, causing staining or even cracking. Take your time to thoroughly dry the marble surface using a soft, absorbent towel that will readily soak up any remaining moisture without leaving behind unsightly streaks.
How to Remove Stains From Marble

Regular care and ongoing maintenance will help prevent marble from getting stained, but even if a stain does appear due to an accident or some unforeseen situation, like leaving a metal planter on a marble floor for a long period of time, cleaning stained marble isn’t impossible. Try these straightforward cleaning tips to learn how to remove a variety of stains from marble.
- Oil-based stains: Grease, cooking oil, milk, or even makeup can darken the stone and must be dealt with chemically. Clean gently with one of the following: soft, liquid cleanser, ammonia, or mineral spirits. After cleaning, make sure to rinse and dry the marble to get rid of any excess cleaner. Evans notes that “you might need to do this 1 or 2 times or leave for a bit longer the next time.”
- Ink stains: When ink spills on the countertop or gets onto the marble flooring, you can remove the stain by applying acetone or a 20 percent hydrogen peroxide solution. If the stain is spread over a large area you will need to use a poultice which can be made by mixing ¼ to ½ cup of flour to the acetone or hydrogen peroxide solution. Apply the poultice to the stain and let it sit for 24 hours, then rinse and dry the marble.
- Mold and mildew stains: Acetone or a solution of 20 percent hydrogen peroxide can be used as a mold and mildew stain cleaner. Spray the affected surface with the cleaner, then rinse with clean water and dry. Repeat as necessary to get rid of the stain.
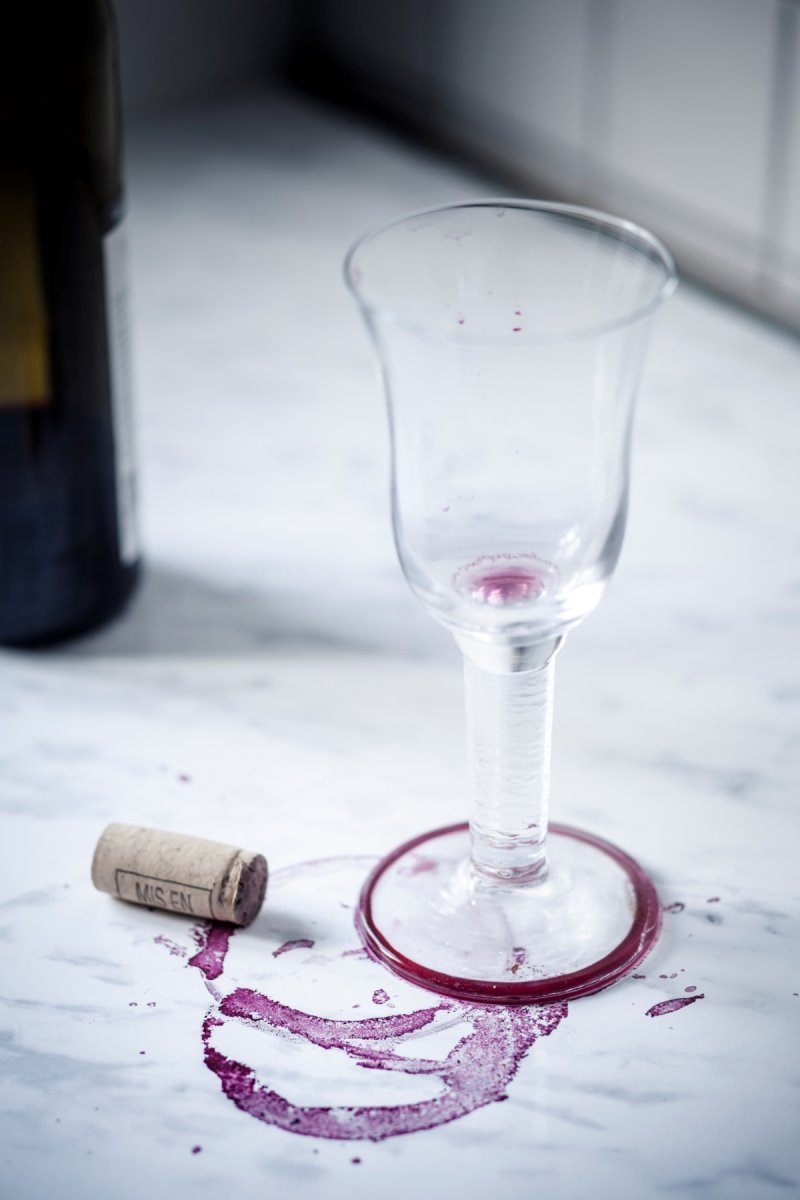
- Wine and sauce stains: When wine or sauce spills on the marble countertop or floor it can leave behind deep red stains. To get rid of these stains, first blot up any excess wine or sauce, then use a mixture of three parts baking soda to one part water to create a paste. Apply the paste to the stain and let it sit overnight. Clean up the paste, then rinse and dry the marble.
- Blood stains: While cutting up meat, the blood can leak onto the marble counter, staining the porous material. However, you can remove blood stains from marble by first blotting the area to remove any remaining blood, then creating a poultice using powdered detergent, water, and a small amount of acetone or 20 percent hydrogen peroxide solution. Apply the poultice to the stain, cover with a damp cloth, then let it sit overnight. In the morning, clean up the poultice, then rinse and dry the marble.
- Paint stains: When paint spills onto a marble surface you will need to use a cloth to wipe up the excess before you can deal with the stain. If the paint has been allowed to dry, then use a plastic scraper or a razor blade to scrape it off. Apply a lacquer thinner to a clean cloth, then wipe the stain to remove the paint. Flush the area thoroughly with clean water, then dry with a soft, absorbent towel. If the stain is spread over a large area, consider using a commercial paint stripper, but keep in mind that this method may cause etching and the marble will typically require re-polishing after stain removal.
- Metal stains: Use a poultice made from baking soda and water to handle metal stains, or purchase a premixed commercial poultice available from stone maintenance supply companies and home improvement stores. Apply the poultice to the stain, then cover with plastic wrap, securing the sides with painter’s tape. Let the poultice sit for 24 to 48 hours, then remove the plastic and remove the poultice with a wooden or plastic scraper. Rinse and dry the marble surface.
How to Properly Care for Marble

Marble is an attractive natural stone material that can last for years with proper care. Follow these marble maintenance tips to properly care for your marble countertops, walls, and floors.
- Use mild, pH-neutral cleaning solutions that are specifically designed for marble.
- Blot, clean, and dry spills as soon as possible to prevent staining.
- “Don’t use a countertop as a cutting board. If you do, you will create micro-scratches on the surface and the acids from fruits and vegetables or sauces are going to damage the seal in your marble,” says Evans.
- Clean marble countertops daily and mop marble floors about once a week, while deep cleaning the marble at least once a month.
- Use a soft, absorbent towel, microfiber cloth, or microfiber mop to avoid scratches.
- Regularly apply a marble sealant to protect the countertop or floor from stains and etching.
- Avoid using bleach, ammonia, abrasive cleaners, hard-bristle brushes, abrasive scrubbing pads, and commercial cleaners that are not specifically made for marble.
Sealing Marble Countertops

Because marble is porous, a sealant is recommended as a barrier that can possibly keep a spill from becoming a stain. Experts suggest re-sealing every 3 to 6 months, but quality sealing products, available from any home improvement retailer, are simple to apply.
SUPPLIES
Mild dish soap
Single-edged razor blade
Plastic scraper
Chamois
Clean cloths
Acetone
Impregnating or penetrating sealer for marble countertops
Step 1: Clear everything off the counters so the entire surface is accessible. Clean the surface with mild dish soap. Dry with a clean cloth.
Step 2: Remove any built-up residue from cleansers, cooking grease, or other substances that might remain with a plastic scraper or (carefully!) a single-edged razor blade. To use a blade, hold it at an angle and lightly pass it over the marble.
Step 3: Use acetone, if necessary, to strip off old sealer and remove residues from products such as window cleaners. Apply with a clean cloth and rinse with wet cloth, then dry with a chamois. Do not let the counter air dry.
Step 4: Read and follow all directions on the sealant’s packaging. In most cases, application is a matter of pouring the sealer directly onto the surface and spreading it evenly with a clean white cloth. Leave it to soak for the time specified in your product’s directions, usually three to four minutes.
Step 5: Sprinkle additional amounts of sealer over the treated areas. This will allow you to easily collect and gather excess sealer during cleanup. Use a clean dry cloth to remove any sealer that has not soaked in.
Step 6: Apply a second coat of sealer only if your product’s specific directions indicate it is necessary. Otherwise, one coat will be enough.
