
We may earn revenue from the products available on this page and participate in affiliate programs. Learn More ›
Like everything with moving parts—your car, your computer, your body—your power tools will last longer and work better with a little bit of maintenance. Since it’s the season for spring cleaning the rest of your life and home, take an afternoon to show your power tools some TLC. They’ll work more accurately and more safely, and they’ll work for a considerably longer period of time.
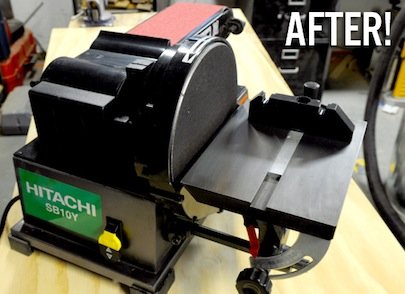
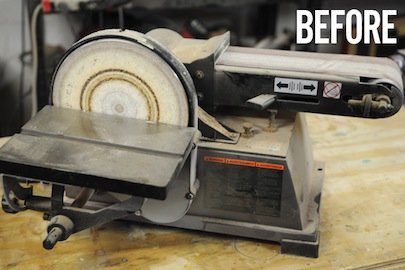
As an example, I’ll be using my stationary bench sander, a tool that sits on the bottom of a storage shelf. It’s so heavy that I rarely move it; I just kneel down and work the parts with it on the floor. As you can see, it’s in serious need of some cleaning.
How to Clean Power Tools
STEP 1: Clean out the dust!
Unless you have a pro-grade dust collection system, your power tools have dust in them—somewhere. Use a shop vacuum to suck up what you can, then used compressed air to clean out the vents. It may help to actually run the tool. Spray around all moving parts: blades, arbors, drill chucks, etc. Use a damp rag to clean off molded plastic or PVC parts.
STEP 2: Remove the rust.
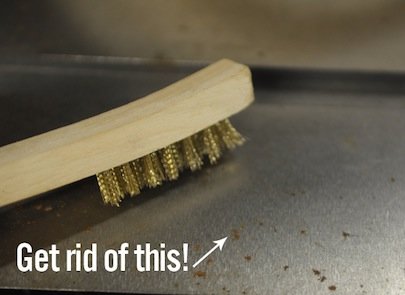
Use a stiff brush or steel wool to remove the rust on iron tables, fences, or hardware. Work lightly so you don’t scratch the surface. Use a degreaser to remove any extra gunk, then protect the surface by spraying on corrosion protector. I like to use T-9, which is a protectant and lubricant. Follow the instructions on the can for best results.
STEP 3: Check all moving parts.
Go through the tool (unplugged, of course) and spin the moving parts: gears, v-belts, pulleys, etc. All fasteners should be sturdy and connected; all parts should move safely and straight. Listen for noises and note wobbles, lubricating when appropriate. Use an Allen wrench to adjust hex-head bolts and other fine adjusters. Also, check power cords and plugs to make sure there are no frays or worn spots.
STEP 4: Replace or sharpen disposable parts.
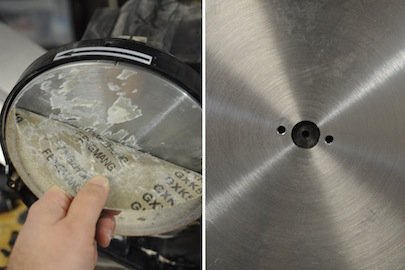
Go through your tool and make sure all abrasives and blades are in shape. Remove abrasives, clean metal parts with mineral spirits, and replace. Check blades and bits for chips and sharpness. If necessary, replace or sharpen planer and jointer knives, and replace any overly-worn belts.
STEP 5: Adjust and check for square.
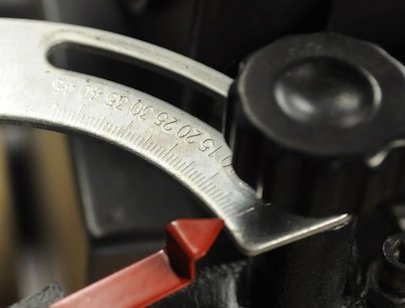
Check all tables, fences, bevel gauges, etc., with a machinist’s square to make sure everything it still aligned at 90°. Go through degree adjustments and clean the knobs and gauges to keep everything square.
STEP 6: Double check.
Once everything is clean, tightened, and dust-free, plug the tool back in and turn it on carefully to confirm you’re ready to go. Now, go get some home improvement projects accomplished!
