We may earn revenue from the products available on this page and participate in affiliate programs. Learn More ›
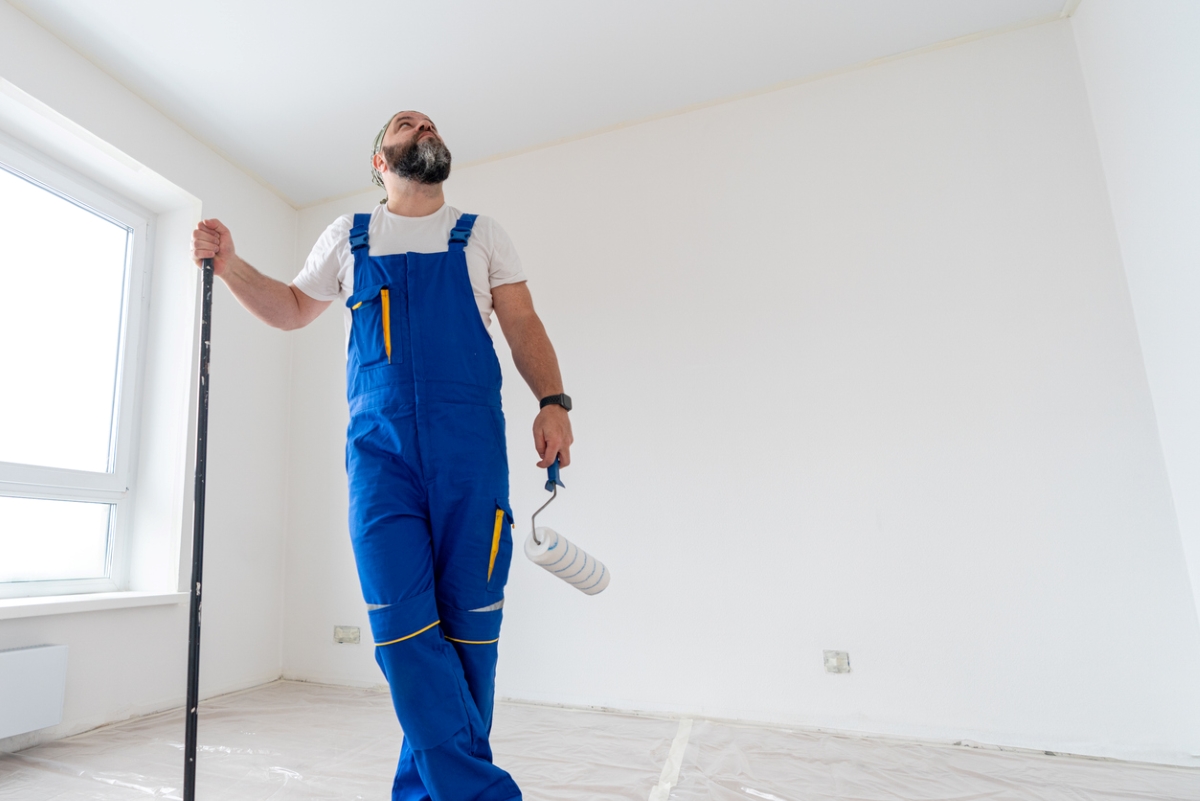
Adding a fresh coat of paint is one of the most affordable and satisfying ways to freshen up the look of a room. But while you might be itching to crack open that can of paint and get started, steady your paint brush hand. Before any paint or primer hits the wall, it’s important to make sure that it’s going onto a clean surface.
Over time, walls accumulate cobwebs, dust, grease, and grime. By cleaning walls before painting, you’ll create a good base for that fresh coat, which helps ensure that you end up with great results. We tapped painting expert Brandon Walker of Arizona-based ASAP Restoration LLC, for guidance on how to clean walls before painting.
Tools & Materials
Bobvila.com may earn a commission from purchases made through these links.
Project Overview
Working Time: 1 hour
Total Time: 3 hours
Skill Level: Beginner
Estimated Cost: $0 to $15
Before You Begin
Start by prepping the space for wall cleaning. Move furniture away from the walls and cover items with drop cloths to protect them while you clean and paint. You’ll also need to remove any wall plates, picture hangers, and other obstacles that can get in the way of cleaning and painting.
STEP 1: Make repairs.
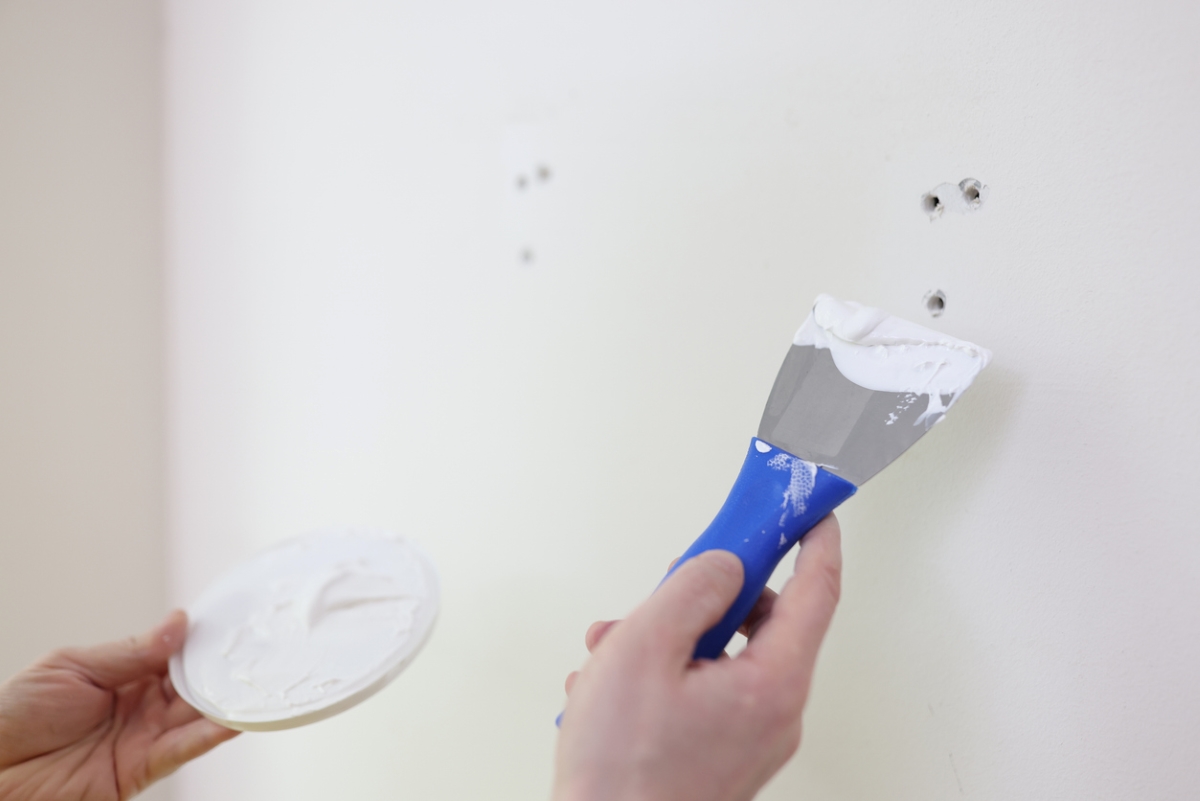
Start by making any needed repairs to the walls. Scan the surfaces for holes, cracks, and dents created by furniture and picture hangers. Remove loose paint, using a putty knife. Scrape away any peeling paint, then sand it smooth.
Use drywall compound or spackle and a putty knife to fill any holes. Allow the spackle to dry thoroughly, then sand each repair so it’s smooth and level with the surrounding wall, using 120-grit sandpaper.
STEP 2: Sand the wall.

Before adding fresh paint, Walker advises lightly sanding the entire wall. “This will help the new primer and paint adhere to the old surface much more tightly,” he says. Walker suggests using a pole sander—an affordable sanding attachment you can screw onto a standard threaded mop or broom handle—to make this part of preparing walls for painting go faster.
STEP 3: Vacuum up dust.
Before you can proceed with cleaning, you should remove the dust you just created from sanding, along with any debris that has collected on the walls over the years. Use a handheld vacuum with an extension wand, a broom, or a dry mop to remove any cobwebs that have formed between the walls and the ceiling or dust that’s accumulated on and around the baseboards. Walker advises: “If the situation allows for it, use a leaf blower or an air compressor to remove all of the cobwebs, dust, and other debris from the wall surface.”
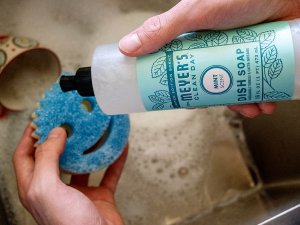
STEP 3: Mix your cleaner.
You don’t need to head to the store to purchase a special wall cleaner. Make a simple wall-cleaning solution using materials you already have at home. In a bucket, mix a quart of warm water with a teaspoon of dishwashing liquid and a dash or two of vinegar. Don’t get carried away with the soap. The goal here is to clean the walls lightly, not to suds them up like you’re washing your car. The warm water plus the dishwashing liquid and vinegar will cut through grease and grime that’s clinging to the walls. Fill a second bucket with warm water to serve as your rinse.
STEP 4: Clean the wall.

Dip a sponge or cloth into the soapy water, wring out excess water, and begin wiping down the wall. Move from top to bottom and from one corner of the room to the other. Avoid using too much water, which could damage the drywall or cause drips to run into electrical outlets. You should only need a small amount of moisture to remove dirt from the walls.
The cleaning solution works in many situations, but Walker suggests using a degreaser such as Goo Gone or Simple Green for removing thicker layers of grease and grime. “Typically, this works best in kitchens and areas that experience a lot of hand traffic like the corners leading into hallways,” he says.
STEP 5: Rinse the walls.
After cleaning the walls, it’s crucial to remove any trace of soap, so it doesn’t interact with the new coat of paint and primer you’ll be adding. Dip a clean cloth into your rinse bucket, wring it out, then wipe down the wall. Rinse the cloth in the clean water periodically as you go.
STEP 6: Let the walls dry.
Use a clean, dry cloth to help remove any moisture left on the walls, then allow the walls to dry thoroughly before adding paint. “As long as they are dry to the touch, it is probably sufficient to begin priming and painting,” Walker says.
Final Thoughts
While you might be tempted to skip cleaning or prepping walls for paint, Walker says that would be a mistake. Dirt on the walls can prevent paint and primer from adhering properly to the old paint. “Typically, this presents in the form of chipping, stripping, bubbles, blisters, and flaking,” he says.
Even if you don’t have a problem with the paint sticking, Walker says you’ll likely still end up with debris trapped in the paint that will be visible after it dries. “It will be unmistakable and may even create textural differences in consistency,” he says.
While it might seem like a hassle, spending a little bit of extra time washing walls before painting will pay off in a beautiful and durable fresh coat of paint.