We may earn revenue from the products available on this page and participate in affiliate programs. Learn More ›
Learning how to crochet opens up a world of crafting possibilities. From cozy blankets and custom clothing to decorative tapestries and amigurumi figures, there’s plenty that can be made with yarn and a crochet hook. Best of all, the most basic crochet stitches are used in a wide range of exciting projects.
We outline how to crochet for beginners ahead (using American terms), and break down six must-know foundational stitches for new crocheters.
Crochet Tools and Materials to Know
It doesn’t take much to start crocheting, and since crochet tools are affordable, crocheting is an accessible hobby. The basic materials include a crochet hook, yarn, and scissors. Stitch markers and a yarn needle also come in handy for tackling crochet projects. Read on for more information on the features to look for in each crochet tool.
Crochet Hook
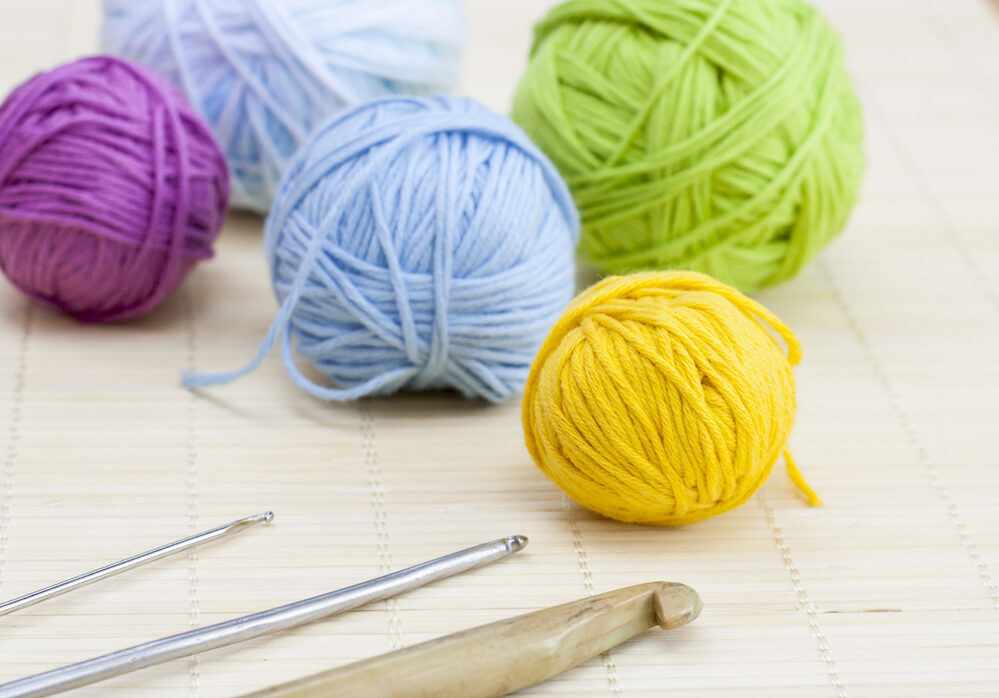
Crochet hooks come in a wide range of sizes, shapes, and materials. The right size depends on the yarn thickness and the project. Reference the yarn label to choose a suitable crochet hook size; most labels will recommend a hook size to use with that yarn. When following a project pattern, use the recommended hook size it recommends for the best results. Generally, thin hooks are used for thinner yarn, and thicker hooks for thicker yarn. Our favorite crochet kit for beginners, the highly rated Mayboos 72-piece crochet hook set available at Amazon, includes a variety of hook sizes.
Crochet hooks can also be made of various materials (including plastic, metal, resin, and wood) and come in a range of shapes (for example, inline or tapered and with various handle designs). Choosing between these crochet hook differences comes down to personal preference.
Yarn
With so many fun colors, types, and materials, yarn shopping is exciting for beginner and advanced crocheters alike. The right yarn ultimately comes down to taste, but there are a few tips for beginners to consider.
New crocheters often find it easiest to work with a medium-weight yarn. Light colors are generally better, since they make it easier to see the stitches. Avoid yarn that is very fine, fluffy, or slippery when first starting out. The typical, smooth acrylic yarn found at craft stores is a great choice for beginners. A good example is Caron Simply Soft yarn, which is our top acrylic pick when it comes to the best yarn for DIY projects.
Scissors
Most craft projects call for scissors, and crocheting is no exception. Scissors are necessary for cutting off excess yarn, as many small beginner projects won’t use an entire skein of yarn. Pretty much any multipurpose or crafting scissors will do. As long as it can snip through yarn, it’s a good enough pick. This three-pack of AmazonBasics scissors is as useful for cutting yarn as it is for other tasks around the house.
Stitch Markers
Often made of plastic or metal, stitch markers are small pieces that can be attached to a crochet project to mark important stitches during the crocheting process. For crocheting, make sure to buy removable stitch markers—not closed stitch markers, which are used for knitting instead of crocheting.
Stitch markers can help keep count of stitches, but they’re also useful to signal a change in the work, such as where to increase or decrease stitches, change yarn color, or change the type of stitch in a row. They’re not a necessity, but they can be a big help. Plus, sets like this 150-piece Meikeer locking stitch marker set are inexpensive, so most crocheters will find them worth the small investment.
Yarn Needle
Yarn needles are useful for sewing crochet pieces together and weaving in the end strands of yarn in a crochet project. Also known as a tapestry or darning needle, these needles are large and have a blunt tip.
Yarn needles also come in various sizes. Make sure to look for a needle with a big enough eye to string the chosen yarn through. Metal and plastic needles are both available, either straight or with a bent tip. Choosing between these features comes down to personal preference, but basic yarn needles like these highly rated plastic Boye yarn sewing needles available at Amazon are a good choice for most beginners.
Slip Knot Basics
Now onto crocheting! First, unwind and roll the yarn skein into a ball of yarn. The next step of crocheting is to get the yarn on the hook. The simplest way to do so is with a slip knot.
Pull the end of the yarn from the yarn ball. Around 6 inches in, make a loop with the tail end of the yarn (the part of the strand leading to the end) on top of the working yarn (the part of the strand that leads to the yarn ball).
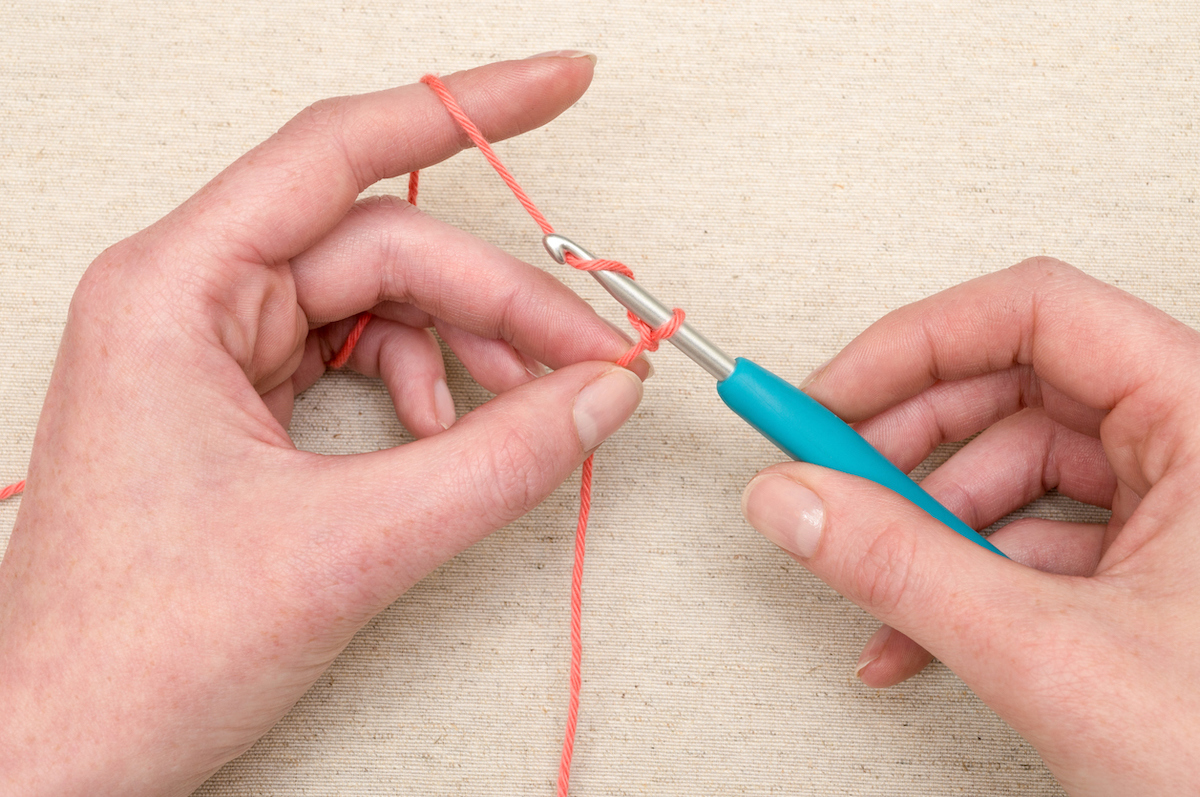
Hold the loop in place with your index finger and thumb. From behind, insert the crochet hook through the loop. Use the crochet hook to grab the working section of the yarn. Pull the hooked yarn through the loop. While doing so, gently hold the tail and working yarn between your finger and thumb as the crochet hook pulls until the yarn sits snug against the hook (not too tight, not too loose). If the slip knot is too loose, simultaneously pull the tail and working yarn to tighten the knot on the hook.
How to Hold the Crochet Hook and Yarn
Most crocheters find it most comfortable to use their dominant hand to hold the crochet hook and non-dominant to hold the yarn. There are two common crochet hook grips: the pencil grip and the knife grip.
- Pencil grip: To do the pencil grip, hold the hook as if it’s a pencil, using the thumb, index and middle fingers. The crochet hook should be held with the thumb and index finger and rest on the third finger underneath.
- Knife grip: With the knife grip, the hook is still held with the thumb and index finger, but with the palm facing the hook (similar to holding a knife). Gently wrap the rest of the fingers around the handle of the crochet hook to keep a good grip.
There are a few different ways to hold the yarn; we’ll describe a beginner-friendly way. When crocheting, the working side of the yarn should loop around the pinky finger, continuing under the ring and middle finger, and rest on top of the index finger.
1. Chain Stitch

The chain stitch is used to make a starting chain, the foundation to many crochet projects. Start by using a slip knot to attach the yarn to the hook. “Yarn over” by wrapping the working yarn around the hook from back to front. This can be done by using the yarn-holding hand to loop the yarn around the hook, or by moving the right hand to move the hook under the working yarn. Yarning over is a basic motion used in many crochet stitches.
The working yarn should now sit in the mouth of the hook. To help it “catch”, rotate the hook hand slightly inwards to make sure the yarn is snug in the hook. Pull the hook (with the working end of the yarn in the hook mouth) through the slip knot loop. This is the first chain stitch.
Continue this process of yarning over the hook and pulling through the loop until the desired number of chain stitches is reached.
2. Single Crochet
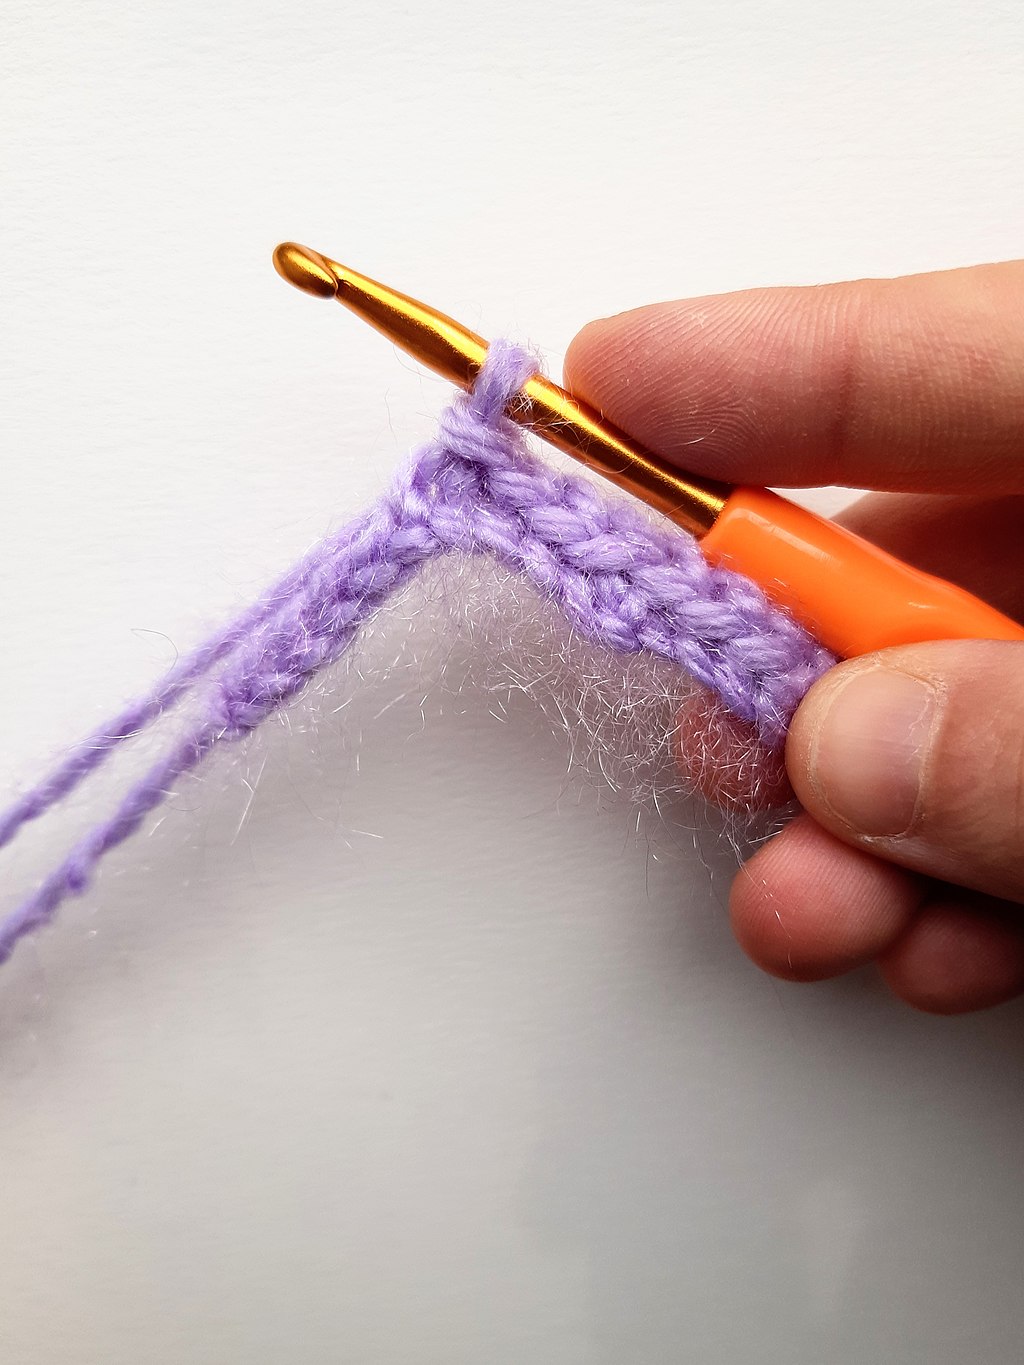
Single crochet is one of the most basic crochet stitches and because other stitches build on this one, it’s the ideal first stitch to learn. Single crocheting creates a tight, shorter stitch compared to half double, double, and treble crochet (the next stitches on this list).
To single crochet into a starting chain, insert the hook into the second loop from the hook. Grab the working yarn with the hook (“yarn over”) and pull through the loop. There should now be two loops on the hook. Yarn over again, bringing the working yarn from back to front around the hook, and use the hook to pull the yarn through both loops. This completes one single crochet stitch. To create a row of single crochet stitches, repeat this process across the starting chain.
When crocheting a second row and beyond, a “turning chain” has to take place before each new row. The turning chain helps to start the row at a suitable height for the upcoming stitches. The easiest way to complete a turning chain is by using a chain stitch. When single crocheting, do one chain stitch as the turning chain.
To single crochet a new row, insert the hook into the closest single crochet stitch to the hook (the stitch just after the turning chain). When viewed from the top, each single, half double, double, treble, and slip stitch should look like a sideways “V”. When working the stitches in this guide, always insert the hook from front to back, and make sure to insert it under both strands of the “V”. Repeat the single crochet steps above along the rest of the row.
3. Half Double Crochet

Half double crochet stitches are a bit taller than single crochet stitches, halfway between single and double crochet. The process is very similar to a single crochet, just with an extra yarn over at the start of the stitch.
When starting a row of half double crochet, make sure to insert the hook into the correct stitch. When working into a starting chain, this means the third loop from the hook. When stitching a new row, start with two chain stitches as the turning chain, and insert the stitch into the closest stitch to the hook. This stitch will be after the two turning chains, and once again, will look like a “V” from the top view.
To complete a half double crochet stitch, start with yarning over, bringing the working yarn from back to front around the hook. Insert the hook into the next stitch. Yarn over and pull through the loop. There should now be three loops on the hook. Yarn over again, and pull the working yarn through all three loops. This completes one half double crochet stitch. Repeat the stitch until the end of the row.
4. Double Crochet
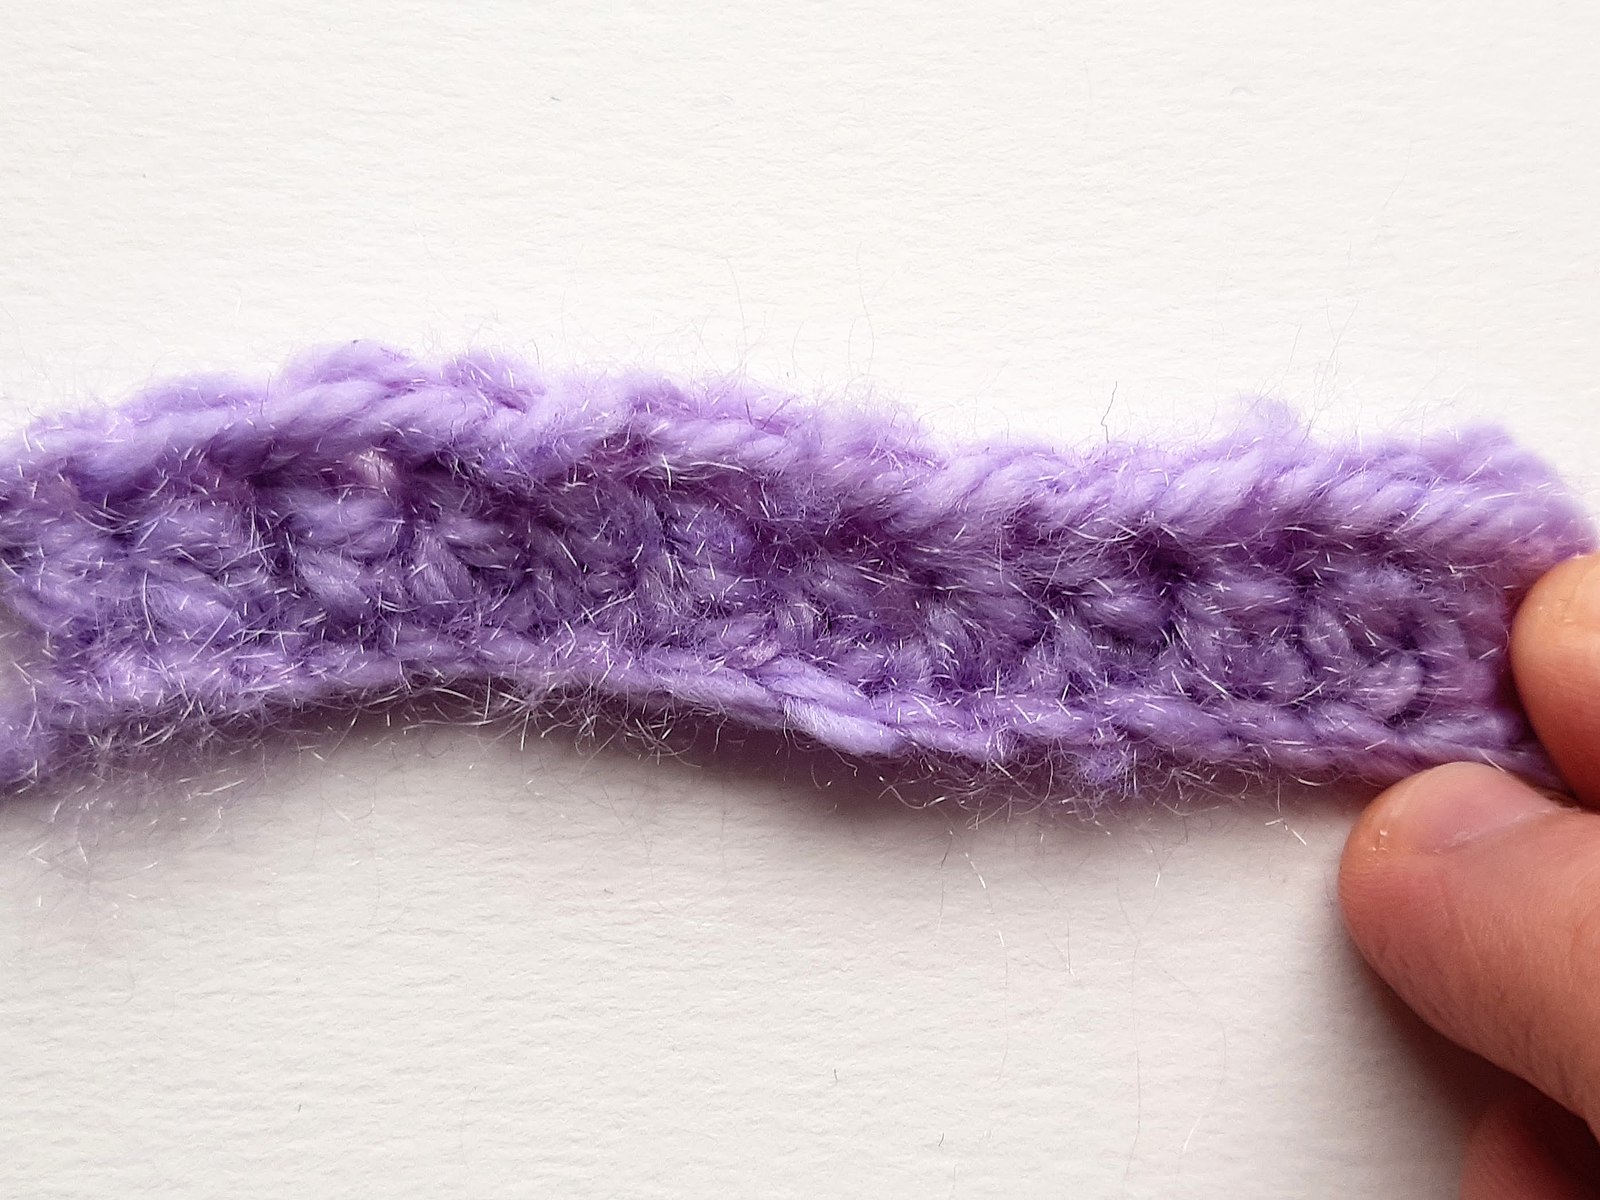
Double crochet stitches are taller than single or half double crochet stitches, but shorter than treble crochet stitches. Once again, the process is similar, but the double crochet adds yet another yarn over step.
To double crochet into a starting chain, insert the hook into the fourth loop from the hook. When double crocheting a new row, starting the row with three chain stitches as the turning chain.
Like the half double crochet stitch, double crochet stitches start with a yarn over. Yarn over and insert the hook into the next stitch. Yarn over and pull through the loop. There should now be three loops on the hook. Yarn over and pull through the first two loops. Yarn over one last time and pull the hook through the remaining two loops. This completes one double crochet stitch. Repeat until the end of the row.
5. Treble Crochet
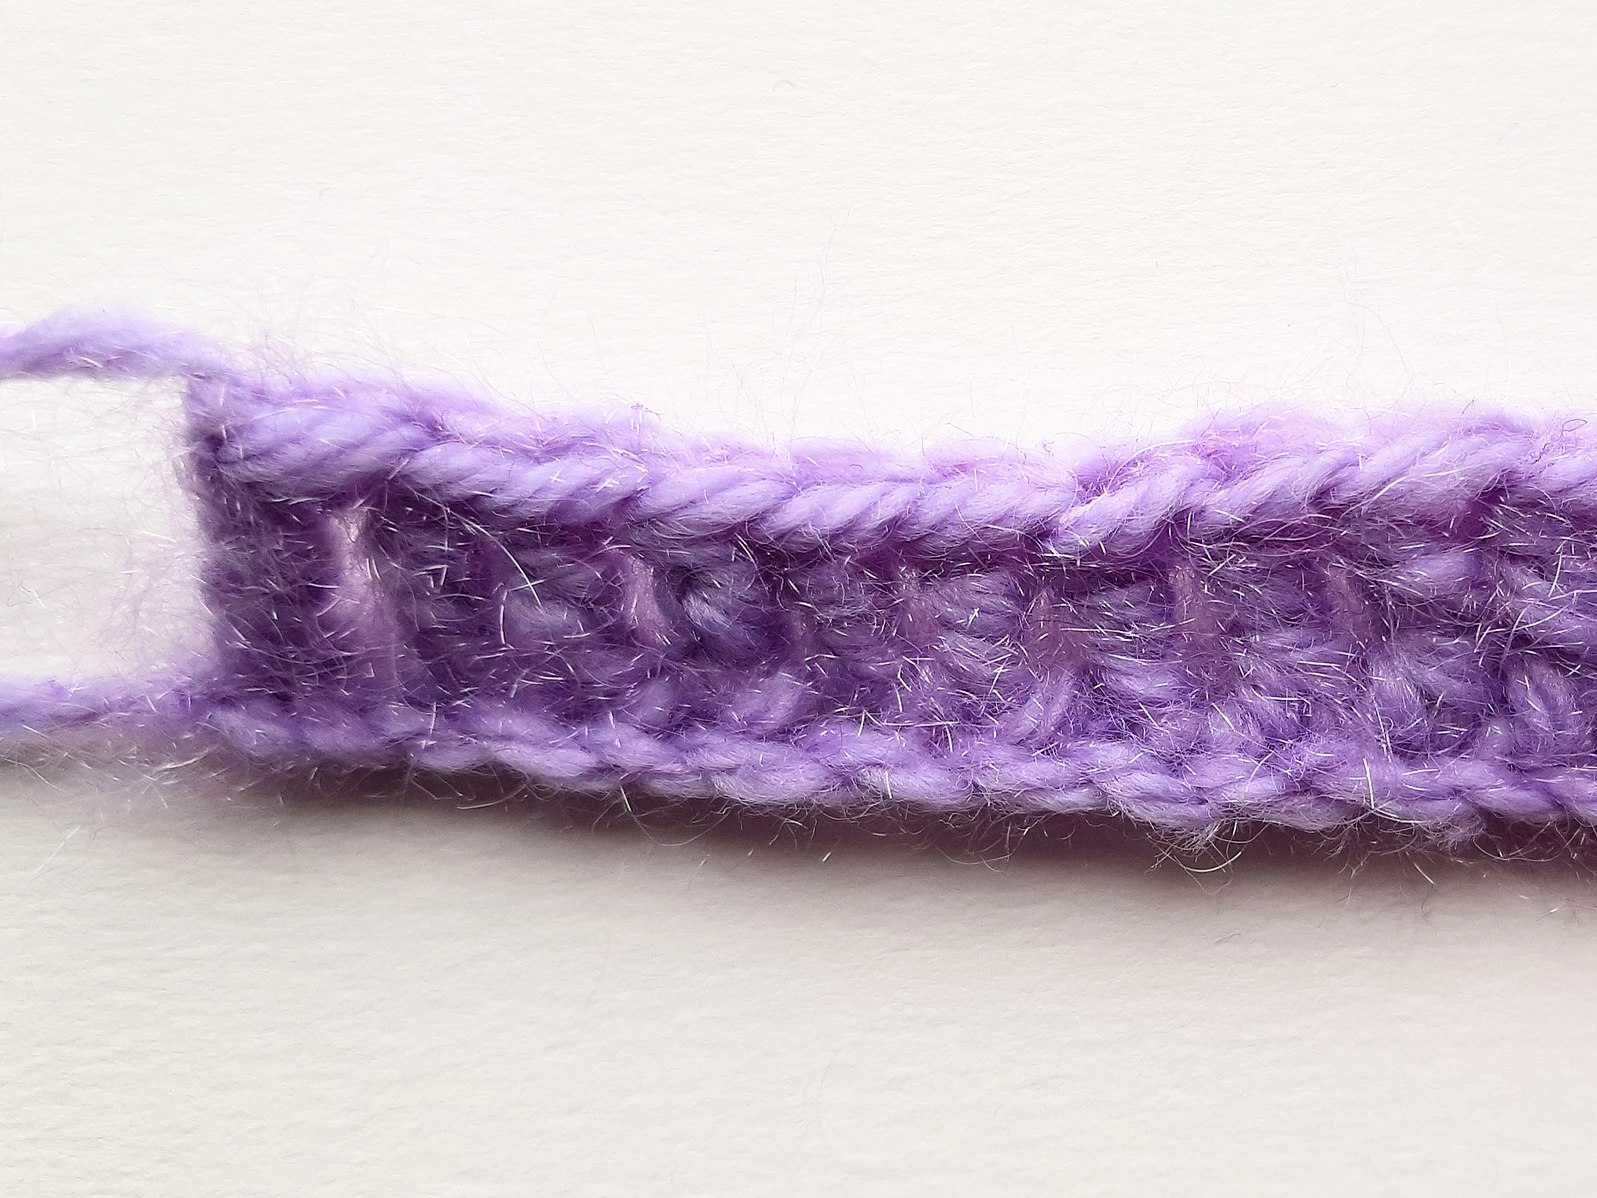
The treble crochet is the next step up from the double crochet, adding even more height (and an extra yarn over). When treble crocheting into a starting chain, insert the hook into the fifth chain from the hook. For treble crocheting a new row, create a turning chain using four chain stitches.
To start a treble crochet stitch, yarn over the hook twice, then insert the hook into the next stitch. Yarn over and pull through the loop. There should now be four loops on the hook. Yarn over again and pull through the first two loops, leaving three loops on the hook. Yarn over again and pull through the first two loops again, leaving two loops on the hook. Then, yarn over one last time and pull through the remaining two loops. That’s one treble crochet!
6. Slip Stitch
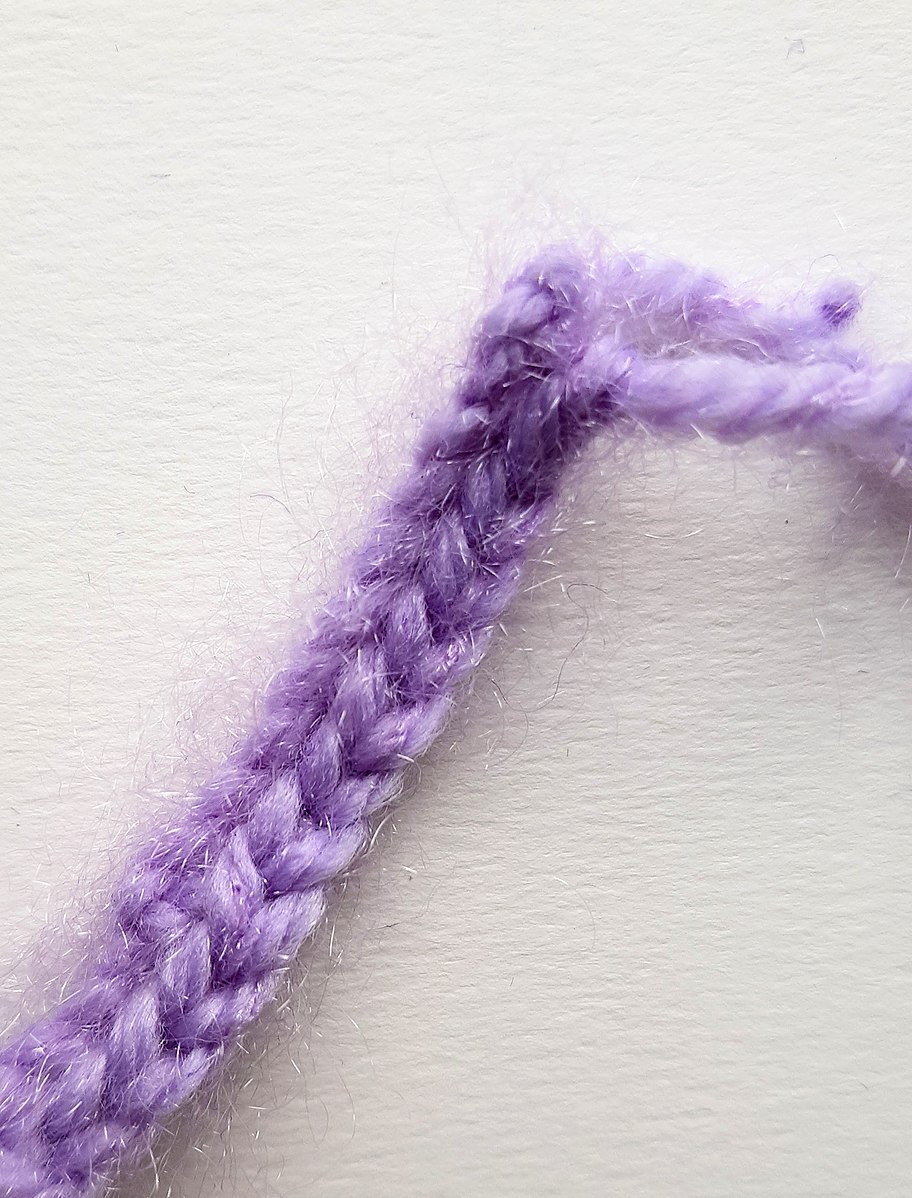
The slip stitch is an essential stitch for beginners, often used to create neat edges, join rounds, and attach pieces together. It’s simpler than most of the stitches above. It’s rare to slip stitch into a starting chain, but if a pattern calls for it, insert the hook into the second loop from the hook. To start a new row of slip stitches, use a turning chain of one chain stitch.
To slip stitch, insert the hook into the next stitch and yarn over. There should now be two loops on the hook. Pull through both loops, and that’s one slip stitch. Continue this process as per the pattern directions.
RELATED: The 30 Best Craft Kits for Adults
FAQ About Crocheting
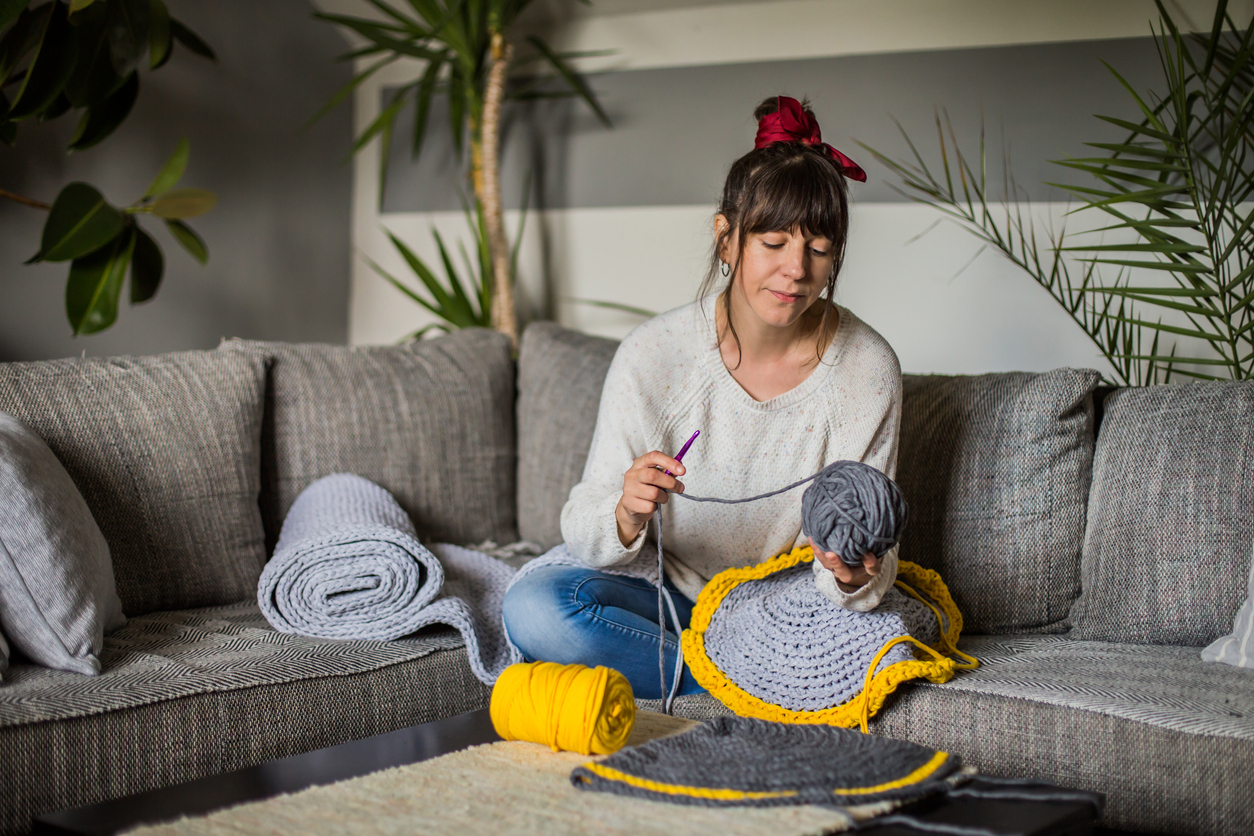
Learning how to crochet can feel daunting, but with a bit of patience and these simple crochet stitches for beginners, you’ll be well on your way to finishing your first project. We’ve compiled a few frequently asked questions for new crocheters.
Q. How do you read a crochet pattern?
Crochet patterns are read from left to right, using abbreviations to denote stitches and other crochet terms. There is a bit of a learning curve to understanding crochet patterns. The best place to start is by reading a guide on how to read crochet patterns.
Q. What is the easiest thing to crochet for a beginner?
Any flat square or rectangular object is an excellent first introduction to crocheting for beginners, for example a simple coaster, pot holder, dish cloth, or scarf. These projects allow you to practice crochet stitches in easy rows.
Q. Can I learn to crochet in one day?
Absolutely; many of these basic stitches can be learned in one day. While mastering the art of crochet takes time, the basics are easy to pick up, so it’s a rewarding hobby for many.
Q. Is it easier to knit or crochet?
Both are pretty easy to learn, but some crafters find crocheting more straightforward. It can be easier to keep track of the process when crocheting, since it only uses one hook rather than two knitting needles.
Q. Is crochet a cheap hobby?
Yes, crocheting can be a cheap hobby. It requires only a few supplies, and there are plenty of craft stores that sell cheap crochet hooks and yarn. Those who want to spend a little more can splurge on luxurious yarns and nicer hooks.

