We may earn revenue from the products available on this page and participate in affiliate programs. Learn More ›
Beyond its well-earned prominence in the plumbing department, copper piping is having its moment in the DIY world as an “it” accent. With its rich color, sheen, and potential for patina, this metal brings character to any project and looks great in everything from table legs to lighting fixtures. No matter how you intend to use this classic material, success with copper pipe starts with knowing how to cut it. It’s dead simple! As with most jobs around the home, how hard you’ll have to work will depend on your choice of tools.
Tools & Materials
Bobvila.com may earn a commission from purchases made through these links.
1. With a Pipe Cutter
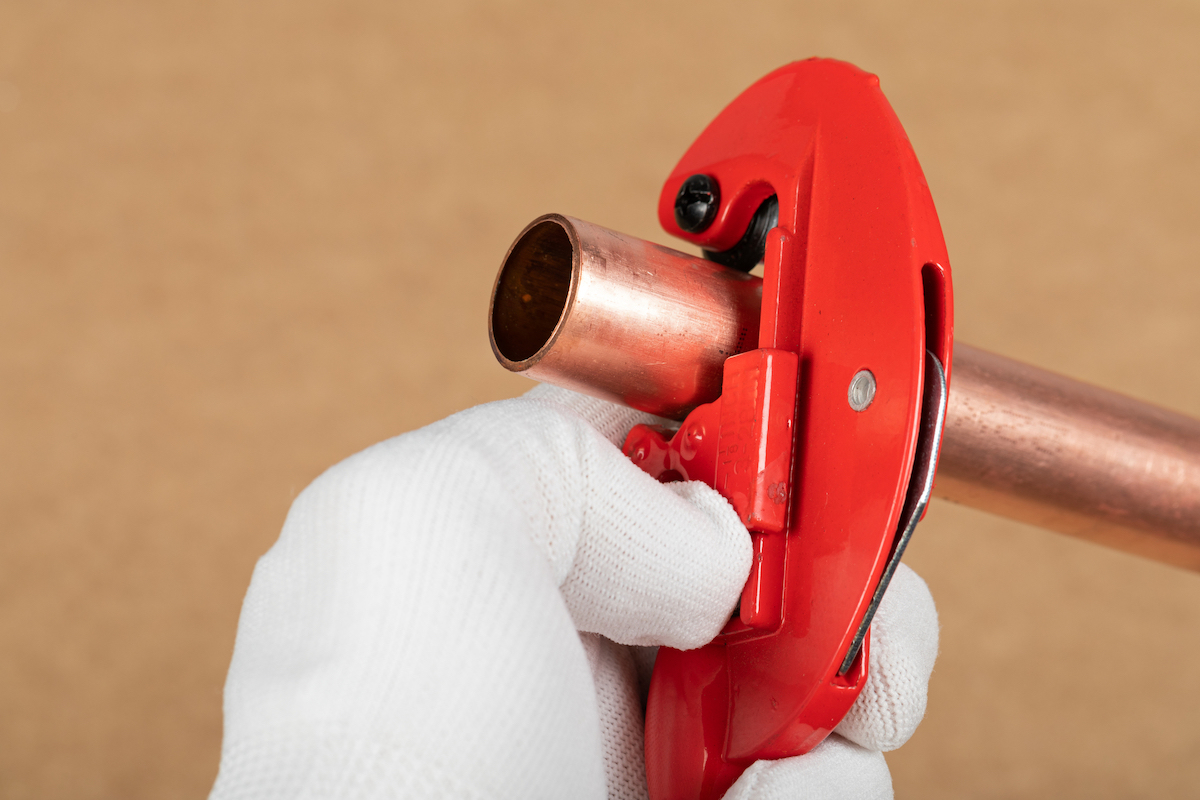
Cutting copper pipe with a tool built expressly for that purpose—a pipe cutter—is an easy, exact, and complication-free process. One caveat: Pipe cutters are recommended primarily for pipes of larger diameters. For small-diameter copper pipe, which can be soft and pinchable, stick to the pipe slice method described later.
- Position your copper pipe in the pipe cutter and tighten the blade just enough so it is snug—any tighter and you may bend the pipe.
- Once it’s snug, give your pipe a couple of turns within the tool’s grasp. Pull out the pipe to inspect it, and you should see a groove cut around its circumference.
- Slide the pipe through the pipe cutter so the groove aligns with the blade, and tighten it once more until it’s just snug.
- Twist until your pipe is cut.
When you’re done, use the pipe cutter’s built-in burr removal tool to shave any burrs or raised lips left on the inside of the pipe, as those would inhibit smooth water passage. No burr remover on your pipe cutter? A round file worked around the interior of the pipe will do the trick.
2. With an Autocut Pipe Slice
Though you have to purchase a pipe slice tailored to the diameter of your pipe (even multiple slices, if you plan to cut pipes of different dimensions), this is ultimately the best tool to use when you’re working with thinner copper pipes of diameters of ¼ inch or so. A pipe slice will get the job done without pinching or complications, even more easily than the pipe cutter.
The pipe slice’s blade is spring-loaded; slip it around your pipe, and it automatically determines how much to tighten for a clean cut so all you’ll need to concentrate on is twisting the pipe within its grip. Once the pipe has been cut through, use a round file to remove any burrs left behind.
3. With a Hacksaw
Attempt this method only if you’re working on a non-plumbing project, or you are trapped in your home and cannot pick up another tool from the store. Though a hacksaw will cut through the copper pipe, it’s difficult to hold the pipe firmly enough to get a clean cut with a hacksaw, no matter how strong you are.
In plumbing, if the pipe is affixed to other plumbing when you’re sawing, the excess movement can result in future joint failure. If you’re not working on plumbing, a little movement is not so much of a problem, but it’s undeniably grunt work. Brace the pipe securely and saw it as you would anything else. Before putting a hand-sawn pipe in a plumbing fixture, use a round file to smooth the pipe interior. If you don’t already have a hacksaw, our tested guide to the best hacksaws has some terrific options.
Finishing Touches
Depending on the type of project you’re working on, you’ll want to follow cutting copper pipe with a crucial next step:
- For plumbing projects, you must always end with the removal of burrs or any raised edges inside the pipe. If not removed, those burrs could cause water flowing through the pipes to swish, creating loud noises as water travels through the pipes. As well, rough interior edges could lead to pipe pitting and corrosion that could one day turn into pinhole leaks. Take the time to sand down the rough edges now, however, and your pipes will function smoothly for years to come.
- Although much less important for most plumbing jobs, copper tubing that’s part of a DIY home accent may need a cleaning after cuts have been made. If you forgot to don gloves before beginning your copper project, you’ll probably find that your fingerprints stained the metal surface. Fortunately, cleaning copper is simple: Put a coat of ketchup (yes, really!) or Heinz A1 Steak Sauce over the pipe, leave it for a minute, and wipe it off with a dry cloth or paper towel. The condiments’ acidic quality will take the tarnish right off. Buff the pipe with a clean microfiber cloth, then rinse, dry, and admire your shiny new copper accent.

