
We may earn revenue from the products available on this page and participate in affiliate programs. Learn More ›
The other day my roommate came home from IKEA with a pack of 100 tea lights. One hundred. To be fair, my roommate also buys decorative fruit, uses lavender sprigs to scent her room, and arranges sunflowers in her spare time, so it’s safe to assume that she’s a candle person. But still, 100 seemed a little excessive. Nobody in this apartment had the need for that much romantic ambiance. When she told me the candles had only cost only $3.99, however, it all made sense—only a monster could turn down that kind of deal!
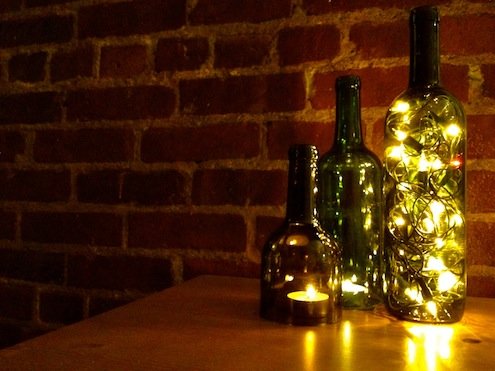
In minutes, we’d crafted a plan for our newfound candle bounty. Having discovered that the wine store down the street has free delivery (no, I’m not kidding, and yes, that does sound illegal), our apartment consequently accumulated what some might call “a few” empty bottles. And ever since my Wine Bottle Lantern DIY, I’ve been full of vin-spiration. And so I give you: classy candle covers.
But… how to cut wine bottles with little to no proper glass-cutting equipment? Simple. With science!
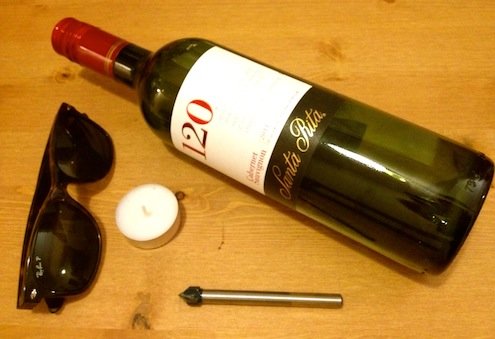
SUPPLIES
• Something to score the glass. I’ve seen people on the internet using scoring tools that create a perfectly straight and beautiful line, but I can’t justify shelling out $40 when I’m doing DIY projects to save money. So I just used my glass drill bit and hoped for the best.
• Wine bottle
• Candle
• Safety glasses, sunglasses, or other eye protection
Note: You’ll have to prep by removing the labels from the bottle. Soak it in soapy, warm water for at least 20 minutes, then scrape off what you can. Repeat until you get it all off, using a razor to get the most stubborn scraps.
Before You Begin
Glass is a poor conductor of heat, meaning it takes a very long time for the heat to pass through the glass. And if you remember from middle school that heat makes things expand and cold makes things contract, you might see where this is going.
If you were to warm up metal and then rapidly cool it, it would expand and then contract without a problem, because it is a great conductor of heat. Glass, on the other hand, can’t handle the change so quickly. If you heat glass so it is hot all the way through and then immediately expose it to cooler temperatures, the exterior of the glass will try to contract while the interior, still warm, will not. And snap—the glass will crack.
That’s why if you take a glass baking dish out of the oven and put it under cold water, it will break. So, you know, don’t do that. Instead, harness science to work for you when learning how to cut glass bottles!
How to Cut Wine Bottles
Step 1: Score the glass.
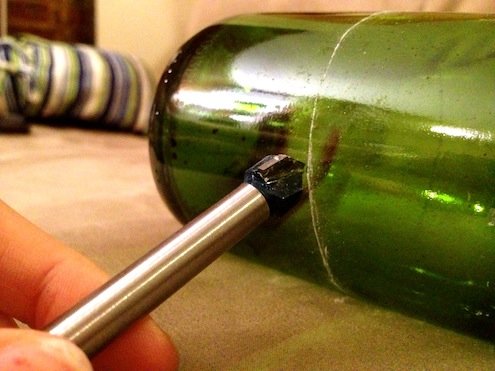
When the glass is breaking later on, the energy inside the bottle will look to crack at the weakest point, hence the scoring. As I said, I don’t have many professional tools for cutting glass. Having a scoring tool would have been useful, but I’m cheap. So I just crossed my fingers and hoped to keep a steady hand, as I scratched a circle around the circumference of the bottle with my glass drill bit.

Tried-and-True Advice
“I’ve used the same method, but the opposite end of the bottle than Kristina, to make bottle neck slides for guitar players.
Keeping the cut line as steady as possible is the key to a smooth break. I have a Dremel, which helps, but I still go real slow and careful. Then I use a candle, just the same, but when it’s good and hot I dunk the bottle in a bucket of ice water.
The slide is going to be used on fingers. So getting rid of those sharp edges is important. I don’t take the sandpaper to the bottle—I put a piece of sandpaper flat on the bench then rub the bottle against it. To smooth down the inside, I wrap a piece of sandpaper around a pencil or a dowel.”
—Bob Beacham, Contributing Writer
Step 2: Heat the bottle.
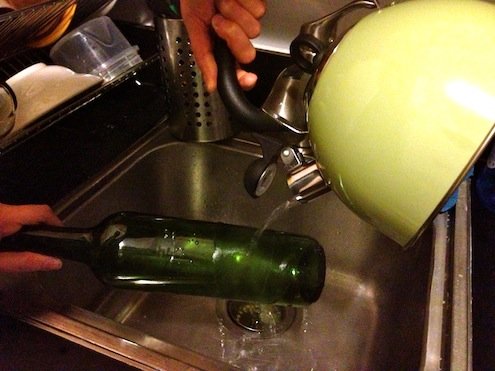
There are a few methods. This semi-famous YouTube video advises pouring boiling water over the bottle, but that didn’t work for me when I tried it.
Perhaps I didn’t have enough water to thoroughly heat the glass all the through.
Another method is to use a candle: Rotating the glass slowly over the candle, making sure to concentrate the flame on the line I had scored, I heated up my bottle for around 10 minutes.
Step 3: Cool down the bottle.
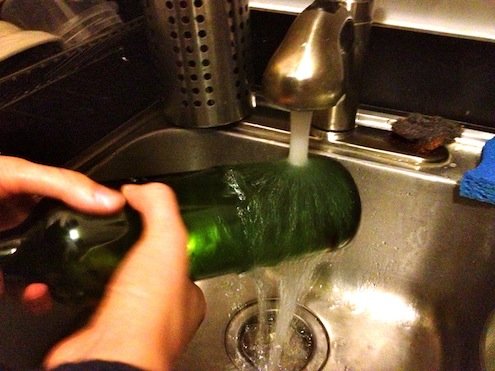
After 7 to 10 minutes, I blew out the candle and held the bottle under a stream of cold water, rotating it the whole time. Soon I heard cracking, like the popping noise you hear when you drop ice cubes in water or pour milk into a bowl of Rice Krispies.
Step 4: Pull the halves apart.
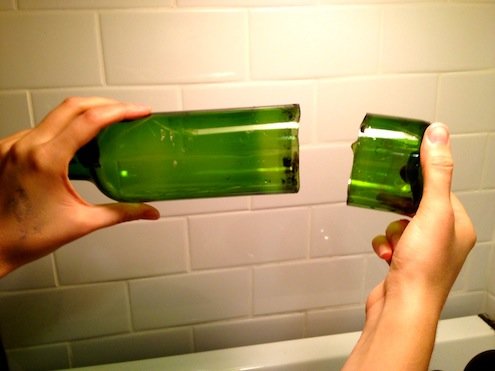
Now the bottle is in two pieces in your hands. (Surely this is proof that I’m some sort of wizard!) On my first bottle, the edges were a little jagged. The second try went much smoother, except for an unexpected notch in the back… but let’s just go ahead and ignore that.
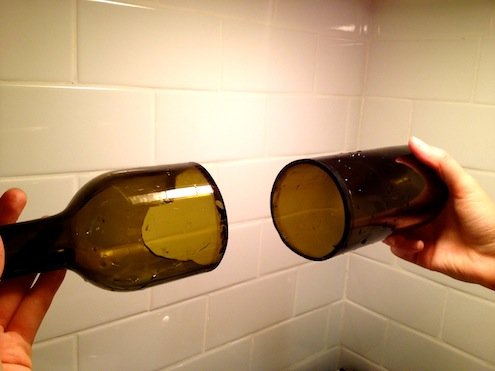
A few more attempts to figure out what worked best for me, et voila:
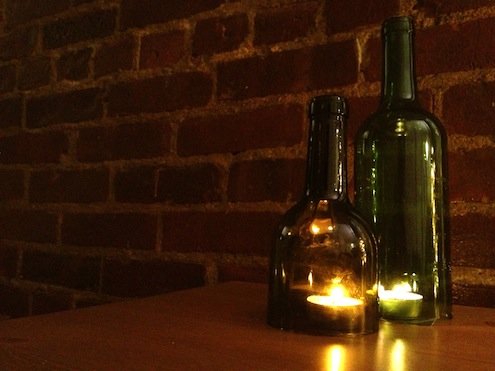
Gorgeous: DIY candle covers.
If you have the tools, I’d recommend sanding down any notches or jagged edges just to be safe. And then you’re all set to wow your friends with your sophisticated new accessories. When everyone asks how to cut wine bottles, you can casually answer, “Oh, you know, thermodynamics”, and you won’t even be lying. Science sure can be classy nowadays.
