We may earn revenue from the products available on this page and participate in affiliate programs. Learn More ›
If you’re one of those people whose morning routine is just not complete without a comforting cup of tea (and maybe a few more cuppas throughout the day), you may have noticed a white substance building up inside your tea kettle. These hard calcium deposits are known as limescale, and they form in both electric and stovetop kettles when hot water evaporates and leaves solid minerals behind. Limescale is unsightly, can make your tea taste unsavory and, if it’s neglected too long, can shorten the life of your tea kettle. While you can certainly use commercial products to descale your kettle, everyday acids are equally effective and are usually more affordable.
Why is it important to descale a kettle?
There are a few reasons it’s important to descale your kettle regularly. While drinking the deposits from your kettle will not harm you, it is nevertheless unsettling to see white bits floating in your tea. Limescale buildup can damage your kettle over time by weakening the parts the lime is attached to. It also affects your kettle’s performance, making it run less efficiently because limescale buildup requires more energy for the water to come to a boil.
Any kettle will get limescale buildup eventually, but certain factors—like how hard your water is—impact how much buildup you get and how quickly you get it.
Kettle descaling should be done about once a month, but if you live in an area with hard water, it is a good idea to do it more often. If you do not use your kettle regularly, you can likely get by only descaling once every two to three months. Keep reading to find out how to get rid of limescale, and how to clean your kettle with vinegar.
Before You Begin
Cleaning an electric kettle or stovetop kettle on the outside is important to make sure all the limescale is removed, because limescale can also build up on the spout and anywhere else on the kettle water may have spilled and left behind calculus residue.
In order to remove exterior grime or grease, gently wipe the sides and base of the kettle using a soft sponge saturated with water and dish soap. Because copper and stainless steel kettles tend to scratch easily, use only nonabrasive sponges or cloths to remove caked-on residue. Avoid wire brushes or scouring pads that can damage or discolor the kettle. Dry the kettle with a soft cloth.
When you’re descaling an electric kettle, avoid exposing the electrical components to water. Never immerse an electric kettle in water. If your electric kettle is equipped with a built-in water filter, don’t forget to clean grime from the filter itself. Remove the filter according to the manufacturer’s instructions, and then rinse it under hot water. Gently wipe the filter with a soft cloth before drying and pressing it back into place.
Tools & Materials
Bobvila.com may earn a commission from purchases made through these links.
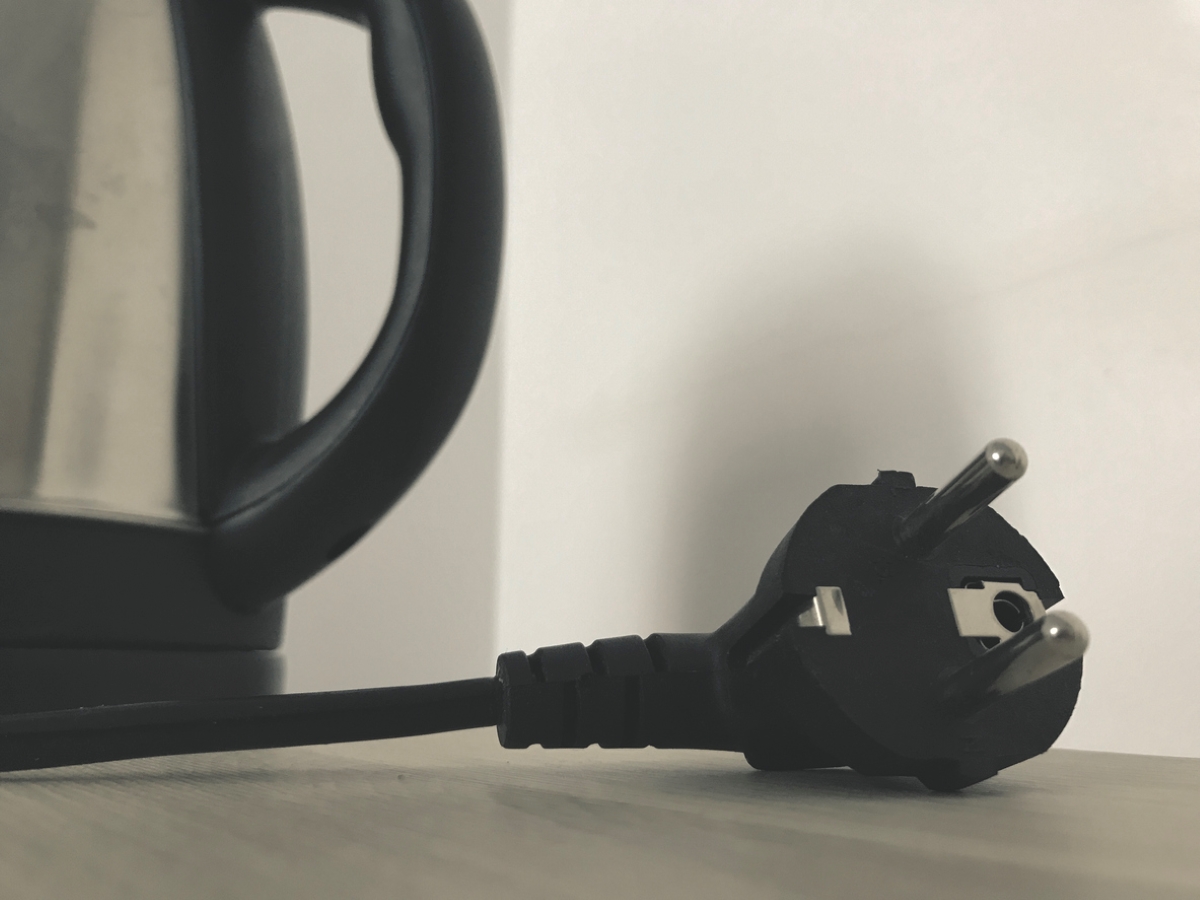
STEP 1: Unplug the kettle.

Safety comes first. Before descaling, unplug an electric kettle or turn off the heating element under a stovetop model. When the kettle is cool to the touch, discard any leftover liquid inside, remove the lid, and rinse the interior with cold water.
STEP 2: Fill the kettle with vinegar and water.

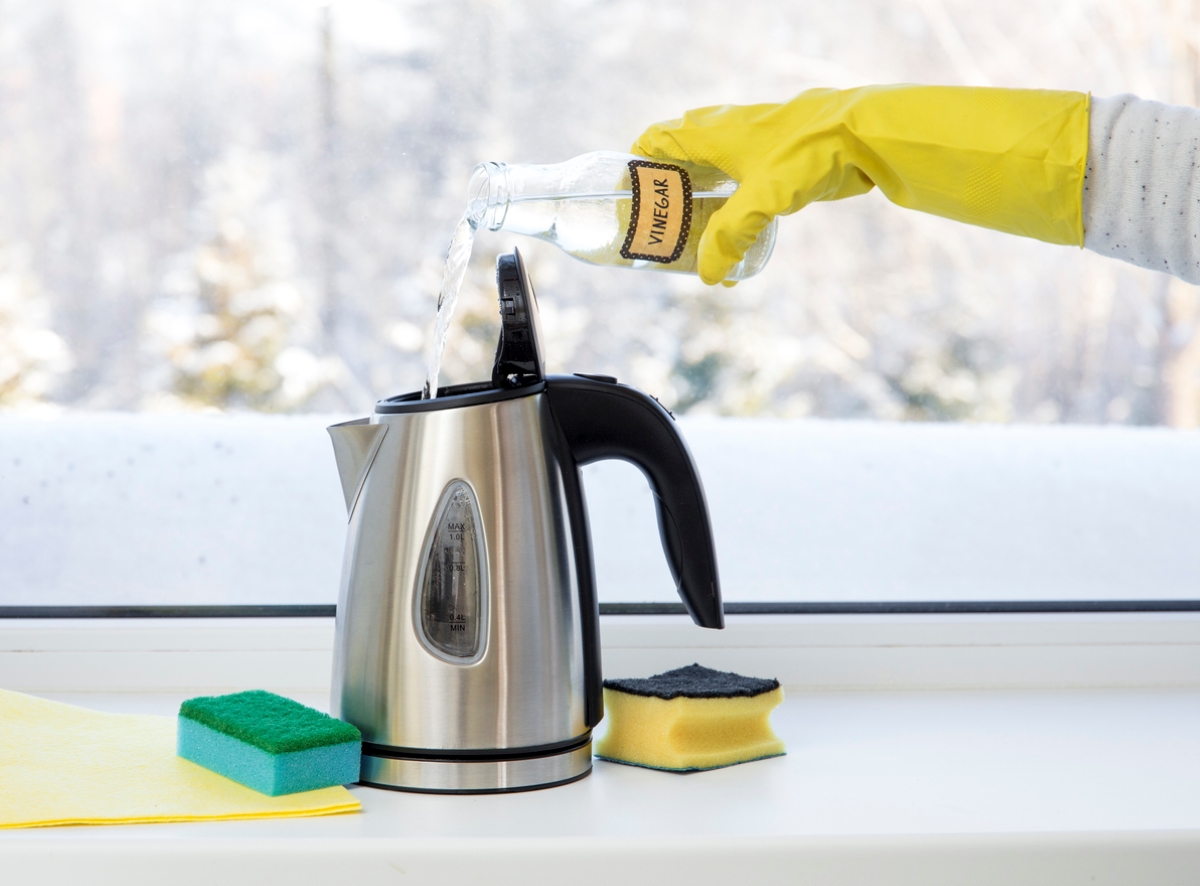
When it comes to how to clean an electric kettle inside, start by filling the kettle halfway with a solution of equal parts cold water and white vinegar, which is a natural descaling agent. Citric acid can also break down limescale; just fill the kettle with the juice of one fresh lemon or lime topped with enough cold water to reach the halfway point of the kettle.
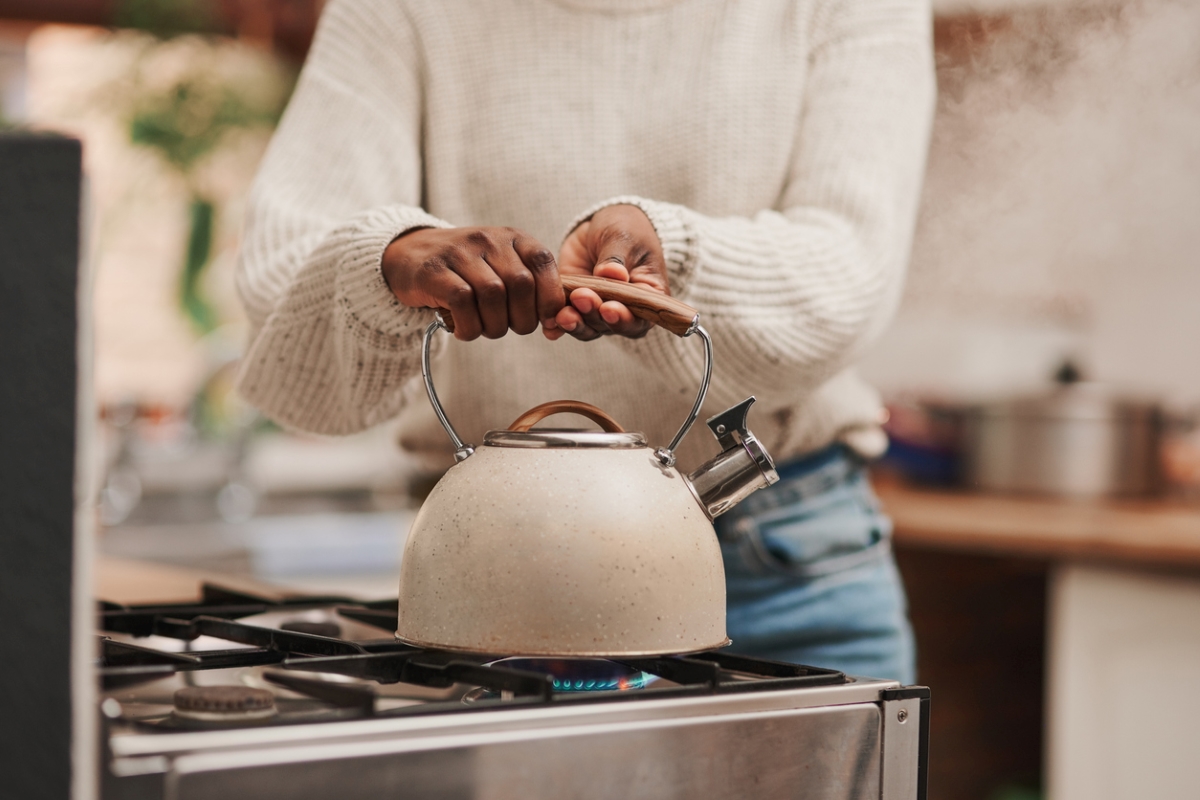
Turn on the stove burner, or plug in your electric kettle, and bring the solution to a boil as the next step in how to clean a hot water kettle. Once the water is boiling, turn off the heat. (If your electric kettle has an automatic switch-off feature, let it turn off on its own.) Allow the vinegar-water (or citrus) solution to sit in the kettle for 30 minutes to an hour.
Pro tip: While either diluted vinegar or lemon is gentle enough for most kettles, you should reference the manufacturer’s instructions to avoid exposing your kettle to liquids that could damage your particular model. If you’re unsure how your kettle will react to an acid, test a drop of the solution on an inconspicuous area before proceeding with the full soak.
STEP 3: Rinse the kettle.

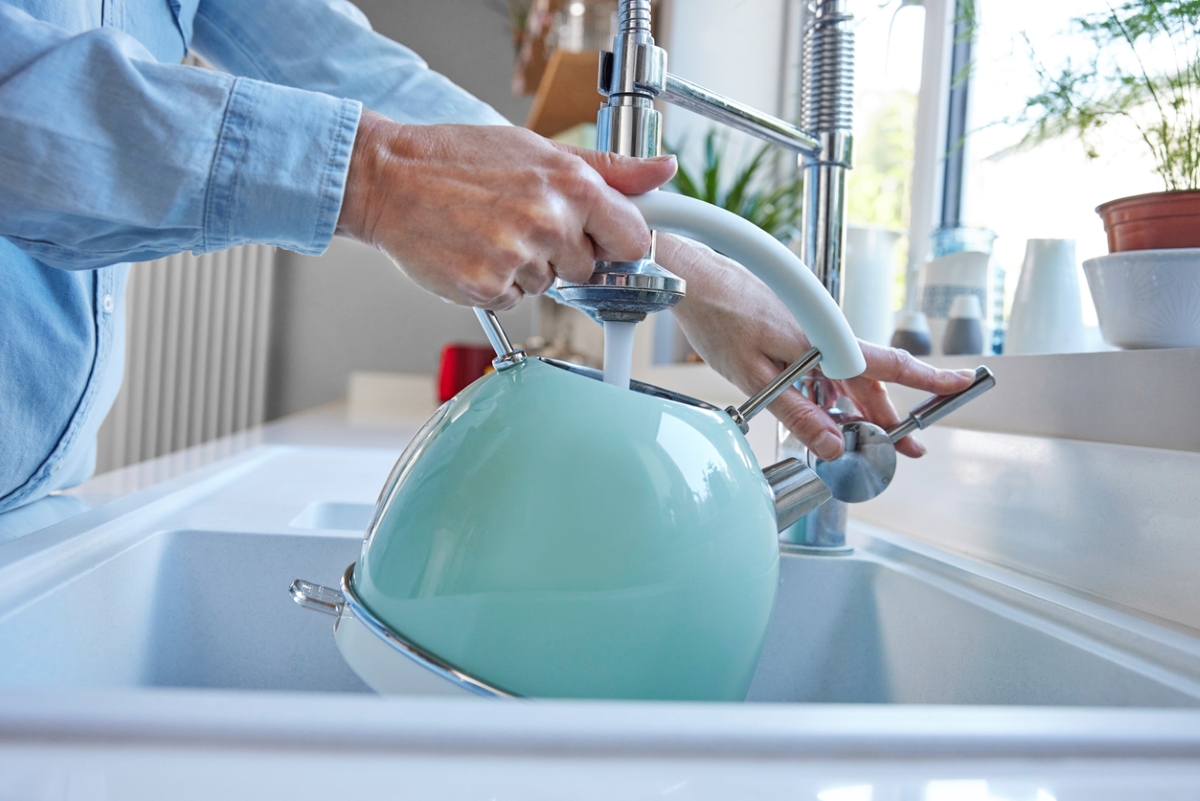
With the decalcifying stage complete, you can now pour out the vinegar-and-water solution. When the kettle is empty, remove the lid and rinse the interior under cold water. Any lingering limescale can be wiped away with a clean, damp cloth. Because the acetic acid in vinegar is powerful enough to dissolve limescale, vigorous scrubbing is neither needed nor recommended.
STEP 4: Deodorize the kettle.

To prevent any vinegary aftertaste from seeping into future cups of tea, fill the kettle halfway with cold water. Turn on the stove or plug in the electric kettle, and boil the water in the kettle to deodorize it. When the odor is gone, discard the water and air-dry the kettle before its next use.
Repeat this routine to descale the kettle every month or so, depending on how often you use your kettle, and you’ll keep contaminants at bay—and your beverages fresh and flavorful.
Alternative Ways to Descale a Kettle
If you have a fairly small amount of limescale buildup, try using the baking soda method to remove it. Fill the kettle about ¾ full of water and add a heaping tablespoon of baking soda. Turn the kettle on, bring it to a boil, then turn the kettle off and let it sit for an hour. Pour out the water and rinse. Then refill and boil the kettle again to remove any baking soda remnants. Empty and rinse the kettle, and it should be good to go.
Wondering how to descale a kettle effectively by using a store-bought formula? There are commercial kettle descalers out on the market, but it’s worth noting that they may contain ingredients that aren’t natural and aren’t particularly healthy to ingest. If you use one of these products, it’s a good idea to rinse the kettle thoroughly afterward. Usage instructions vary by product, but if you follow the directions on the label you should be able to get your kettle back into fine form quickly.
How to Prevent Limescale Buildup in a Kettle
If descaling your kettle sounds like a lot of work, preventing or slowing limescale buildup in the first place can make this chore a bit easier. Here are a few tips to prevent limescale buildup in a kettle:
- Do not leave water in the kettle after use
- Rinse and dry the kettle after each use
- Consider investing in a limescale catcher, a metal ring you place inside the kettle to absorb minerals from the water
- Use only filtered water in your kettle
- Invest in a water softener
Final Thoughts
White flakes in your tea, coffee, or cocoa can be unappealing, and descaling your kettle every month or so should prevent this from happening. Though it likely won’t impact your health to consume these hard calcium deposits, the efficiency and lifespan of your kettle is at risk if you allow limescale to build up. Descaling your kettle takes minimal time and effort, making it a quick chore to check off your to-do list.

