We may earn revenue from the products available on this page and participate in affiliate programs. Learn More ›
Marian Parsons—mother, wife, and creative soul—was crushing on hand-painted antique European furniture. She coveted the timeworn look but couldn’t rationalize the price or preciousness, especially with two active little boys in the house. Parsons had no choice but to replicate the look herself. She studied antiques, consulted an assortment of how-to books, and played around with paint and such, eventually honing her refinishing skills and garnering much fanfare. She took to blogging about her crafty escapades under the name Miss Mustard Seed, along the way creating a hot business and brand as she transformed furnishings into exquisite reinterpretations of their former selves. Here, Parsons discusses the differences between antiquing and distressing furniture, and gives tips on how to arrive at a new finish that looks old.

Antiquing vs. Distressing
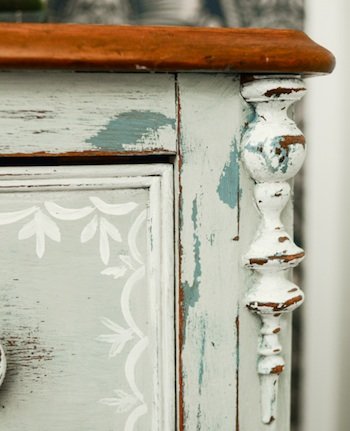
Antiquing and distressing are both used to simulate age and they’re often used in conjunction, but they are distinctly different painting techniques. When antiquing furniture, you add layers of paint and stain to achieve a grunge patina, whereas when you distress it, you remove the finish to simulate years of wear. Parsons urges anyone who is contemplating trying these techniques to first study genuine antiques and note where the paint has worn away or become distressed from handling and where the finish has become dark and antiqued from the accumulation of dirt over the years.
Choosing a Piece
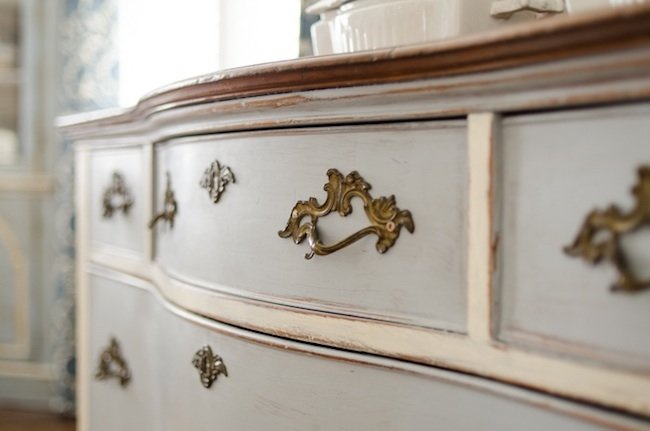
When choosing a piece to refinish, Parsons considers style, price, and condition. She is drawn to the Empire, American Farmhouse, and French Provincial styles, and she looks for solid wood furniture with details such as serpentine drawers, beading, and turned legs that give a piece character and afford opportunity to play with the painted finish. Her basic rule is, “Buy what you love, but not something that is beyond your ability to repair…unless it is so cheap you have little to lose.”
Prepped to Paint
The most important prep step is sanding, although Parsons rarely spends more than five minutes on it. “You don’t want to scratch the piece, but rather rough it up enough to help with adhesion,” she says, recommending medium-grit sandpaper, such as 100, for the job.

Create a Story
When you antique and distress furniture, you are essentially telling a fictional history. To create a piece that looks like an original, think about how it might have been used. As a general guideline, distress the high points that would frequently have been handled and bumped, and antique the low points or crevices where dust would have settled. Parsons warns, “Paint generally doesn’t wear away smack in the center of a drawer front. It wears away around the edges and handles.”
Type of Paint
Parsons has used many paint products and finds that milk paint, along with small bottles of craft store acrylic paints for decorative detailing, meets her furniture refurbishing needs. She loves that milk paint is natural, has a long shelf life, “soaks in like stain but looks like paint,” and dries matte. Parsons also likes that she can mix just the amount of milk paint needed for a particular project and can regulate the desired opacity. Milk paint, however, can be temperamental. She offers plenty of tutorials for the milk paint novice.
The Layered Look
To re-create the look of a beautiful antique that has been repainted over the years, Parsons employs a repertoire of resist methods, techniques that use Vaseline, beeswax, or hemp oil to prevent the second coat from adhering and permit the bottom layer to show through. Sanding with medium and then fine sandpaper will add to the patina.
Related: The Best Paint Brushes, Tested and Reviewed

Brush Basics
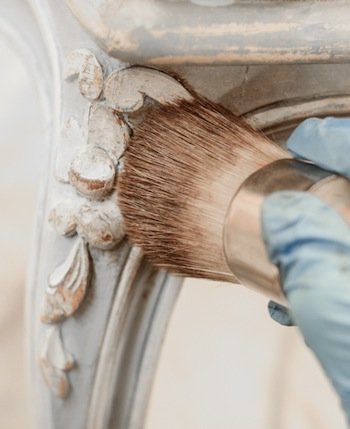
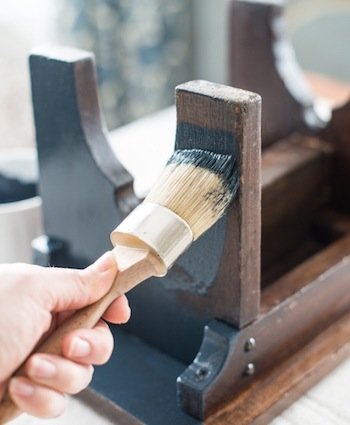
Parsons could not paint furniture without a nylon bristle Purdy 2-inch angled sash brush. The size and shape allow her to cut in neatly. For waxing she likes a big, bushy natural bristle brush that she can work into the deep carved crannies. A soft cloth is also handy for applying a wax top coat.
Finishing Touches
Wax and oil protect the painted finish. “Each time you add a top coat to milk paint, you will see a difference in the color and vitality of a piece,” says Parsons, who almost always applies one coat of hemp oil to a finished piece, adding layers for more sheen if desired. In addition, white wax (for liming), furniture wax (for butter-soft texture), and brown wax (for antiquing) deliver specific effects. As for hardware, Parsons salvages the original stuff but has no allegiance to tacky reproduction brass. Similar to the process of looking for the perfect earrings, Parsons often tries several knobs before making a decision, and when Hobby Lobby’s glass knobs are on sale, she always buys extras.

