We may earn revenue from the products available on this page and participate in affiliate programs. Learn More ›
A hardworking washing machine may stop draining mid-cycle for a number of reasons, such as a kink in the drain hose, a clog of lint or fibers there, or a rogue article of clothing stuck in the drain pump. Fortunately, these kinds of washer mishaps are fairly simple to fix. In fact, the most annoying part of the process may be figuring out how to drain a washing machine of all the water in its drum so that you can avoid a mess during repairs.
Your first impulse may be to open the door and collect as much water as possible with a bucket, then sop up the rest with towels. But the smarter approach, whether you have a top-loading or front-loading washing machine, is to siphon the water through the drain hose directly into a bucket. Ahead, the know-how you need to tackle the task quickly and neatly, without dousing yourself or the floor in the process.
Tools & Materials
Bobvila.com may earn a commission from purchases made through these links.
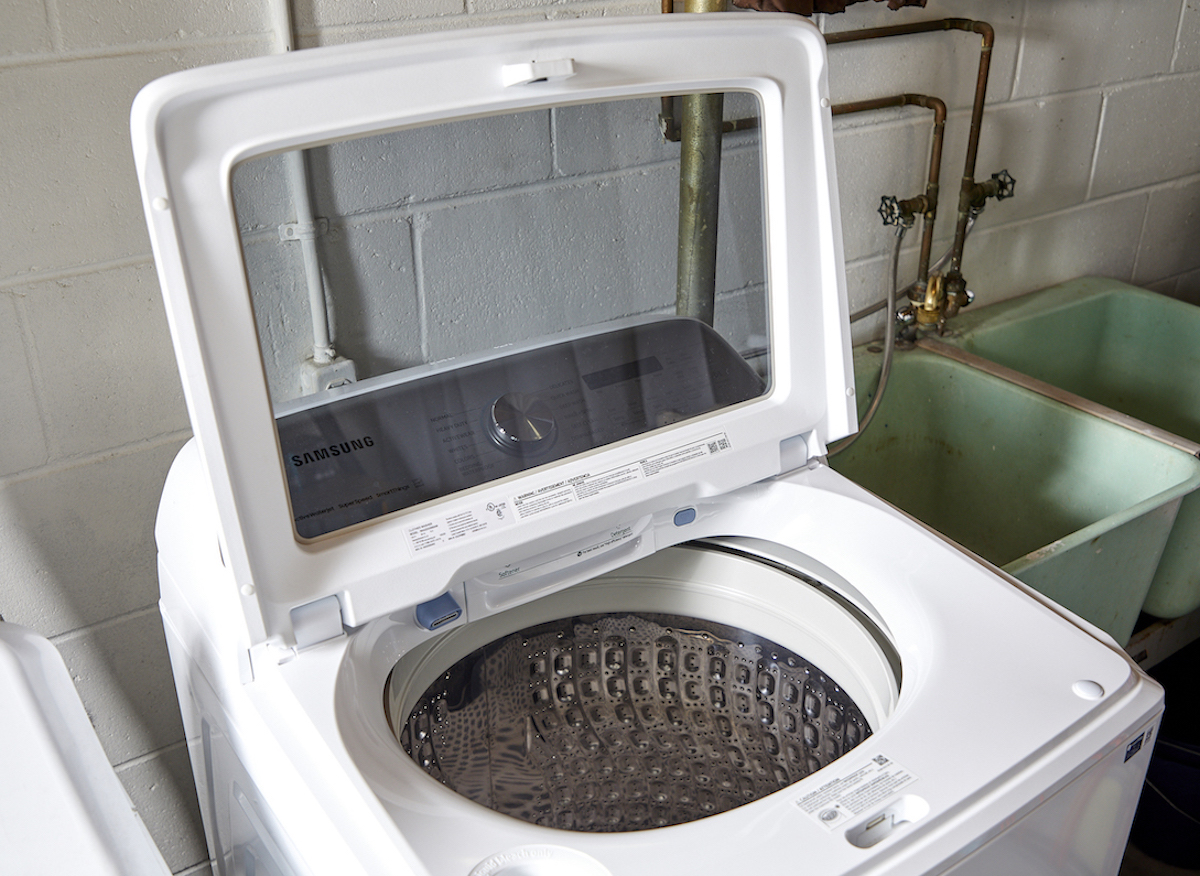
How to Drain a Top-Loading Washing Machine
Step 1: Turn off the power.
Switch the power button on the machine off, if your model has one. Unplug the washing machine from the power source. Duct tape the power cord to the top of the machine to keep it from getting wet or getting caught under the machine.
Step 2: Locate the drain hose and water supply hoses.
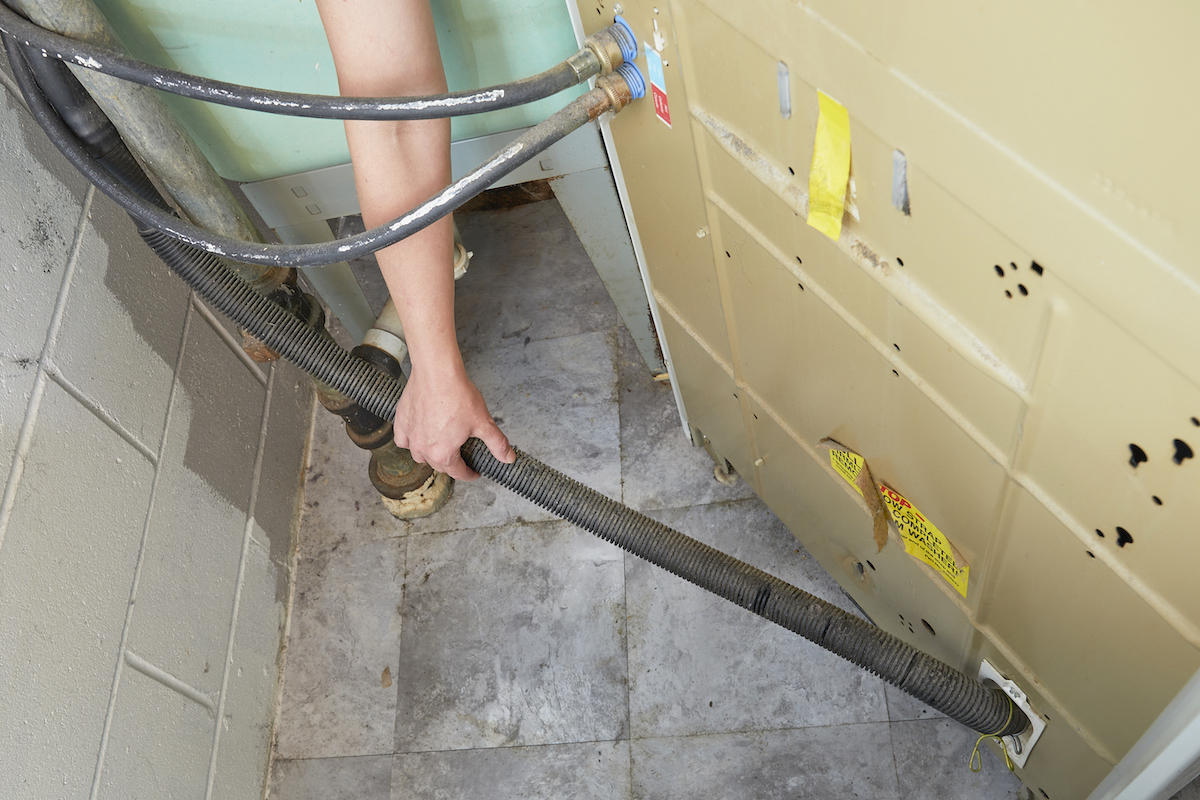
Pull the washing machine away from the wall, if necessary, to access the drain hose. The drain hose is usually found on the back of the washer (in photo above, the hose in the woman’s hand), along with two separate hoses for both cold and hot water supply (in photo above, the hoses at the top of the machine). The drain hose carries wastewater out of the machine, while the hot and cold water supply hoses bring clean water in. The hot and cold water hoses are commonly color-coded red and blue, respectively, while the drain hose is typically gray. As a precaution, turn off the water supply by turning the red and blue knobs counterclockwise.
Step 3: Drain the water from the washing machine.
Depending on how your machine is configured, the drain hose may carry water into either a standpipe, a drainpipe in the wall, or a large nearby utility sink.
With a large bucket at the ready, disconnect the drain hose from the pipe by simply wiggling it loose. Hold the hose up in the air until you’re ready to fill the bucket; once you lower the end of the hose below the water level of the water in the basin, gravity will cause the water to flow out.
If you need to pause and empty the bucket, place the disconnected end of the washing machine drain hose back into the drain pipe. Repeat this process until you completely drain the washing machine, holding the hose lower and lower to the ground as the water level in the basin decreases. You may need to utilize a shallower container like a 9-inch-by-13-inch baking dish in order to keep it as low to the ground as possible.

Tried-and-True Advice
“When I had to drain my washing machine, I found a wet/dry vacuum to be an absolute game-changer. Instead of wrestling with buckets or shallow pans, I connected the vacuum hose to the washing machine’s drain hose and let the vacuum do all the work. It sucked the water out quickly and completely, without the constant emptying and risk of spills.
One mistake I made initially was forgetting to check that the vacuum was set to ‘wet’ mode and had its filter removed. Don’t skip this step, or you’ll end up with a clogged vacuum. This method saved me so much time and frustration, especially when dealing with a large amount of standing water. Plus, it made cleaning the drain pump afterward a breeze since there was no leftover water to deal with.”
—Paul Rankin, Contributing Writer
Step 4: Remove drain hose clogs.
You may find when you lower the hose into the bucket that the water drains slowly or not at all. This likely indicates a blockage in the drain hose. Release it, using a plumbing snake. Push the tip of the coil in until you reach the blockage, turning manually with the handles on the opposite end until you get through the blockage.
Be prepared for water to flow out from the hose once you remove the clog.
Step 5: Remove drain pump clogs.
If the clog doesn’t appear to be in the drain hose, it may be hiding in the drain pump. The drain pump may be located behind removable panels in either the front or back of the washing machine, even underneath the appliance, requiring you to tip the machine forward to access it (consult your owner’s manual for instructions). You’ll see a drain hose and inlet hose connected to it with spring clamps.
Once you’ve located the pump, remove the spring clamps by squeezing them with a pair of pliers. Clear any clogs that you find–which could range from a small article of clothing or a buildup of lint or pet hair—with a pair of needle-nosed pliers. Then reattach the hoses.
How to Drain a Front-Loading Washing Machine
Step 1: Turn off the power.

Switch the power button off, if your model has one. Unplug the washer from the power source. Duct tape the power cord to the top of the machine to avoid splashing it with water or getting caught under the machine.
Step 2: Locate the drain pump filter and/or drain tube.
In front-load washers, you’ll typically find one of two configurations: either a single drain pump filter that both filters debris and releases excess water, or a drain pump filter and a separate drain hose. This setup will typically be located behind an access panel on the bottom of the front of the machine; depending on your model, you may need to unscrew this front panel, unclip it, or simply flip it down.
Step 3: Drain the water.
How you actually drain a washing machine will depend on whether your unit has a filter only or a filter and drain tube.
- If you have a drain pump filter only, place a towel on the floor and a shallow container like a baking dish against the washing machine, directly below the filter to catch the water. Slowly turn the knob of the drain pump filter counterclockwise to remove the filter; water will begin to spill out. Don’t pull the filter all the way out while the water is draining; if you fill up the container before the water has stopped flowing, you will want to quickly be able to close it back up while you empty the container. Repeat until the water has drained out completely.
- If your appliance has both a filter and drain tube, place the towel and a shallow container underneath the drain hose. Unclip the drain tube from its position; unscrew the end cap when you’re ready to release the water. Keep the cap in one hand so you can stop the flow of water quickly and easily should your container fill up. Replace the cap when all the water has been drained and clip the hose back into place.
Step 4: Clean the filter.
After you’ve drained the washing machine, remove any buildup of solid material from the filter by hand. Then rinse the filter with a soft-bristled brush and warm water. Replace the filter and the access panel.
Step 5: Call a repair person if the problem is not resolved.
If neither the drain pump hose nor the drain pump filter appears to be clogged, and you’ve checked that the drain hose isn’t kinked, you’ve done your due diligence. It may be time to call in a professional.
