We may earn revenue from the products available on this page and participate in affiliate programs. Learn More ›
Except in special cases—when you intentionally choose a specific angle or bias—it’s important to keep all drill holes perpendicular to the surface. This is easy to accomplish with a drill press, but there are plenty of occasions when you need to use a hand drill/driver to complete the task, like drilling into a wall or cabinet door. Many drills have a bubble level, but those can only help in certain situations, and most walls are not exactly flat or straight.
One option is to buy a specific type of jig—a portable drill guide. I like this one (pictured below) from Big Gator Tools. But it’s important to know you can also whip one up at home pretty easily, and at no cost, just using wood scraps.

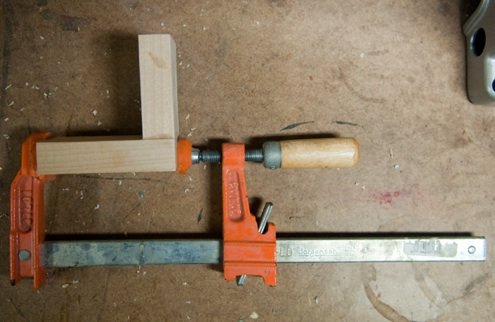
Begin by gluing up a basic L-shape from some scrap hardwood. Using glue and clamps, place the blocks against a square to ensure a perfect 90° angle. Allow the glue to dry, then drill a hole in one side and add some string or wire for easy storage. I keep mine attached to a clip on my tool bag, where I keep my drill, some bits, a small level and drywall anchors for small tasks.

This guide is a basic square, but one where you don’t have to worry about damaging your drill bits or sending metal shavings everywhere, if the spinning bit cuts the square. Simply butt both sides against the bit and note where the bubble on your drill level is. You can flip it to check on all sides. And if it gets worn out from spinning bits, just glue up another one—for free!
You’ll be surprised by how much of a difference having a quick reference like this can be. Do you have other tips for drilling 90° holes with a portable drill? If so, post them in the comments box below.

