We may earn revenue from the products available on this page and participate in affiliate programs. Learn More ›
Edging your lawn creates a crisp, clean border that enhances curb appeal and prevents grass from creeping into garden beds, sidewalks, or driveways. With the right tools and a little time, you can achieve a polished, professional look (no expertise required). Here’s how to edge a lawn using different edging tools.
Benefits of Edging Your Lawn
Edging grass is like the finishing touch on a great haircut. It takes your lawn to the next level with well-defined borders that give your yard a polished and professionally maintained look. But it’s not just about looks: Edging helps keep grass from creeping into garden beds, sidewalks, and driveways.
It also makes mowing easier and can even improve drainage by preventing soil from spilling over onto hard surfaces. Whether you’re going for golf-course perfection or just want a cleaner, easier-to-maintain yard, edging is a simple step with big payoffs.
Before You Begin
Before edging, start by mowing your lawn to its usual height. This gives you a clear view of where to create crisp, even borders. A good rule of thumb to keep your lawn healthy and prevent stress: Don’t cut more than the top third of the grass blades.
Also, take a quick walk around your yard to check for rocks, roots, or other obstacles that could get in the way. With a freshly mowed lawn and a clean workspace, you’re ready to start edging.
SUPPLIES
Edging your lawn doesn’t require a full toolbox, but the edging tools below will make the job easier and more efficient. While not all of these tools are necessary, depending on your lawn size and desired finish, each can help you achieve a clean, polished look.
Tools & Materials
Bobvila.com may earn a commission from purchases made through these links.
Steps for Edging Your Lawn
Step 1: Choose the shape of your lawn.
Before you start edging, decide on the shape you want for your lawn’s borders. Do you prefer crisp, straight lines for a formal look, or gentle curves for a more natural feel? The edging process works for defining not just the lawn’s perimeter but also other features that include the following.
- Garden beds
- Driveways
- Sidewalks and walkways
- Patios and decks
- Trees surrounds and flower beds
If you’re working with existing edges, follow their natural lines. For new edging, make a plan before you get started. A well-planned edge sets the stage for a clean, professional finish.
Step 2: Mark the new edge.
Like taping before painting, marking your edge helps ensure clean, precise lines. If you’re edging along sidewalks or other clear borders and plan to follow the current line, you may be able to skip this step.
If you are creating a new edge, use a rope or garden hose to outline your path. Place it between the grassy area you’ll edge and the adjacent feature like the driveway, sidewalk, or flower bed. While some may use spray paint to mark the edging line, it can be tricky in windy conditions.
Step 3: Choose your edging tool.
The right edging tool makes all the difference in achieving clean, professional-looking borders. Your technique will vary slightly depending on whether you’re using a manual or power edger.
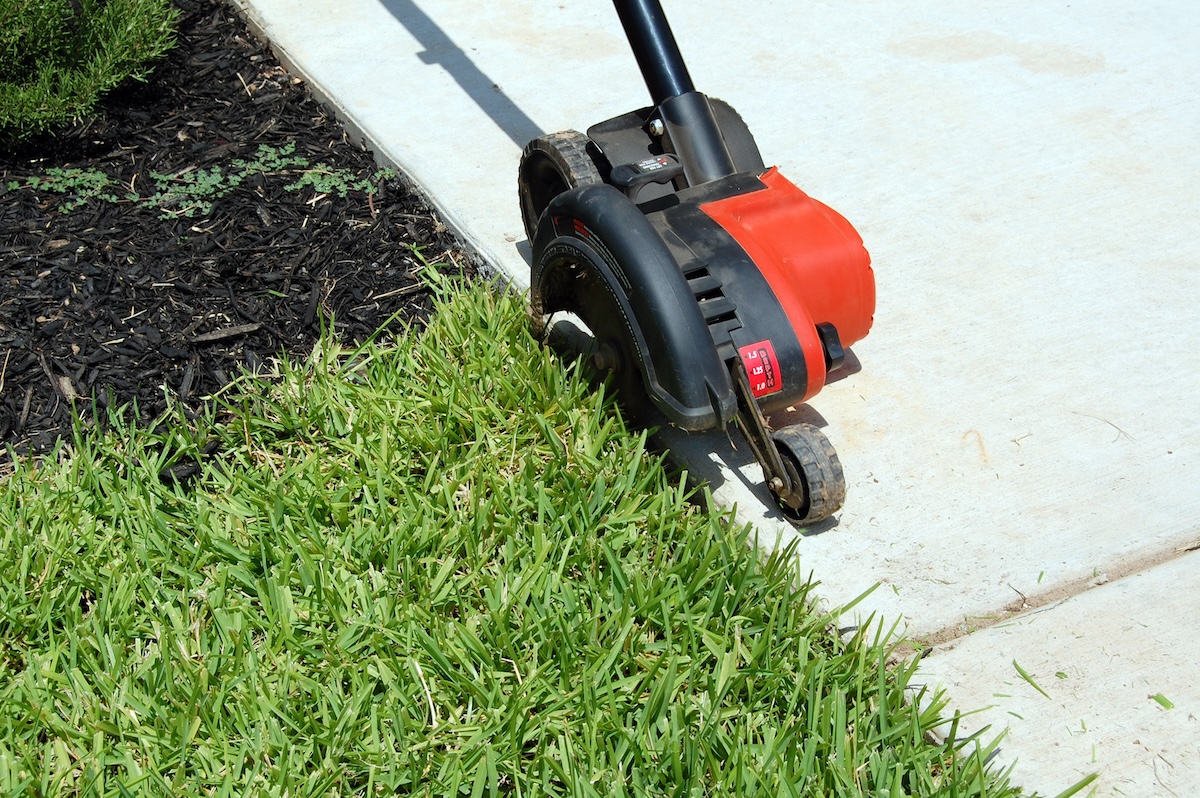
Power Edger
Best for: Large lawns, deep or well-defined edges, and quick, precise cuts.
For straight edges, start at one end and move forward steadily. For curved edges, begin in the center and work outward to help maintain better control. Stand with a stable stance, engage your core, and walk slowly to avoid wobbling or veering off course. If you’re new to using power edgers, practice in a less visible area like around a hidden backyard garden bed first before tackling the front yard.
Manual Edger
Best for: Small lawns, touch-ups, and detailed work around flower beds or tight spaces.
A manual edger looks like a shovel with a half-moon blade. Place it firmly at your marked edge, push down with your foot, and rock the blade side to side to cut through the turf. Work in small sections, slightly overlapping each cut for straighter lines. Be mindful of your posture—use proper shoveling techniques to avoid back strain.
No matter which tool you choose, take your time. Slower, controlled movements lead to cleaner, more precise edges.
Step 4: Cut the edge.
Now it’s time to start cutting. Whether using a manual or power edger, aim for a depth of about 2 inches—deep enough to define the border and help control root spread. This is the standard depth for most power edgers, but you can adjust as needed based on your lawn’s conditions. Be mindful of any buried pipes or cables, and work at a steady pace to maintain clean, even lines.
Step 5: Make corrections as you go.
Periodically remove cut turf to keep your lines visible and ensure a clean edge. Step back every few feet to check for any wobbles or uneven sections, which will prevent needing a bigger fix later. To help maintain straight lines, follow these gjuidelines:
- Use a guide: A wooden board or string line can act as a visual reference for straight edges.
- Keep a steady hand: Avoid sudden movements, and let the tool do the work.
- Work in sections: Focusing on small areas at a time can improve precision.
- Follow existing lines: If edging along sidewalks or driveways, use them as a natural guide.
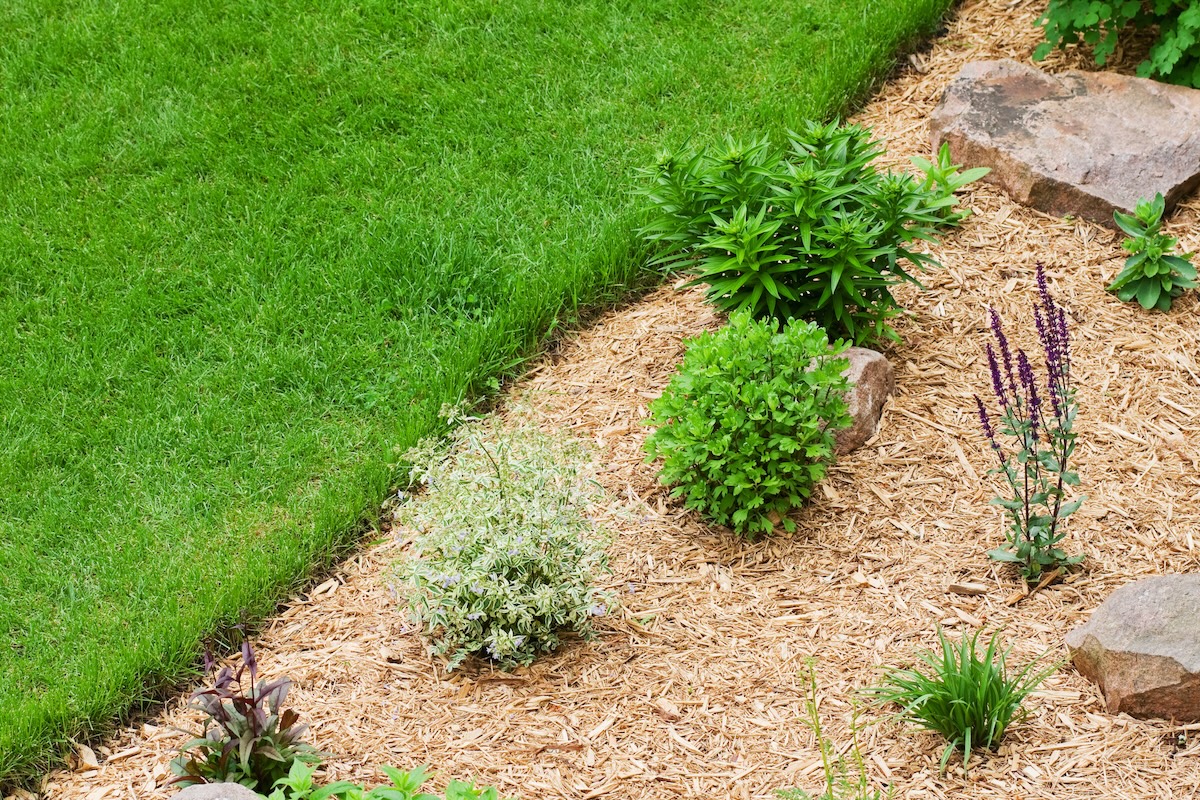
Step 6: Edge garden beds (optional).
The technique and depth for edging garden beds depends on the type of garden. Here are a few common types:
- Sunken garden beds: Use a spade to deepen the edge to about 4 to 6 inches.
- Raised garden beds: Choose a depth that looks best for your setup.
There are a few other choices to consider when edging a garden bed that can make the process easier and more consistent.
- Easier turf removal: Cut into the bottom edge from inside the bed.
- Angle choice: A 90-degree angle works well, but consistency is key—pick an angle and maintain it from start to finish.
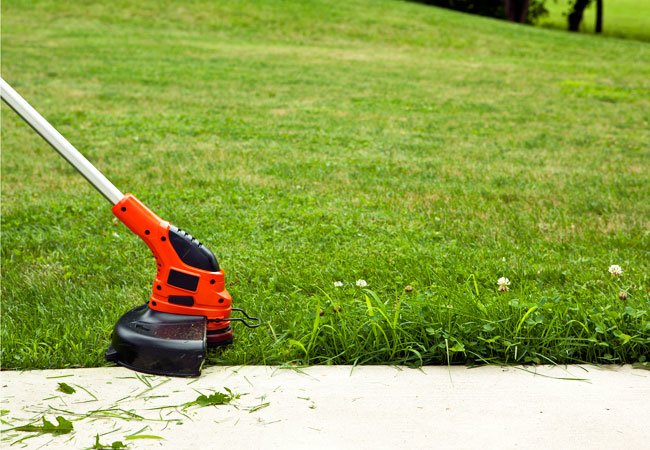
Step 7: Finish with a string trimmer or hand shears.

Ah, the reward! It’s time for perfect edges. Bust out the string trimmer or the hand shears! The goal here is to get the grass cut back perfectly in line with the trench edge. The trimmer could be overzealous, so proceed cautiously. Hand shears will take longer but will result in a beautiful, meticulous job.
To keep your lawn looking fresh, make this final touch-up a regular task. Aim to maintain your edges every 2 to 4 weeks throughout the growing season, depending on how quickly your grass grows. Regular upkeep will ensure your edges stay sharp and neat all season long.
Lawn Edging Maintenance Tips
Be kind to your tools. Before you put them away, clean and dry any blades, and follow the manufacturer’s maintenance suggestions for your power tools. Here are some tips to help you keep your blades in great condition.
- In general, a manual edger can be filed or sharpened when you find it laborious to use.
- Cleaning after every use will prolong blade sharpness.
- Power-edgers are similar to lawn mowers—blades should be fine for up to 3 years, but look for nicks and other damage that may require replacing them earlier.
- Look for blades of grass that seem torn rather than sheared off as a clue that your blades need attention.
FAQs
The best tool depends on your lawn size and preference: a power edger is great for large yards and deep cuts, while a manual edger is perfect for smaller lawns and precise work.
The best time to edge your lawn is after mowing, when the grass is freshly trimmed and the edges are more visible.
Touch up your lawn edging every 2 to 4 weeks to keep it looking fresh and neat, depending on how fast the grass grows.
Professionals use stick edgers, string trimmers, and blade edgers for clean, precise lawn edges. For long-term definition, they may also install metal, plastic, or stone edging.