We may earn revenue from the products available on this page and participate in affiliate programs. Learn More ›
My wife and I recently reorganized our bedroom closet and added several new accessories, including a double rod hanger, canvas shoe cubbies, and a column of hanging shelves. We were really happy with the results, but our closet rod wasn’t. It sagged, and then sagged some more with every item we hung on it. Fortunately, I had some wooden closet pole left over from another project and used it to build a prop. While I was at it, I added some dowels for my wife to hang her belts and handbags. Now we’re all happy—no more sag and another place to hang stuff. The total cost was under $10.
Skill level: This is about as easy as it gets, but you need to be comfortable with an electric drill.
MATERIALS AND TOOLS
– Handsaw
– Miter box
– Drill
– 1” diameter spade bit
– ¼” diameter twist drill
– 1-3/8″ wood closet pole
– ¼” dowel
– Paint and small brush (optional)
– Beads to cap ends of dowels
How to Fix a Closet Pole
Step 1
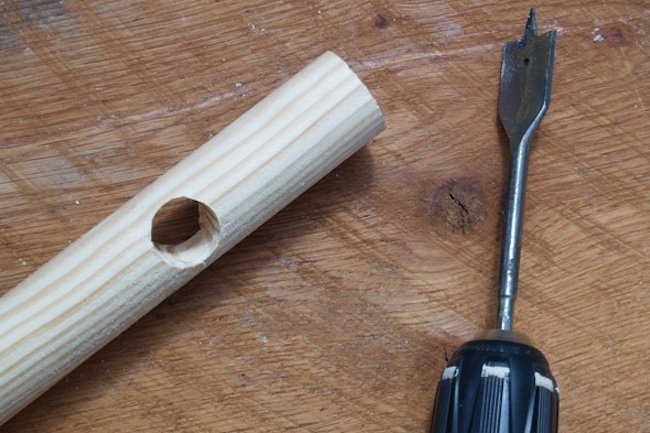
Carefully measure the height of your closet rod. Be sure to measure the height it’s supposed to be, not the height with the rod deflection. Mark this height on the wood closet pole, then bore a hole in the pole so that the bottom of the hole is at the marked height.
Step 2
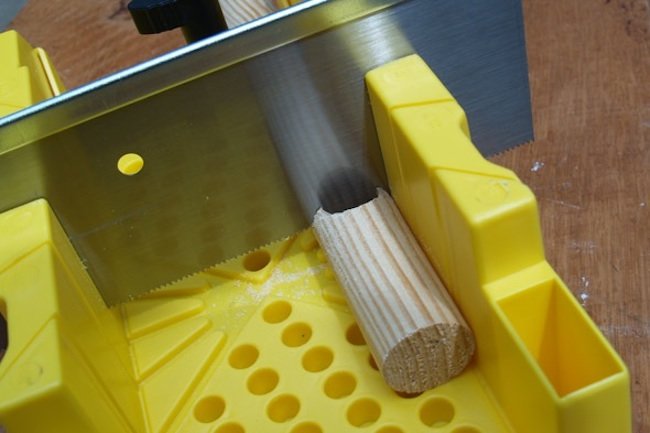
Saw through the hole to create a notch on which the closet rod can rest.
Step 3
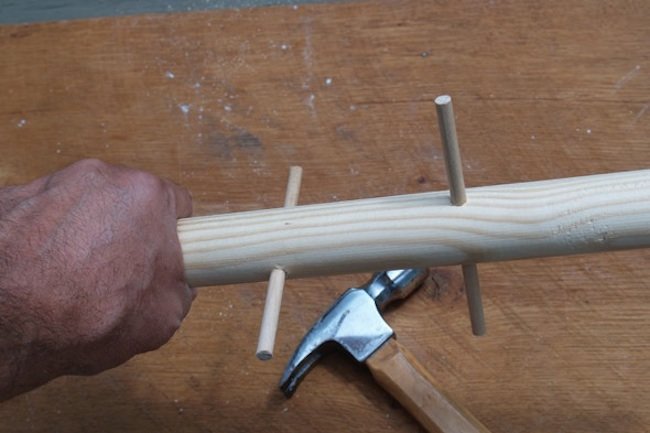
Bore ¼” diameter holes near the top of the pole and insert ¼” dowels.
Step 4
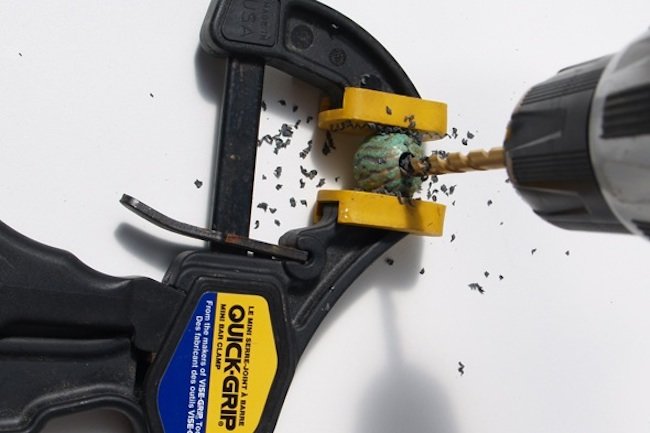
Bore 1/4″ holes in plastic, wood, or clay beads. For safe drilling, first secure the beads in a clamp or vise with padded jaws. Then place the beads on the ends of the dowels.
Sagging Shelves
Now that your tools are out, take the opportunity to check your bookcases and cabinets for sagging shelves. Much of today’s storage furniture comes with 5/8″- or ¾”-thick melamine-laminated particleboard shelves. They hold up fine if the spans are two feet or less and if the load limits are not exceeded. For wider cabinets, however, sagging shelves are a common problem.
Measure the distance between the cabinet bottom and the underside of the sagging shelf. Measure where the shelf meets the side of the cabinet so you get the correct height for the shelf, not the height where the shelf has sagged. Then cut two strips of 1⁄4″ x 1″ wood to that length. Attach one to the cabinet back and the other behind the center stile. Together, they will prevent the shelf from sagging. Use double-sided tape to attach the wood strips so they can be removed if you decide to change the shelf height in the future.
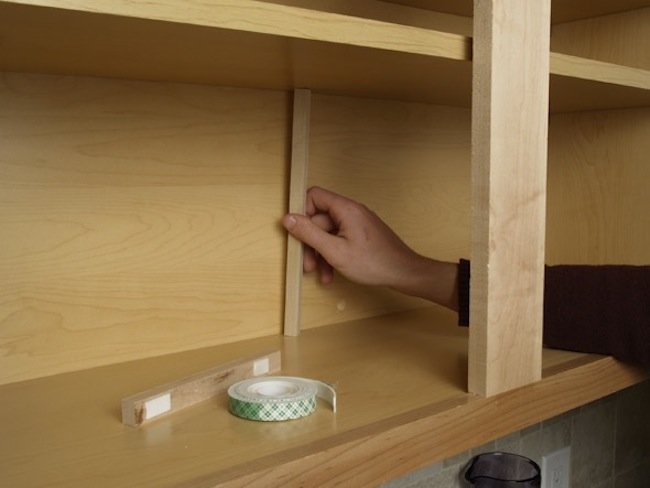
To add support to multiple shelves, place additional wood strips under the next highest shelf in the manner described above. Don’t skip a shelf, however. The load must be carried to the cabinet bottom.

