
We may earn revenue from the products available on this page and participate in affiliate programs. Learn More ›
Project Overview
- A cracked tile can be repaired using two-part epoxy applied with a toothpick or popsicle stick.
- Once the crack is fixed, the tile can be painted to match surrounding tiles.
- If the crack is large or the tile needs to be replaced, a professional can help.
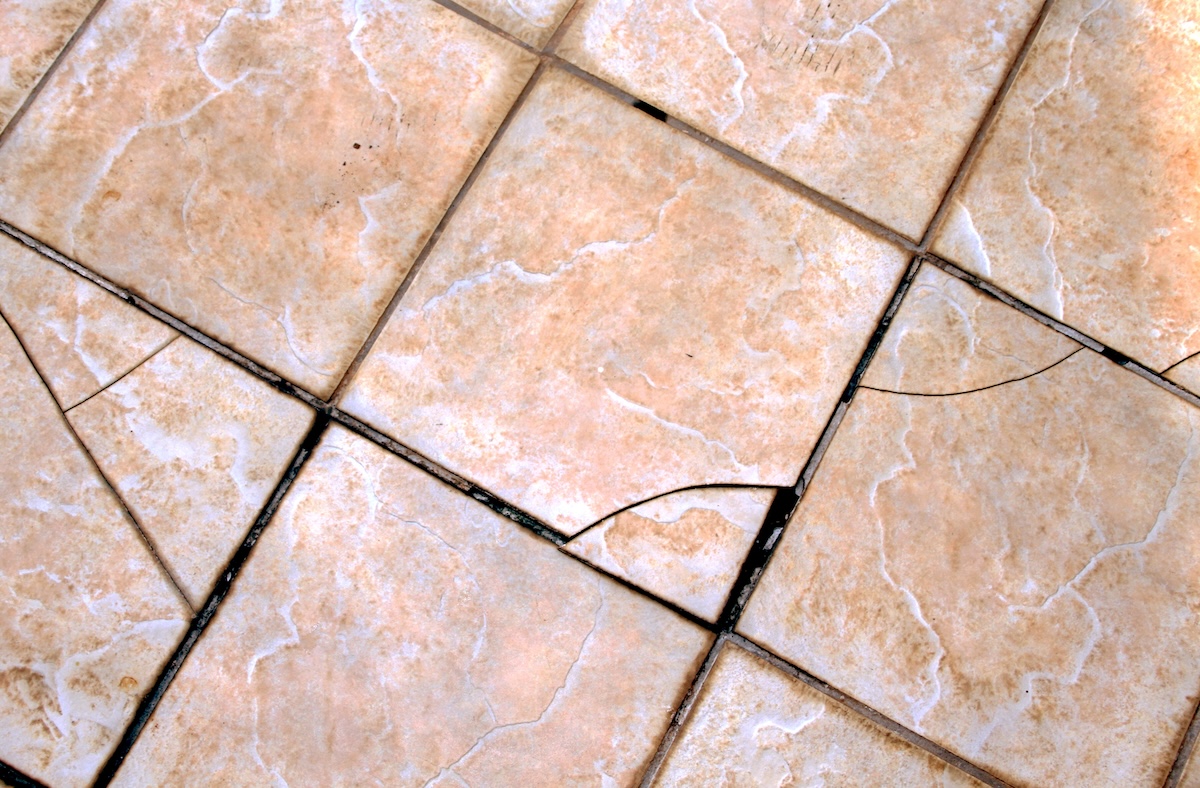
Tile floors can be a beautiful addition to any home, and, if installed correctly, are a durable solution. However, tile isn’t impervious to cracking. A floor tile may break due to extreme changes in temperature, bearing too much weight, or because a heavy object falls on it. Luckily, homeowners can easily mend hairline cracks in floor tiles with a few simple tools, including a Popsicle stick or toothpick and a chemical compound known as epoxy.
This guide explains the process of fixing a cracked floor tile so you don’t have to replace the tile entirely. We’ve also included best practices to follow when dealing with cracked tile repair.
Working time: 30 minutes for solid color tiles
Total time: 2 hours
Skill level: Beginner
Estimated cost: $10 to $40
Tools & Materials
Bobvila.com may earn a commission from purchases made through these links.
Before You Begin
The first thing to keep in mind is to take care when maneuvering around the cracked tile. You don’t want to make the crack worse. Be sure to seal off the area when trying to fix cracked tile to protect bare feet (and pet paws).
Cracked tile repair often involves using chemicals like epoxy and resin. Though epoxy and resin solutions are toxic, they are relatively safe when handled appropriately in small amounts. Here’s some safety guidelines to prepare you for working with epoxy and resin during your broken tile repair.
- Wear gloves. It’s best to keep these products away from bare skin. Always wear gloves when handling epoxy to minimize the chance of developing contact dermatitis or toxic eczema.
- Wear a mask. The epoxy may also irritate the respiratory system, so it’s a good idea to wear a mask or face shield.
- Ventilate the area. Ensure the room is well ventilated before mixing the solution.
- Keep kids and pets safe. Ask family members to steer clear of the area while you’re working on cracked floor tile.
Guide to Repairing Cracked Tiles
When the crack is small, you don’t need to remove a cracked tile to repair it. Here’s what to do to get it looking like new again.
Step 1: Clean the cracked tile.
Before beginning to repair cracked tile, take care to get rid of debris, dirt, or grease from the tile floor. While a tiny amount of dust will not decrease epoxy’s effectiveness, it’s better to have the cleanest surface possible to ensure optimal results and a flawless final product.
Use dish soap and water (or rubbing alcohol on paper towels) to clean the floor. Ensure the floor is completely dry before proceeding to the next step, so the epoxy can adhere. You can wipe the surface with a microfiber cloth or paper towel to absorb excess moisture.
Step 2: Mix epoxy according to the manufacturer’s instructions.
First, be sure to wear gloves and a face mask, and open windows before opening epoxy. Two-part epoxy combines resin and a hardener to bond and form an adhesive paste that holds tile pieces together. Two-part clear epoxy kits will vary depending on the brand, but many, like this 2-part epoxy from Gorilla Glue, cost less than $10.
Generally, it’s recommended to mix the epoxy on a piece of scrap cardboard and work off of this surface. Only dispense the amount you need for the repair, and then ensure the solution from each bottle is thoroughly mixed for the chemicals to react and form a suitable adhesive mixture.
Epoxy will remain workable for a few minutes before it cures; however, it will turn inflexible if left alone for about 5 minutes, so it’s best to move with some speed during this process.
Step 3: Apply the epoxy to the crack and wait for it to cure.
Once the epoxy has been thoroughly mixed, transfer some of it to the crack using a Popsicle stick or toothpick, depending on the size of the crack. Smaller gaps will benefit from the precision that a toothpick can offer, while a Popsicle stick will make it easier to transfer a larger amount of product to a wider crack. Spread the epoxy on the crack, creating a thin, even coat. Apply epoxy at least half a centimeter on either side of the crack, but be sure to avoid the grout.
The epoxy should be fully dry in about 30 minutes. Using a gloved hand, tap the epoxy after 30 minutes to ensure it’s dry and firm to the touch. (Wait 24 hours before applying any load-bearing weight.)
After the epoxy is cured, you may need to lightly sand the surface so the epoxy repair area is flush with the rest of the tile. Usually, a fine-grit sandpaper will work. If you sand, make sure to clean and dry the tile so there’s no lingering dust or moisture.
Step 4: Use paint to match the existing tile color.
Choose a tile paint that matches the existing tile color, and use a detail paint brush to paint over the epoxy on the repaired crack tile. You can also utilize a powder dye specially made to dye epoxy, which can be found at a hobby or craft store. However, it may be harder to match this substance to the tile, and you might also have to touch it up with paint.
Step 5: Seal the tile.
While a tile paint can do double-duty as a sealer, it’s usually a good idea to apply a clear coat over the repaired tile to protect the paint and the tile from new wear and tear. Brush a clear sealer over the final product once dry to protect the finished product. Some tile sealers, like this one from Custom Building Products, can seal the tile as well as the surrounding grout.
When to Replace a Broken Tile
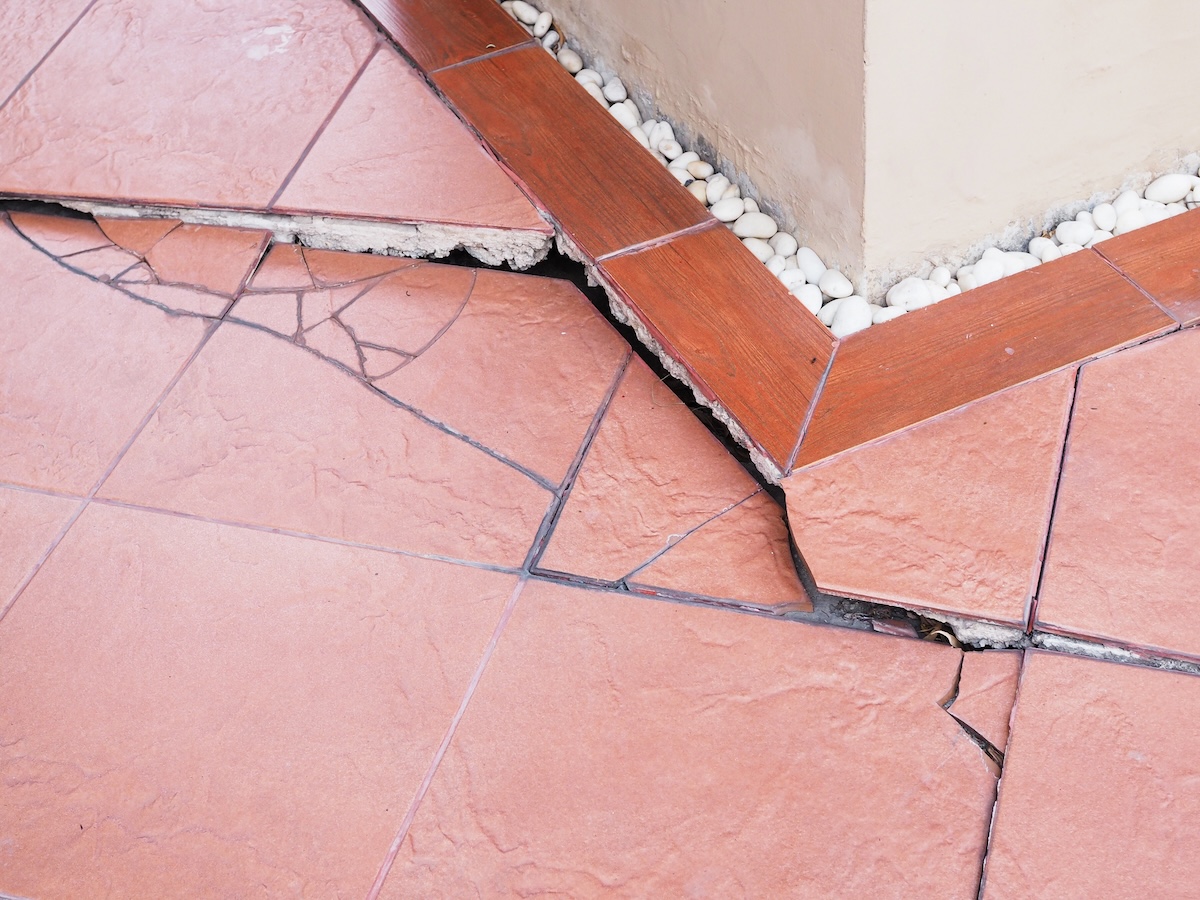
Not all tile cracks can be fixed in place. While hairline fractures and slightly larger cracks can be a simple fix, if part of a tile is missing, if a floor tile has been shattered, or if the crack is substantial, the best option may be to replace the tile. Replacing a tile will require extra steps, including obtaining a replacement tile and setting the tile. Our guide on how to replace a tile has all of the details you’ll need to know to get started.
FAQs
Yes, a cracked tile can lead to floor damage. A crack creates a channel for water to collect, which can then settle into the subfloor, potentially weakening it and causing rot or mold beneath.
Yes and no. It depends on the size and type of crack and how much the tiled area is used. A small floor tile crack can expand over time, as it is impacted from regular use. As the air temperature increases and decreases, cracks can also increase and decrease. In addition, a crack in a tile makes it more susceptible to further damage, as it has already been weakened. More damage means a more expensive tile repair, too.
If the crack is on a tile that sees very little use or temperature fluctuations, then it may not get worse over time.
If you have pieces of the broken tile that you can take to the paint store, then it will be easier to do a color match. The color can be scanned and the mixture ratio can be created. If you don’t have a section of tile that is transportable, snap a photo of the tile in midday sun to use as a guide to selecting the color.
Pro tip: While you can narrow colors online, do not select paint color online. Your display is likely not set the exact same as the paint maker.
While fixing a tile can be a DIY job, it isn’t within everyone’s skill set. If you are dealing with expensive or large-format tiles, and you’ve never tiled anything and aren’t confident about your DIY skills, it’s usually best to ask a pro to fix your tile.
For those who want to give tile repair a try, always take a test run on scrap material first to get comfortable with the tools and techniques required.
