We may earn revenue from the products available on this page and participate in affiliate programs. Learn More ›
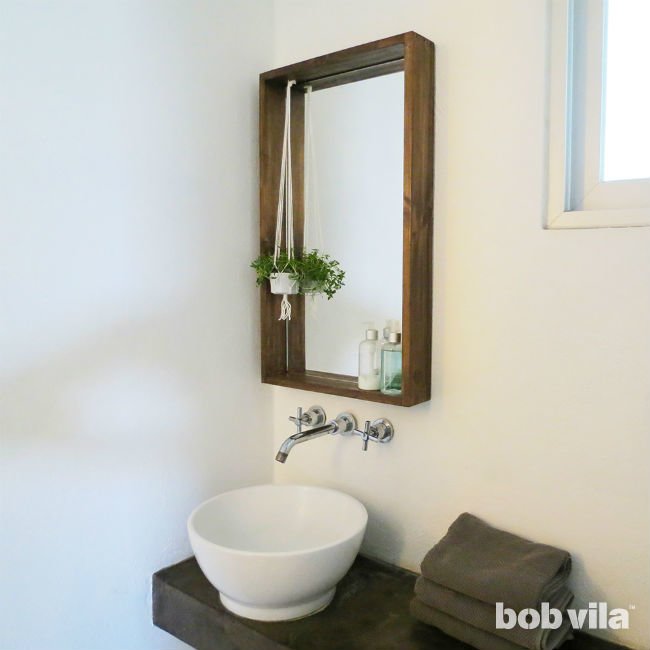
The bathroom mirror is essential, but “essential” doesn’t have to be synonymous with “boring.” Is yours plain and without a frame? Then you have ample opportunity to add some personality and sneak in a little extra bathroom storage, to boot! Made from 1×4 lumber, this 3-½”-deep ledge on this boxed frame creates a shadowbox effect around the reflective surface, offering just enough room for bottles of hand soap and lotion or a set of toothbrush and paste.
Plus, this simple and stylish solution adapts to all mirror sizes. Even if yours is much larger or smaller than ours, so long as you can remove it from your wall, you can follow these illustrated steps for how to frame a bathroom mirror.
(We’ll let you in on a secret: The finished DIY project looks just as good in an entryway or bedroom, too!)
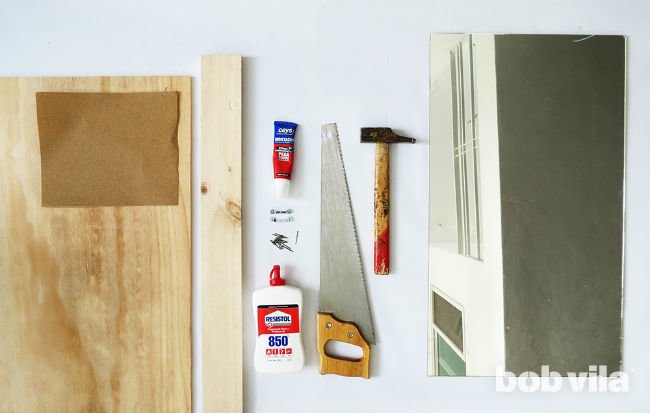
Tools & Materials
Bobvila.com may earn a commission from purchases made through these links.
- Jigsaw
- Palm sander
- Measuring tape
- Hammer
- Cordless drill
- Paintbrush
- Sawtooth frame hangers
- Varnish
- Glue
- Wood glue
- 60- and 120-grit sandpaper
- 2-inch nails
- 1×4 lumber
- 12mm plywood
- 3-inch by 5/8-inch mending plates
- Mirror glass
- 1/2-inch screws
- Wood stain
- Paint

Step 1
Place the mirror on the plywood, trace its shape, and cut along the pencil lines using a jigsaw. (Alternatively, you can take the dimensions of your mirror to the hardware store with you and ask for an employee to make a cut at this size at the time you buy the plywood.) This will be the back of the DIY framed mirror.
Sand the edges with 60-grit sandpaper.
Step 2
Cut the 1×4 lumber into 4 pieces: two pieces as long as the width of your mirror and the two other pieces as long as the height of your mirror plus 1-½ inches. The latter pieces will overlap the top and bottom edges of the frame, so they need to be extended by the thickness of two 1x4s.
Since our mirror is 16 inches by 27 inches, our two horizontal pieces measure 16 inches long and the two vertical pieces measure 28-½ inches long (27 inches for the mirror high + ¾-inch for the bottom ledge + ¾-inch for the top ledge).
Be careful to make clean and straight cuts, as these will help to build a straight frame. Then, sand all four cuts.
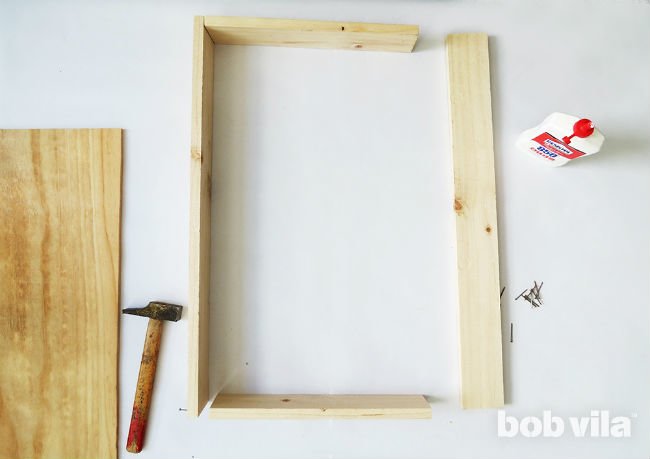
Assemble the frame with the vertical pieces overlapping the ends of the horizontal pieces, then glue and nail the box together. (Two to three 2-inch nails at the top and bottom of each vertical piece should do the trick.)
Step 3
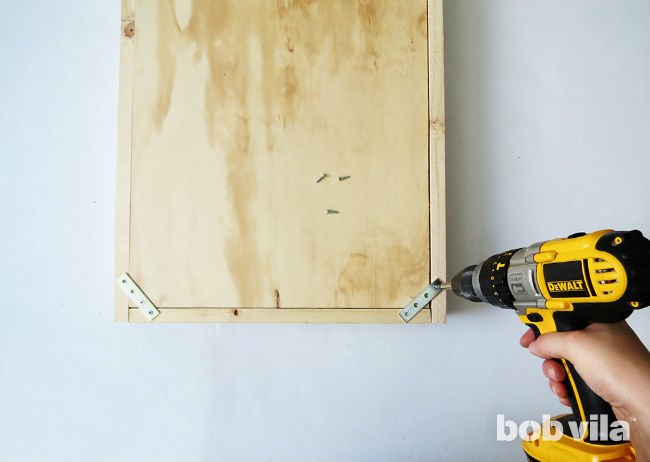
Place the plywood piece into the back of the box frame—it should fit snugly—and hold it in place at each corner using union plates. Place a 3″-long plate across each corner, and fasten with three ½-inch screws (one through the plate into the plywood, and two through the plate into opposite edges of the frame).
Step 4
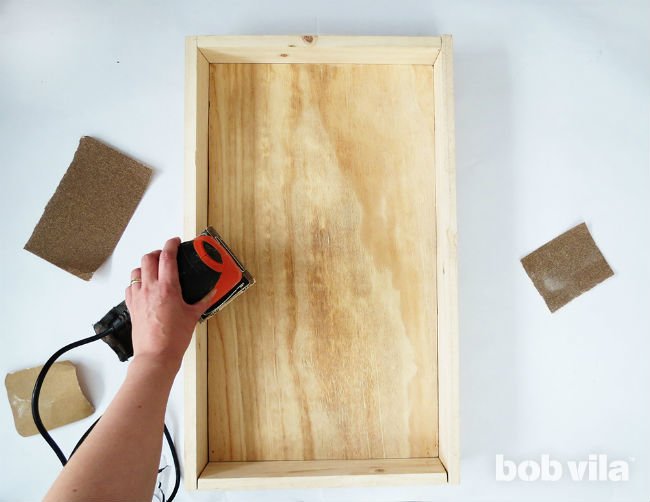
Sand the case for your DIY framed mirror to remove splinters and any excess glue. Go over the whole thing once with a 60-grit paper and then again with a 120-grit.
Step 5
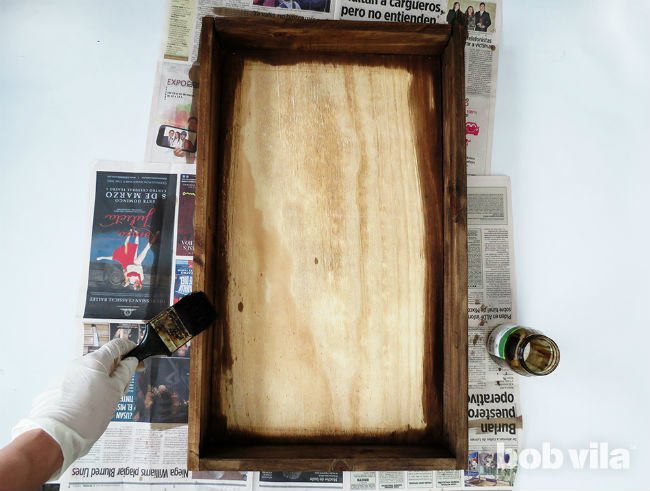
Stain or paint the frame whatever color you like. (No need to paint the back interior, though, because the mirror will cover it.)
Finish by a coat of clear varnish to protect the wood from any splashes of water that might reach above your bathroom sink and hit this DIY framed mirror.
Step 6
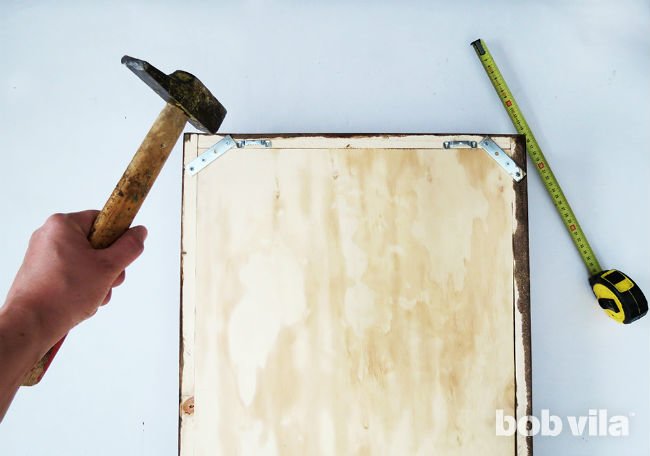
To easily hang your DIY framed mirror, nail two sawtooth hangers onto the back of the box. As the mirror is quite heavy, be sure to choose hangers that will hold the weight. Then measure so that they are placed equidistantly along the top of the wooden frame (not the plywood).
Step 7
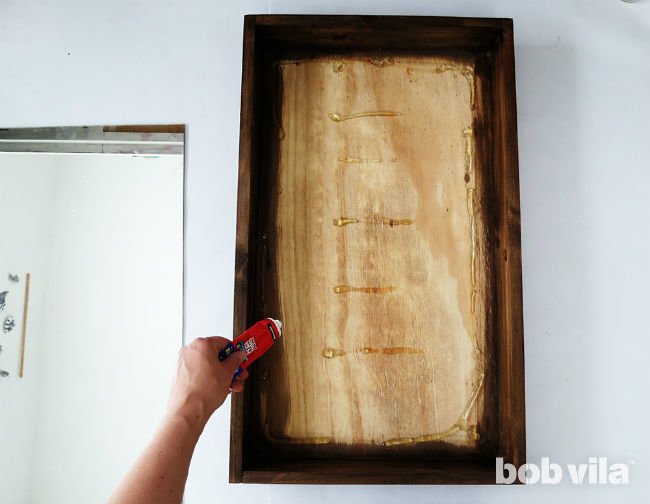
Finally, glue the mirror to the inside of the boxed frame. Squeeze a good amount of all-purpose glue onto the back of your frame and slide the mirror into the frame. Place a few heavy books in the center of the mirror to ensure a good adhesion while the glue dries.
Wait the full dry time recommended on the bottle before hanging the frame. After that, your DIY framed mirror is ready to hang! If you can find studs in the wall where you wish to hang the frame, that’d be best—you won’t need to worry about a couple of heavy soap bottles weighing down the ledge too much. Otherwise, opt for wall anchors to support your project, and then load up.

While the ledge is extra functional, we also recommend using the depth to hang a little greenery in your bathroom. You’ve already figured out how to frame a bathroom mirror, so this last step is easy! Just add a small screw eye or cup hook upside down into the top of the frame. Position it one to two inches from the corner, mark and pre-drill the location, and twist it into place. It’s ready for your tiniest of hanging planters!
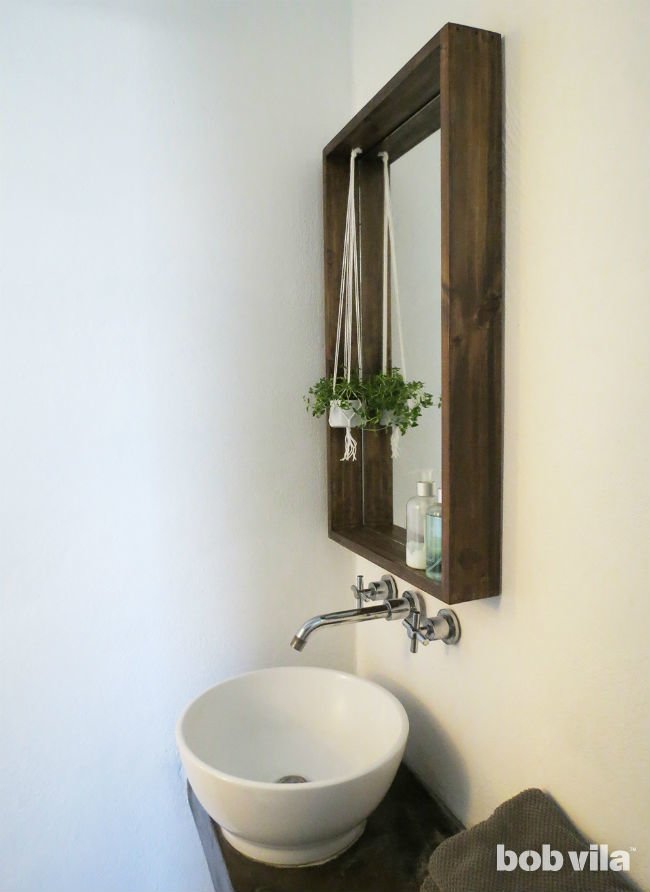
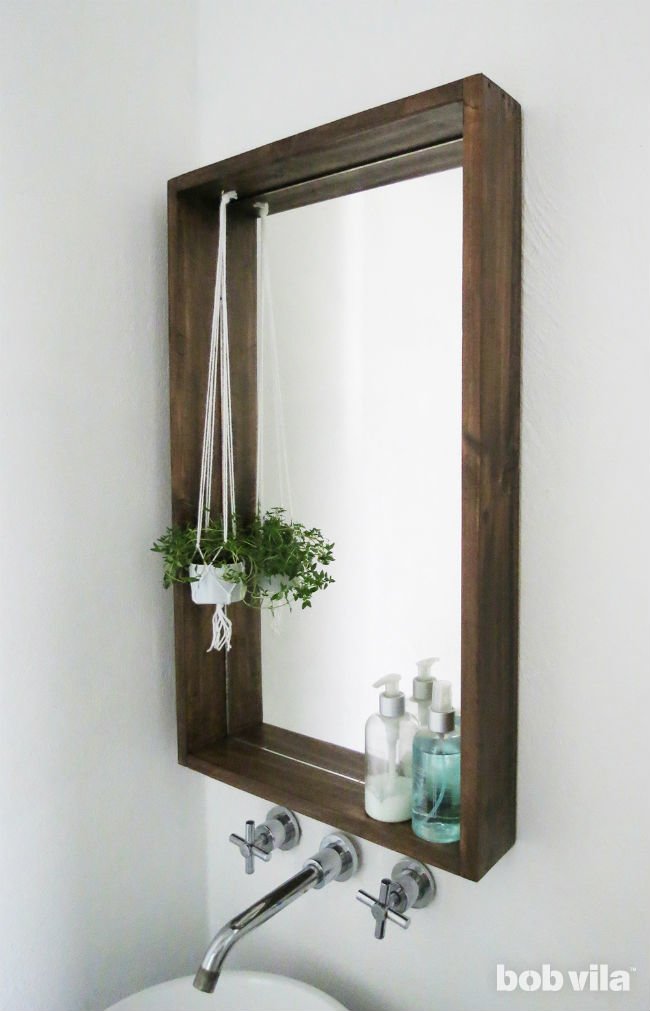
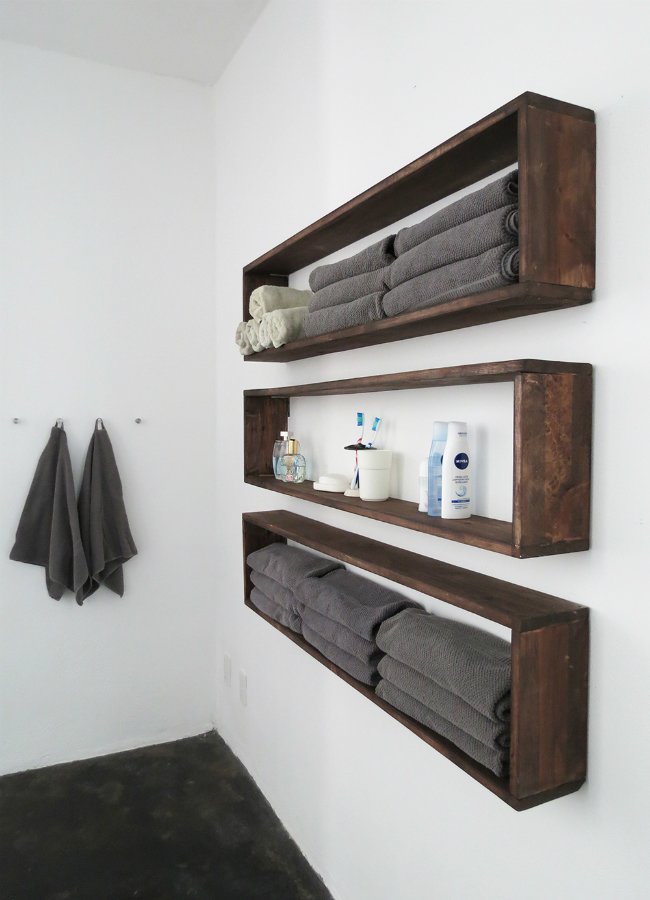
Need more storage still? Complement your framed mirror with these matching DIY wall shelves! They’re just as easy to build.
Ama is a DIY addict and the creative mind behind Ohoh Blog. She likes home decor, lighting, and furniture projects that may involve painting, sewing, drilling… no matter the technique! Whatever she has on hand is the inspiration to create and fodder for her serious addiction to upcycling.
