We may earn revenue from the products available on this page and participate in affiliate programs. Learn More ›
Seedlings have sprouted, transplants are transplanted, and then suddenly, overnight, they appear to be chopped off at the base, or even disappear. Though there may be other culprits, plants being cut off at the base are a common sign that cutworms are at work. Using even the best insecticides may not prove effective for cutworm control but there is good news. Getting rid of cutworms can be achieved via cardboard collars, a natural method for pest control that will cost you very little money or time, in tandem with one or two other removal methods.
What Are Cutworms?
“Cutworms look very similar to caterpillars and are the larvae of moths,” says Brett Bennett, director of operations at PURCOR Pest Solutions, a pest control service that operates in several states. “These pests are most active at night and commonly found on flower and vegetable seedlings.”
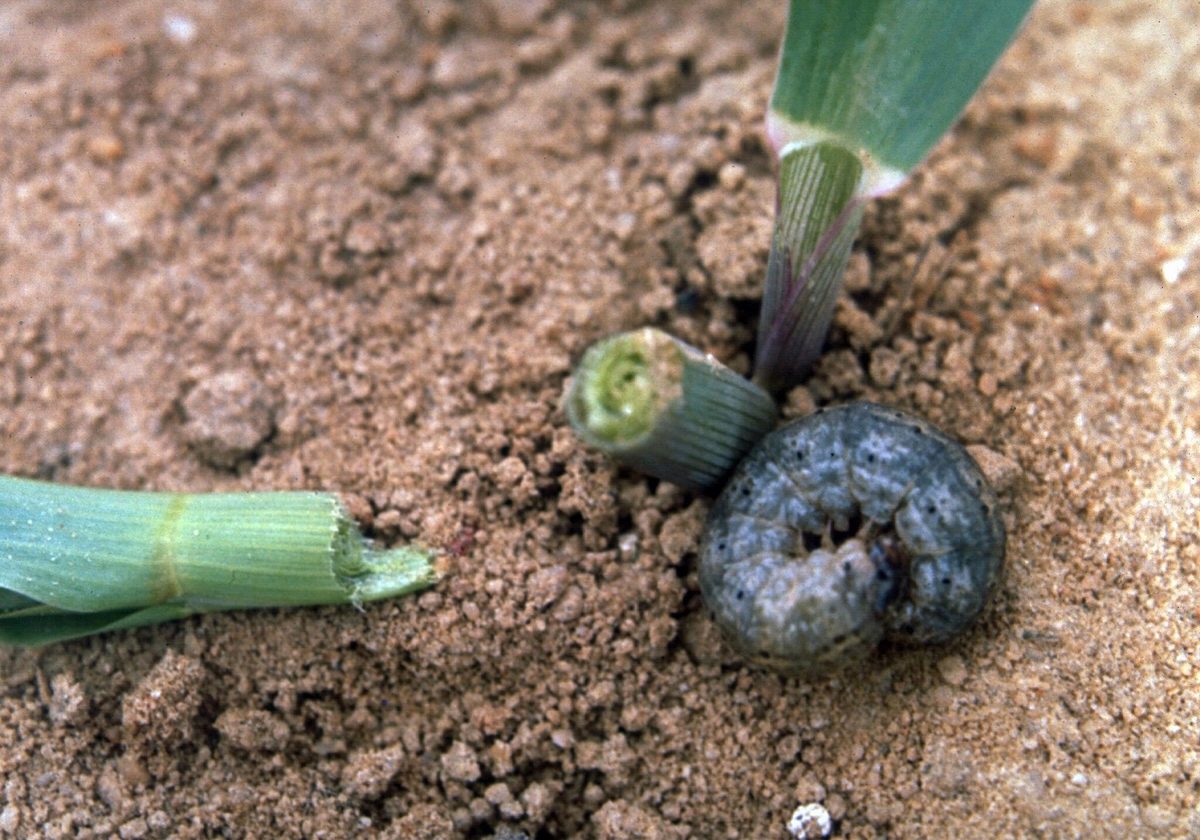
The term cutworm is used generically for the caterpillar (larvae) stage of many different species of month. These larvae are typically between 1 and 2 inches long and when disturbed or poked, they curl into a C-shape. Cutworm identification can sometimes be tricky because they can be any number of colors, including brown, green, black, and even pinkish. For example, the black cutworm has grainy grayish-black skin and becomes the black cutworm moth. Cutworms aren’t limited to springtime, either. The winter cutworm changes from green to black with cream-colored stripes, and is active during periods of warmth in the winter. Be sure what you’re seeing isn’t an armyworm, because getting rid of armyworms requires an entirely different strategy.
Signs of Cutworms
One of the telltale signs of cutworms is seedlings or transplants that appear to be cut off right at the soil line. The plants may even disappear, as cutworms can drag small seedlings into underground burrows. Because cutworms operate at night, there may be visible signs of cutworm damage on leaves, fruit, or buds, but no visible pests on the plant during the day. Cutworms also feast on tubers and can burrow into tomatoes and cabbages.
How to Get Rid of Cutworms
Many gardeners have found the most effective way of protecting their plants from cutworms involves removing access to young plants. Here are the step-by-step basics of making cardboard collars to control cutworms, along with some optional add-on strategies. You’ll also find alternate cutworm control methods, if collars aren’t right for you.
Tools & Materials
Bobvila.com may earn a commission from purchases made through these links.
- Cardboard, Kraft paper or cardstock
- Tape
- Diatomaceous earth (optional)
- Egg shells (optional)
- Coffee grounds (optional)
Project Overview
Working Time: 15 minutes
Total Time: 30 minutes
Skill Level: Beginner
Estimated Cost: 0-$50
Before You Begin
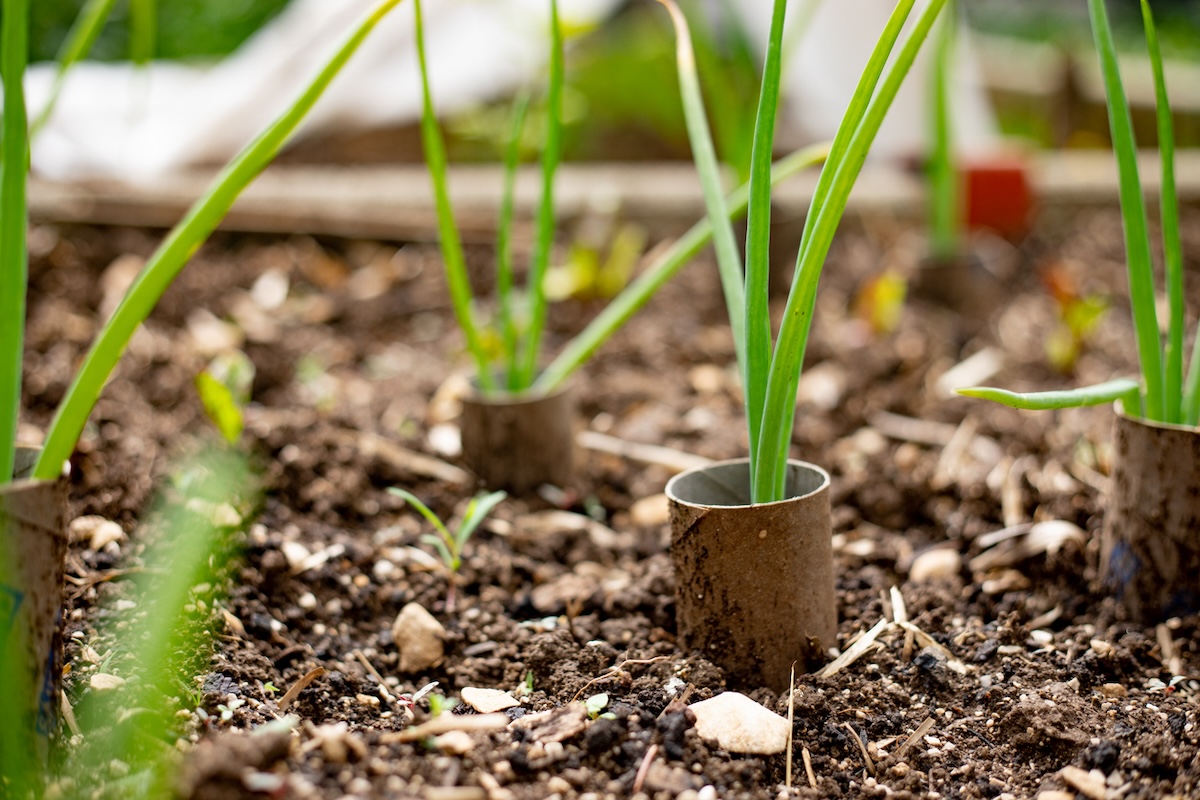
A cutworm collar can be made from a variety of materials—many home gardeners attest to simply cutting the bottom off of plastic drinking cups or recycling plastic water bottles. Sometimes, the best method is using whatever on hand to keep the cutworms from eating the new sprouts, so aluminum foil, index cards and toilet-paper tubes can also be used to make collars. We’ve opted for cardboard collars for a few reasons: cardboard is easy to work with, it’s readily available, often inexpensive or free, and it’s biodegradable.
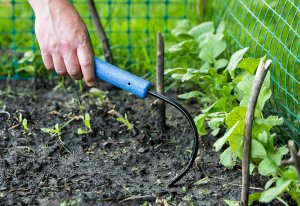
STEP 1: Clean up the area around the plants.
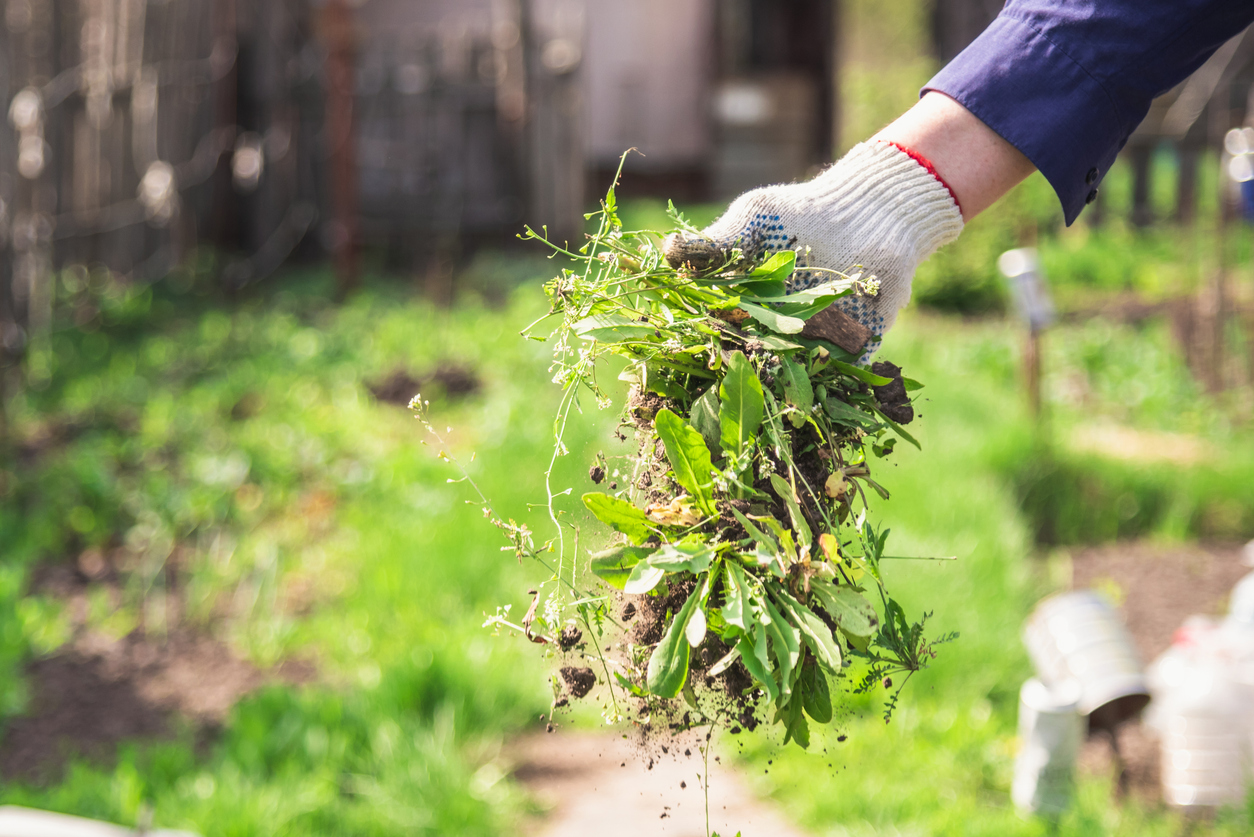
Cutworms live in the soil but weeds and fallen leaves can also be hosts for eggs and larvae, so be sure to remove weeds, leaves and any debris around the plants.
STEP 2: Measure to determine the correct size for the collars.
Collars should cover the stem of the plant from the ground up to about half the height of the plant; keep this in mind when measuring for the height of the collar. Also be sure to account for at least 3 to 4 inches of the collar that will be sunk into the ground. The circumference of the collars should allow for at least a couple of inches around the base of the stem, being sure to account for leaves.
STEP 3: Cut strips of cardboard to the correct size.
Cut the cardboard into strips that fit the correct measurements, remembering to account for the inches that need to go into the ground. Sinking some of the collar into the ground will help the collars stay in place and prevent cutworms that lurk beneath the surface from simply burrowing underneath.
STEP 4: Put collars in place and secure.
With very small plants, the collars can be secured with tape or staples and placed around the plant already formed. For slightly larger plants, the collars can be wrapped around the base of the plant and then secured with staples or strong tape.
STEP 5: Sprinkle diatomaceous earth (optional).
Enhance the effectiveness of your collars by using diatomaceous earth, a non-toxic way of controlling pests that can kill cutworms. Because cutworms are usually just beneath the surface of the soil, work the diatomaceous earth into the ground (if the soil is dry; it won’t work in wet dirt) around the plants.
Bennett also offers another option. “I recommend putting coffee grounds and/or crushed up eggshells on top of the soil around your plants, ” he says. “This is one of the most effective natural methods to deal with cutworms.”
STEP 6: Place cornmeal to lure cutworms away (optional).
Another strategy that works in tandem with cardboard collars is using cornmeal. Cutworms love cornmeal and wheat bran but they cannot digest it. Place cornmeal along garden edges to lure cutworms away from garden plants. Some gardeners suggest making a trail leading from the exterior collar edge, away from the plant.
Other Strategies to Try

If the collar method isn’t right for you or if you’d like to tackle the problem from several angles, consider these methods:
- Because cutworms live in the top layer of the soil, tilling the garden in early spring before planting and again in the fall after harvest will help expose cutworms, which birds will then feast upon.
- Patient gardeners can handpick cutworms.
- Cutworms prefer moist soil so consider creating a physical barrier of dry soil around the garden, though rain can thwart this strategy. The University of Minnesota Extension recommends a barrier of 3 to 4 feet.
- Consider introducing beneficial insects, such as parasitic wasps and green lacewings, to your garden, as they will feed on cutworms.
Final Thoughts
Cutworms are an unwelcome sight but unfortunately a common garden pest, so placing collars around plants early—and replacing as needed—is a good tool in the arsenal against these destructive pests. With vigilance, and following any or several of these tried-and-true methods, you can gain the upper hand over cutworms in the garden.