We may earn revenue from the products available on this page and participate in affiliate programs. Learn More ›
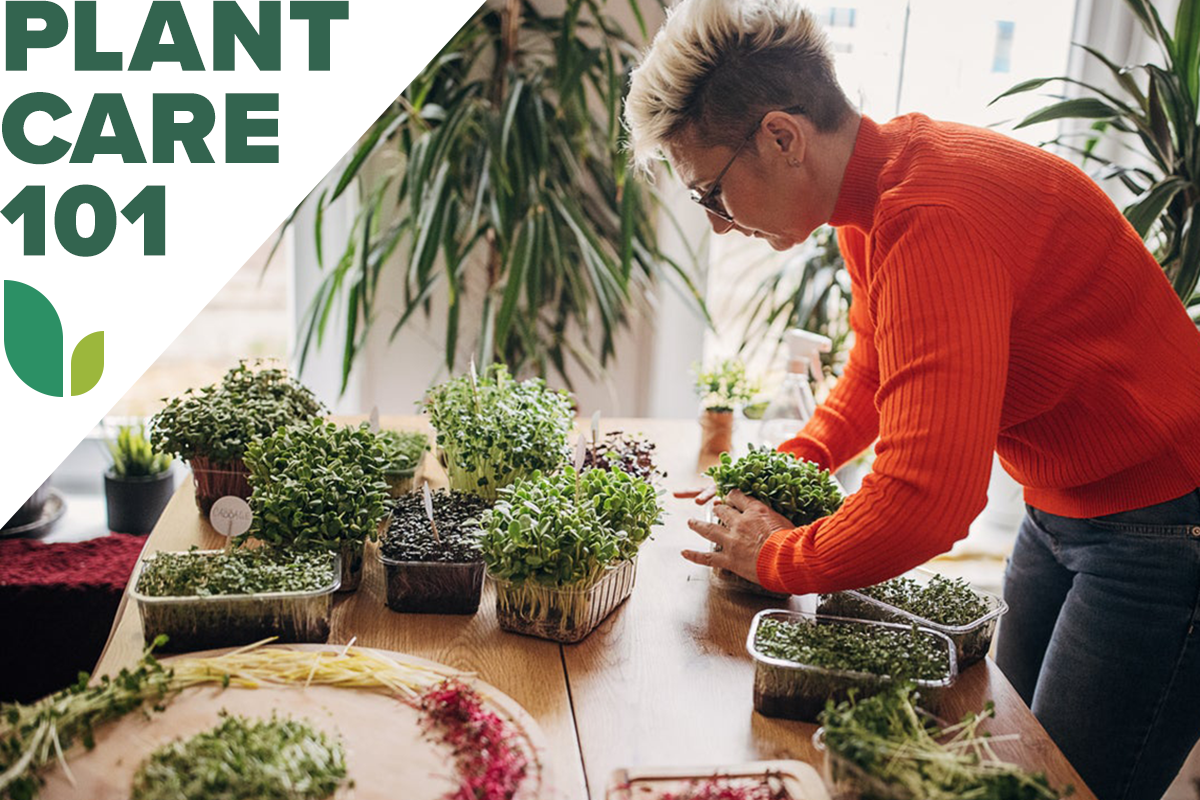
When it comes to young vegetables, microgreens are “the next size up from sprouts,” according to North Carolina University’s Cooperative Extension. In other words, microgreens are harvested when they are larger than sprouts but smaller than baby vegetables and often are used to garnish sandwiches or salads.
A University of Maryland College of Agriculture and Natural Resources study discovered that microgreens are extremely nutritious, containing “four to 40 times more nutrients than their mature counterparts.” So, the health benefits of microgreens provide you with one reason to raise them, while the joy of watching seedlings sprout during winter provides another.
If you want to know how to grow microgreens without soil, you can purchase a microgreens growing kit like this highly rated option available on Amazon. However, the below guide concentrates on constructing a microgreens garden with soil, using tools that you may already have on hand. Perforated 1020 flats inside unperforated flats of the same size make ideal growing trays for microgreens, but you can use other shallow containers with drainage holes such as repurposed lidded plastic produce boxes. Just place them inside a dishpan to water them.
The Best Microgreens to Grow Indoors
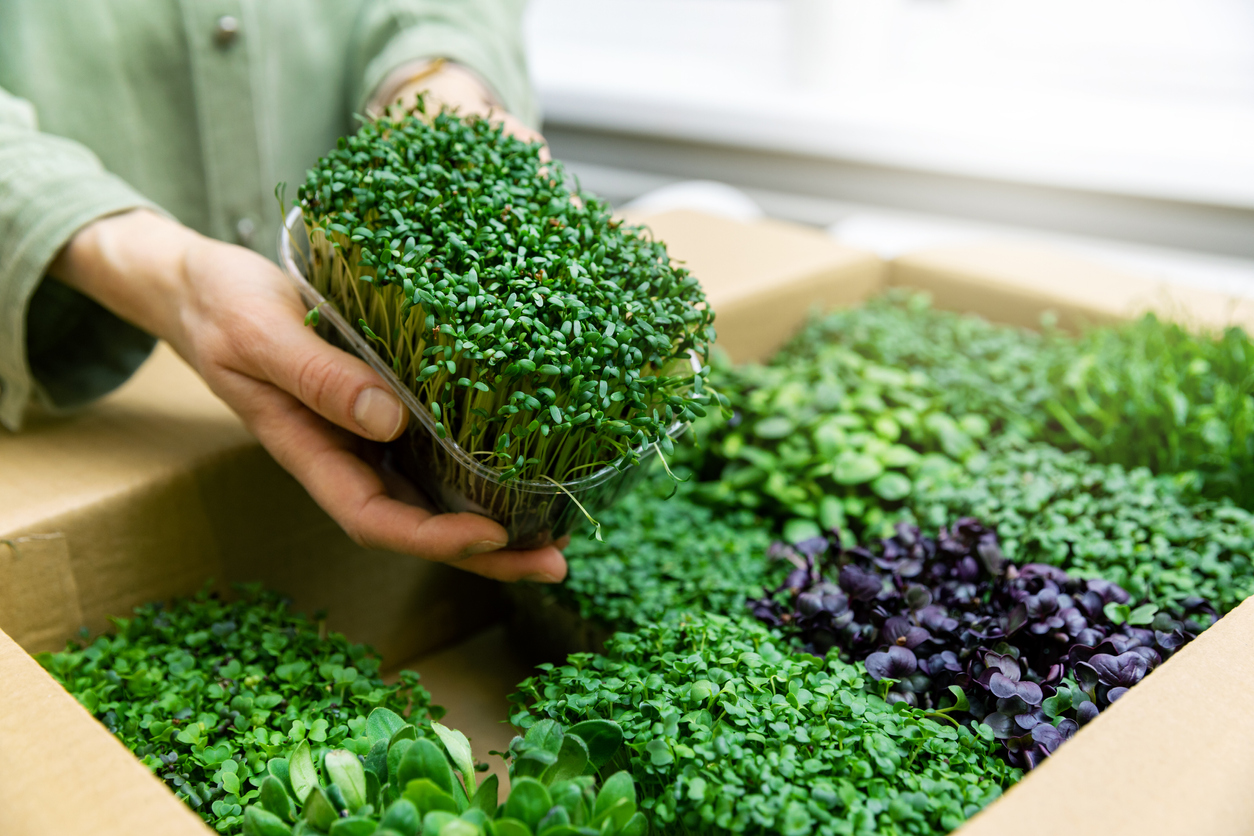
To reap microgreens’ benefits, grow whichever sort best fits your personal tastes. There are microgreen seeds for nearly any common leafy crop, like radishes and basil. They also come in seed mixes that feature mild, spicy, or complementary flavors. Some microgreens, such as arugula and cress, are spicy, and others, such as amaranth and kale, have a milder flavor.
Beginners might start with some of the easiest microgreens to grow, including radishes, mustards, and kale. For more information on flavors and yield, refer to Mississippi State University Extension’s excellent material on microgreen varieties.
RELATED: We Tested 8 Hydroponic Systems, and Our Favorite is One of the Least Expensive
How to Grow Microgreens
Find a list of the tools needed below, as well as how to grow microgreens indoors in six simple steps. These instructions can provide you and your household with an easy indoor garden project to tackle over winter.
Tools & Materials
Bobvila.com may earn a commission from purchases made through these links.
BEFORE YOU BEGIN
Keep in mind that microgreens are harvested when only a couple inches tall, so you won’t gather a large amount. Starting 2 to 3 teaspoons of arugula seeds, for example, will produce only 3 to 4 ounces of greens. So, use them as a salad or sandwich garnish rather than as the entire salad.
STEP 1: Decide how many seeds you need for your containers.
First determine how many microgreen seeds you need, keeping in mind that you’ll be planting much more thickly than you would in a garden. Download Penn State Extension’s Microgreens Seed Density Calculator to help with those estimates.
As an example, if you intend to sow a 1020 garden flat—which measures about 10 by 20 inches—with arugula seeds, you’ll need approximately 7.52 grams (about a fourth of an ounce) of seeds. That assumes you’ll have 100-percent germination, which isn’t likely, so adjust your calculations according to the seed seller’s estimated germination rate.
STEP 2: Soak large seeds before filling a container with seed starting six.
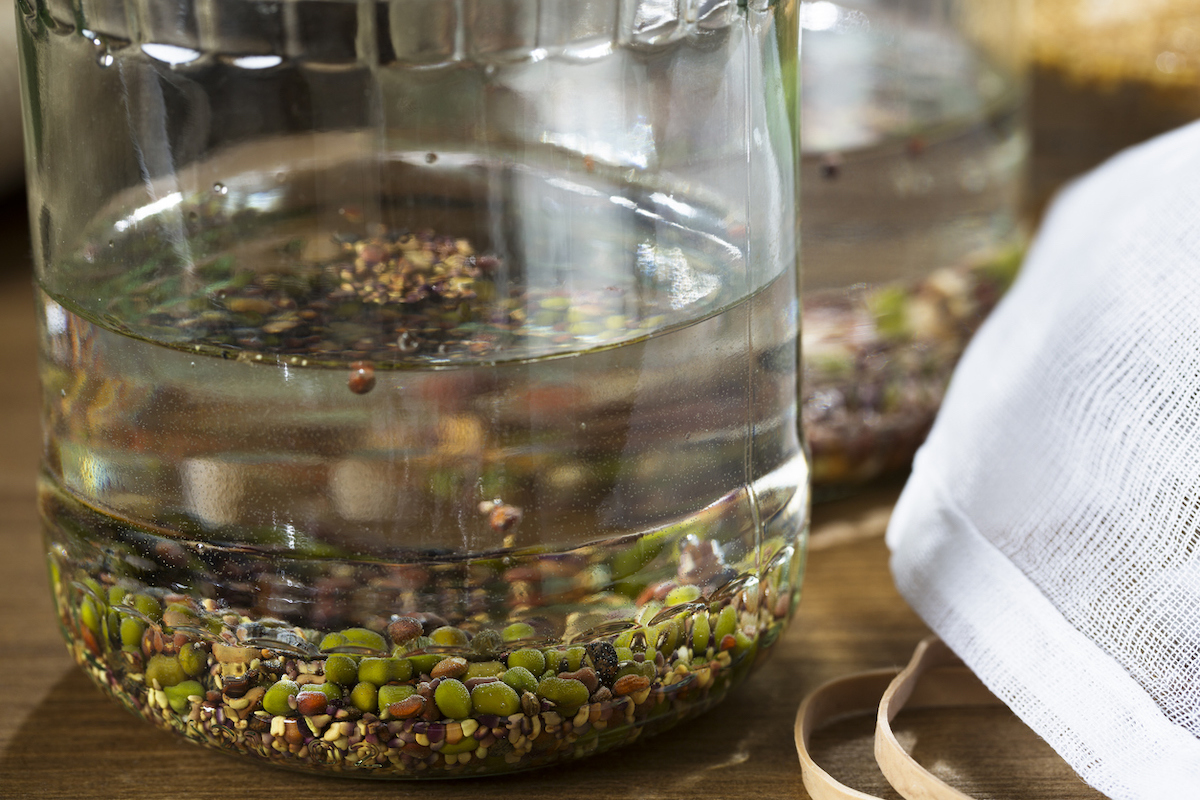
After purchasing seeds, soak the largest ones (such as peas and sunflowers) for 12 hours in foam cups of water. Then, fill the perforated flat or produce container with 1 to 2 inches of sterile seed starting mix.
Because dry mix can be hard to hydrate, add water to it while it’s still in the bag. If the mix isn’t evenly moist after filling the perforated flat, place water in the unperforated flat or dishpan and set the perforated flat or produce box inside it. After the mix soaks up enough moisture, discard the extra water.
STEP 3: Sow seeds closely together and cover the container.
Sow seeds on the surface of the seed starting mix, spacing large ones such as peas ½ to 1 inch apart and strewing smaller ones such as arugula so that they fall no more than ¼ inch apart. Press the smaller seeds into the surface of the mix without covering them but cover the larger seeds lightly. Then cap the flat or container with its humidity dome or lid and place your indoor garden in a location where the temperature remains at about 70 degrees Fahrenheit.
STEP 4: Remove the dome after germination and place the seeds in light.
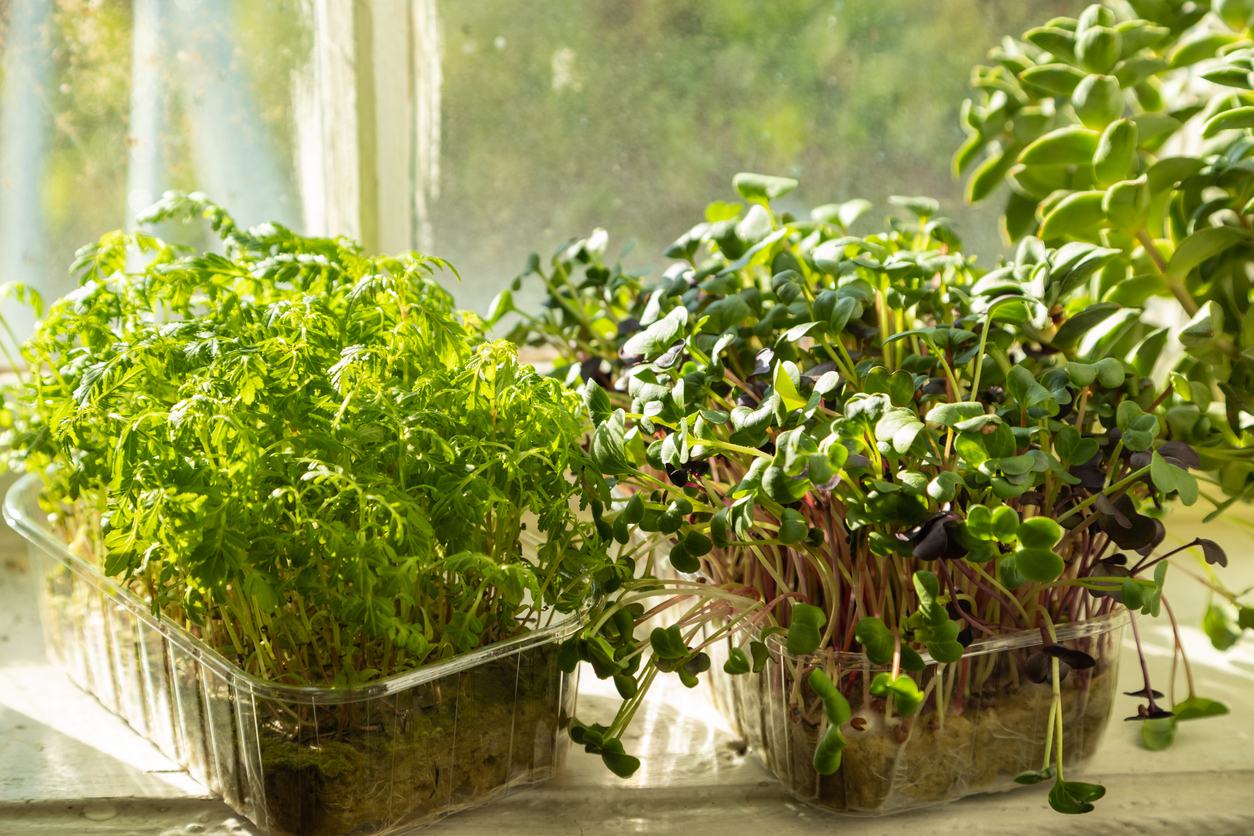
When the seeds begin to sprout, remove the humidity dome from their container and place the container in a brightly lit area. That can be 6 to 12 inches beneath a fluorescent or LED shop or grow light timed to run for 12 to 16 hours per day, or on a sunny window sill that receives at least 6 to 8 hours of sunlight per day. If you choose the window sill garden option, rotate the flat frequently, since the seedlings will lean toward the light.
STEP 5: Keep the container’s soil moist.
An important part of microgreen gardening is keeping the container’s mix moist. You can accomplish that by spraying the surface of the “soil” with water about once every 12 hours or by watering the container from the bottom as necessary. You want the mix to be damp enough that the seedlings don’t wilt but dry enough that it doesn’t develop mold.
Fast-growing species like arugula and broccoli may be ready for use within a week to 10 days, but others—such as amaranth and basil—may require 2 to 4 weeks to reach a harvestable height.
STEP 6: Harvest microgreens once true leaves appear.
The first one or two leaves to appear will be what are seedling leaves, which don’t resemble the plant’s true leaves. Once the seedlings are at least 2 inches tall and begin producing true leaves, it’s time to cut them.
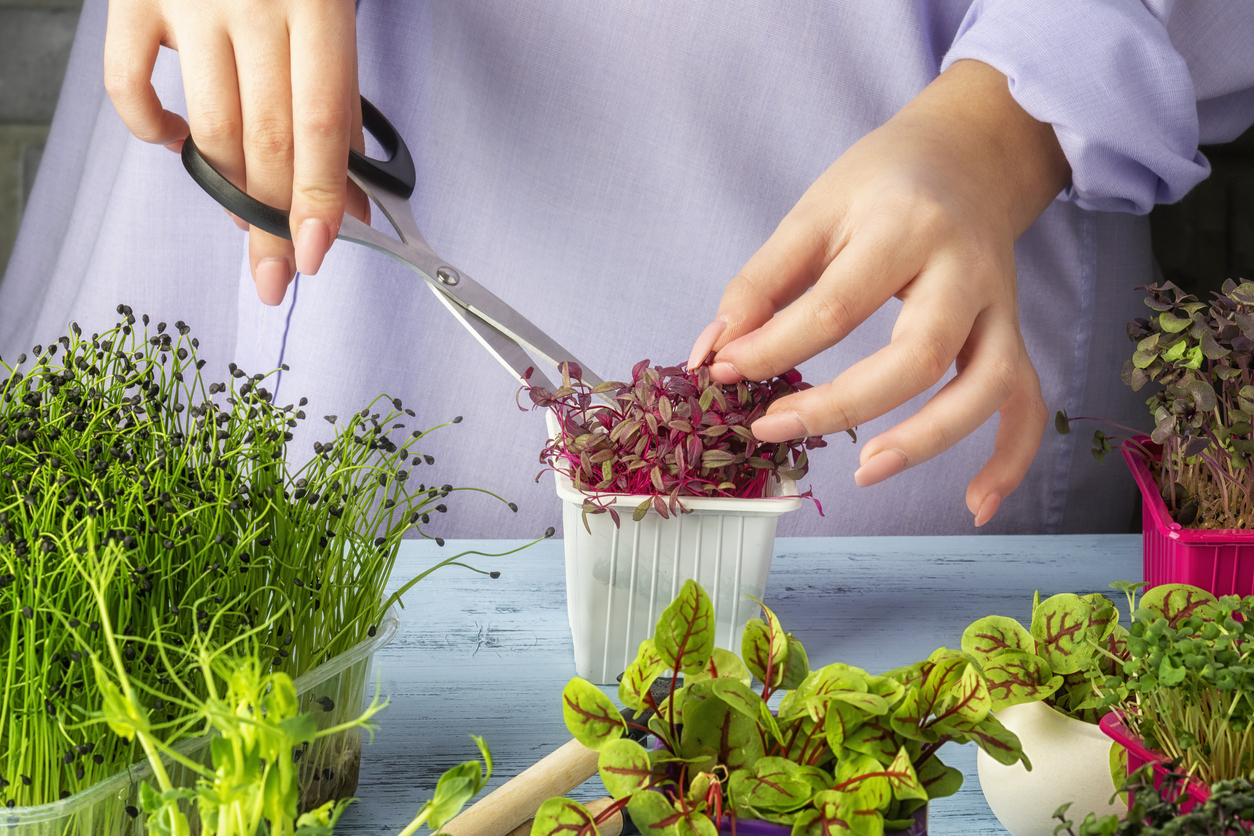
Use scissors or a sharp knife to snip the leaves off about ¼ inch above the soil. Refrain from washing them until just before you intend to eat them. You may be able to cut peas a second time, but most other species won’t sprout again, so discard their roots and mix.
Final Thoughts
By following the above steps, you should produce enough microgreens to determine whether you like them enough to expand your grow operation with more flats and seeds. Should you want a constant supply of the greens, try a staggered planting schedule so that a new tray of seedlings will be coming on soon after an old one has been harvested. And always clean and sterilize your seed flats between plantings—in addition to cleaning the greens themselves—to kill the types of bacteria that can make your seedlings or you sick.
RELATED: The Best Herbs to Grow Indoors

