We may earn revenue from the products available on this page and participate in affiliate programs. Learn More ›
Automated security systems are nice to have, but the easiest and least expensive way to improve the security of home is to install a deadbolt lock. Even a high-quality lockset isn’t enough to keep out an experienced burglar; you’re a lot better off with both a lockset and a deadbolt. Since you really do get what you pay for, it’s best not to scrimp here. You’ll save on installation because it’s so easy to install a deadbolt, you can do the job yourself within a couple of hours. Read on for steps to getting the job done.
Before You Begin
Although installing a deadbolt lock is a job most DIYers can handle, there is risk of damage to the door if you’re not careful. Adding a deadbolt to a door involves measuring and drilling holes to fit the deadbolt lock. If you measure incorrectly, you could end up drilling a hole in the wrong spot, ruining the door in the process. Measure carefully and be sure you’re using the proper size hole saw before you start drilling.
The Advantages of a Deadbolt Lock
There’s a reason most exterior doors have a deadbolt lock. Even the highest quality spring bolt door lock can be easily defeated by the average burglar. Deadbolts, on the other hand, use a locking device that is impossible to force back into the door. Prying open a door with a deadbolt latch is also harder because a deadbolt extends a full inch into the door jamb as opposed to the half inch of a spring lock. Some homeowners insurance companies provide discounts for homes with deadbolt locks on all exterior doors. Even if your insurance company doesn’t give you a break, the fact that you have a deadbolt should decrease the likelihood that your home will experience a break-in, thus reducing the odds that you’ll have to file an insurance claim that could increase your premium.
RELATED: How to Change a Door Lock in 7 Steps
Types of Deadbolts
There are three types of deadbolt locks you can install on your home’s exterior doors:
- Single: The simplest type of deadbolt lock has a single cylinder that is operated from the outside of the house using a key. From the inside, the door can be locked and unlocked with a thumb turn.
- Double: A double-cylinder deadbolt requires a key to lock or unlock it from either side. This type of deadbolt is ideal for locks that are in close proximity to a window, as is the case with a front door that’s flanked by sidelights. That said, only install a double cylinder deadbolt lock when necessary. Because this type of deadbolt requires a key to unlock it from the inside, it can be dangerous in the event of a fire or other emergency when residents need to exit the home quickly.
- Vertical: This style of deadbolt is less common than the single- or double-cylinder deadbolt, but it operates in a similar manner. In a vertical deadbolt, the mechanism is mounted on the interior surface of the door, and the locking bolts operate vertically instead of horizontally. Vertical deadbolts are better able to resist prying forces than standard deadbolts, but because they mount on the surface of the door, they are bulkier.
Parts of a Deadbolt Lock
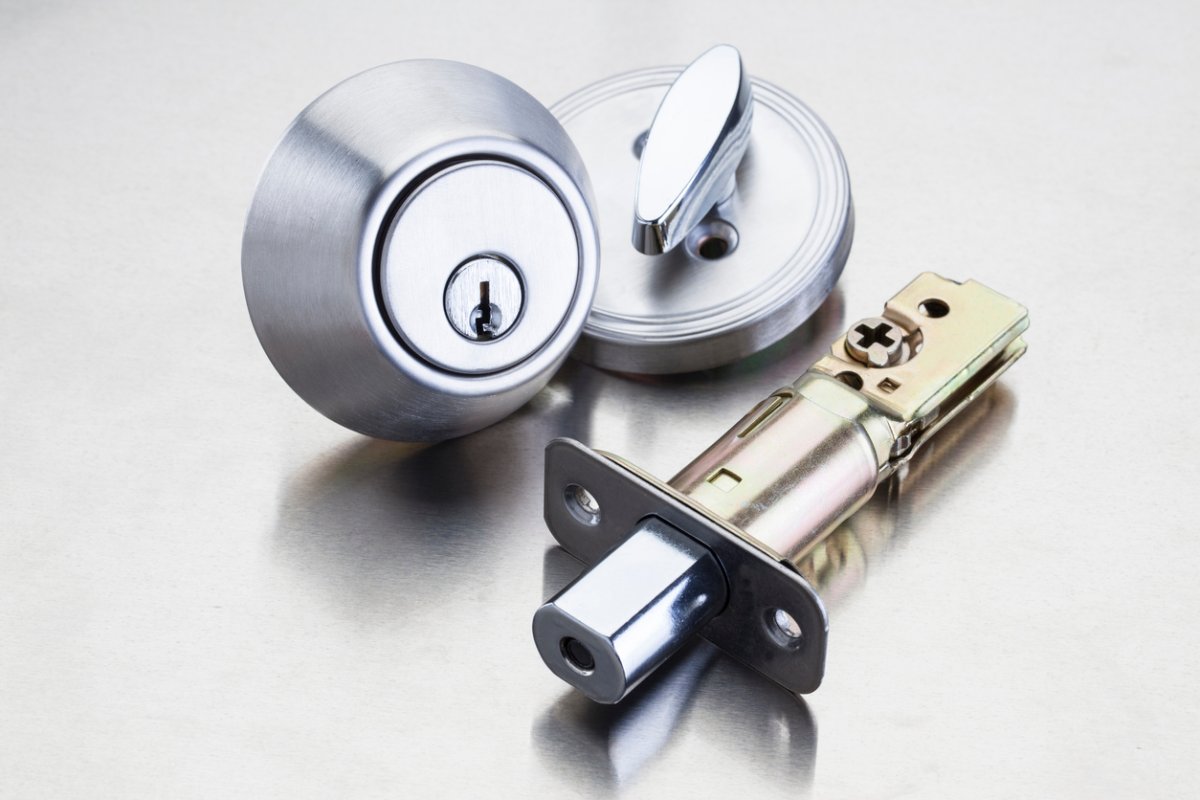
- The lock body is the metal casing that holds all of the locking components together.
- The bolt is the piece of metal that extends from the lock body into the strike plate in the door jamb, preventing it from being opened.
- The thumb turn is the small oval or crescent-shaped knob on the interior side of a single cylinder deadbolt that locks or unlocks the door.
- The cylinder is the locking mechanism of a deadbolt. When the correct key is inserted, it aligns a series of pins, allowing the cylinder to rotate. In a single cylinder deadbolt, a key is required to unlock the door from the outside; from the inside, the lock operates with a thumb turn. A double-cylinder deadbolt requires a key to lock or unlock the door from either side.
Tools & Materials
Bobvila.com may earn a commission from purchases made through these links.
STEP 1: Measure and mark the door.

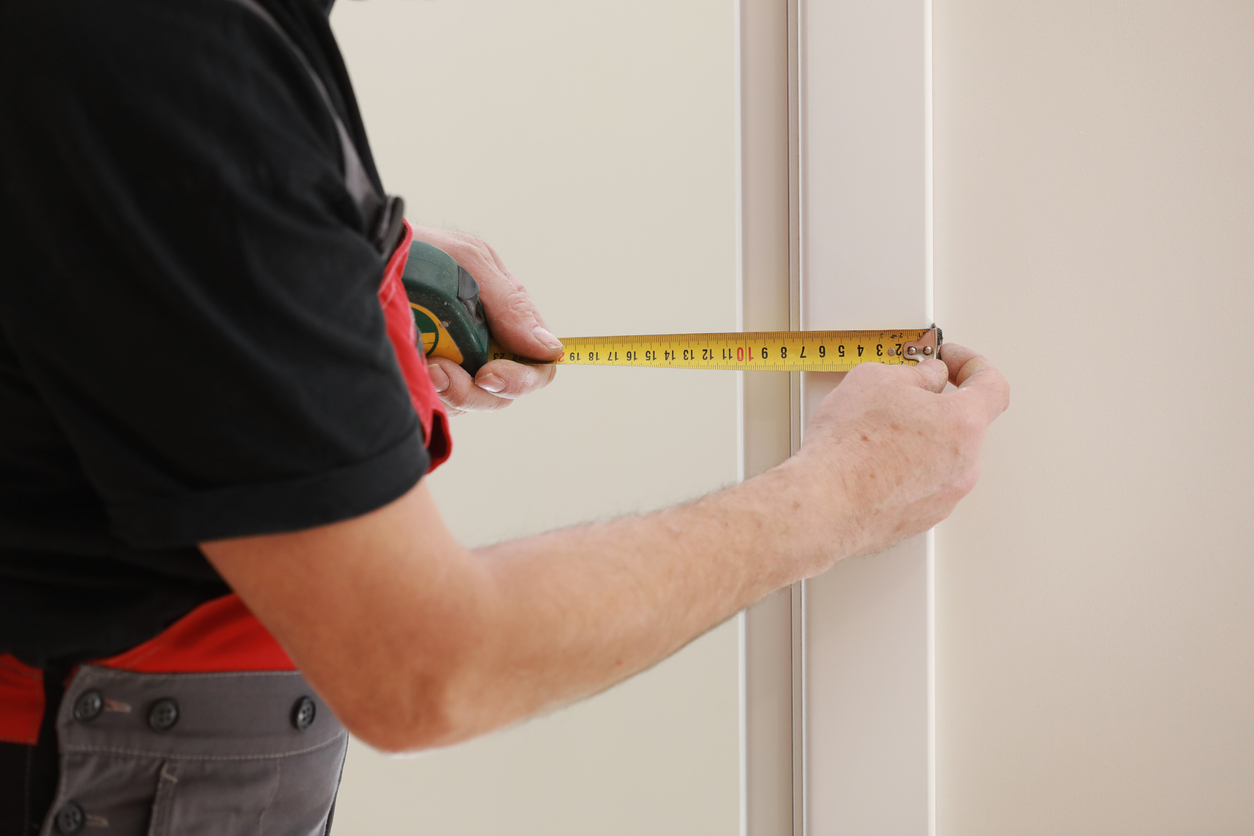
Determine where you want to install the deadbolt. A deadbolt lock is typically installed 6 or 12 inches above the key lock (roughly 44 inches from the bottom of the door). Using the tape measure, determine an appropriate spot and mark it on the edge of the door (the part through which the bolt is going to extend). Now break out your speed square and pencil a straight line at the mark point; it should extend all the way across the door’s side.
Next, again using the speed square, continue that line onto the front and back sides of the door for 6 inches or so. You should end up with a single line that runs continuously, at uniform height, around the far side of the door.
RELATED: 9 Ways to Drastically Improve Front Door Security
STEP 2: Use a hole saw to drill cleanly through the door.

Before you start drilling holes, check the manufacturer’s instructions to make sure you have all of the lock’s required parts (including the keys!), and pull out the template that was included with the package. Mount the template on the door according to the manufacturer’s instructions. The steps the follow describe the basic procedure, but always defer to the measurements on the template and any instructions specific to the deadbolt you purchased.
On each side of the door, mark the point 2⅜ inches or 2¾ inches from the edge (this measurement depends on the length of the latch bolt; for specifics, refer to the detailed template provided by the lock manufacturer). Meanwhile, on the edge of the door, mark the midpoint. The three marks you’ve made indicate where you’re going to drill.
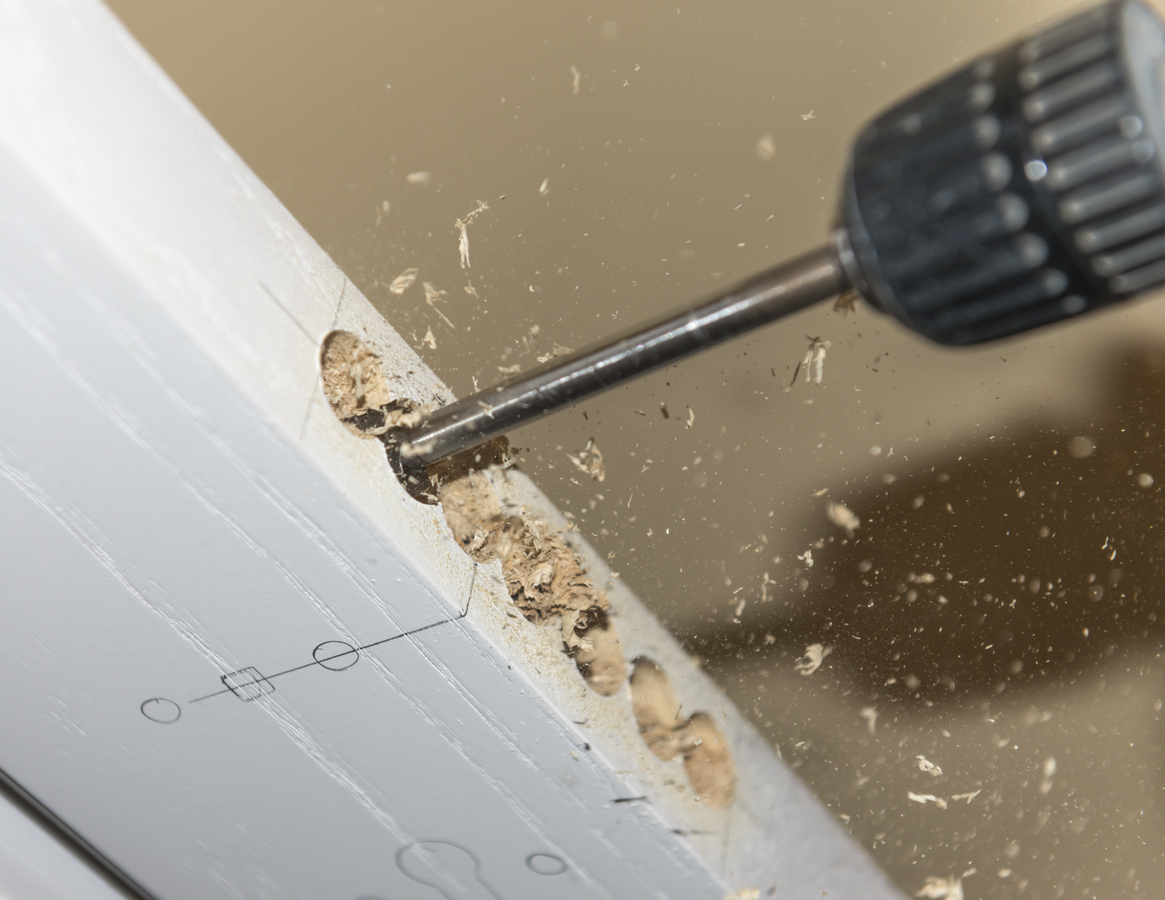
First up is the hole for the lock cylinder. Having attached the 2⅛-inch hole saw to your drill, address the mark on the front of door. Rather than drill all the way through, go about an inch deep, then move over and drill through the other side. You should end up with a clean, precise hole.
Then, using the 1-inch spade bit, drill through the marked midpoint on the edge of the door, continuing until this hole meets up with the larger hole for the cylinder.
RELATED: Solved! What Are the Two Main Types of Door Locks, and Which One Is Best for Me?
STEP 3: Chisel and install the faceplate.

Line up the faceplate on the door’s edge, matching the hole in the plate with the hole you just drilled. Holding the plate in position, trace around it with your pencil, marking its silhouette.
Use a 1-inch chisel to create a ⅛-inch-deep mortise within the tracing. The faceplate and bolt are likely attached, so you will install both simultaneously.
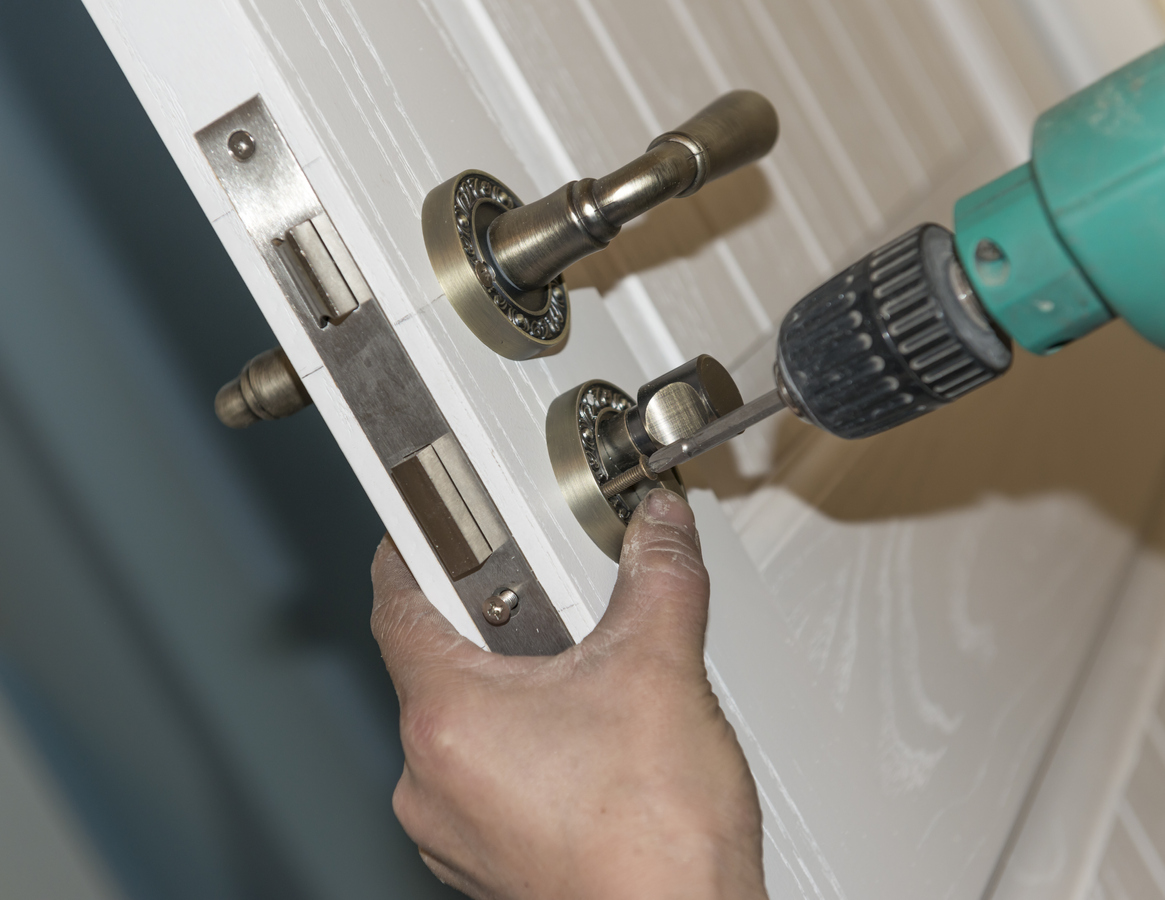
After confirming that the bolt is right-side up, slide the bolt through the latch hole, bringing the faceplate flush with the edge of the door (assuming you’ve mortised correctly). Secure the plate with the mounting screws provided before moving on to the key cylinder. When sliding the cylinder into place through the hole on the face of the door, be sure to fit the cylinder’s tailpiece through the corresponding holes on the bolt.
Once it’s correctly positioned, screw the cylinder onto the door. Then repeat on the other side with the other section of the cylinder: Slide it into the door, join it to the bolt, then screw it in.
STEP 4: Drill the bolt hole and install the strike plate.

After locking and unlocking the mechanism a few times to test its functionality, mark the end of the bolt with a felt-tip pen, lipstick, crayon, or anything you have handy that will transfer a mark from the bolt to the jamb. Close the door and activate the bolt, pressing hard enough to transfer the pen markings to the door jamb.
The marks on the jamb indicate where the bolt hits. Using the 1-inch spade bit, drill a hole to accept the bolt. Now look over the unused lock parts you have left; the strike plate should be among the last remaining. Fit it over the hole, then trace around it with your pencil. As you did for the faceplate in Step 3, chisel out a ⅛-inch-deep mortise.
When you’re finished, set the strike plate into the mortise, making sure it sits flush with the jamb, then secure it in place with screws.
Test the door to ensure that it’s working properly. Assuming it is, you can now rest easier knowing that the average burglar would have a much, much harder time gaining entry to your most valuable investment—your home.
RELATED: 8 Ways to Secure a Door From Being Kicked In
Final Thoughts
If you don’t have deadbolt locks on all of the exterior doors of your home, you’re tempting fate. An experienced burglar can easily defeat even the highest quality spring lock mechanisms on the market. By carefully following these step-by-step instructions, you can complete a deadbolt lock installation on all of your exterior doors and improve your home’s security without having to invest a lot of time or money.
FAQs About Deadbolt Installation
If you’re trying to figure out what type of deadbolt to install, or if you’re thinking about installing a deadbolt on an interior door in a property you’re planning to rent out, read on for answers.
Q. Can you install a deadbolt on an interior door?
It is possible to install a deadbolt on an interior door. You’ll follow the same process that you would for an exterior door. Just keep in mind that most interior doors, especially hollow-core doors, are not as strong as exterior doors and therefore do not offer the same level of security.
Q. Are one-sided deadbolts secure?
One-sided, or single cylinder, deadbolts are just as secure as double cylinder deadbolts, with a few exceptions. For instance, if the deadbolt is in close proximity to a window, as is the case with an entry door with sidelights, or a kitchen door near a window, a burglar could defeat the single cylinder lock by breaking the glass, reaching through the broken pane, and unlocking the deadbolt. For doors with nearby windows, it’s best to use a double-sided, or double cylinder, deadbolt.
Q. How much does it cost to have someone install a deadbolt?
It costs between $40 and $75 to install a deadbolt lock, plus the cost of the lock itself, depending on the type of deadbolt, according to HomeAdvisor.


