
We may earn revenue from the products available on this page and participate in affiliate programs. Learn More ›
Dimmer Switch Installation Steps:
- Turn off power at the breaker
- Remove the old dimmer switch
- Install the new dimmer
- Re-fasten the switch
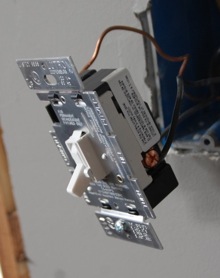
I like mood lighting as much as anyone, particularly first thing in the morning when the full blast of light from a 100 watt bulb makes me scream like a vampire at high noon. Could be that I’m just not a morning person. Regardless, I like to be able to adjust the brightness in a room, and installing a dimmer switch is a pretty easy way to get control over your lighting.
Before You Begin
Before you go around ripping switches out of the wall, there are a couple of things you should know about wiring and dimmer switches:
- Not all dimmer switches are compatible with Compact Fluorescent Lights. If you have CFL bulbs you will need to go with one of the newer varieties, like those from Lutron.
- Check to see if the switch you want to replace is a single pole (one switch) or three-way (can be turned on/off from multiple locations) switch—that too will determine the type of dimmer you need.
- Some dimmer switches use resistors so you’re paying for the electricity even though you’re seeing less light. Newer dimmer switches will actually conserve energy when you’re not lighting the bulb at full capacity.
How to Install a Dimmer Switch
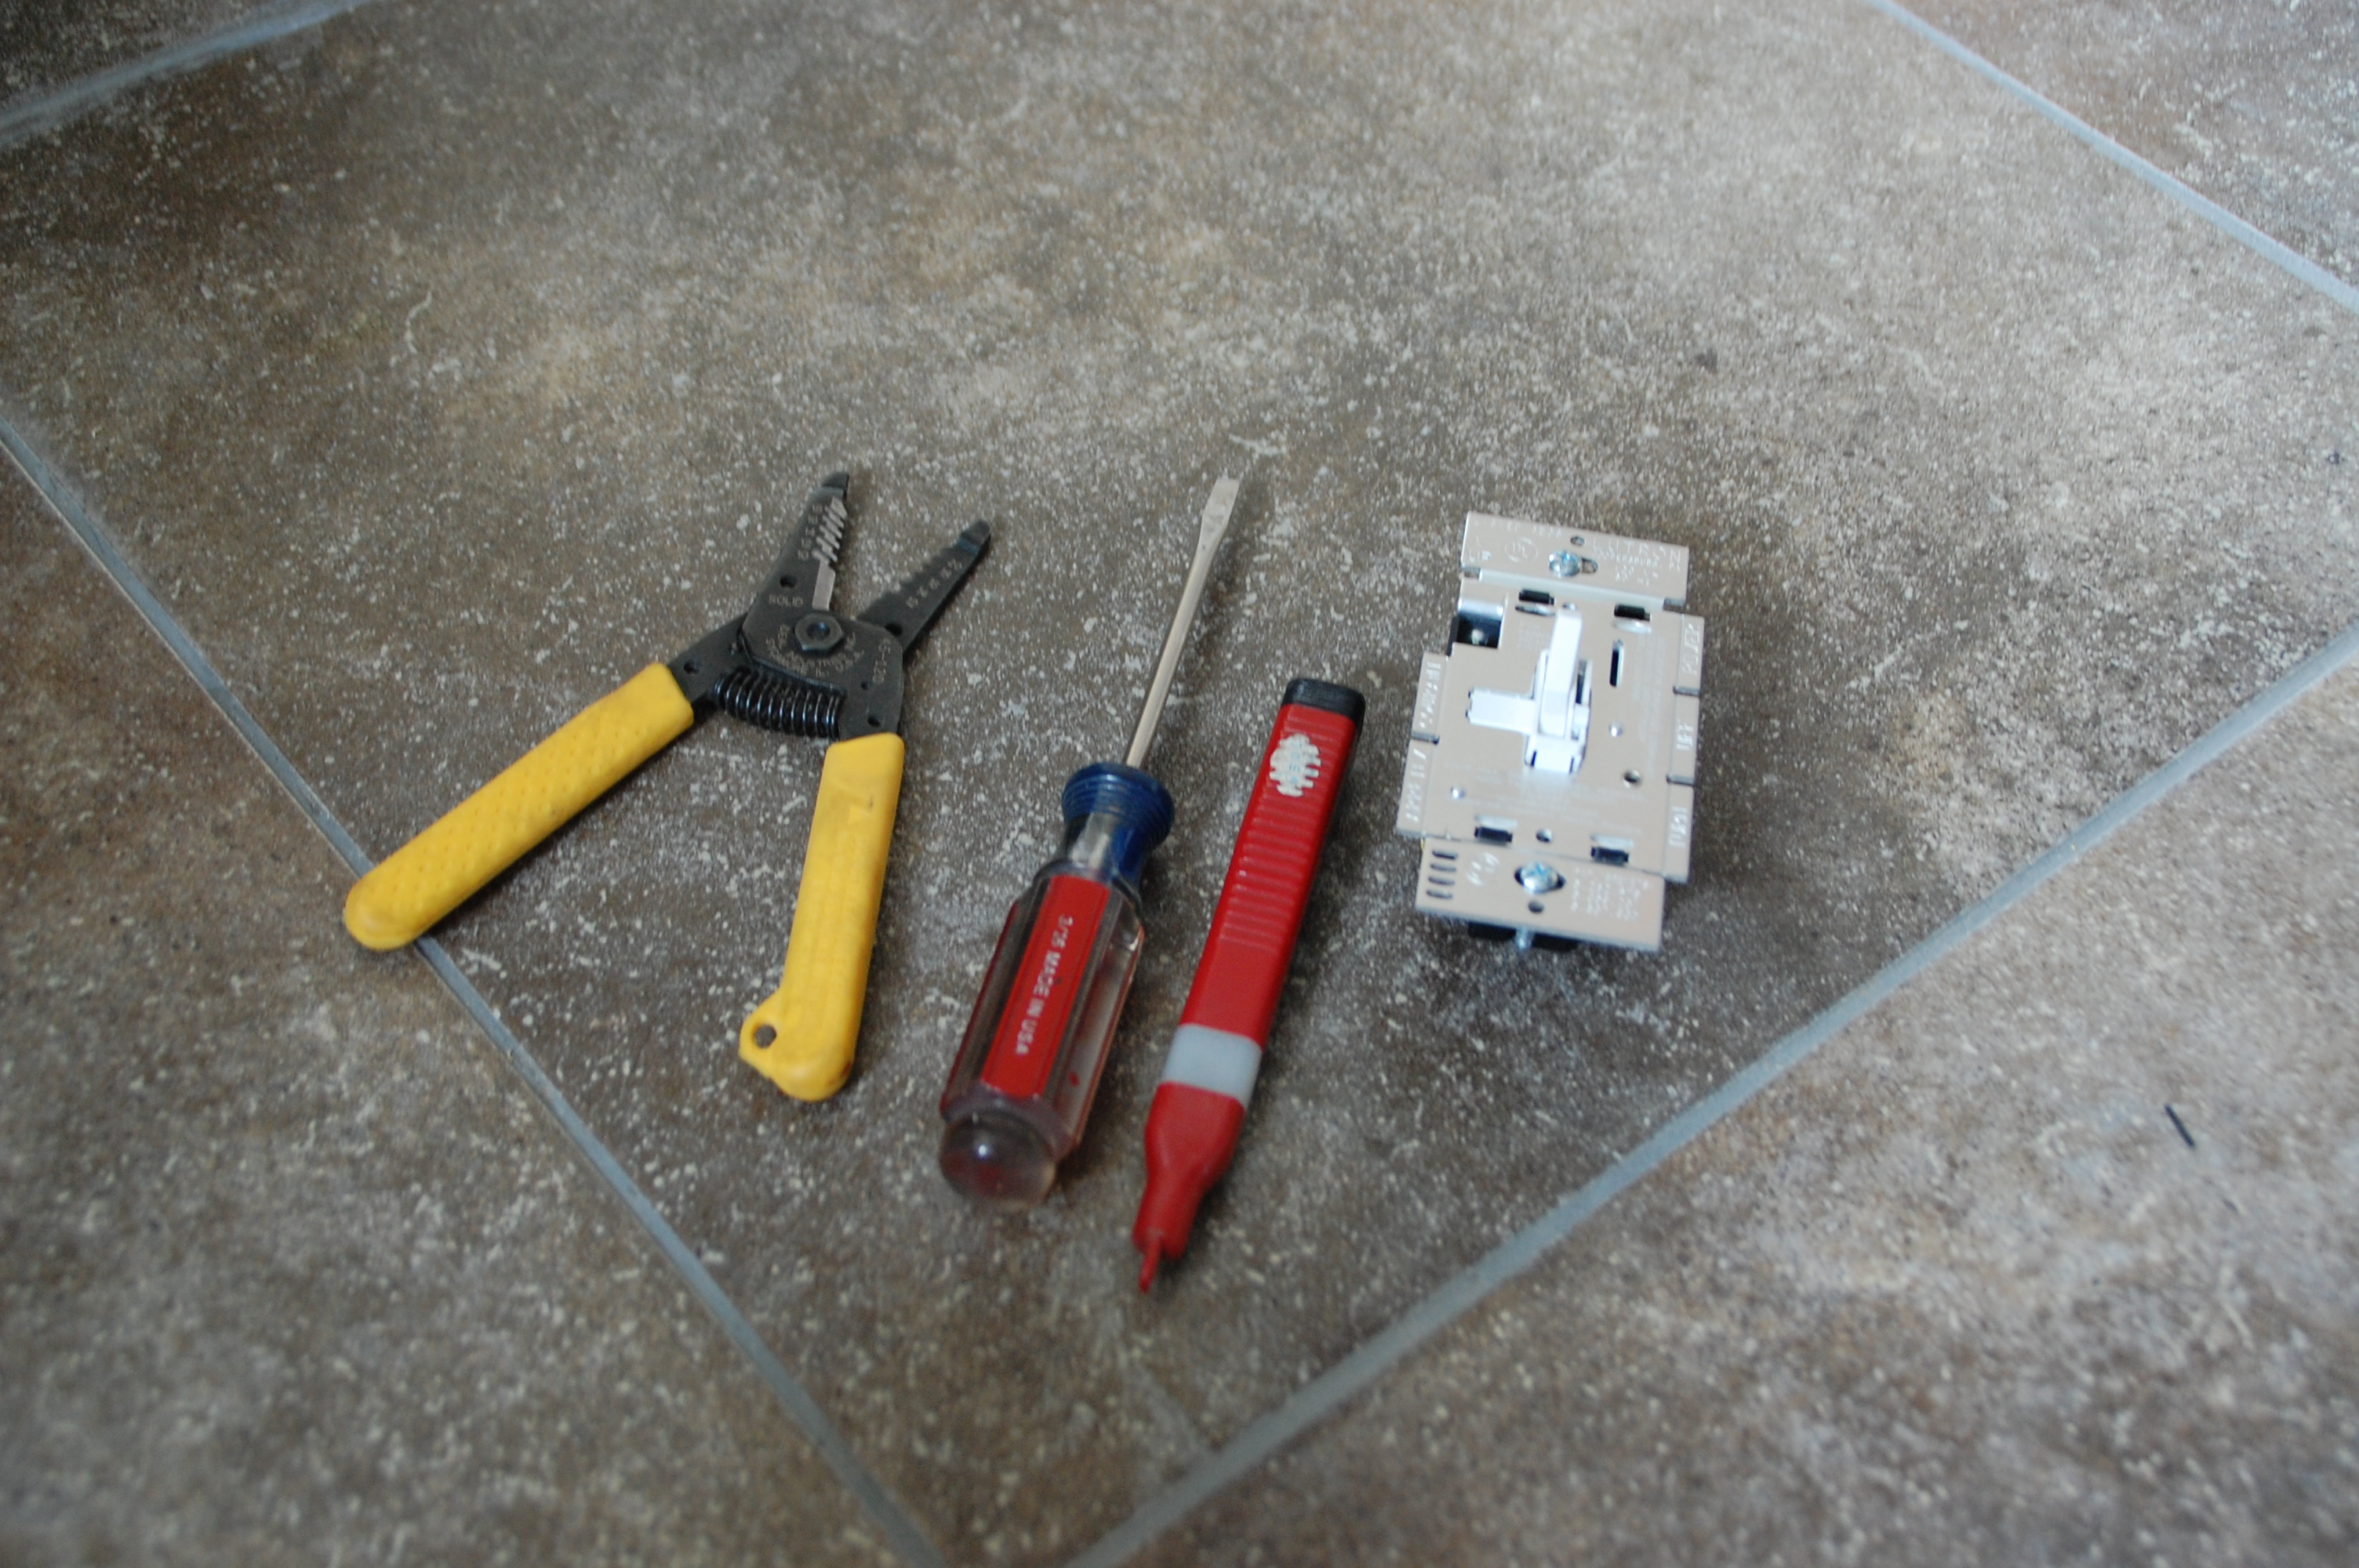
Tools & Materials
Bobvila.com may earn a commission from purchases made through these links.
Step 1: Power Down
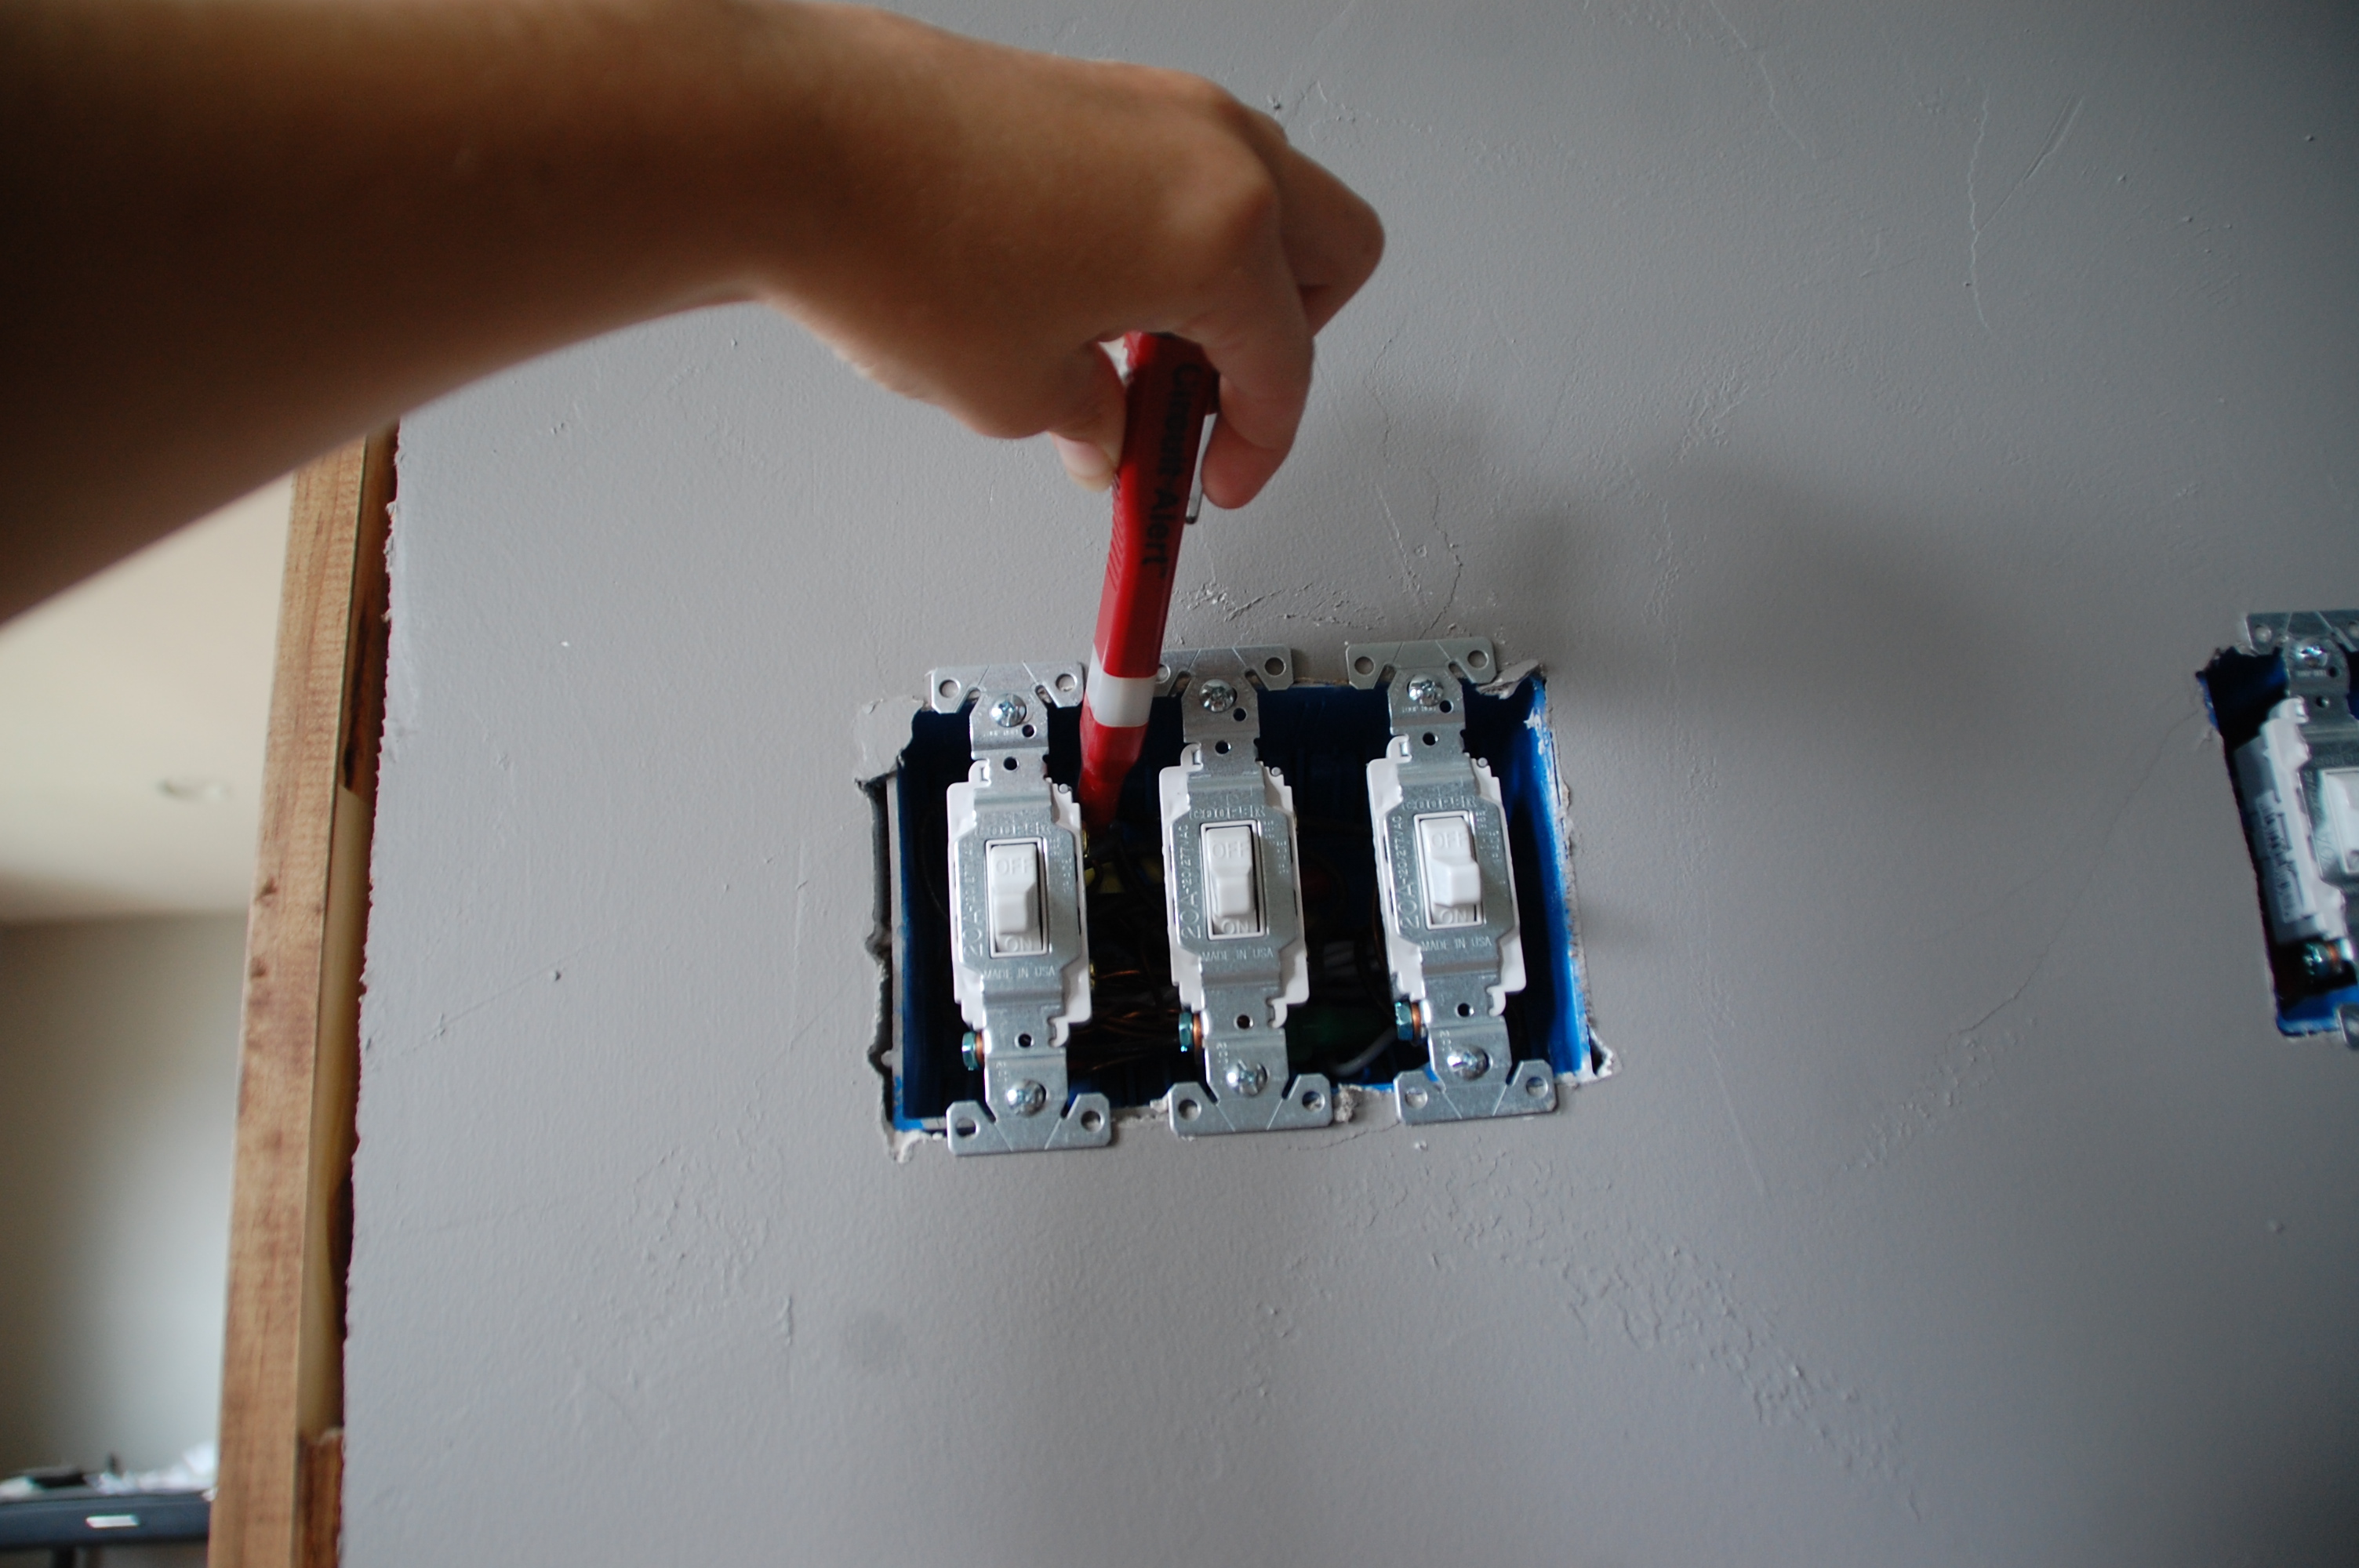
Not at the switch—at the breaker. This is always at least a three-trip ordeal for me… down to the basement, flip the breaker, up to test the switch, over and over again. However, it beats sticking your hand into a live circuit any day. I always use a voltage detector before touching any wires.
Step 2: Out With The Old
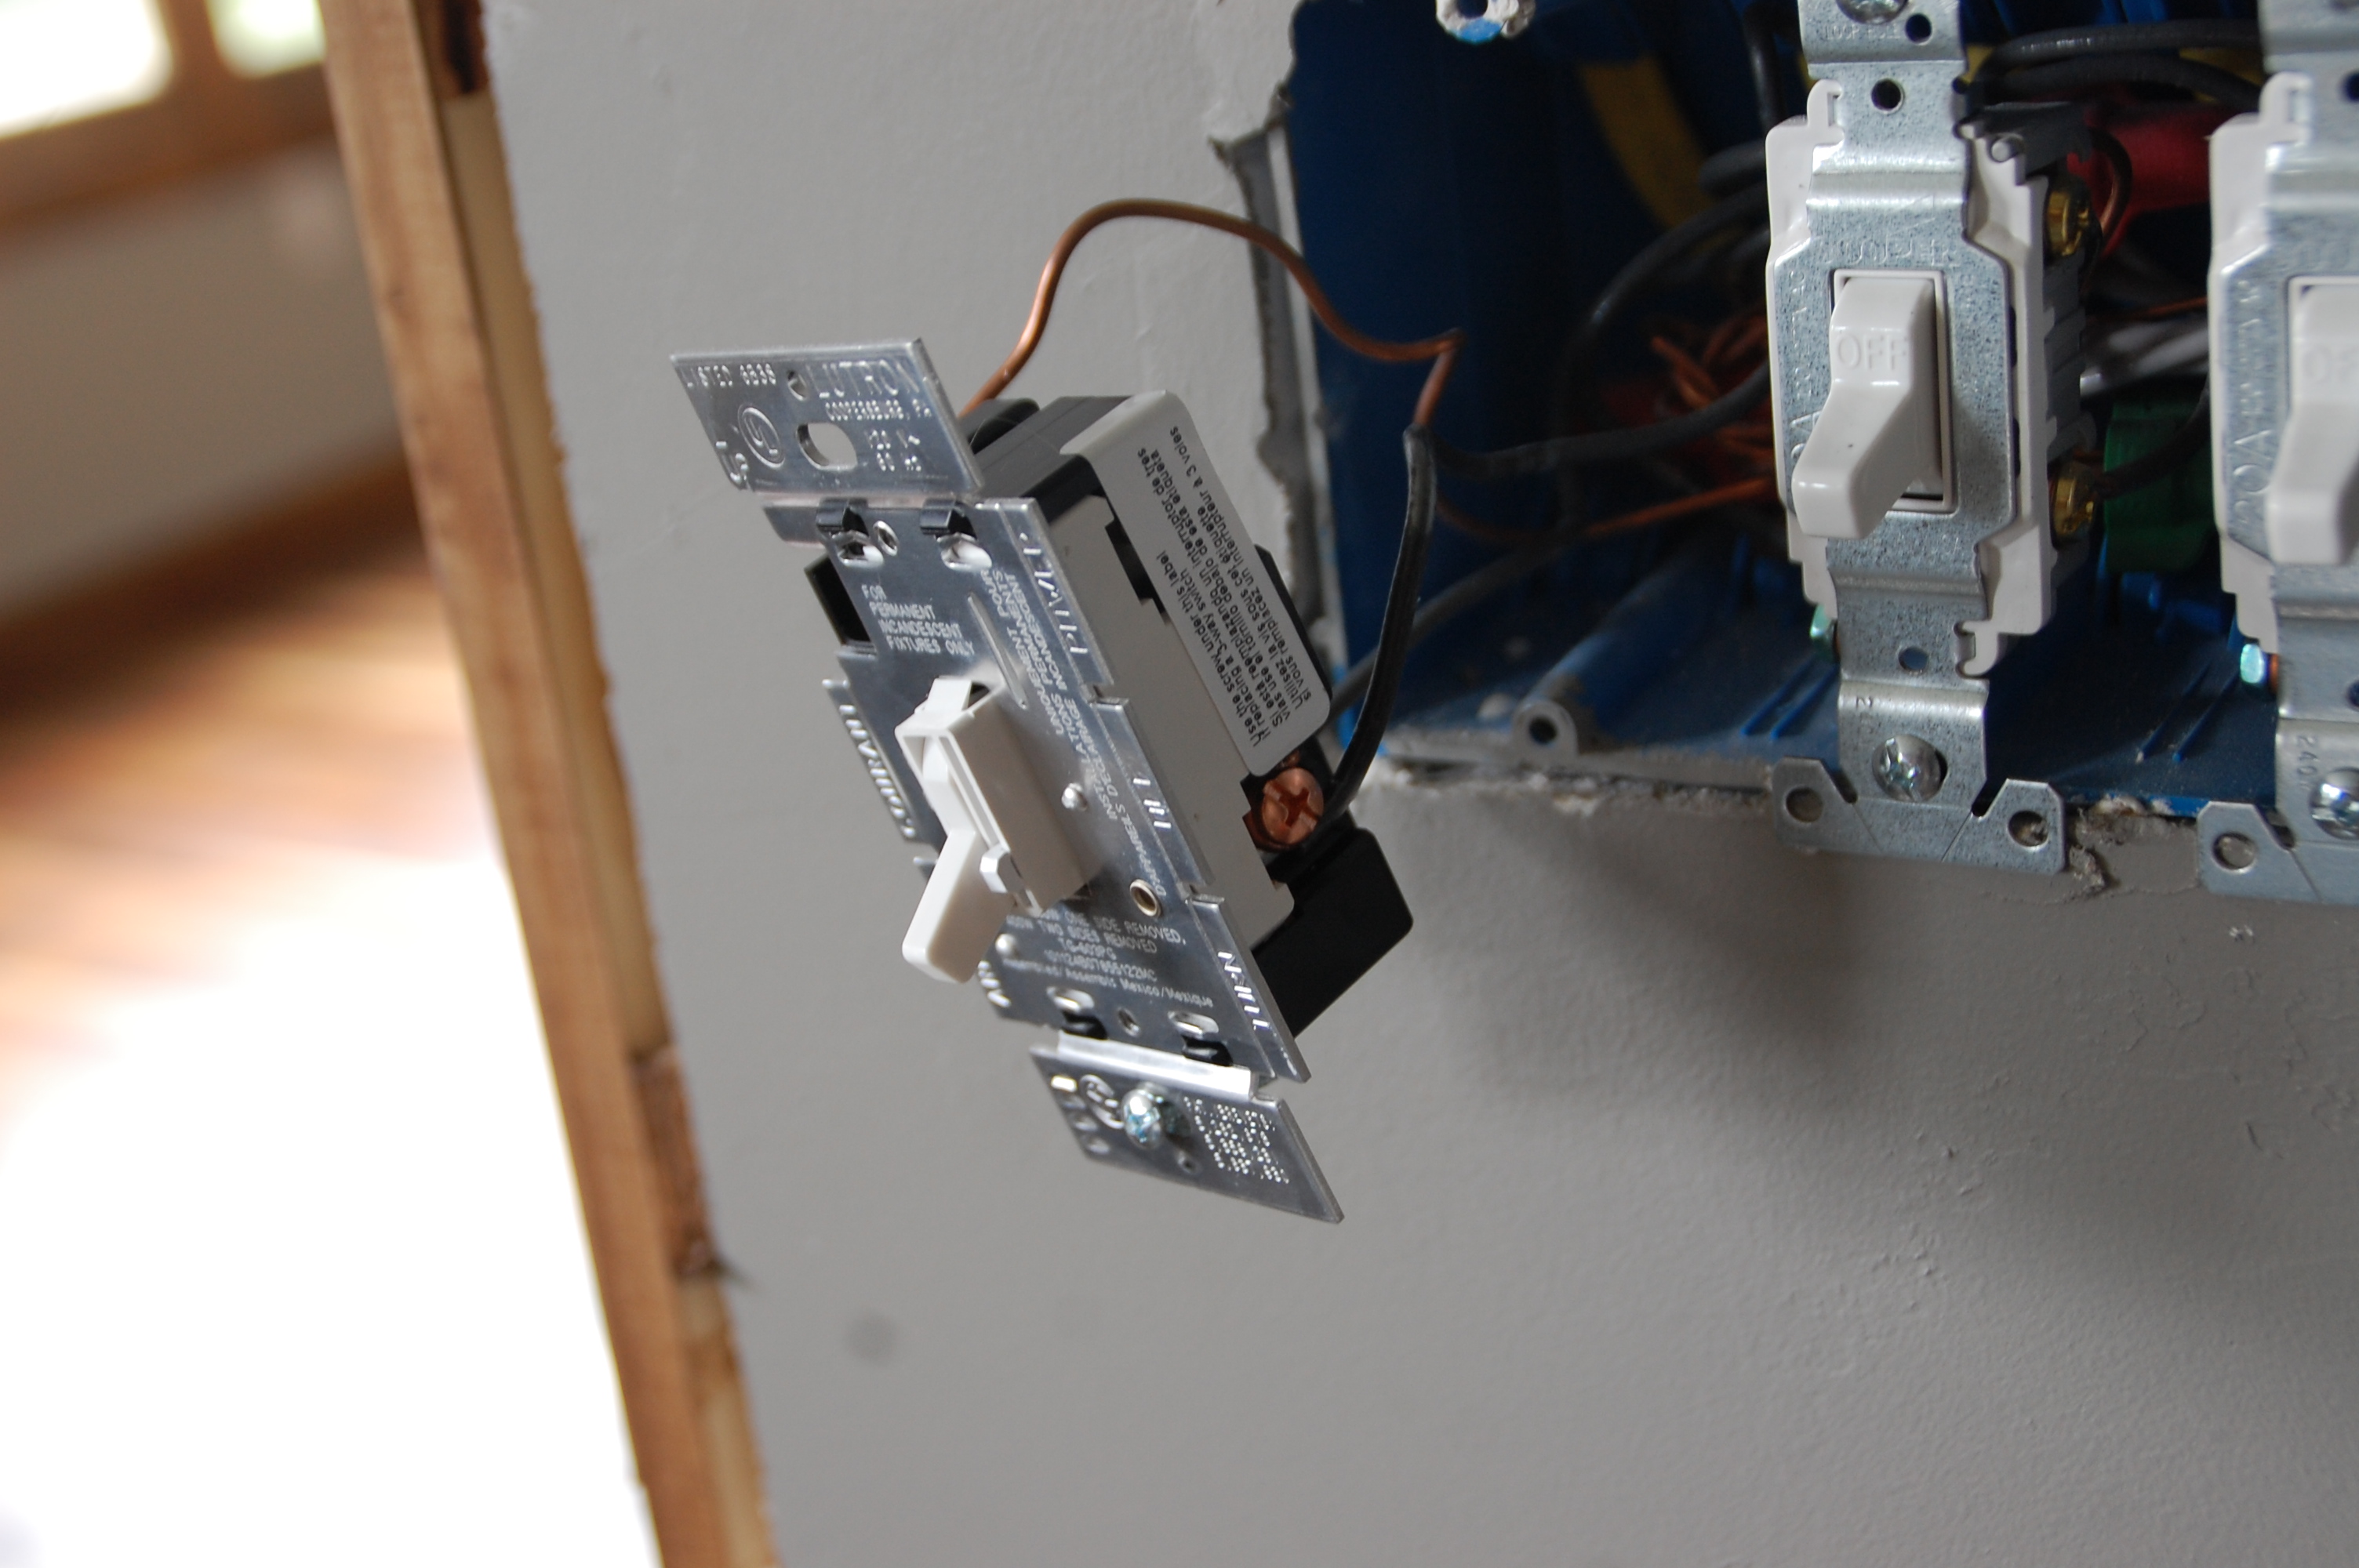
Once everything is shut off, unscrew the old switch and pull everything out so you can get a good look at it. For a toggle switch like this, the wires are more than likely wrapped around the connector screws. Either loosen the screws or use the wire strippers to snip the ends off and remove the old switch.
Step 3: Install the Dimmer
To install the dimmer, read the instructions to make sure you’re clear on what wires go where and which is the top and which is the bottom. As always, green denotes the ground or copper wire. Unlike installing a light fixture, both wires going to the dimmer will be black and usually can be placed on either gold screw. There shouldn’t be any silver screws.
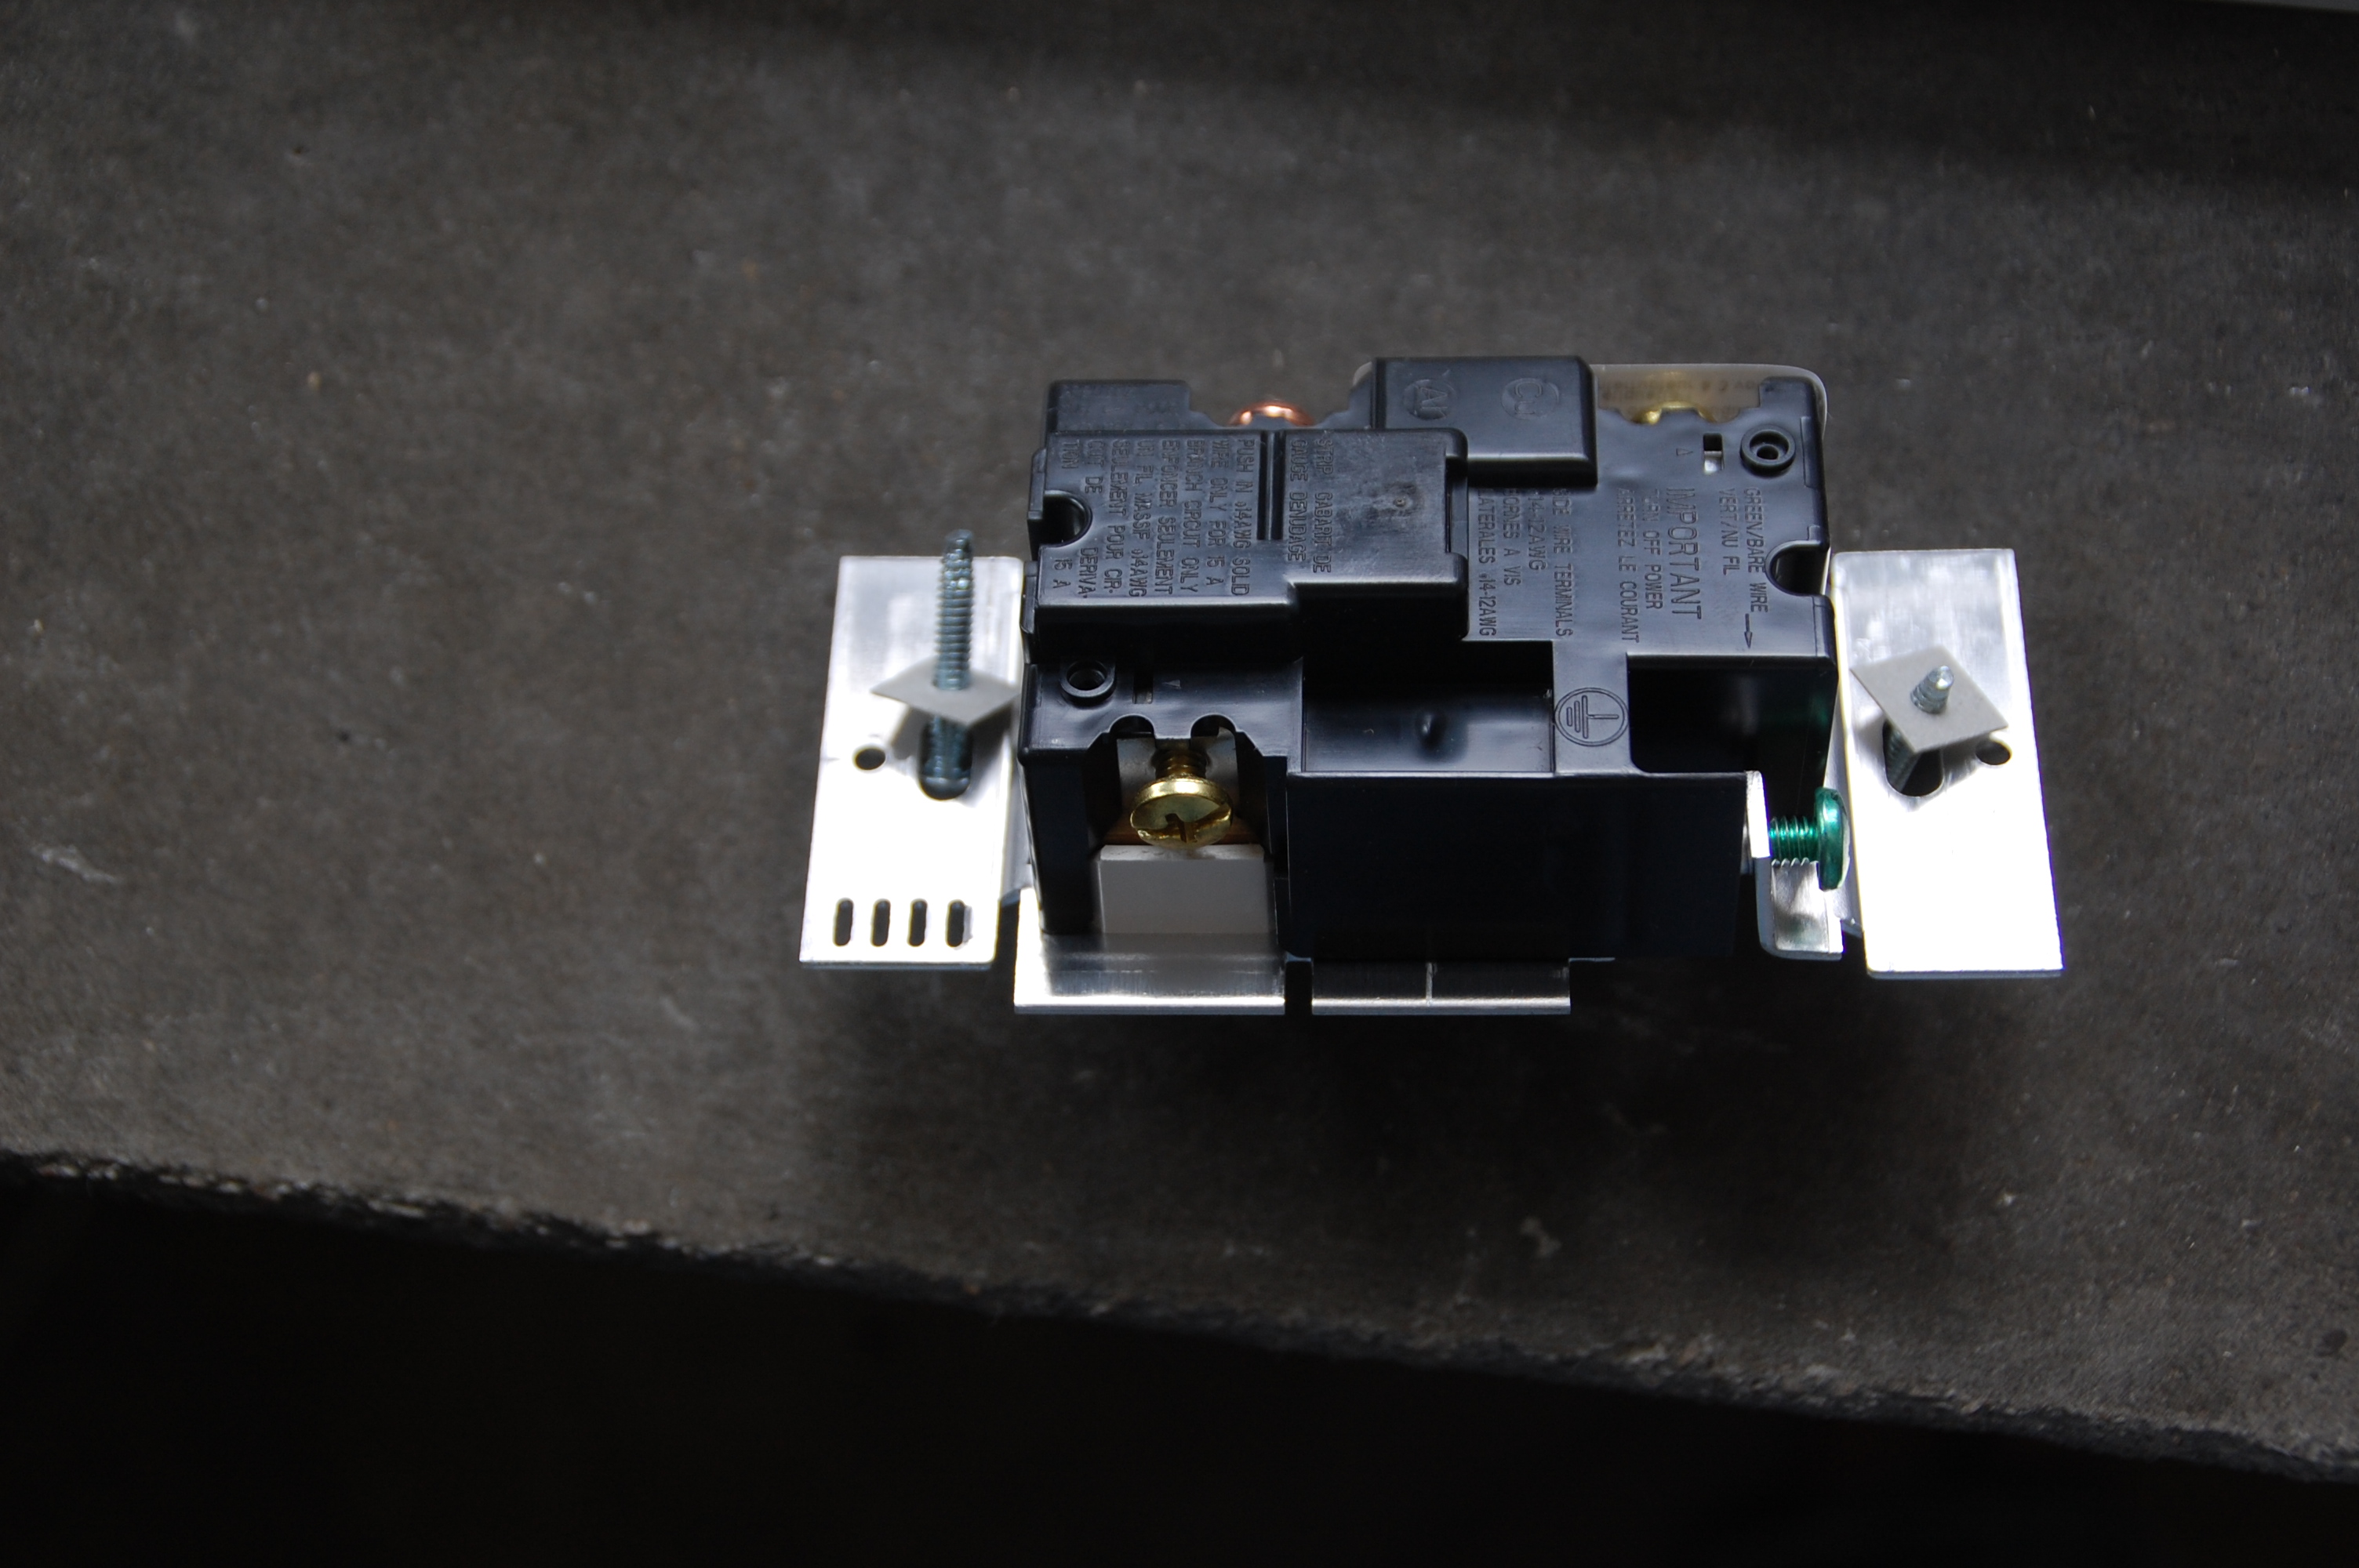
If the switch can be used for either a single-pole or three-way, there may be an extra screw so make sure to look at the wiring diagram. (In this case it was covered by tape so it was very clear which was the “extra” connection.)
Note: On this dimmer’s directions it said you could just insert the wire straight under the screw, rather than loop it around, and tighten the connection. But an electrician friend of mine says he always loops the wire if possible, as he’s seen too many cases where the wire pulls loose. So looping it is!
To connect the wires, strip 3/4″ of casing off the end, loop it into a U shape, hook it around the screw, and then pinch the ends together before tightening the screw down.
Step 4: Putting It Back Together
Once the wires are attached, you will want to re-fasten the switch to the electrical box with two screws top and bottom, and then re-attach the switch plate.
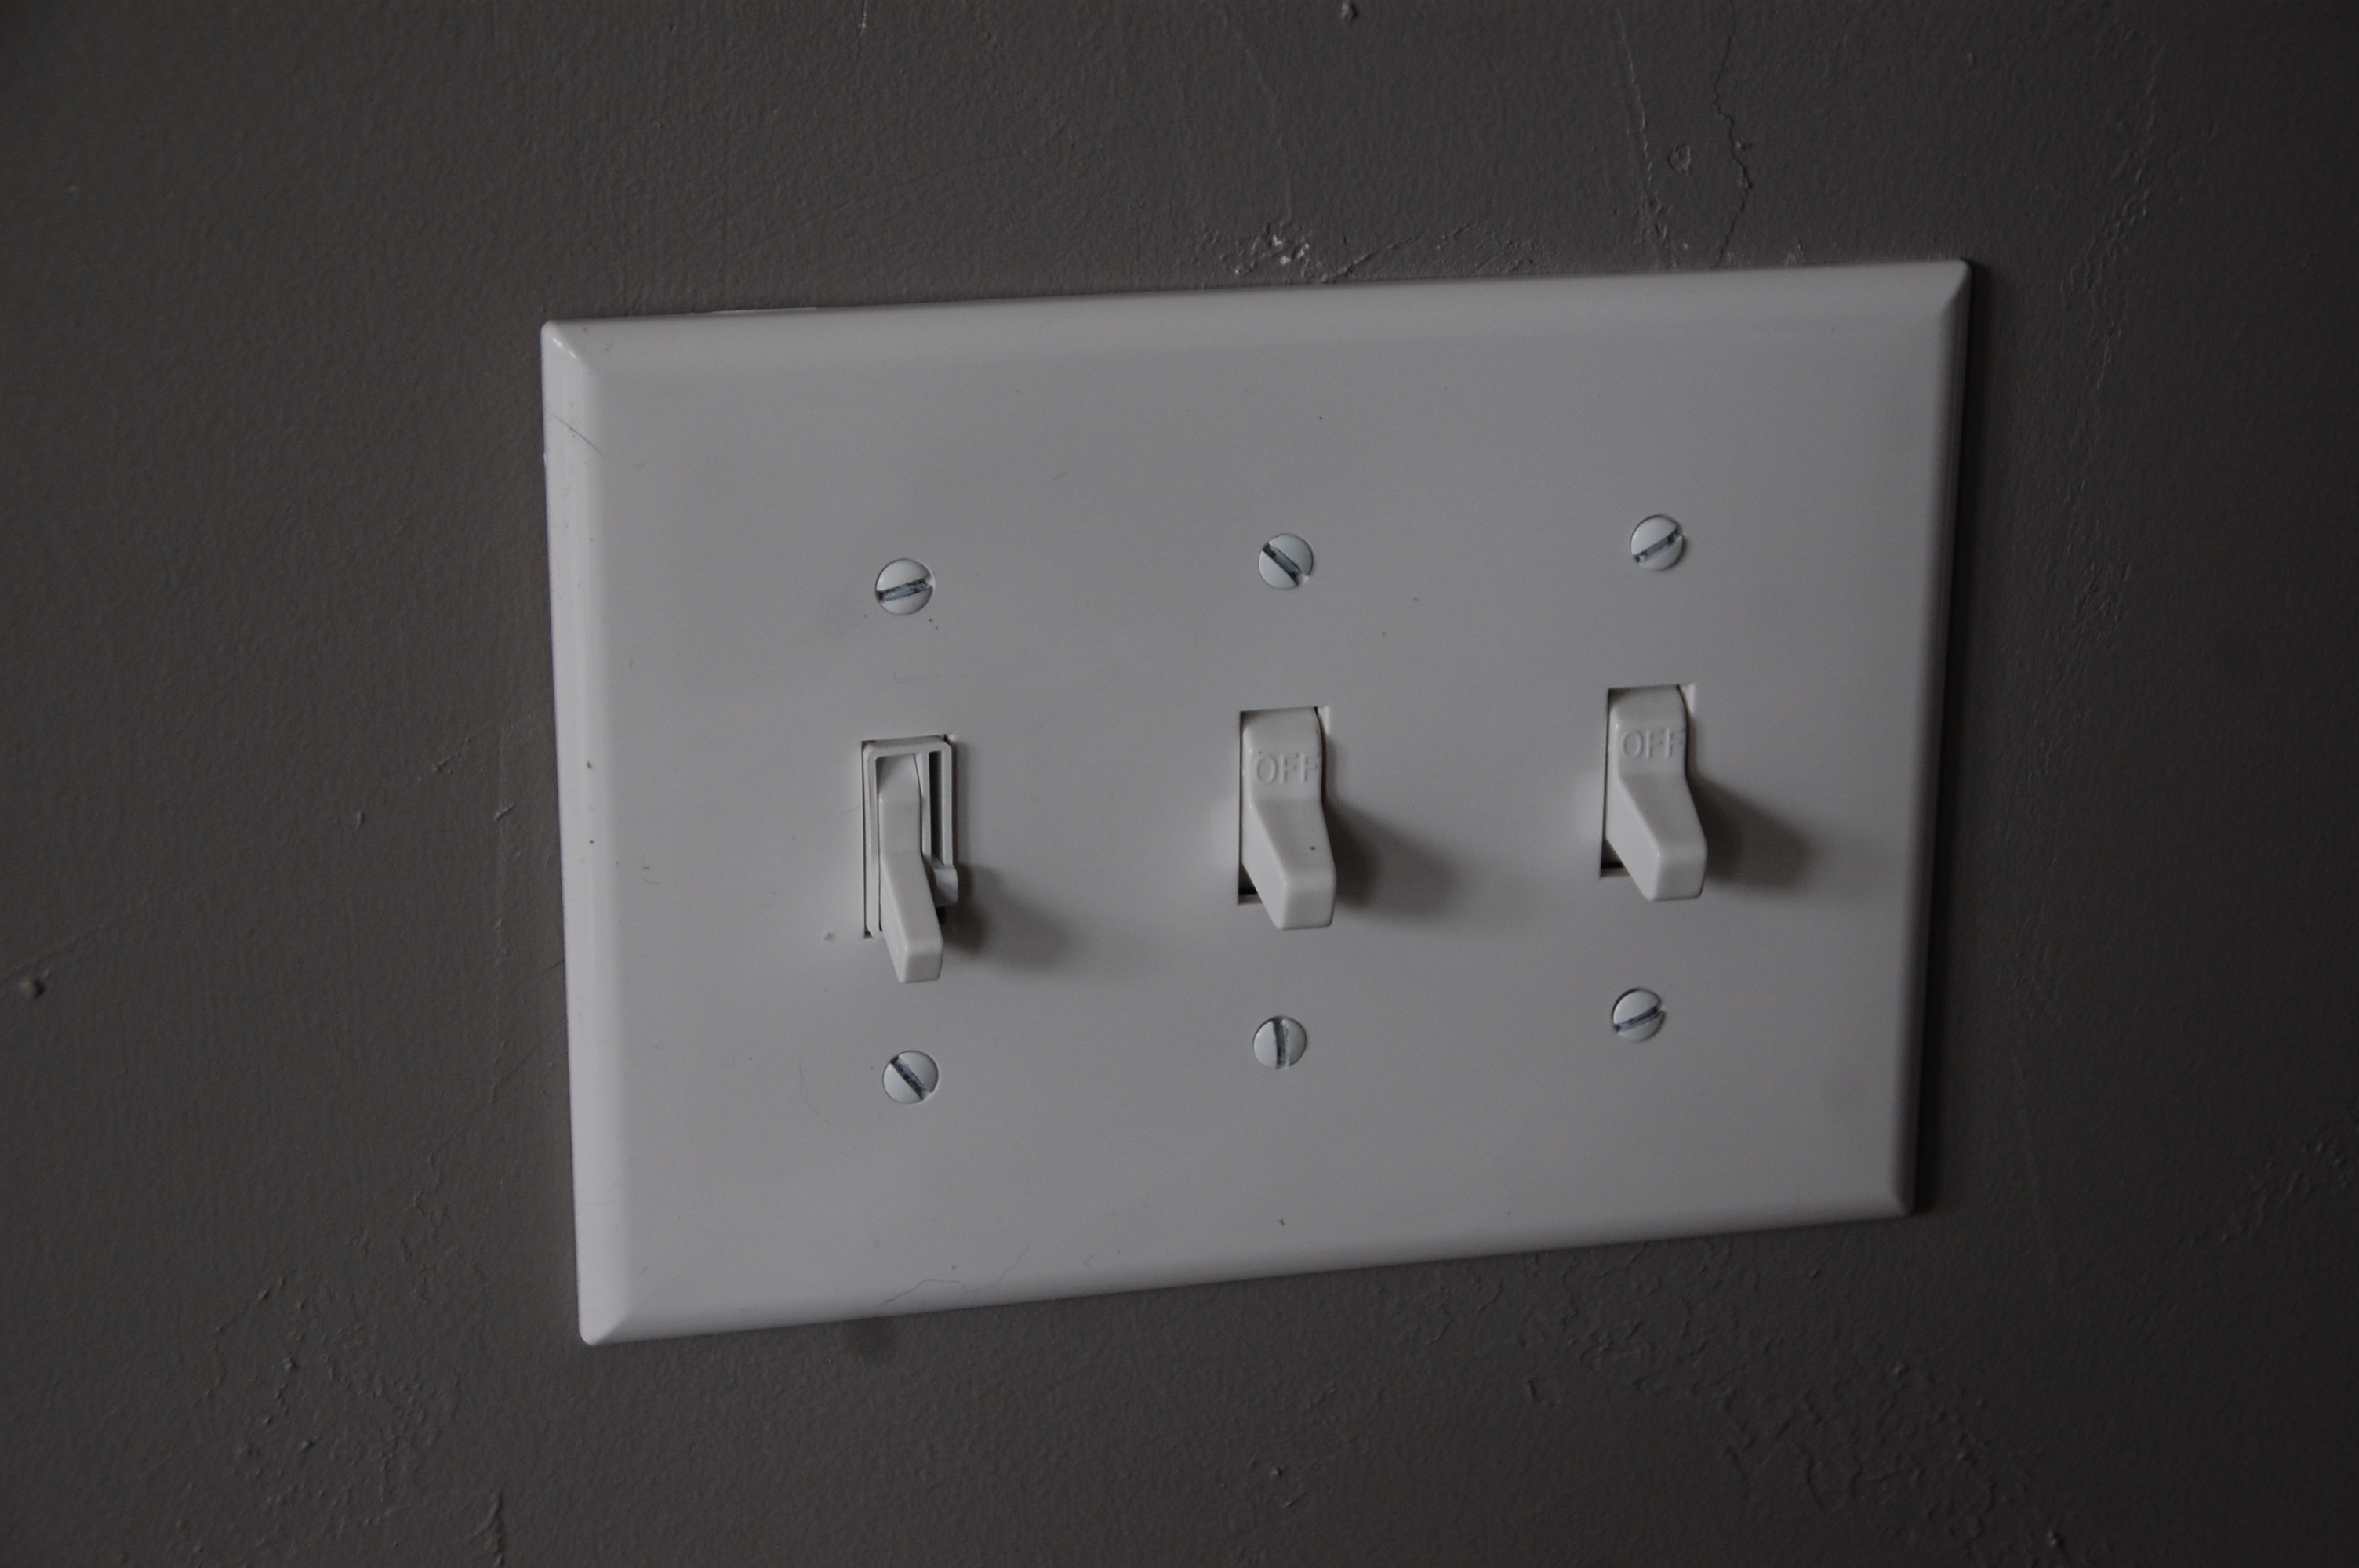
Turn the breaker back on, and there you have it… ultimate control over the brightness in one small section of the universe!
