We may earn revenue from the products available on this page and participate in affiliate programs. Learn More ›
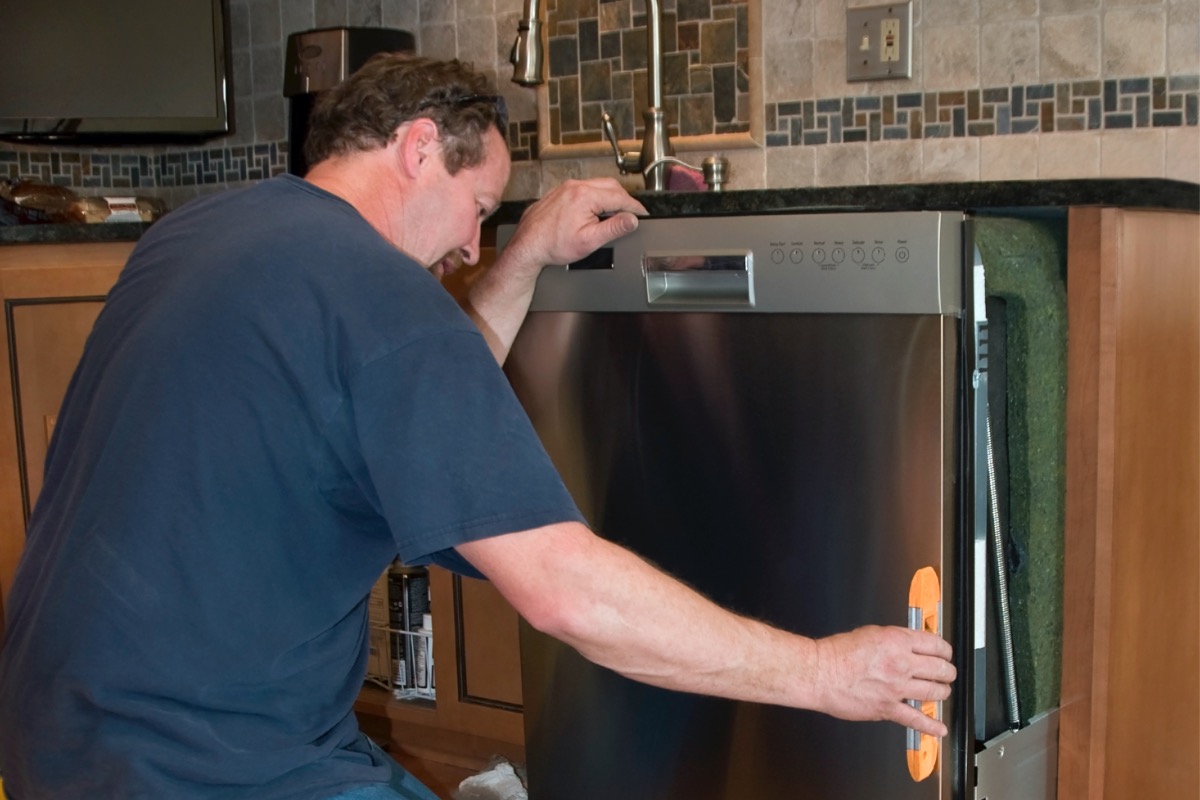
Installing a dishwasher may seem daunting, but with the right instructions and a little care, it can be a rewarding DIY. And with the money you’ll save by not hiring a professional, you may be able to afford to splurge on a high-quality dishwasher that will serve your household well for years.
A word of wisdom: To keep things simple, aim to replace your current dishwasher with a model of the same or similar size and buy the installation package that’s offered with the dishwasher. If your new appliance fits snugly into the space left by the old one, these instructions can help you work through how to install a dishwasher—a job that can be finished within hours.
Tools & Materials
Bobvila.com may earn a commission from purchases made through these links.
- Tubing cutter
- Adjustable wrench
- Electrical wire nut
- Plumber's pipe strapping
- Level
- Drill
- Wire strippers
- 1/2-inch flexible copper tubing
- Tube-bending spring
- Two ½-inch compression fittings (nut)
- Teflon tape
- Brass plumbing elbow
- Cable clamp
- Screwdriver
- Hose clamp
DIY Dishwasher Installation in 11 Steps
If you have never had a dishwasher in your kitchen, or if the one you’ve purchased is significantly larger than your existing model, sophisticated kitchen cabinet work may be necessary to accommodate the new appliance. That’s beyond the scope of this article, but these kitchen remodeling tips can help you plan for a major change.
Step 1: Turn off the power and water, and remove the old dishwasher.
If your current dishwasher is still in place, the obvious first step is to carefully remove it. Before doing anything else, turn off the water supply to the dishwasher and cut the power to the unit. To do this, you’ll need to shut off the power at the electrical panel by toggling the switch associated with the circuit on which the dishwasher runs.
Double-check that the power is off by trying to turn on the machine. If the dishwasher doesn’t respond, it’s safe to move on. Next, break the three connections that allow the dishwasher to do its dirty work: the drain line, the water supply, and the electrical supply.
Step 2: Prepare the electrical and plumbing connections.
With the old dishwasher out of the way, you can now prep the connections for the new unit. Existing electrical wiring may be reused as can an existing copper water supply line. If the water supply line isn’t copper, however, it’s a good idea to replace it. (If the supply line is copper, skip ahead to Step 3.)
Remove the old plumbing line, and begin snaking 1/2-inch flexible copper tubing from the front of the dishwasher cabinet to the hot-water valve under the sink. Once you’re finished, use a tubing cutter to cut the line away from the remainder of the tubing coil.
Step 3: Connect the new tubing to the hot water valve.
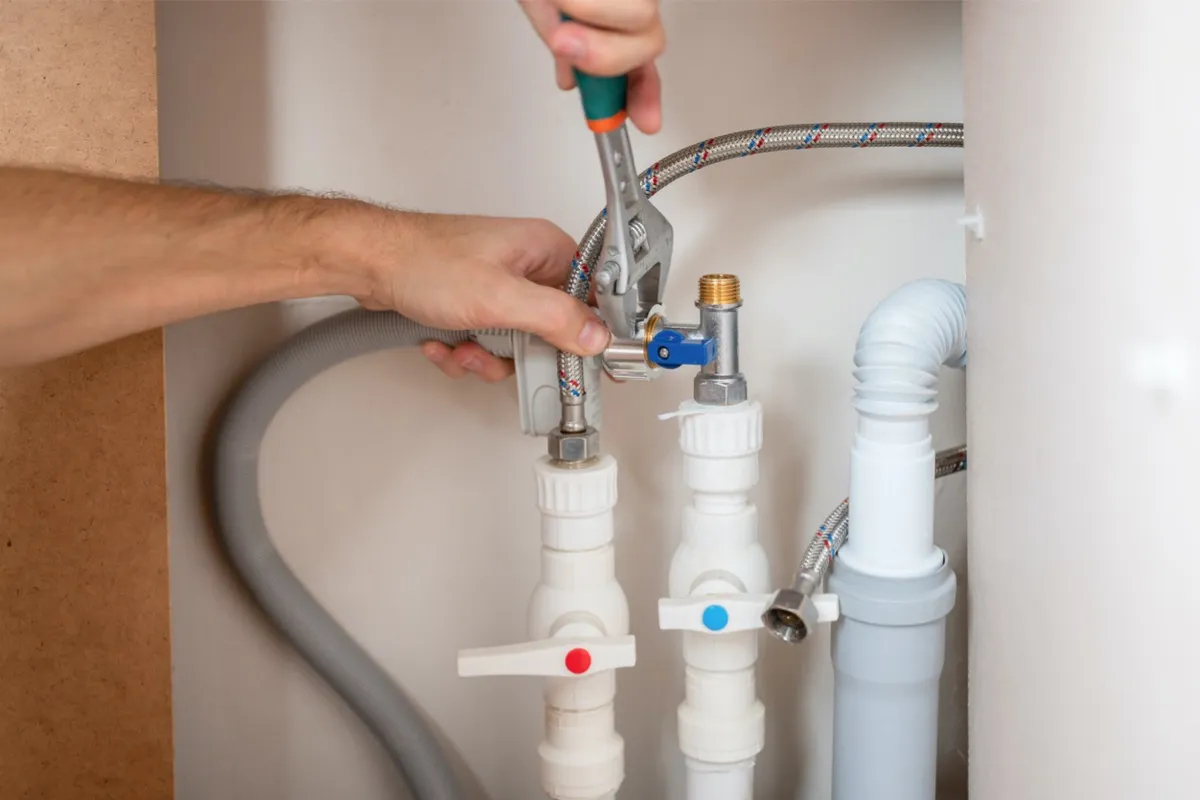
Under the sink, maneuver the tubing as close as you can to the hot-water valve. To make the connection, it may be necessary to use a tube-bending spring, a small plumber’s tool that enables you to shape the tubing as needed. Secure the connection with a compression nut (also called a compression fitting), which can be tightened by hand before it gets a final tightening with a wrench.
Step 4: Shape the tubing and electrical cable along the dishwasher’s channel.
Look on the bottom of the dishwasher to locate the channels along which the water supply and electrical cable are meant to run. Measure their locations with respect to the sides of the dishwasher, then transfer those measurements to the floor of the cabinet.
Now use the tube-bending spring to shape the copper tubing so that it travels along the side of the cabinet and then along the supply line you’ve marked on the floor of the cabinet. Do the same for the electrical cable.
RELATED: How Much Does Dishwasher Installation Cost?
Step 5: Install the new drain hose.
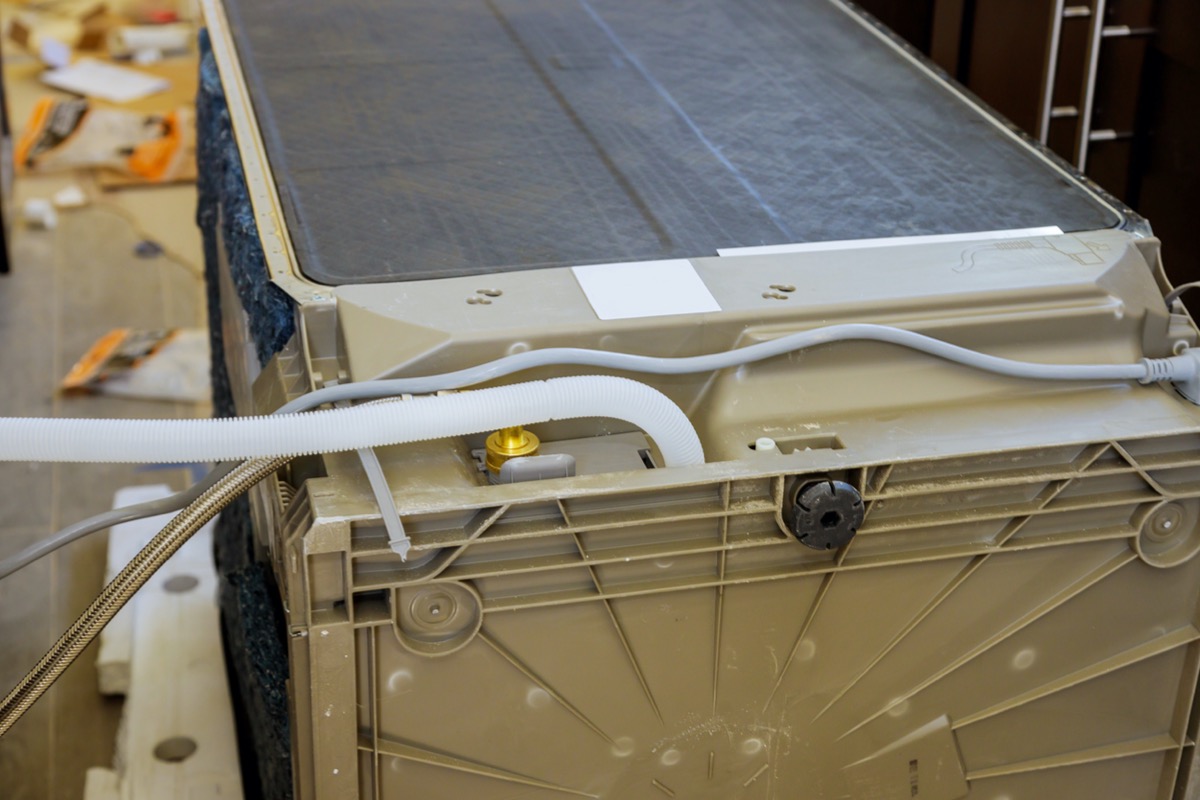
A new dishwasher comes with its own drain hose. Assuming you’ve removed the drain hose for the old dishwasher, go ahead and run the new one from the dishwasher cabinet through the existing hole and to the area under the sink. As you do so, be careful not to let the hose kink. In a later step, you will connect the hose to the dishwasher and the sink drain.
Step 6: Prepare the water inlet with the copper supply line.
Enlist another person to help you ease the dishwasher onto its back. From there, you can more easily remove the panel cover at the base of the unit and access the water inlet, through which clean water will feed into the unit. Wrap Teflon tape around the threads of the inlet and use an adjustable wrench to attach either a 3/8-inch or 1/2-inch brass elbow, depending on your appliance.
Now, using the tube-bending spring, turn the flexible copper supply line so that it meets the brass elbow you’ve added. Where the two meet, the copper must run for at least two inches without any bends. Secure the connection between the tubing and the elbow by placing a compression fitting over the straight run of copper. Tighten the compression nut with your hands before giving it an extra turn with an adjustable wrench.
Step 7: Push the wires through the junction box.
Turn your attention to the electrical cable (which may be left over from the old dishwasher hookup). Slide a cable clamp over the exposed wires, right where the wires disappear into the plastic or metal sheathing around the wire bundle. Then locate the junction box and remove its cover plate.
Loosen the nut on the cable clamp and push the wires (along with the threaded end of the clamp) through the junction box’s hole. Then, use a screwdriver to tighten the nut again on the part of the clamp that remains outside the box.
Step 8: Connect the wiring inside the junction box.
Inside the junction box, use wire nuts (and wire strippers, if needed) to join the identically colored wires, white to white and black to black. If the wires coming from your home are sheathed in plastic (such as Romex), then be sure to connect—by means of another wire nut—the green wire (the ground) to the dishwasher’s green (or bare copper) wire.
Otherwise, wrap the dishwasher’s ground wire around a mounting screw on the junction box, then fasten the screw so that the ground doesn’t budge. Finally, fold all the wires into the junction box before screwing the cover plate back onto the receptacle.
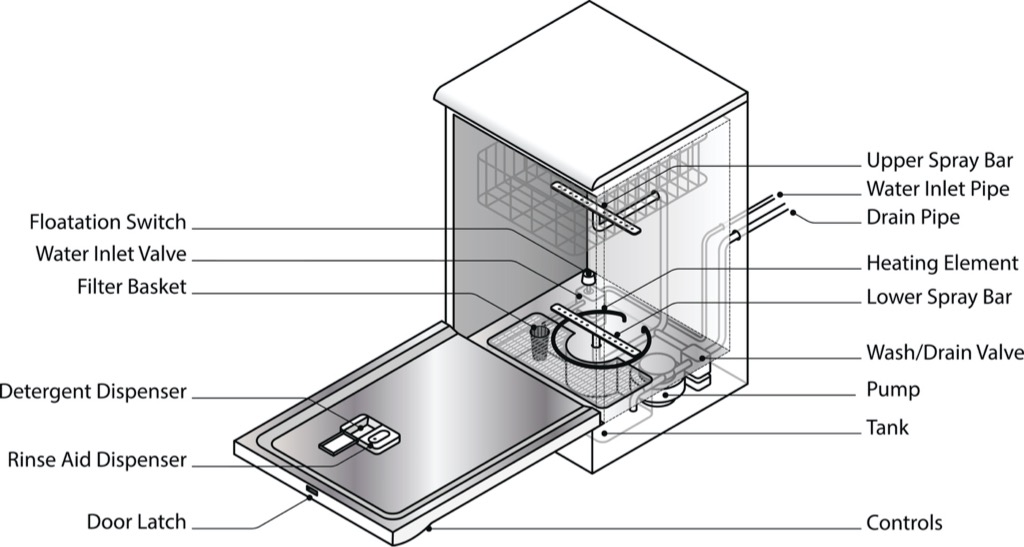
Step 9: Connect the drain hose to the dishwasher.
Back in Step 5, the drain hose was run from the dishwasher cabinet to the sink drain. Now it’s time to make the necessary connections. First, slip a hose clamp over the “sink side” of the hose, then fit the hose over the inlet on the sink drain.
With plumber’s pipe strapping, secure the hose against the top of the sink cabinet (or high on its rear side), so the hose arcs before it reaches the inlet. That U-shape is very important, because it prevents sink backflow from entering the dishwasher. Meanwhile, inside the dishwasher cabinet, connect the other side of the hose to the dishwasher’s drain. This latter connection should be very quick and easy to make.
RELATED: What to Do When Your Dishwasher Is Not Draining

Tried-and-True Advice
“The first time I installed a new dishwasher, I didn’t secure the drain hose properly. What a mistake! I ended up having wastewater from the sink garbage disposal run back into the dishwasher, creating a mess in my brand-new dishwasher. The drain hose needs to be higher than the water line in the sink, otherwise wastewater can backflow through the drain line and into the dishwasher. Loop it as high as you can, and strap it in place to avoid this disaster.”
—Tony Carrick, Contributing Writer
Step 10: Check for level and adjust the dishwasher’s position.
With the dishwasher in place, adjust its feet until the mounting brackets meet the underside of the counter. Check with a level to make sure that the appliance isn’t tilting to either side; adjust as necessary. Now use the drill/driver to drive screws through the mounting brackets, firmly securing the dishwasher in position. Replace the access panel cover at the base of the unit, which you removed in Step 6.
Step 11: Test the dishwasher.
Turn on the water supply and return power to the circuit to which the dishwasher is connected. Don’t turn on the dishwasher yet. Over the next few hours, keep a close eye out for leaks. If there aren’t any, load up your new dishwasher and conduct a test wash.
RELATED: Solved! How Long Do Dishwashers Last?
Final Thoughts
Replacing a dishwasher with a new one that’s the same size as the current dishwasher is easier than installing a different-sized dishwasher, or an appliance in a new location. By following these simple steps and using quality tools, an old dishwasher can be replaced in just a few hours. Just be sure to turn off the power and water supply to the old dishwasher before attempting this project.

