We may earn revenue from the products available on this page and participate in affiliate programs. Learn More ›
Ever since we’ve had doors, we’ve been reinventing ways to be alerted to a visitor’s arrival. Hefty iron knockers gave way to tinkling bells that chimed at the turn of the handle, and today, technological advances have made doorbells more versatile than ever. Whether you’re updating your entry and want to replace an old doorbell with a more inviting model or you’re looking to upgrade to something “smart,” we’ll guide you on how to choose as well as how to install a doorbell that’s right for your home.
Before we jump right into the how to install doorbell instructions, keep in mind that there are three main types of doorbell options available today: hard-wired, wireless, and Internet-capable (which link to your home’s router, in either wired or wireless versions). You’ll find specific instructions walking you through how to install a doorbell for each of these types of ringers below.
How to Install a Wired Doorbell
Installing a doorbell deals with low-voltage electricity, and is a relatively straightforward DIY if you take the necessary precautions, including shutting power off before you get started.
A standard, hard-wired doorbell has three components—the button, the chime, and the transformer—which can be purchased together in doorbell kits or separately. Wired doorbells run anywhere from $25 to more than $500 for decorative chime units and smart technology features.
SUPPLIES
- Doorbell transformer (optional)
- Doorbell chime
- Doorbell button
- Multimeter
- Screwdriver
- Non-contact tester
STEP 1: Determine if your home is wired for a doorbell.

Hardwired doorbells are generally installed during the construction of a home when an electrician can easily run wires through the unfinished walls. If the home isn’t wired for a doorbell, the easiest course of action is to purchase a wireless doorbell.
If your home was never wired for a doorbell and you’d prefer a wired model, installation can be costly because new wires must be fished through the walls, and that’s a labor-intensive process. The process involves finding a nearby junction box, wiring in a new transformer, and running new wires to the side of the door—more work than is really necessary to get a doorbell.
To check whether your home is wired for a doorbell, cut off the home’s power at the main breaker box. Then, remove the doorbell and see if there are wires behind it.
STEP 2: Check if the doorbell transformer is working.
Transformers are small boxes connected to an electrical box with a set of small, thin wires connected to them. These devices take 110V or 120V electricity and transform (or reduce) it to the 8V, 16V, or 24V level that a doorbell will require. You’ll usually find transformers in nearby closets, basements, utility rooms, and other out-of-the-way spaces.
To determine if the transformer is functioning, use a multimeter to test it. With the multimeter set to VAC (volts AC), place the probes on the two screws that are holding wires in place. If there isn’t a reading (8V, 16V, or 24V), the transformer is no good. The good news is that installing a doorbell transformer isn’t all that hard or dangerous, as long as the breaker is off.
STEP 3: Cut off the power to the bell at the breaker box.
A wired doorbell is linked to the home’s electrical system, so you’ll need to shut off the power to the bell at the breaker box before installing a new one. The bell’s transformer reduces a home’s standard 120V to less than 24V in order to accommodate the low-voltage wires that connect to both the button unit and the chime box.
STEP 4: Remove the existing doorbell’s components.
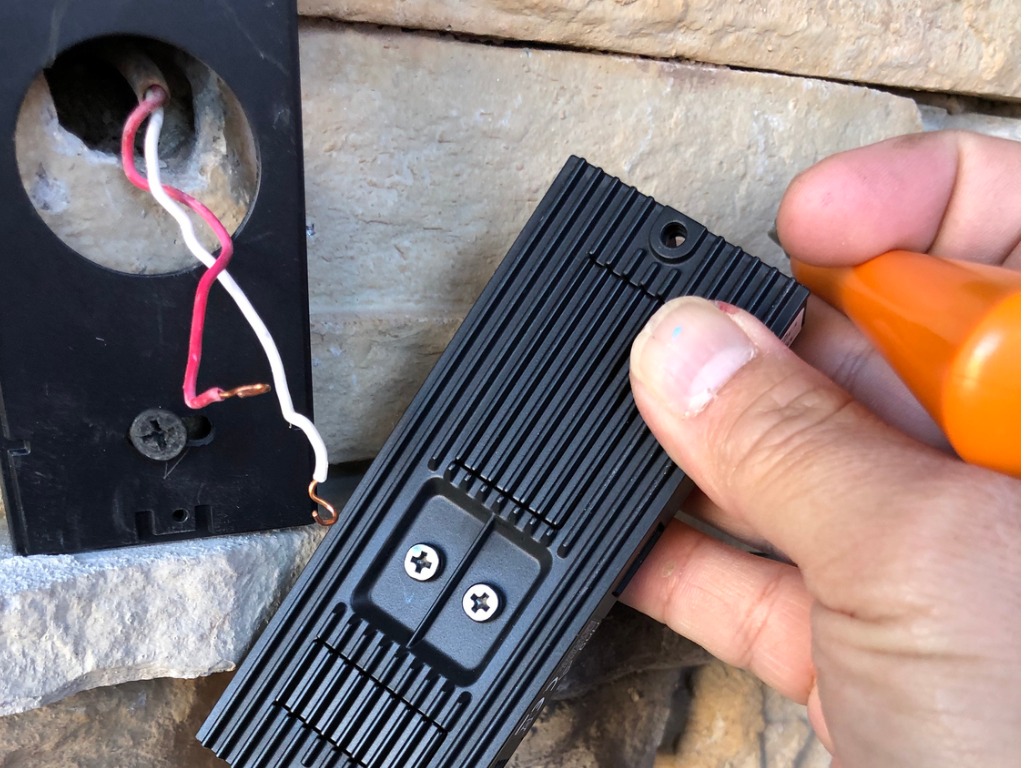
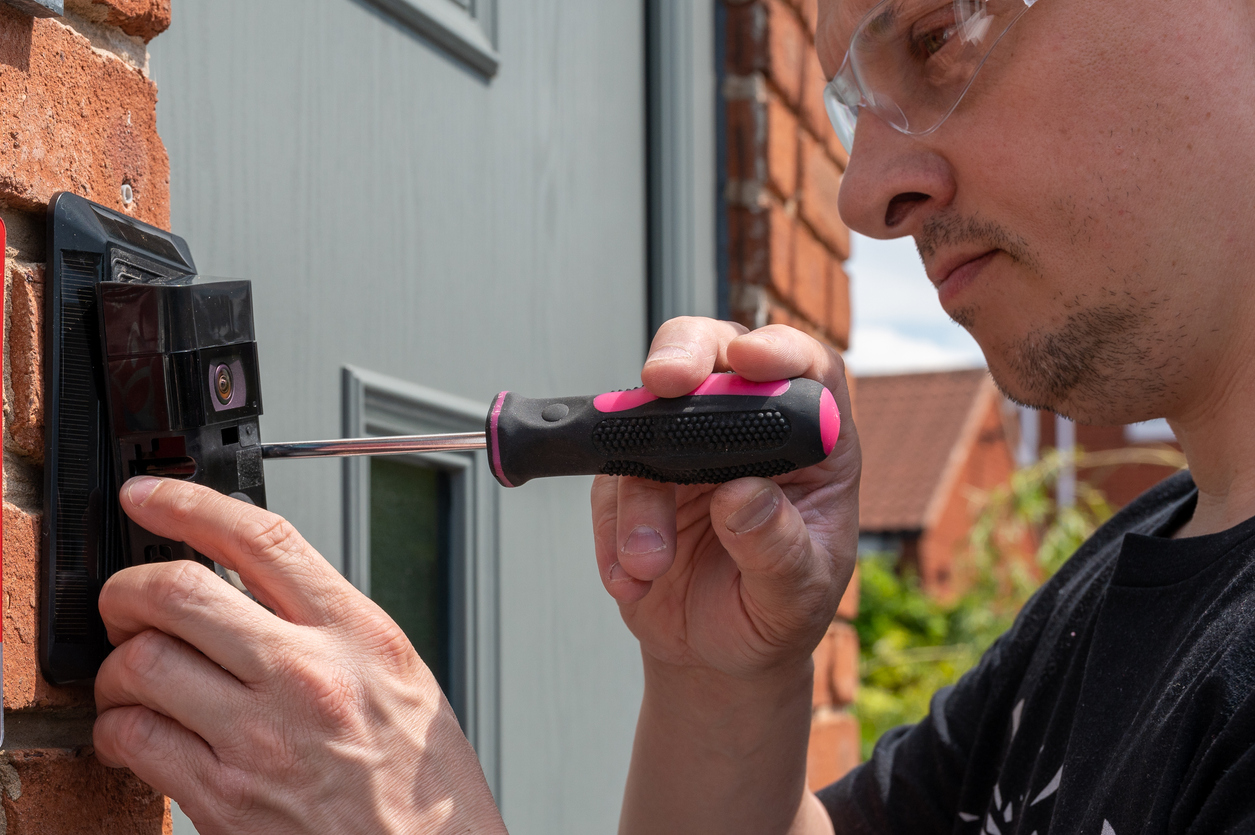
Use the screwdriver to remove the doorbell button from the wall and disconnect the wires from the doorbell button. Don’t cut them, as there is often very little wire to work with. Remove the cover from the doorbell chime (they typically just snap on, but some may have screws), and disconnect the wires from the chime. Remove the mounting screws holding the chime to the wall.
If the transformer needs replacing, you’ll need to remove it. Start by carefully taking off the cover plate on the electrical box that the transformer sits on. Use a non-contact tester to ensure that the power inside the box is indeed off, despite what the transformer may tell you. Once you are sure that the power is off, remove the wire nuts and wires connecting the transformer to the electrical circuit.
STEP 5: Replace the doorbell transformer (optional).
If the doorbell transformer needs replacing, now is the time. First, remove the existing doorbell transformer from the electrical cover plate and reuse the entry and locknut to mount the new transformer in place. With the breaker still off, wire the new transformer into the electrical system by twisting the wires together and capping them off with wire nuts. Finally, attach the wires coming from the chime and button to the transformer before mounting the cover plate back on the junction box.
Note: Check the chime’s package to determine which voltage it requires—8V, 16V, or 24V—and then follow the transformer’s wiring diagram to connect the wires correctly. This is simply a matter of using the correct two of the three screws, so don’t feel intimidated. Also, it’s a good idea to switch the breaker back on briefly and test the new transformer before moving forward to ensure that it works and that the voltage is correct. Use the multimeter to verify the voltage.
STEP 6: Attach the wires to the new doorbell button and chime.

Mount the new chime on the wall and attach the wire coming from the transformer as well as the wire that runs from the transformer to the button. If there are multiple doorbells, be sure to position the wires on the terminal labeled “front” or “back,” as appropriate. Otherwise, simply connect the transformer wire to the transformer terminal, and the button wire to the other terminal.
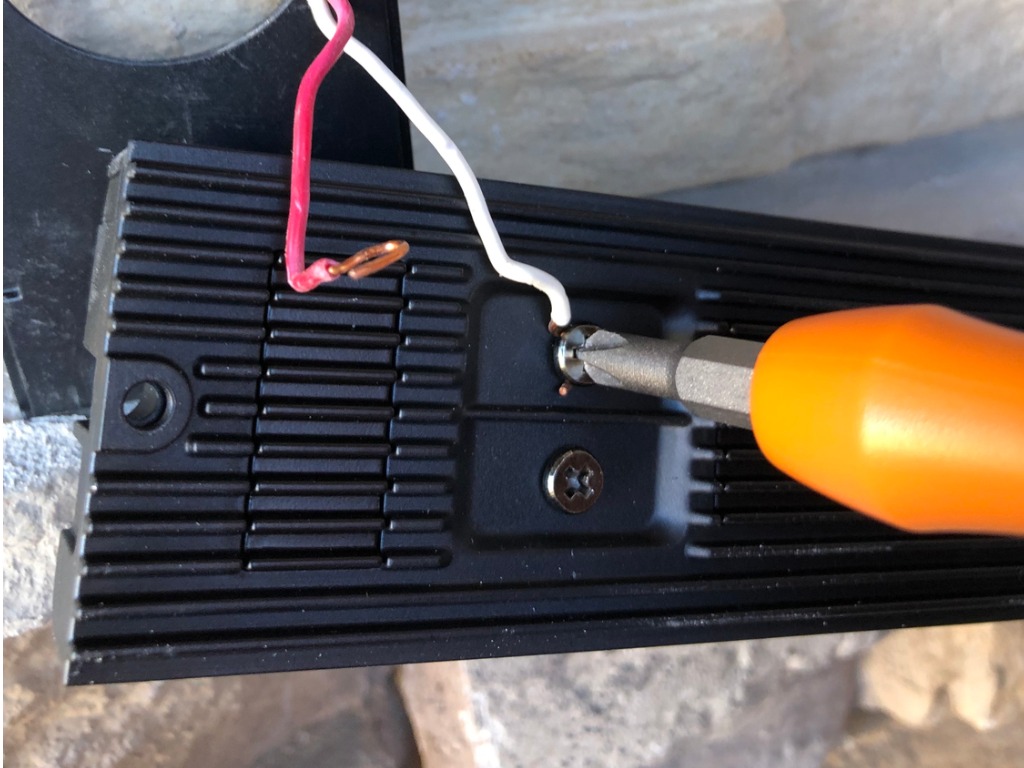
Mount the new doorbell button on the wall. Connect the wire coming from the transformer and the wire coming from the chime to the doorbell button. The arrangement of these two wires does not matter as long as you attach one to each terminal.
STEP 7: Switch the breaker back on and test the doorbell.
Turn the breaker box back on. Next, test the doorbell to ensure that the chime works and is audible.
If the doorbell doesn’t work, it is either wired incorrectly or it isn’t getting the amount of voltage it needs. If the doorbell is chiming constantly, even when the button is not depressed, there is either an issue with the wiring or the button is damaged. Check to make sure that there’s only one wire going to each terminal. Your doorbell should be ready to use now.
How to Install a Wireless Doorbell
If the home doesn’t have existing doorbell wiring, going wireless is often the best option. A wireless doorbell is also a good choice for homeowners who like the idea of a portable chime box they can put in any room. Inexpensive wireless units start at about $15 (a basic door button and plug-in chime box) and can cost more than $500 for smart units. This installation is super simple, though removing an old doorbell can take some expertise.
SUPPLIES
STEP 1: Remove the old doorbell button and transformer (optional).
Shut off the electricity at the breaker box. Then, remove the two mounting screws that hold the old doorbell button in place. There are two low-voltage wires connected to the back of the doorbell button. You won’t need to use them for a wireless doorbell installation, so you can either wrap the bare ends of the old doorbell wiring with electrical tape and tuck the wires back into the wall, or twist plastic wire nuts over each of the wires.
Removing the old doorbell transformer isn’t necessary, but if you’d like to do so here’s how to proceed: Keep the breaker in the off position. Carefully open the junction box that the transformer is mounted to and disconnect the transformer wires from the electrical circuit. Cap the wires in the box with wire nuts and replace the cover plate.
STEP 2: Determine how far the signal reaches.
Wireless doorbell chime units typically plug into standard indoor outlets. Some wireless doorbells come with multiple chime boxes that installers can place in different rooms. When shopping for a doorbell, check the packaging to determine its maximum wireless signal distance. In most cases, even in very large homes, the doorbell chime’s distance should be more than sufficient.
For homes with long driveways, gates, and other far-away locations where you might want to install a doorbell, however, the distance the signal reaches matters more. Chime distance typically ranges from 700 to 1,200 feet, so you’ll want to check this figure before buying a wireless doorbell for a large property to ensure the doorbell will work properly.
STEP 2: Attach the doorbell plate to the front door casing.

Wireless doorbells don’t attach to the wall, like wired doorbells do. Most wireless models come with mounting plates, so the doorbell’s battery can be removed and recharged easily. The doorbell’s mounting plate is typically installed on the same side of the door as the handle.
If the doorbell came with a template, use the template to mark the screw locations on the casing. If not, hold the mounting plate in place and mark the screw locations on the door casing with a pencil. With a drill fitted with a small bit, drill small pilot holes for the screws. Secure the doorbell plate to the wall with the screws included in the kit.
Be sure that there are fresh batteries in the doorbell, and snap it into place.
STEP 3: Plug in the chime box receiver and test the system.
Once the doorbell button is installed, all that’s left is to plug the chime box into an electrical outlet and test the system. It often makes the most sense to install the chime box in a central area within the home, such as a hallway, family room, or kitchen. Plug it into an outlet in each of these locations and have someone press the doorbell button to test how audible it is in each room. Keep the chime box in a room where it’s most comfortably audible.
How to Install a Smart Doorbell
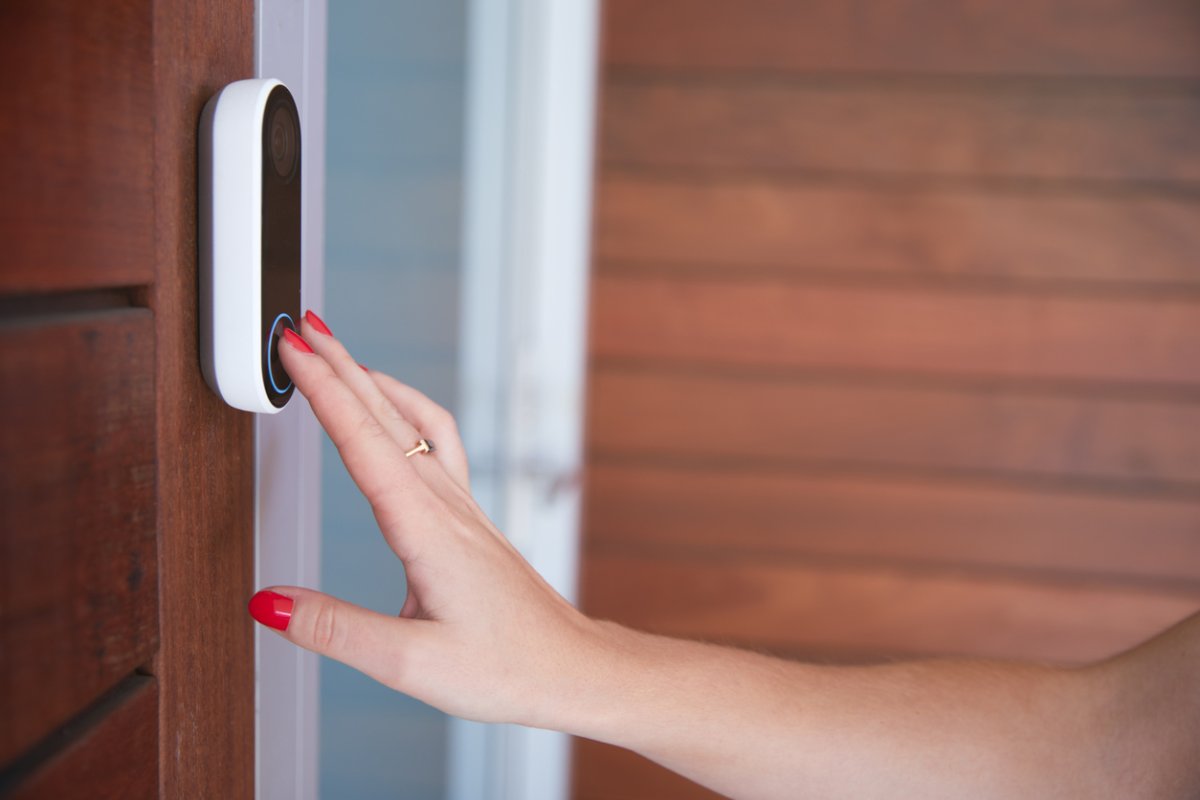
A WiFi-capable doorbell connects to a home’s wireless router and allows users to monitor visitors from their smartphone or PC. Options include cameras with or without night vision, intercom capabilities, and motion sensors that send an alert to a user’s smartphone when someone approaches the door. Smart doorbells start around $150 and can cost more than $1,000 depending on the extras selected.
STEP 1: Install the mounting plate and connect wires.

Smart doorbells can be installed using a wired method (which keeps their batteries charged) or a wireless method (which requires charging batteries more often, but offers maximum flexibility with installation). Both installations are relatively easy—that is, the wired doorbell installation is easy if there are wires already in place.
To install a smart doorbell’s mounting plate, hold the mounting plate over the wires, mark the screw holes on the casing or wall, and then remove the plate. (You are installing a wireless smart doorbell, of course, you are not restricted by wires and can place the mounting plate wherever you like.) Use a drill with a small drill bit to drill pilot holes for the screws. Mount the plate to the wall using the screws that came with the doorbell. For wired installations, connect the wires to the terminals according to the manufacturer’s instructions.
STEP 2: Sync the smart doorbell to your Wi-Fi and the manufacturer’s app.
Sync the button unit to the home’s Wi-Fi router and to a smartphone. This process will vary by manufacturer, and will likely require downloading and installing an app on your phone that will allow you to control and monitor the doorbell’s features remotely. Get this one done and you’ll be able to monitor your doorbell from anywhere.
Final Thoughts

Learning how to install a doorbell of any sort isn’t all that difficult. While there are nuances between wired, wireless, and smart doorbells, the installation process is rather straightforward. The guide above helps walk the average DIYer through all the types of doorbells and their installation techniques, and as long as they’re followed step-by-step, they should have no problem fixing or learning how to wire a doorbell. The most important thing to remember is to turn off the breaker before attempting any electrical work.
FAQs
We’ve covered a lot of information on installing a doorbell, but DIYers may still have some lingering questions. The following are answers to some of the most frequently asked questions about how to replace a doorbell.
Q. How does a doorbell work?
A doorbell is essentially just an electrical circuit or loop. The doorbell button breaks the loop. When the doorbell button is depressed, the circuit is completed and an electrical charge is sent to the chime, activating the chime.
Q. How much does an electrician charge to install a doorbell?
Estimates vary based on region and the scope of work, but homeowners can expect to pay $100 to $450 for a doorbell installation.
Q. Are doorbells typically connected to circuit breakers?
Wired doorbells are always on a circuit breaker, but not directly. They’re attached to a transformer, and that transformer is connected to an electrical circuit that the breaker panel controls.
Q. Where is my doorbell transformer?
There are a few places to look for a doorbell transformer. First, check any closets near the front door. Also, check in the basement near the breaker panel or near the front door. Other places to look include utility rooms and near hardwired alarm systems.
Q. Do all wired doorbells need a transformer?
Yes. Wired doorbells are designed to use less voltage than typical house current. This allows them to use thinner wires and exempts them from certain building codes.


