We may earn revenue from the products available on this page and participate in affiliate programs. Learn More ›
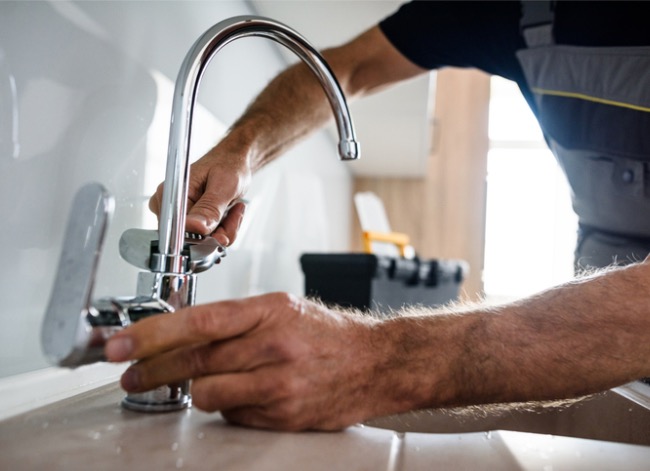
If “replace kitchen faucet” is on your to-do list, you’ll be glad to know that changing or installing a new faucet is a fairly simple home improvement task. The downside is that it usually requires contorting your body into a pretzel-like shape under the sink.
Barring any troubles you have getting inside the cabinet and out again, installing a new kitchen faucet should take less than an hour.
Project Overview
Working Time: 45 minutes
Total Time: 45 minutes
Skill Level: Easy
Estimated Cost: $160
Before You Begin

Before you install a kitchen faucet, take a look at the sink. All sinks have roughly the same basic parts:
- Hot and cold water lines underneath the sink, usually with a shut-off knob on each one
- Drainpipe
- Sink basin (these have between one and four holes, which is important to note when purchasing a new or replacement faucet)
- Sink gasket
- Faucet
Most faucets are attached to the sink by a plastic nut (on older faucets, the nut might be metal). There are some faucets that mount with bolts on the top of the sink, but it’s more than likely you will need to wedge yourself inside the cabinet under the sink to accomplish this installation.
To remove an old faucet, shut the water off at the valve under the sink or at the main shutoff valve to the house. Then, detach the hot and cold water supply lines and the nuts securing the faucet to the sink.
Tools & Materials
Bobvila.com may earn a commission from purchases made through these links.
STEP 1: Install the gasket.

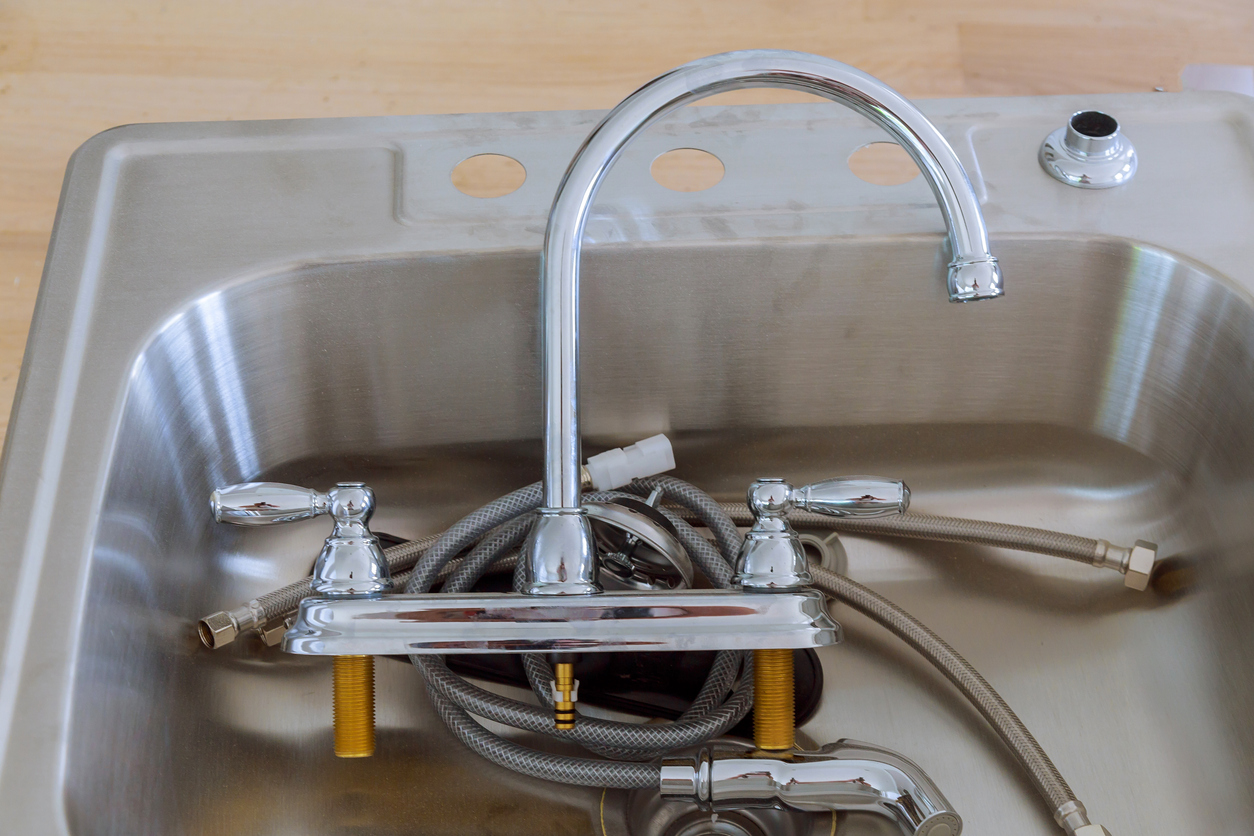
Most new faucets come with a rubber or plastic gasket that keeps the joint between the sink and the faucet from leaking. Before installing a new kitchen faucet, first put the faucet’s gasket in place. Push the gasket in around the base of the faucet (or under the escutcheon plate that covers the sink’s open holes, if you’re installing a one-hole faucet in a three- or four-hole sink).
If your new faucet did not come with a gasket, roll out a thin “snake” of plumber’s putty and fit it around the base of the faucet where it will meet the sink.
STEP 2: Set the faucet in the hole.

After the gasket or putty is in place, feed the flexible supply lines or PEX piping through the hole in the sink, and set in the faucet. (If you’ve used plumber’s putty, you can clear away any excess with a putty knife or use a finger.)
Crawl under the sink and tighten the plastic nut until it almost hits the underside of the sink. Tighten each of the mounting screws until the faucet is tight against the sink. Enlist a helper to make sure the faucet is straight and properly positioned in the hole or escutcheon before making any final adjustments.
STEP 3: Connect the faucet to the water lines.

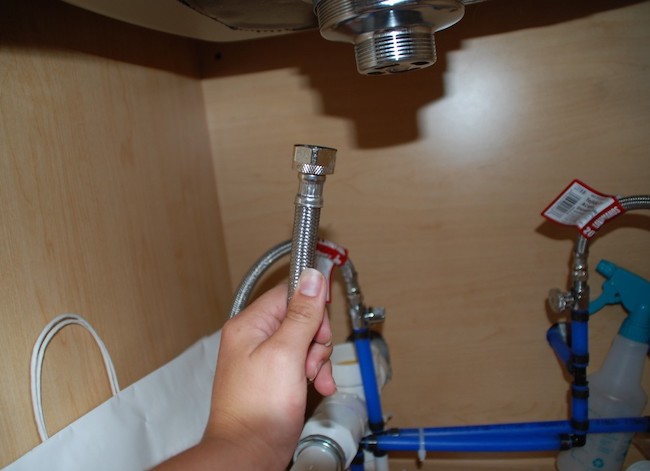
Some new faucets, including Delta faucets, come with flexible PEX lines that are already connected to the faucet, which makes this step very easy. In this case the hoses just need to be connected at the water valve. Take care to connect the hot and cold PEX supply lines to the appropriate water valves.
For faucets that do not have PEX piping attached, you’ll need to run flexible piping supply lines from the faucet to your water supply valve. Take care with this step—you don’t want to damage the pipe that runs into the wall by jostling it too much.
Wrap a strip of Teflon plumber’s tape around the pipe’s threads to give the connection a tight seal.
Give the nuts on the flexible piping a few manual turns before using a wrench to attach them securely to the water supply valve. You can use an adjustable wrench for the job, but if your water lines are behind the sink basin near the top of the cabinet, a basin wrench will make this task a lot easier.
STEP 4: Check for leaks.

After connecting the faucet to your water supply, turn on the faucet and check for any faucet leaks. Pay particular attention to the gasket where the sink meets the faucet and also to the supply line and valve connections under the sink. Tighten nuts and gaskets as needed, but take care not to overtighten them.
STEP 5: Remove the aerator and flush out the faucet.

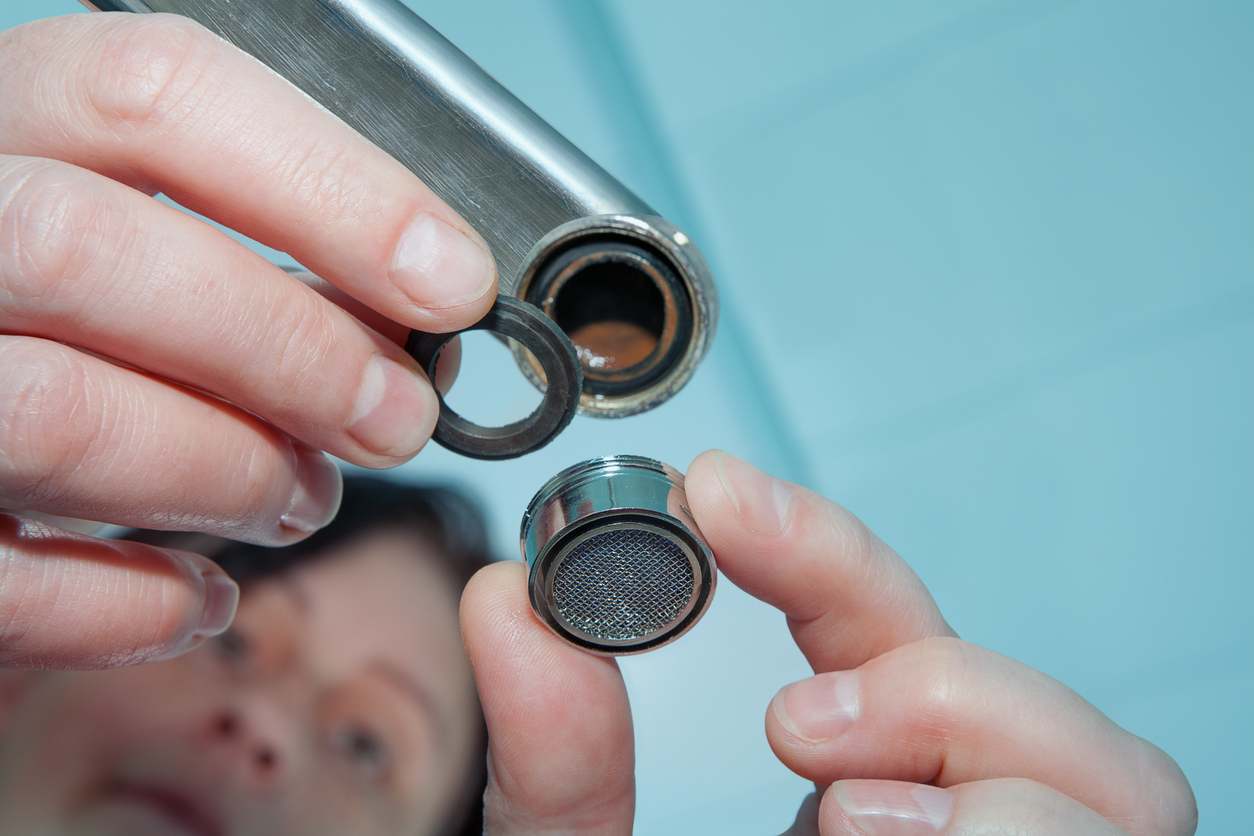
Given how much tugging and knocking was just done on these pipes and valves, there’s a good chance that you’ve dislodged some debris and mineral deposits inside the water lines. To flush it out, remove the faucet aerator (that small screen on the end of your faucet that keeps these deposits from ending up in your glass of water). Some faucet models come with a tool with which you can remove the aerator; on other faucets, the aerator can simply be unscrewed.
Turn the faucet on all the way and let the water run for a minute or two. Rinse and replace the aerator.
Final Thoughts

Replacing a faucet is a fairly easy DIY project that usually takes less than an hour to complete. To make the job go smoothly, make sure that your new faucet setup has the same number of holes as your sink, and check to see that all the supplies that aren’t included with the new faucet are on hand when beginning the installation.
FAQs
While installing a new kitchen faucet is a pretty straightforward task, there are real-life variables that can complicate the process. To help make this project easier, we’ve answered some of the most common questions about how to install a faucet.
Q. How much does it cost to replace a faucet?
The cost of replacing a faucet depends largely on how much you spend on the new faucet and whether you’re installing it yourself. If you are replacing a faucet with an inexpensive model, the project can cost as little as $100. If you’re hiring a plumber to replace a faucet, it can cost an average of $260 or more.
Q. How do you use plumber’s putty?
The consistency of plumber’s putty is similar to that of Play-Doh. You’ll first want to warm the putty in your hands until it is soft. Then stretch and roll the putty into a long, snake-like tube. Finally, press it into place.
Q. How long should a sink faucet last?
The longevity of a faucet depends on many factors, including its design, material, and the type of water running through it. Hard water is tougher on all plumbing, including faucets. In general, however, a faucet can be expected to last 15 years or more.
Q. Can you put a one-hole faucet in a three-hole sink?
Yes, you can replace a three-hole faucet with a one-hole faucet. To cover the extra holes, use a deck plate, which is also called an escutcheon plate.
Q. How does a single-hole faucet work?
Single-hole faucets have lines for both hot and cold water combined in the faucet. When the faucet is turned on, there is an interior valve that releases the required amount of hot or cold water.


