
We may earn revenue from the products available on this page and participate in affiliate programs. Learn More ›
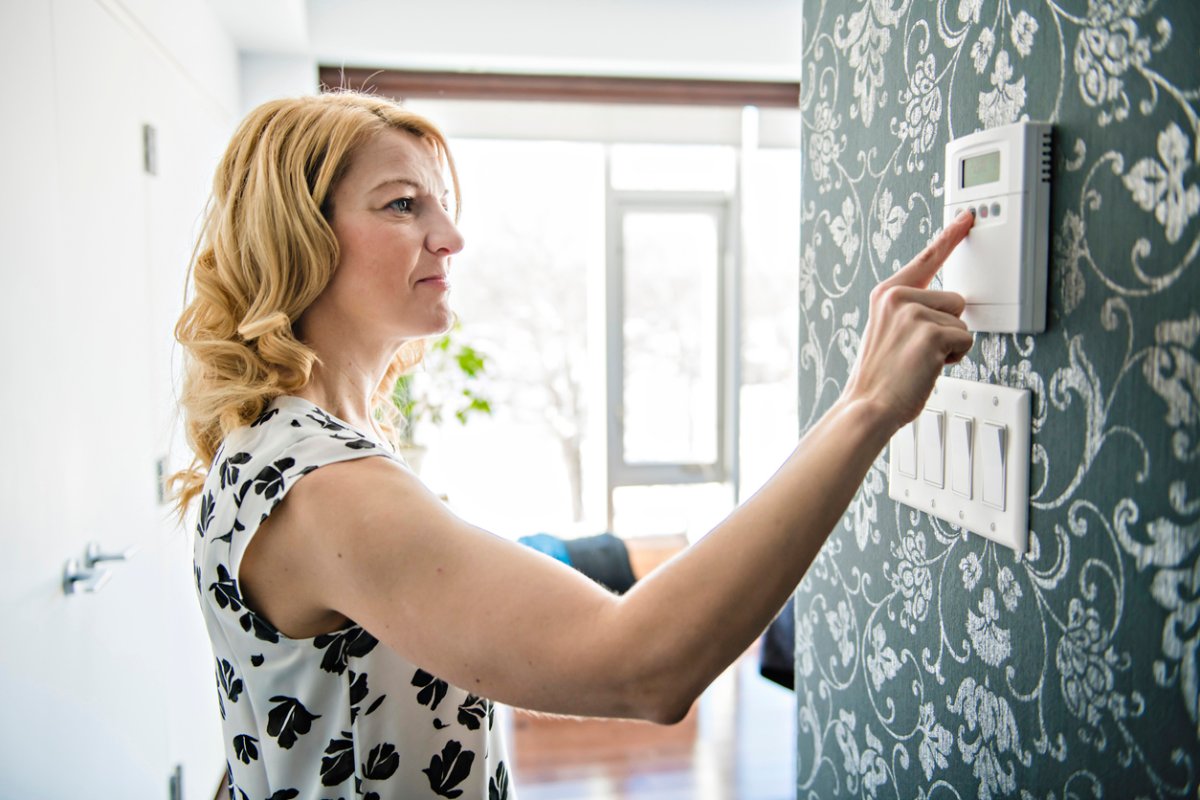
According to the U.S. Department of Energy, using a programmable thermostat can help you save about 10 percent on your monthly heating and cooling bills. The thermostat installation takes less than an hour, and with many models available for under $25, you can usually recoup the initial expenditure after only one season of use.
Installing a programmable thermostat will often result in increased savings on heating bills because these devices can be set to automatically adjust the temperature based on the time of day and occupancy, so you aren’t paying to heat or cool the home when no one is home. Some may prefer to hire a professional thermostat installation company, especially for a programmable thermostat installation, but keep in mind that learning how to install a thermostat helps keep costs down.
Before You Start Your Thermostat Installation
It’s necessary to inspect the existing thermostat and the wires that run from the furnace to the thermostat in order to determine whether the current setup is suitable for a programmable thermostat, or if an additional wire is needed.
If the goal is to install a standard non-programmable device, then this inspection can be used to familiarize yourself with the wiring of the thermostat and exactly where it needs to connect to the furnace.
Also, take the time to measure the hole behind the thermostat to ensure that the replacement thermostat is large enough or has a big enough faceplate to cover the hole.
Tools & Materials
Bobvila.com may earn a commission from purchases made through these links.
STEP 1: Remove the old thermostat from the wall.
Turn off the breaker to your furnace and air conditioning system. Take the cover off your old thermostat. Most covers pop off with slight pressure, but some covers must be unscrewed. Next, remove the screw holding your old thermostat to the wall. Carefully pull out your old thermostat, but leave its wires connected for now.

STEP 2: Label the wires for future reference.
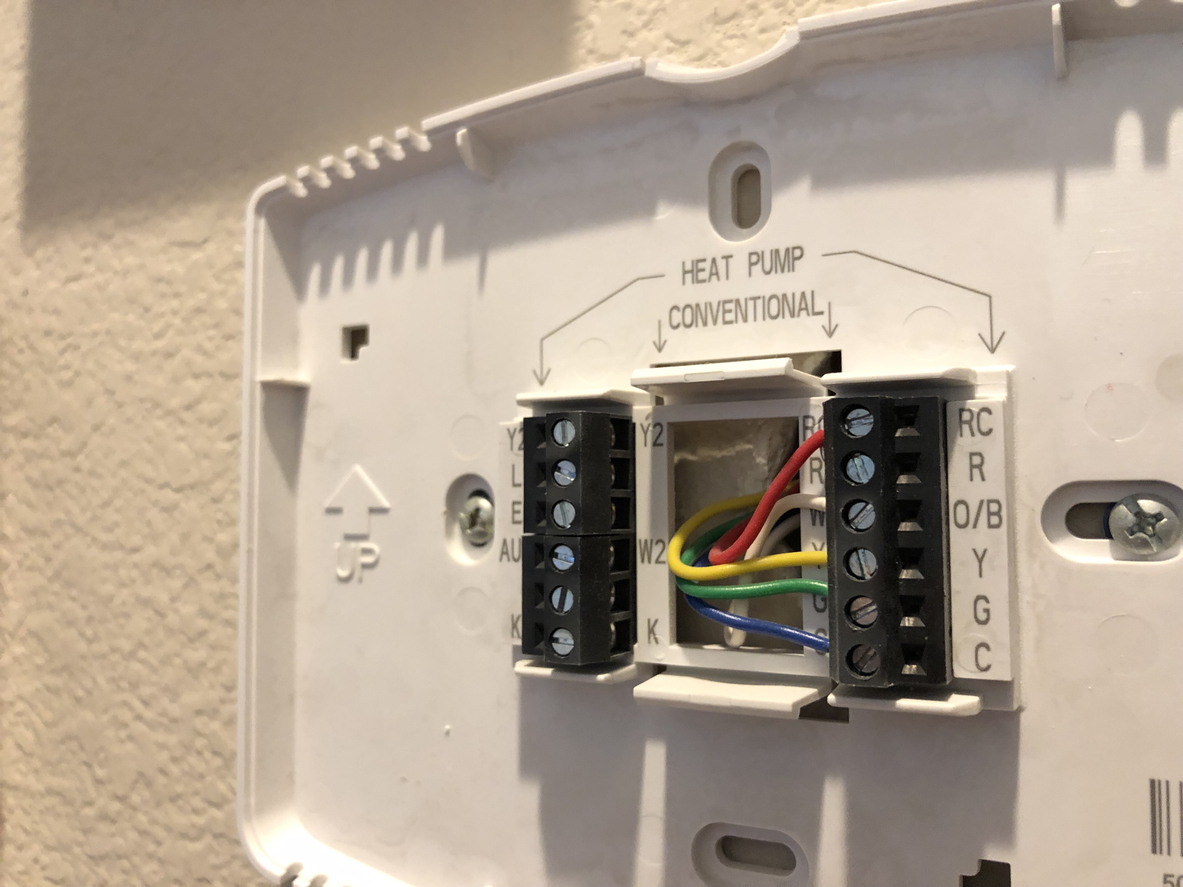
Take a moment to label the wires that are part of the existing installation. Attach a small piece of masking tape to each wire, and on that tape, write the letter that is indicated where that particular wire attaches to the old thermostat. Usually, the letter corresponds to the color of the wire, but not always.
STEP 3: Disconnect the wires from the thermostat.
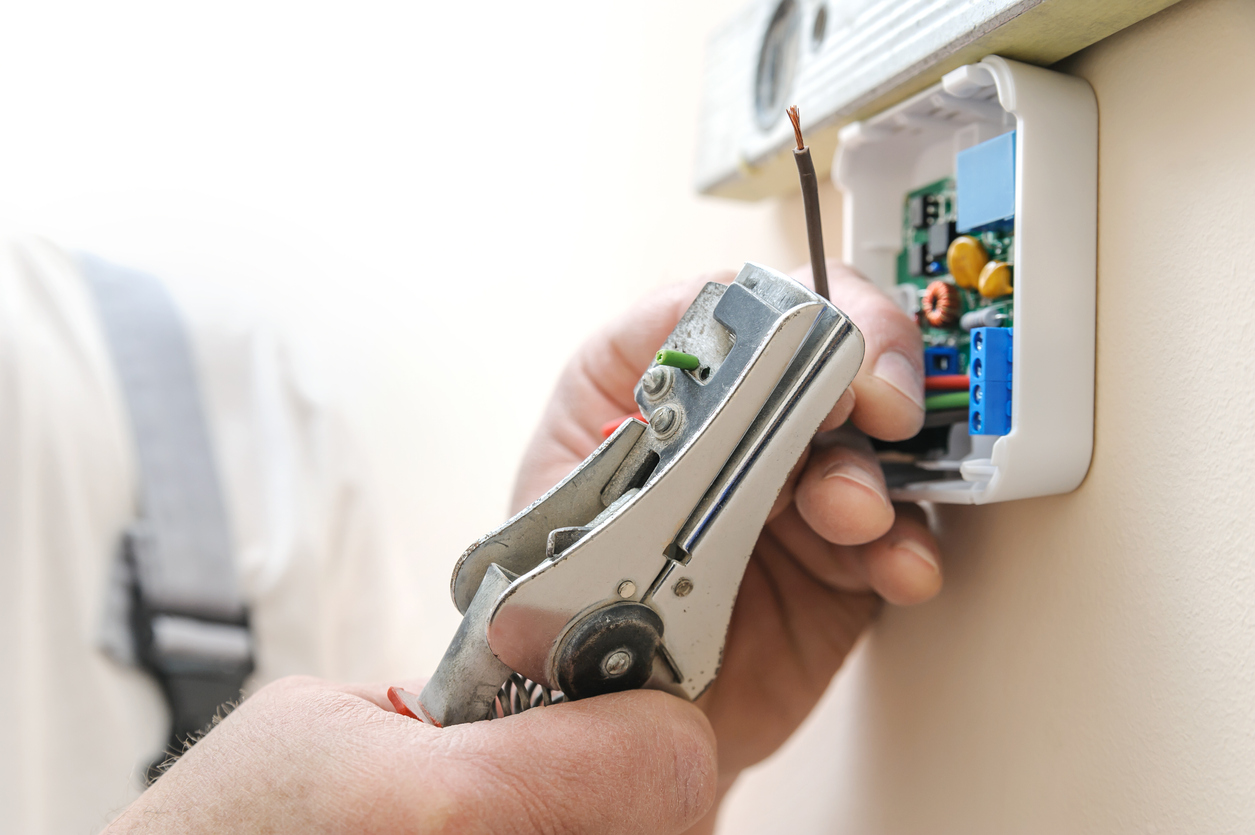
Tape the existing wires to the wall, or wrap them around a pencil or small screwdriver, so they don’t retract into the wall cavity the instant that you disconnect them from the old thermostat. Experience has shown that being extra careful at this point can spare you from a great deal of unnecessary aggravation.
STEP 4: Confirm the wiring and install the faceplate.
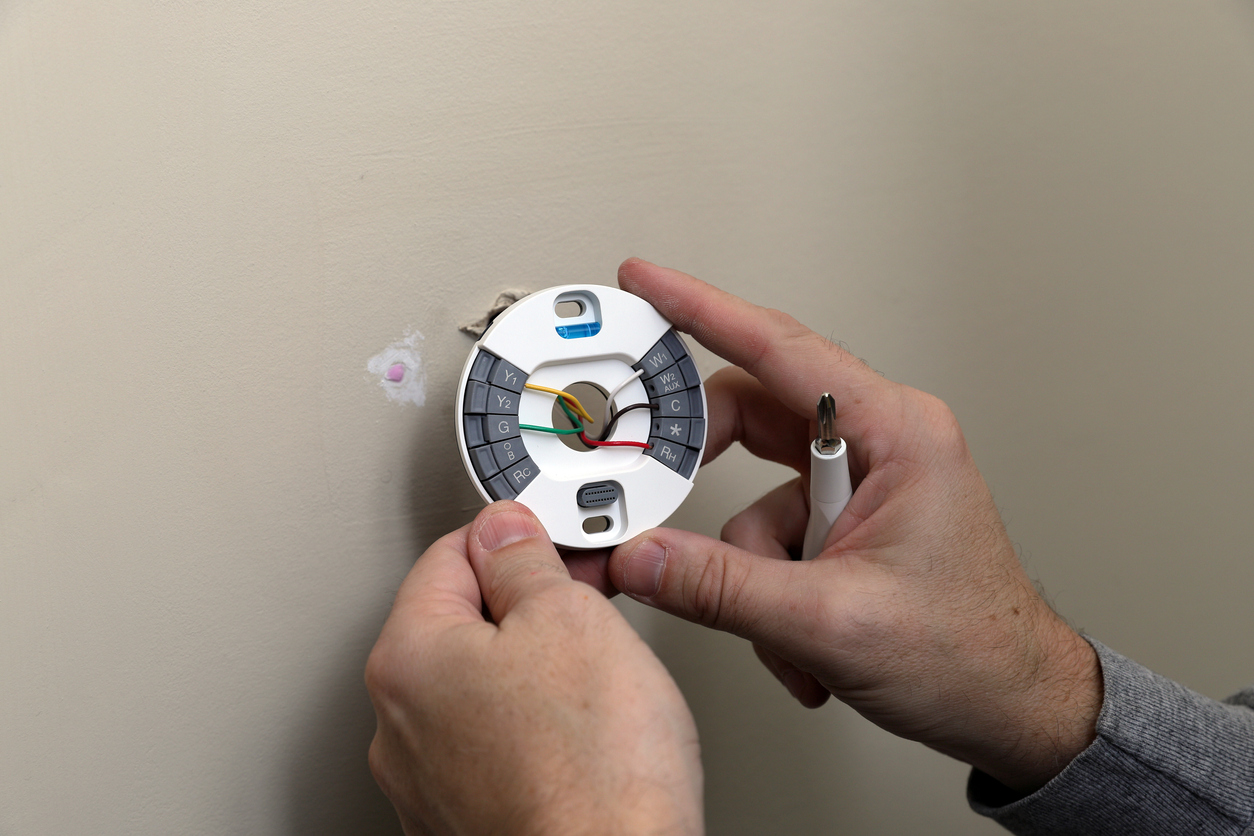
If only two wires connect to your existing thermostat, then it’s not directly wired to a power source. That only means the programmable unit you purchase must be able to run on batteries. With more than two wires, the chances are that it’s direct-wired; you’re free to shop from a wider range of replacement models. Attach the faceplate to the wall with the included fasteners, then thread the wires through and connect them to the new thermostat.

STEP 5: Connect the wiring and finish installing the thermostat.
Next, match the letters on the labeled wires to the letters on the thermostat as you connect the wires to the new thermostat. Install any needed batteries, then attach the thermostat to the faceplate, and finally snap on the thermostat cover to finish the job. Don’t forget to turn the breaker back on to restore power to the furnace and air conditioner.
Thermostat Installation Cost
Thermostats have long been used to manage the heating and cooling cycles inside the average home, but just because these devices have been around for a while doesn’t mean that they are well understood. Despite the relatively straightforward installation process, many inexperienced DIYers hesitate when they ask themselves “Can I install a programmable thermostat myself?” Instead, they would rather try their hand at painting a room than taking the time to learn how to install programmable thermostats, but this can be a costly decision.
A professional thermostat installation company may charge between $100 to $650 to install a new thermostat, depending on whether they are installing a basic model or if they need to run new wiring for a smart thermostat. However, the average installation cost falls within a narrower margin of $150 to $400. So, when you are trying to decide whether to learn how to install a programmable thermostat or if you would rather pay a professional to do the work, keep in mind the cost savings associated with this DIY project.

Installing a Thermostat Professionally vs. DIY
While the overall cost is very important to consider, it isn’t the only factor that’s important when you are deciding whether to call a professional thermostat installation company or complete the thermostat installation yourself.
Realistically, most thermostat installations consist of removing the old thermostat and connecting a new thermostat using the exact same wires, then mounting the new device in the same spot on the wall. Completing this installation yourself is quick, is relatively easy, and does not involve booking appointments or waiting for technicians. However, if the wiring from the thermostat to the furnace is damaged or simply lacking a necessary wire to connect a smart thermostat, then the job can become much more difficult.
The heating and cooling system cannot be operated without a thermostat, so it may be better to pay a professional to ensure the work gets done right if you lack the experience to complete the installation. These companies will typically include a guaranteed time period within which you can call them back if something goes wrong with the thermostat, so you can rest easy knowing that you won’t be on your own trying to figure it out while freezing or sweltering.
Calculating How Many Thermostats You Need
The minimum number of thermostats that are necessary to operate a heating and cooling system in the home is, well, one. This main thermostat is typically installed on the middle floor of the home, allowing it to record the median temperature between the bottom and top floor of the home. However, this placement can result in hot and cold zones throughout the home because the thermostat can only register the temperature within its immediate vicinity.
By dividing the home into heating and cooling zones, you can get more accurate temperature readings and more even heating throughout the home. Zones can consist of an entire floor, several rooms, or just a single room. Most people split the home up into two zones and they require one thermostat for each zone. More zones require more thermostats to measure and regulate the temperature.
Final Thoughts
When a thermostat begins to fail, it can cause temperature fluctuations inside the home and may result in higher heating and cooling bills. A completely dead thermostat can leave the home cold or sweltering, putting the family at risk. It’s better to replace the thermostat as soon as you notice signs that it’s failing or even upgrade to a programmable thermostat before your old model has a chance to fail.
This is usually a simple straightforward job that can be completed by a DIYer. Some systems may need a new wire or set of wires run from the furnace to the thermostat, which can be challenging if you don’t have experience running wires. If in doubt, call a professional to ensure that your home has reliable heating and cooling, especially during the more extreme seasons of the year.
FAQs About Thermostat Installation
Installing a new thermostat can be challenging for new DIYers or those who are installing a thermostat in a new location. While many details are covered in the steps above, there may be lingering questions. Below are answers to some of the more popular questions asked about installing a thermostat. If you still have questions, the manufacturer of the thermostat may also be able to help.
As long as the existing wiring is in good condition and has all the necessary wires, it typically takes less than an hour to install a thermostat. If wiring is required it can take a professional up to 2 hours to complete the repair and may take a DIYer longer, depending on their experience with wiring.
There are a few signs that may indicate that a thermostat is bad or faulty, including if the HVAC system rapidly turns on and turns off, if the temperature in the home constantly shifts, if you receive suspiciously high energy bills, or if the thermostat does not change the heating and cooling schedule despite the user making changes to the settings.
Most replacement thermostats are compatible with all common systems, however, it is necessary to verify that you have the correct wiring before purchasing a thermostat. Most smart thermostats require an additional wire, known as a C-wire, for continuous power. If your home does not have this wire, then you or a professional installer will need to run the wire before installing a smart thermostat.
A thermostat that simply sits on the wall and does its job without being hit, knocked, or otherwise damaged can last about 10 years before it needs to be replaced.
An electrician does have the skill necessary to move a thermostat, and they can likely help you decide on the most suitable location for the device.
The difficulty of moving a thermostat depends on where the thermostat will be moved. Shifting it down the wall a few feet is relatively easy as long as the wires can reach the new location.
If you want to move it to a different room, the process would be more involved and likely require a new set of wires to be run from the furnace to the new location. Also, keep in mind that the hole left behind by the old thermostat will need to be patched.
Do not place a thermostat in locations that could result in false readings. For instance, installing the thermostat near the stove will cause it to temporarily read the temperature in the home as much hotter than it actually is while installing it near a door or window could cause the thermostat to be influenced by the temperature outdoors. Try to put it in a central location away from anything that could cause extreme fluctuations and false readings.
