We may earn revenue from the products available on this page and participate in affiliate programs. Learn More ›
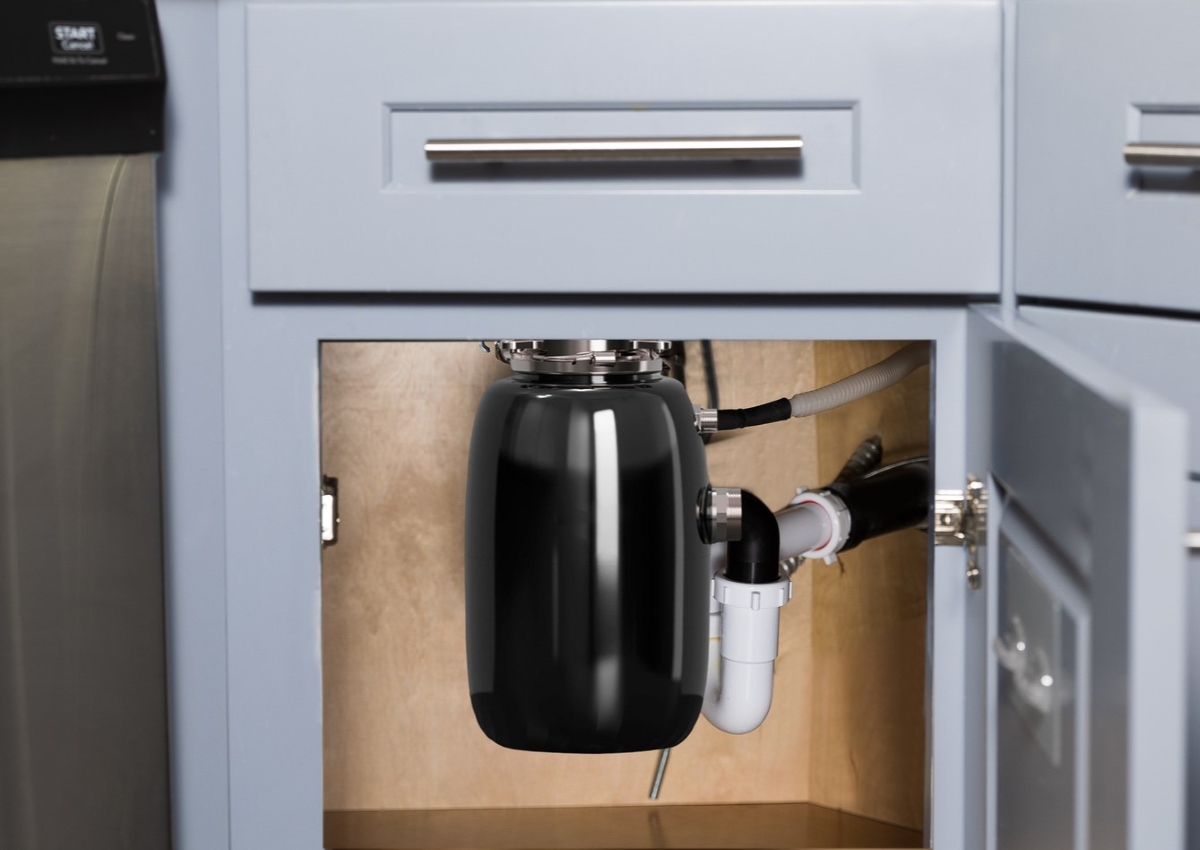
When your garbage disposal starts making odd noises or stops working altogether, it probably means it’s time to replace it. You can hire a professional plumber to handle the job or you can save money and take on this project yourself.
Changing out an old garbage disposal with a new one isn’t difficult as long as you carefully follow the steps and use a few pro tricks of the trade to ensure a leak-free install. We enlisted the help of master plumber Roy Barnes, co-owner of Service Force Plumbing in Rockville, MD, for guidance on how to install a garbage disposal.
Tools & Materials
Bobvila.com may earn a commission from purchases made through these links.
Project Overview
Working Time: 2 hours
Total Time: 2 hours
Skill Level: Intermediate
Estimated Cost: $150 to $200
How do you know when it’s time to replace a garbage disposal?
You can generally expect to use a garbage disposal for around 10 to 12 years, assuming you adhere to the rules of what not to put in a garbage disposal. If you’re wondering how long your disposal has left, here are some clear warning signs.
- It won’t turn on. This is the most obvious reason for replacing a garbage disposal. If you flip the switch and nothing happens, check your electrical box to see if it’s tripped a circuit breaker or try hitting the reset button. With the power cut off to it at the breaker, check to make sure something isn’t jamming the impellers and then unclog the garbage disposal if necessary. If these efforts don’t solve the issue, it’s probably time to buy a new one.
- It stinks. Sometimes old food particles can build up inside the disposal, creating a foul odor that just won’t go away. Try cleaning the garbage disposal. If that fails, the easiest and best solution to your stinky garbage disposal problem may be to replace it.
- It’s making odd noises. You know what your garbage disposal should and shouldn’t sound like. If it starts to make weird noises, cut the power to it at the electrical panel then reach inside to see if anything is clogging the impellers. If it isn’t clogged, those sounds may be the garbage disposal’s death throes. Start shopping for a new one before the garbage disposal stops working.
- It leaks. After years of grinding up food, your garbage disposal may eventually crack, causing it to leak. If you have a leaky garbage disposal, your only option is to replace it.
- You keep having to reset it. When a garbage disposal gets clogged or jammed, it will automatically cut off to prevent damaging the motor. When that happens, you need to unclog it and then press the reset button to get it going again. It’s normal to have to use the reset button every once in a while, but if you find yourself having to press it often, it probably means the disposal’s motor is failing.
RELATED: Solved! How Long Do Garbage Disposals Last?
What type of garbage disposal do I need?
Garbage disposals come in ⅓-, ½-, and ¾-horsepower speeds. Barnes says 1/2 horsepower is more than enough for most people’s needs. He also suggests purchasing a garbage disposal with a stainless steel basket.
“Most garbage disposal failures are due to the inner basket rusting out and allowing water to get into the motor, so investing in a unit with a stainless steel basket will increase the expected service life,” says Barnes.
When shopping for a garbage disposal, you’ll find both continuous feed and batch models.
Continuous feed garbage disposals account for the vast majority of garbage disposals found in homes. This type of garbage disposal plugs into a three-prong outlet located under your sink. To turn it on, flip a switch located either under the sink or on the wall behind it. Once on, you can continuously feed food scraps into it as you rinse dirty dishes, making them convenient to use.
With a batch-feed garbage disposal, you load batches of food into the grinder then put a stopper in the opening to start it. Since these garbage disposals won’t operate without the stopper in place, they’re less convenient to use but safer than continuous garbage disposals. Since batch models don’t require a switch, they’re the best garbage disposal for sink areas that aren’t wired for a garbage disposal.
If you decide to go with a continuous feed garbage disposal, check to see if it comes with a power cord. If it doesn’t, you’ll need to buy one. They’re typically sold in the same section as the garbage disposals.
RELATED: The Best Garbage Disposals
Before You Begin
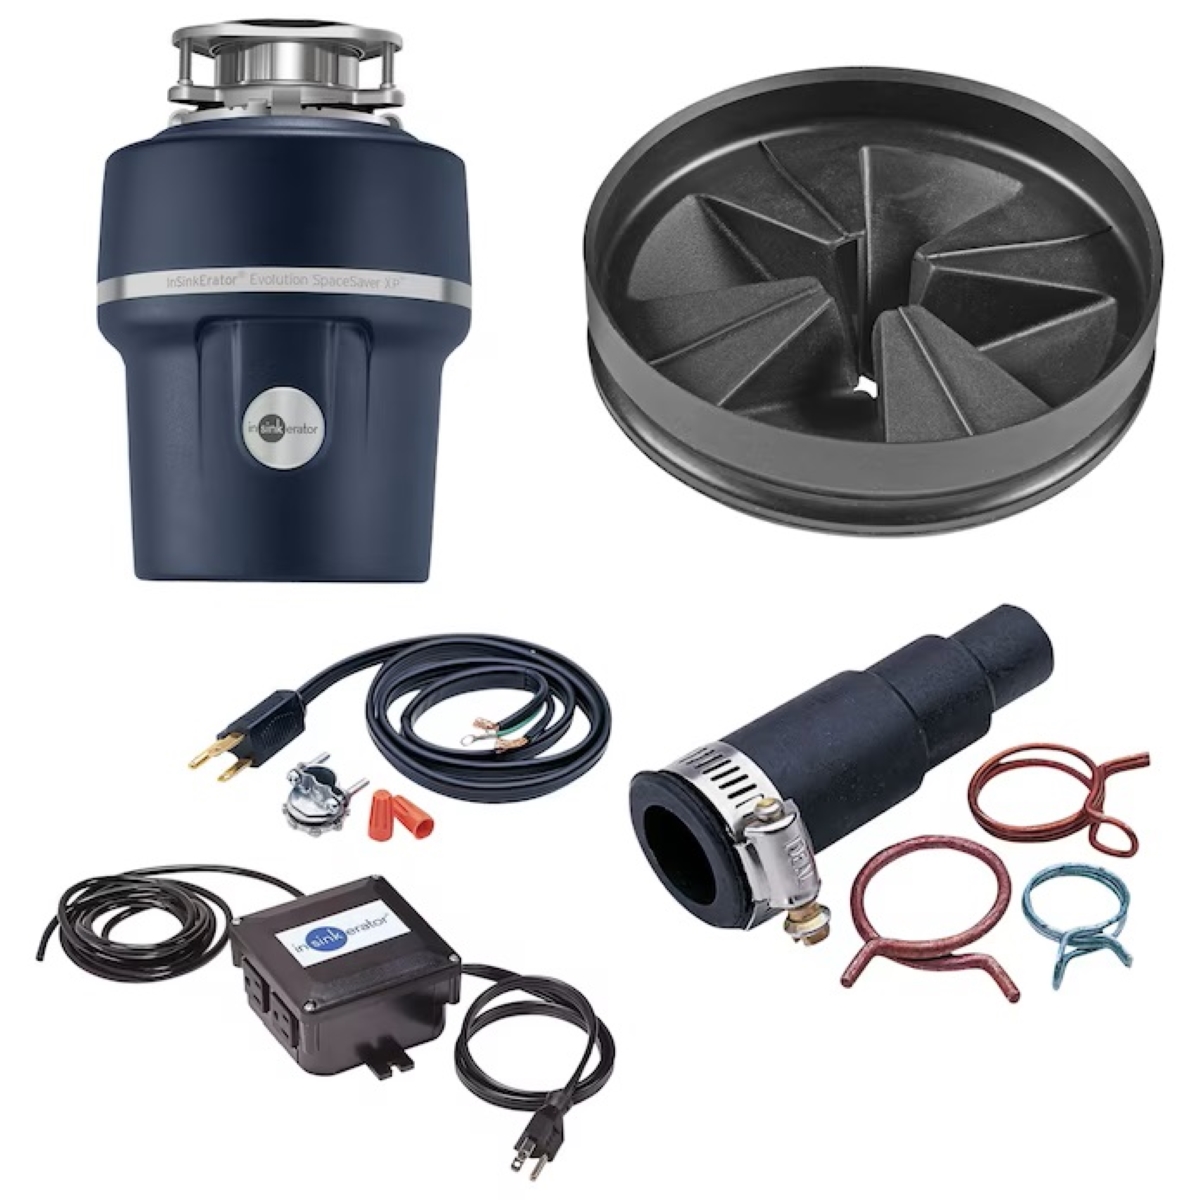
Before getting started, give the owner’s manual a read-through. Doing so will give you an idea of what to expect during the garbage disposal replacement and allow you to gauge whether you feel comfortable taking on the job yourself. Also, keep in mind that once you begin, your kitchen sink will be out of commission until you complete the garbage disposal installation.
Step 1: Cut power to the garbage disposal.
Before you get started on the installation, make sure you unplug the old garbage disposal from the electrical outlet or, if you have a hard-wired garbage disposal, cut off power to the garbage disposal at the breaker to eliminate the risk of electrical shock. Use a voltage meter to make sure there is no electricity running to the garbage disposal after switching the breaker off.
Step 2: Remove the old garbage disposal.
Disconnect the drainpipe and dishwasher discharge tube from the garbage disposal. Next, find the lock ring holding the garbage disposal to the drain. Disconnect the garbage disposal by sticking a Phillips head screwdriver into one of the brackets on the lower mounting ring and turning it counterclockwise.
Turn the garbage disposal upside down and place it on the floor of the cabinet. If the garbage disposal is hardwired, remove the disposal’s electrical cover plate to reveal the garbage disposal wiring and disconnect the wires.
Next, remove the disposal drain mounting ring from the sink by removing the three mounting screws with a Phillips head screwdriver and popping off the snap ring holding it in place. Finally, remove the old disposal’s sink flange from the sink drain hole and clean away any old plumber’s putty from the sink.
Pro tip: A garbage disposal can weigh up to 15 pounds, so use books, an old paint can or some other object to help support it—and prevent it from coming crashing down—while you disconnect it from the upper mounting ring.
Step 3: Prepare the new garbage disposal.
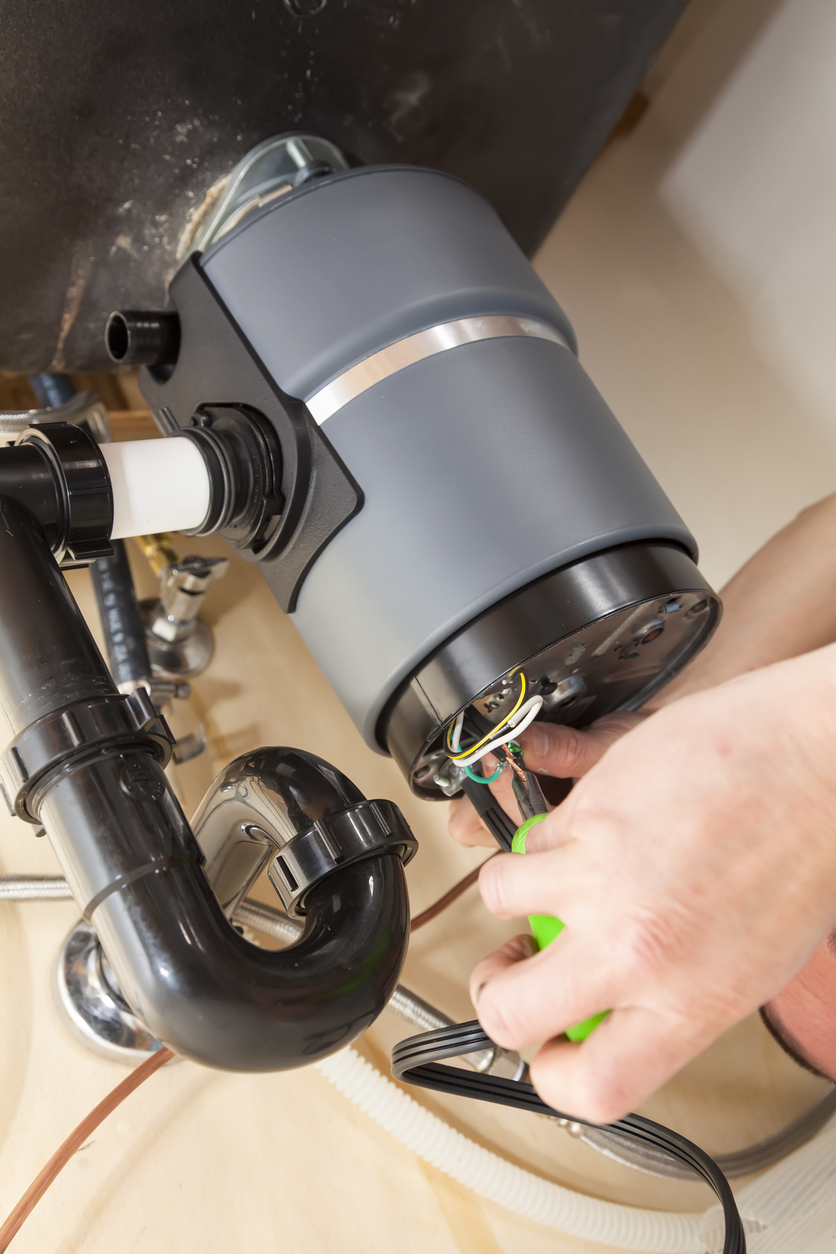
If your new garbage disposal doesn’t come with a power cord, unscrew the metal cover on the bottom of the new unit to reveal its electrical connections. Wire the new power cord to the garbage disposal by attaching white to white and black to black and attaching the green wire to the ground screw. Reinstall the metal cover. If you’re uncertain with how to wire a garbage disposal or don’t feel comfortable working with electrical, you may want to call in a pro for help.
If you have a dishwasher, remove the plug from the disposal’s dishwasher drain. Don’t skip this step or your dishwasher will flood when you run it. You can knock out the drain plug using a flathead screwdriver and a hammer.
Step 4: Install the sink flange.
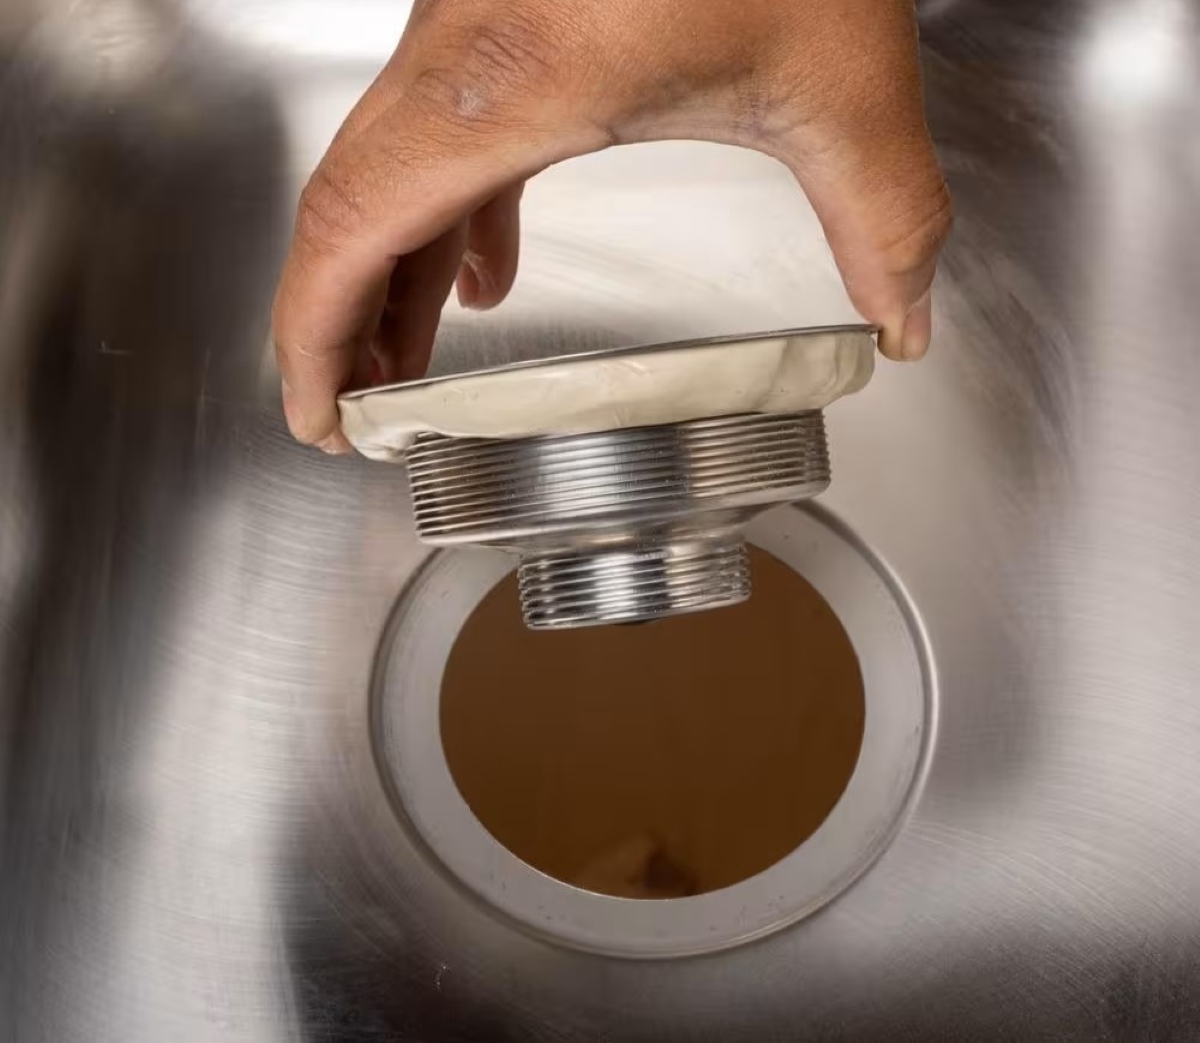
Create a watertight seal between the new sink flange and the sink to prevent leaks. Barnes advises rolling a 12-inch-long roll of putty in your hands to the thickness of about a pencil then pressing it against the underside of the flange to ensure a watertight seal. Drop the flange into the sink’s drain hole and press down on it.
Step 5: Attach the lower adapter.
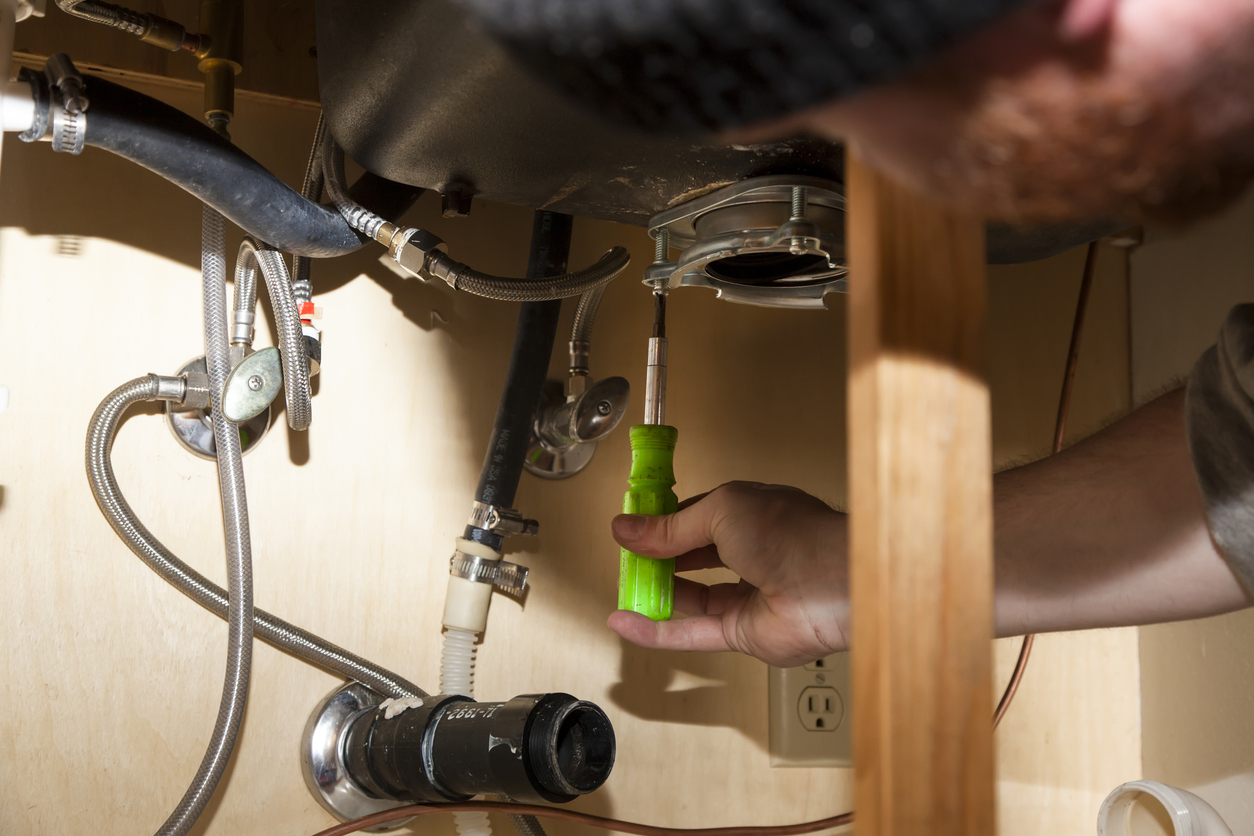
Slide the snap ring over the sink flange and snap it into place. Tighten the three screws on the mounting ring using a Phillips head screwdriver. Make sure to tighten it until the plumber’s putty begins to squeeze out of the seam between the drain adapter and the sink.
Step 6: Attach the garbage disposal.
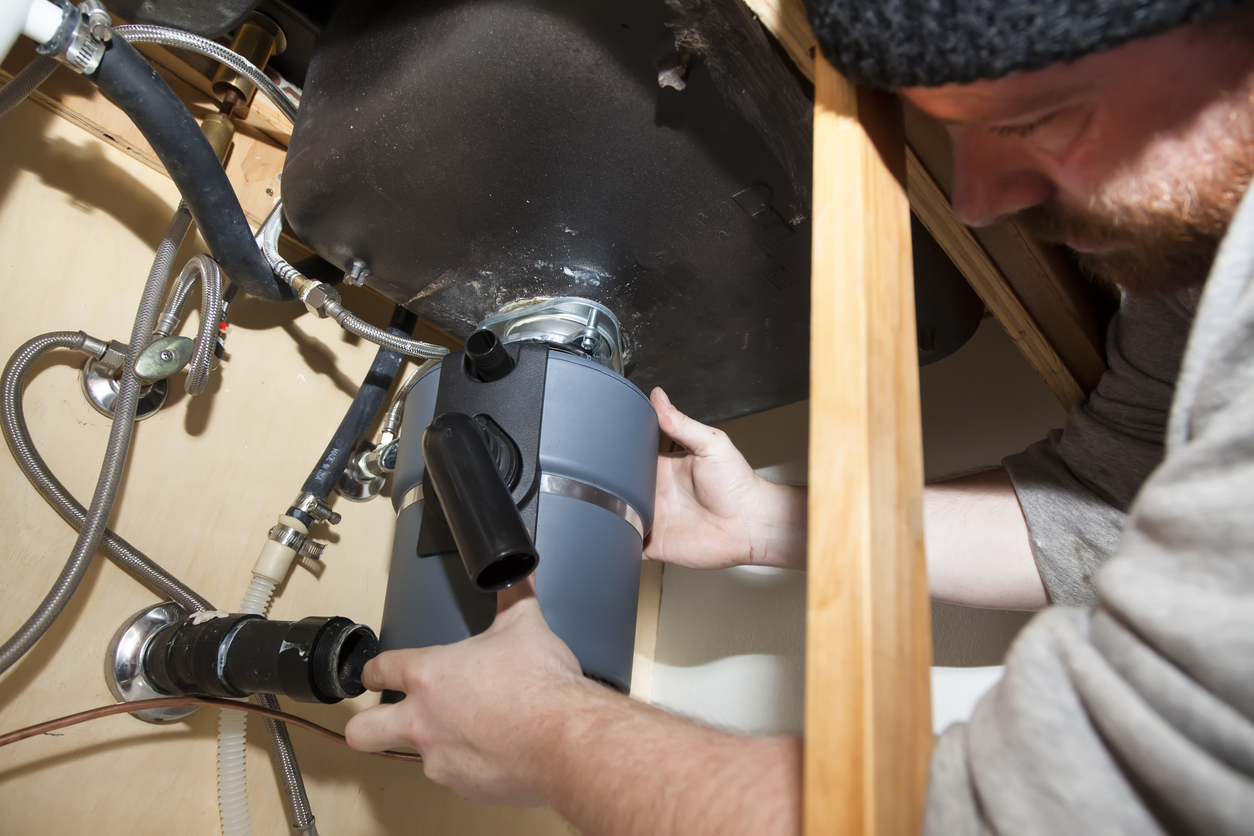
Push the disposal up into place against the upper mounting ring. Make sure you line the garbage disposal up in the same position as the last one, so you can make the necessary plumbing connections.
And, according to Barnes, the “number one cause of leaks from a garbage disposal is the lock ring not engaging on all three locking points.” So, insert a Phillips head screwdriver into one of the three brackets on the lower mounting ring to turn the lock ring clockwise and lock it into place, making sure to engage all locking points.
RELATED: How to Clean a Garbage Disposal
Step 7: Connect the plumbing.
Now that your garbage disposal is secured to the sink, it’s time to make the plumbing connections. Attach the sink trap to the garbage disposal drain pipe, then connect the dishwasher drain hose to the disposal using a hose clamp. Once both are in place, run the water and check for leaks.
Step 8: Test the garbage disposal.
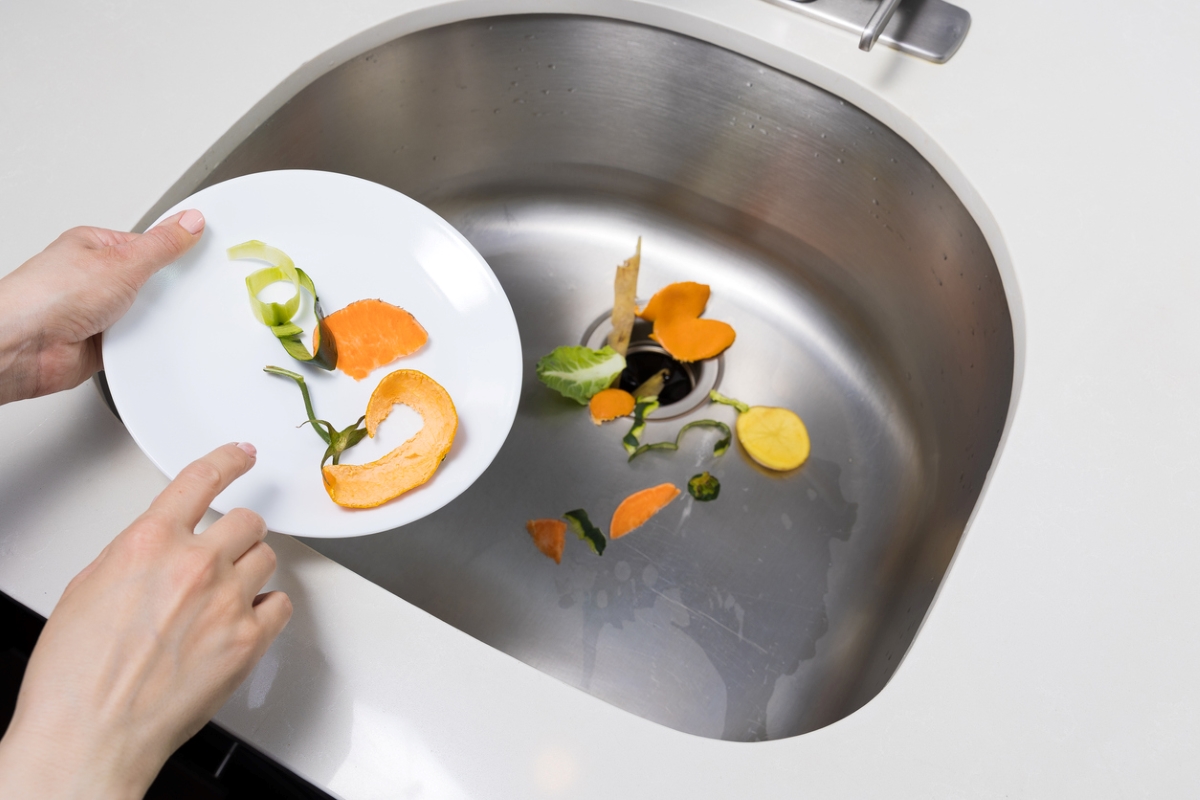
Restore power to the garbage disposal by flipping the circuit breaker on the electrical panel. With the water running, turn the garbage disposal on to make sure it works properly and doesn’t leak.
Once your garbage disposal is installed, Barnes says using it sparingly is key to getting the most out of it. “Despite the name, your garbage disposal is not a trash can,” he says. “Clean your plates as well as possible in the trash can. This will reduce the amount of debris that goes down your garbage disposal that can ruin your garbage disposal and can lead to a blocked sewer line.”
The best way to ensure the garbage disposal doesn’t leak is to plug the sink, fill it with water, and then run the disposal while the sink drains. “This simulates the worst case scenario for leaks, which is when you have a power push down from the garbage disposal,” says master plumber Roy Barnes of Service Force Plumbing in Rockville, MD.
Final Thoughts
Given that the cost of labor to install a garbage disposal can range between $150 and $350, installing a new garbage disposal is a worthy DIY project if you have the time and feel comfortable with what the job entails and how to replace a garbage disposal.
That said, this job does come with some challenges. Garbage disposals can weigh upwards of 15 pounds, which can make them challenging to mount in the tight space under your sink. This job also involves electrical wiring, which brings with it the inherent danger of electric shock. If you’re not comfortable handling this job yourself, then consider hiring a pro to handle it.

