We may earn revenue from the products available on this page and participate in affiliate programs. Learn More ›
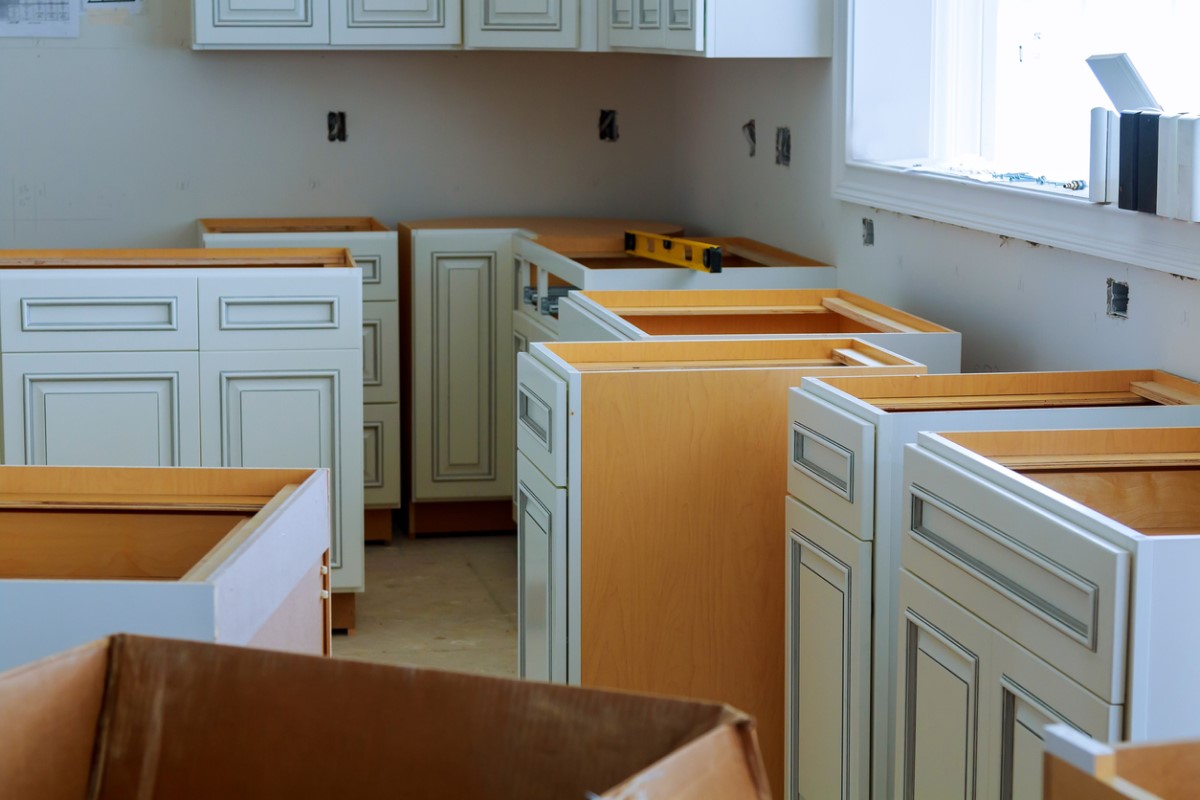
One fundamental rule applies to the installation of just about anything: If you get the first piece right, the others fall into position. Misplace the first piece, however, and you’re likely to experience a series of headaches as you work towards completing the job. This is as true for hanging wallpaper as it is for laying brick. And it’s a lesson that deserves special attention from DIYers trying to install base cabinets in the kitchen renovation, laundry room makeover, or bathroom redo.
Tools & Materials
Bobvila.com may earn a commission from purchases made through these links.
STEP 1: Identify the highest point on the floor where you will be installing base cabinets.
An uneven floor will lead to uneven base cabinets, and you won’t appreciate how crooked they appear next to level upper cabinets (not to mention items rolling around behind closed doors). Find the highest point in the floor by drawing or snapping a level chalk line along the adjacent wall, then measure down to the floor in several places. The spot where you measure the shortest distance is where the floor is highest. Later in the process, you are going to shim cabinets up to this height because that’s easier than subtracting height from a cabinet.
STEP 2: Draw a level line on the wall at a height of 34½ inches above the highest point of the floor.
This height assumes that it’s a finished floor and that you want a standard countertop height of 36 inches.
STEP 3: Mark the locations of different cabinet units.
Use vertical lines to the floor to denote the locations of the different cabinet units. Meanwhile, find the studs along the cabinet wall and mark them. Keep in mind, you must still be able to see the marks even after the base cabinets are in place, so make them plainly visible and draw them past the top line.

STEP 4: Start by installing a corner unit, if applicable; if not, begin at either end.
Set your base cabinets against the wall where you will install them, and add shims beneath the cabinetry so that its top edge hits the first horizontal line that you drew.
In situations where the wall is not plumb (i.e. vertical at a 90-degree angle to the floor as determine by a plumb bob), it may be necessary to close the gap between the base cabinets and the wall with filler strips. Use this wood material—which is often available to purchase from the same place you picked up the cabinets—to shim behind the cabinets at stud locations. Then, drill and countersink pilot holes and use 2½-inch screws to anchor the cabinets (through the filler strip) into the studs.
STEP 5: Continue to install adjacent base cabinets.
Having installed the initial cabinet, move on to the next one. Continue to shim as necessary. To ensure a flush fit between this unit and its neighbor, join the two with a clamp. Then, drill and countersink four pilot holes and attach with screws. Proceed to install the other base cabinets along the wall by repeating steps 4 and 5.
STEP 6: Attach doors and install drawers on the base cabinets.
Now that you’ve installed the base cabinets on the walls, finish the closed storage by attaching the doors and setting drawers into their tracks.

Further Considerations for Installing Base Cabinets
- Repair any damage to the walls before installing the base cabinets against them. Likewise, complete all plumbing and electrical work in the kitchen prior to cabinet installation.
- Paint the cabinetry with a semi- or high-gloss finish before installing, while you’re still able to turn them any direction to reach all sides.
- At the rear of the base cabinets, mark the location of plumbing pipes and electrical boxes, then bore holes or make appropriate-size cutouts so the units fit snugly against the wall.
- It’s usually wise to install kitchen flooring before the base cabinets. For one thing, working in this sequence means you don’t have to modify the floor material to achieve a seamless look.
- When inserting a filler strip between a cabinet and a wall, you can expect to have to do some fitting, because walls are not always plumb. Measure the gap at both the top and the bottom, adding 1/16 inch to each measurement. Use a plane or sander to trim the filler piece to the correct size, slightly beveling its angled edge so that the finished surface is wider than the unfinished surface.
- Putting in peninsula or island cabinets? First, install two 2 x 2 cleats on the floor. Distance the cleats so that cabinets can slip over them, then finish by securing the cabinets to the cleats.

