We may earn revenue from the products available on this page and participate in affiliate programs. Learn More ›
To filter the light that enters your home and control your level of privacy, blinds are often a budget-friendly and style-friendly choice. Easy to adjust, these slatted window treatments can be pulled out of the way for an unobstructed view, partially closed to filter light, or closed completely to ensconce you.
Since blinds are available in a host of sizes, materials, and price points, it’s helpful to know how to determine the best choice for your home—and how to install vertical blinds or horizontal blinds on just about any type of window.
What to Consider Before Hanging Blinds
While hanging blinds is a DIY project that can be completed fairly quickly, there are crucial considerations to ensure you purchase the right size and style so installation goes smoothly. It’s important that measurements are taken accurately and the type of blinds selected work with the window. Keep reading to find out more about the different types of blinds.
Horizontal vs. Vertical Blinds
There are many styles of blinds available, but there are just two main types: horizontal blinds and vertical blinds. A few factors can help you decide between the two kinds.
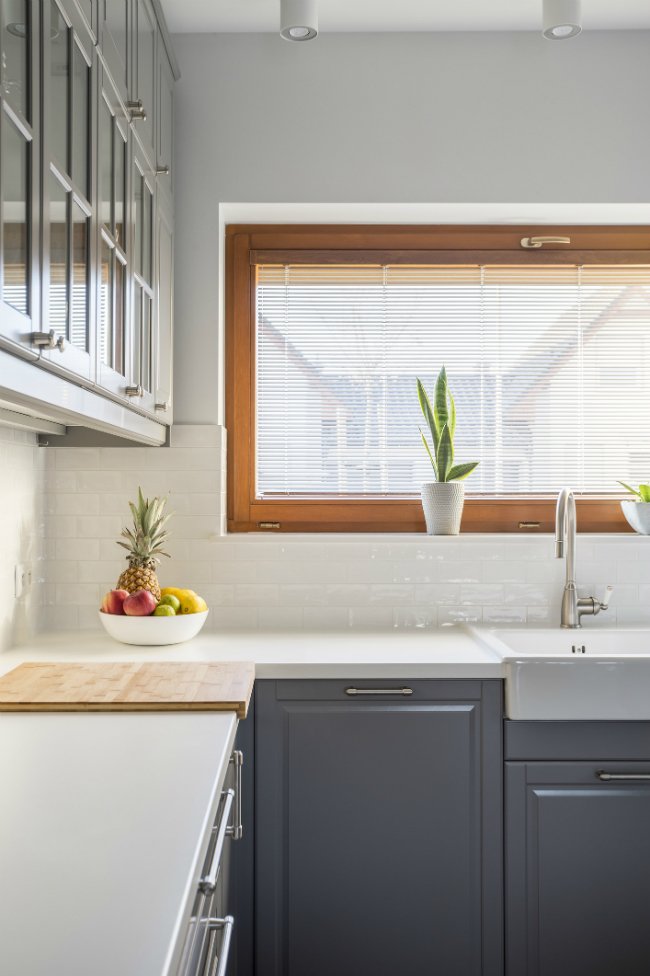
Horizontal blinds work well on small, narrow windows to add visual appeal while controlling light and providing privacy. These blinds look best on small- to average-size windows, because wider spans can sag in the middle. Horizontal blinds have individual slats that overlap when the blind is fully closed. By twisting the attached wand that controls a series of connected cords, you can adjust the slats to let in as much or as little light as you choose. Horizontal blinds can also be raised or lowered as desired.
These blinds can be purchased in a variety of materials, sizes, and thicknesses. Mini blinds slats are approximately ½-inch wide, while retro-style slats can be up to 3 inches wide. Personal preference dictates the installed width for outside-mounted blinds. Blinds installed inside the window frame can be as wide as the space allows without protruding past the opening. Basic horizontal blinds cost as little as $15 for a small set. Custom blinds or those sized for large windows can run $200 or more, depending on the quality of the product and the materials used.

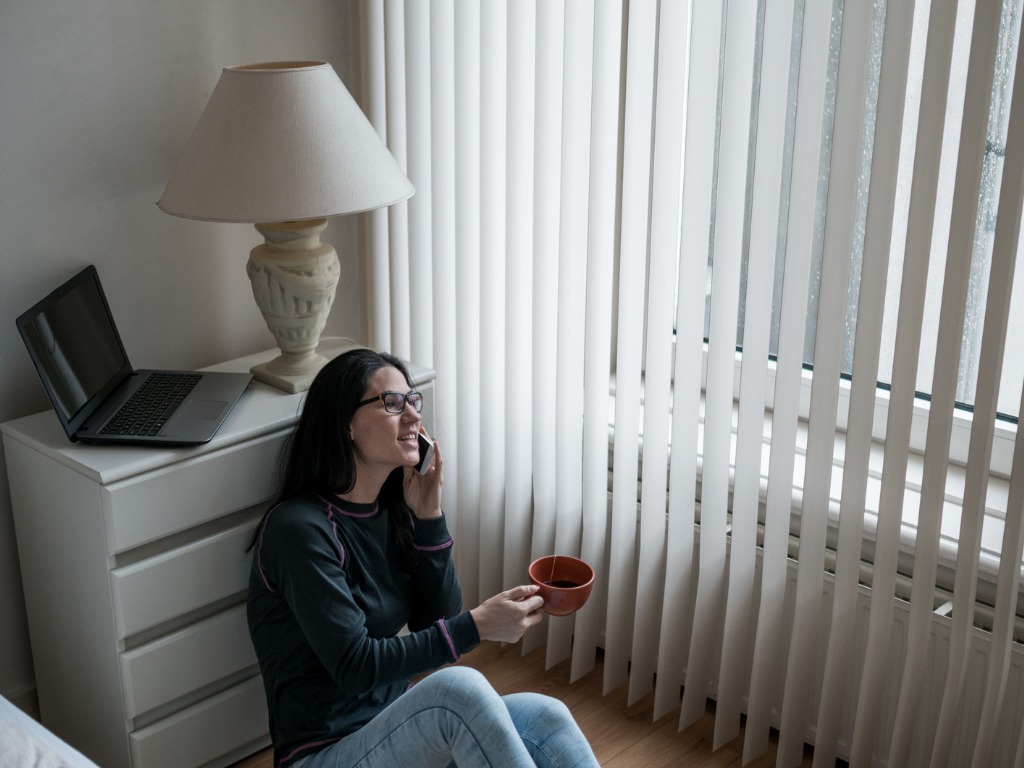
Vertical blinds feature a top track from which individual vanes (or slats) hang, and while they won’t sag, they do tend to sway with air movement. They’re frequently used on sliding glass patio doors and wide windows. Many vertical blinds can be slid aside using a wand; the wand can also be twisted to rotate the individual vanes, adjusting the amount of light allowed into the room. Some vertical blinds operate by pull cords located on one side of the window. Like horizontal blinds, vertical versions come in a wide range of material choices and prices. A no-frills set of blinds might run about $50, but you could spend $400 or so on custom blinds made with higher-quality materials.
Safety warning: Long pull cords pose a known risk of strangulation to pets and small children. Many blind manufacturers have voluntarily done away with cords, but some pull-cord models remain on the market and in older homes. Families with young children should opt for cordless blinds that operate via an alternative method, such as a push-button lift mechanism in the bottom rail.
Window Blind Materials
Blinds are available in a host of materials to suit a variety of tastes, needs, and budgets.
- Vinyl is one of the most popular materials because it’s inexpensive and easy to clean, and there is a choice of a variety of colors and sizes. Vinyl blinds are the most economical, ranging from $15 for light-gauge vinyl for a small window to more than $100 for larger sizes or heavier-gauge vinyl.
- Wood blinds add a warm, natural look to a room and come in many popular finishes, including oak, walnut, cherry, and mahogany to match existing trim or furniture. Prices range from $35 to more than $200, depending on window size and wood type.
- Faux wood blinds, made from PVC or a composite material, closely mimic the real thing, but they resist humidity better than wood, making them a smart choice for steamy bathrooms. Prices range from $15 to $100 and up.
- Sleek aluminum blinds give windows a contemporary look. Expect to pay between $20 to $100 and up, depending on size.
- Specialty blinds offer optional material features, such as fabric-wrapped slats or increased light-blocking ability. Prices start at $20 but vary widely and can cost upward of $400 for fabric-covered custom slats or vanes to match curtains or upholstery.
RELATED: Lose the Drapes: 17 Ways to Dress a Window Without Curtains
How to Mount Blinds

Installing new blinds is a job that can be completed in an afternoon. The following steps outline how to mount most types of blinds to windows.
SUPPLIES
– Window blinds (blinds come packaged with the necessary hardware, including mounting brackets and screws)
– Tape measure
– Stud finder
– Drill
STEP 1: Select the desired style of blinds.
When selecting new window blinds, consider which material, thickness, and mounting style would work best to complement and coordinate with the existing features in the room, like the window frame material, wall paneling, lighting style, and furniture.
Blinds are made from “hard” materials, such as vinyl or wood, as opposed to roller shades, which are constructed from fabric. As discussed in the above section, horizontal blinds feature individual slats, while vertical blinds have “vanes,” which are slats that hang vertically. Both horizontal and vertical blinds can be stand-alone window treatments for a minimalist modern look, or paired with curtains for a softer, more traditional effect.
After deciding on the type and material of your blinds, the last stylistic decision to make is whether to mount them inside the window frame, or on the wall around the window. (You’ll need to know your window frame’s depth when you order inside-mount window blinds for them to fit correctly.)
When layering window treatments, an inside mount can make for a cleaner look. It is possible to layer window treatments on the wall, however, as long as the window blinds and curtain brackets are spaced farther from the window with each additional layer.
STEP 2: Measure the window frame to determine the size of blinds you need.

Precise measuring is crucial if your blinds are to operate smoothly and block sunlight effectively. Not only will you need to know the width and length of the window or doorframe, but you’ll also need to adjust your figures as directed below for proper fit and function. Rounding up will give you a size that’s too big and will create a big problem if you’re installing inside-mount blinds.
Use a tape measure to determine the depth of your inside window frame, and check the blind’s minimum depth requirement (listed on the product specifications) to ensure a proper fit.
If you’re ordering custom blinds, the manufacturer can cut them to your specs; DIY stores will also often cut blinds to fit your window’s measurements.
Measuring for Inside-Mount Blinds
- Measure the inside width of the window frame at three different spots: the top, the bottom, and in the middle. It’s important to measure all three areas because window framing can easily be out of square, even if you can’t see it with the naked eye. Record the shortest measurement to ensure that you won’t end up with a blind that’s too wide to fit in the tightest spot of the window frame.
- Measure the height of the inside window frame in the same manner, from top to bottom on the left, then on the right, and again in the center. This time, record the longest measurement to make sure that the bottom rail on your new blind will be long enough to reach the windowsill even if there is a discrepancy in the window framing. If you’re choosing horizontal blinds and there is a big difference in the lengths, consider choosing a thinner blind that will make the difference less obvious than thicker blinds.
- Round both measurements down to the nearest ⅛-inch increment. Rounding down the width measurements allows for a small space on both sides of the installed blind—just enough to pull it up without rubbing the window frame while still offering maximum privacy and light control. The precise length measurement will ensure that the bottom rail will rest a hair above the windowsill, without laying on the sill itself, when lowered to its lowest position. Examples:
- If the width measurement is 18 15/16 inches, round it down to 18 ⅞ inches.
- If the length is 30 3/16 inches, round it down to 30 ⅛ inches.
RELATED: After Testing These 9 Laser Measures, Our Top Pick is a Must-Have
Measuring for Outside-Mount Horizontal Blinds
- Measure the hanging width at the top, from outside edge to outside edge. Then add 3 inches.
- Measure the hanging length of the blinds from the center of the window. Then add another 3 inches to ensure sufficient sunlight blockage and privacy around the edges of the blinds.
Measuring for Outside-Mount Vertical Blinds
- Determine the length by measuring from the top of the window or doorframe to the floor. If installing the track at a standard 4 inches above the top of the doorframe, add 3½ inches to the measurement. This 3½ inches allows sufficient room while keeping the bottom of the vanes ½ inch above the floor, so they won’t drag when you slide the blinds. Many vertical blinds require 4 inches above the doorframe to accommodate the track.
- Measure the width of the door from outside edge to outside edge and add 4 inches. The extra width will help block unwanted light from the sides of the blinds.
STEP 3: Attach the brackets.

Before you begin installation, read your model’s specialized set of instructions on how to put blinds up and check that the hardware is included.
Blinds can either be installed inside the window frame (for inside-mount blinds) or on the wall on either side of the window (for outside-mount blinds). Horizontal blinds that are longer than a single standard-size window will often come with an additional center support bracket to keep the middle of the blinds from sagging.
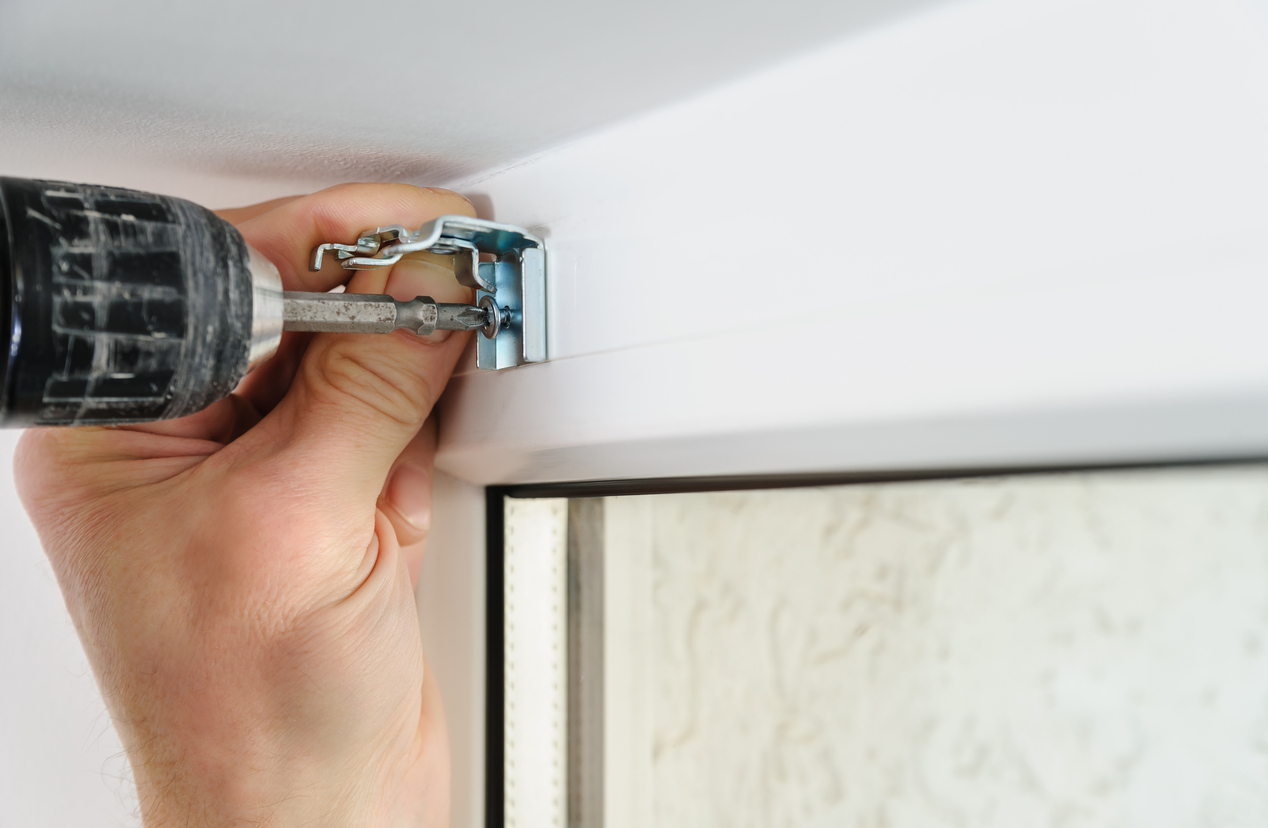
Measure and mark with a pencil where the support bracket will go. For heavy outside-mount blinds, use a stud finder to make sure the brackets will be attached to a stud behind the drywall. Use the included fasteners and a drill to secure the brackets to the wall.
STEP 4: Install the upper rail or vanes.
Once brackets are in place, fit the upper rail of the blind into the brackets (for horizontal blinds) or hang the vanes on the upper track (for vertical blinds). Typically, blinds will just clip into place with a little bit of pressure.
The method for how to clip brackets into place depends on the product, so be sure to review the product’s installation information for specifics. Tools are not usually required for this step.
STEP 5: Snap the finishing valance into place.
Both horizontal and vertical blinds usually come with a finished front piece, called a valance, that snaps in place over the top rail to cover the brackets and give the blind a finished look. This piece usually complements the look of the blinds, and no tools are required for this step.
RELATED: The Best Window Films Tested for Privacy and More
Tips for Keeping Blinds Clean

Blinds do collect dust, so care for them regularly to keep them looking new.
- Swipe all blinds periodically with a microfiber duster or a blind-dusting tool designed with “fingers” that fit between individual slats.
- For occasional deeper cleaning of vinyl, composite, or PVC blinds, lift them from their brackets and take them outdoors. Spray with all-purpose household cleaner and wipe the slats with a damp cloth. Rinse with a fine spray from your garden hose, and allow them to dry completely before rehanging.
- For wood blinds, lightly mist with furniture polish and wipe each slat or vane clean with a soft dusting cloth.
- Vacuum fabric-covered blinds with the brush attachment to banish dust, but leave spot removal and deep cleaning to a professional cleaner.
Final Thoughts
Installing blinds can be an easy DIY project that requires just a few tools. While there are seemingly endless choices of material, size, and style, choosing the right size blinds is essential for stress-free quick installation. Learn how to measure for horizontal and vertical blinds before selecting blinds for a window or patio door, and then learn how to hang window blinds with this easy step-by-step guide.
FAQs About How to Mount Window Blinds
Now that you are familiar with how to mount blinds, you may have a few lingering questions about your specific situation. Below are answers to some of the most common questions about how to mount window blinds.
Q. Can you install blinds without a drill?
Yes, you can mount blinds without a drill. It will take a little longer, but you can use a nail with a slimmer diameter to create a pilot hole. Then, use a screwdriver to fasten the screws through the brackets and the pilot hole.
Q. How do you hang blinds without brackets?
If you are wondering how to hang blinds without brackets, it’s possible to use adhesive hooks or blinds with adhesive built in to hang blinds. While these might work temporarily, using brackets is recommended for long-term use.
Q. Is it easy to install blinds yourself?
Depending on the mounting height, blind size, and weight of the blind, it is easy to install blinds without help. If mounting blinds requires the use of a ladder or the blinds are difficult to maneuver, it is recommended to work with a helper.
Q. How long does it take to install window blinds?
It takes less than an hour to install a set of window blinds on a standard-size window.


