We may earn revenue from the products available on this page and participate in affiliate programs. Learn More ›
Love it or hate it, there are at least a few good reasons that homeowners choose carpeting. For one, it absorbs the sound produced by television sets and stereo systems, overenthusiastic dogs, and raucous children. For another, carpet provides a soft, comfortable surface upon which to walk. And because it’s available in countless colors and patterns, carpeting can complement the decor of virtually any room. It can, however, be somewhat challenging to install carpet, but with patience, preparation, and some specialized tools, you can do the job yourself for a fraction of what it would cost to hire a professional.
Tools & Materials
Bobvila.com may earn a commission from purchases made through these links.
- Tape measure
- Screwdriver
- Hammer
- Pry bar
- Putty knife
- Sandpaper
- Broom
- Vacuum
- Mop
- Utility knife
- Scissors
- Carpet stapler
- Seaming iron
- Carpet roller
- Knee kicker
- Power stretcher
- Carpet
- Carpet padding
- Carpet tack strips
- Carpet staples
- Duct tape
- Carpet seam tape
STEP 1: Measure the room.
Installing carpet isn’t necessarily complicated, but you do need to follow certain steps to get the desired result. Start by determining the square footage of the room in which you wish to install carpet. To do this, simply measure the length and width of the room, then multiply the two numbers to find the total area of the floor. That said, most rooms are not completely square or rectangular. To make sure you have enough material to account for small discrepancies in the total size, consider adding 10 to 20 percent to your square footage calculation.
STEP 2: Select your carpet.
When you’re ready to choose a carpet, bring your measurements and a sketch of the room’s layout with you to the store. Your carpet dealer will be able to offer advice and will let you know if you are neglecting any details. In making your decision, consider the size of the room, the purpose of the room, and the aesthetics in that area of your home to make sure you end up with a product that meets your size and durability requirements and looks great on your floor. If you’re on the fence about doing it yourself, ask about the costs of carpet installation, and don’t forget that you’ll also need to purchase carpet padding to lay beneath your carpet.
STEP 3: Remove old carpet, doors, and baseboard molding.
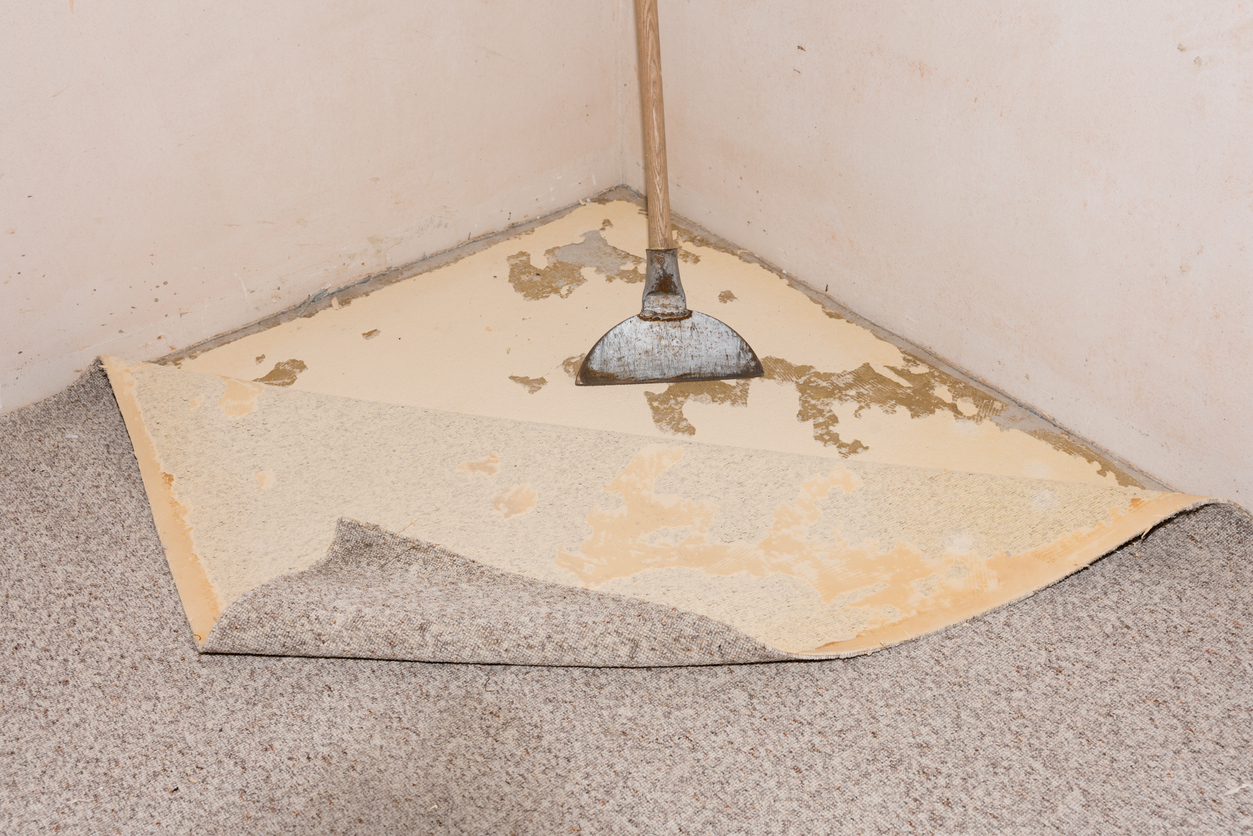
You’ll need to work with a completely clear, flat surface, so it’s necessary to remove the old carpeting, doors, and baseboard molding. Use a screwdriver to remove doors, and grab either a hammer or a pry bar to gently remove the baseboards and transition pieces that may be holding the old carpet in place. Old carpet is typically looser than new carpet, so it shouldn’t be too difficult to lift the carpet off of the existing tack strips. If there’s no old carpeting to rip out, then you’ll just have to remove the doors and baseboards to ensure that your carpet will fit squarely against all edges.
STEP 4: Prepare the surface.
Use a hammer, putty knife, and sandpaper to smooth out the surface of the floor by removing any globs of glue, errant nails, or built-up paint. After cleaning away the surface debris, sweep, vacuum, and wash the floor thoroughly, taking this opportunity to check the floor for damage. The floor must be totally dry before you proceed, as residual moisture can lead to mold growth.
STEP 5: Nail down the tack strips.
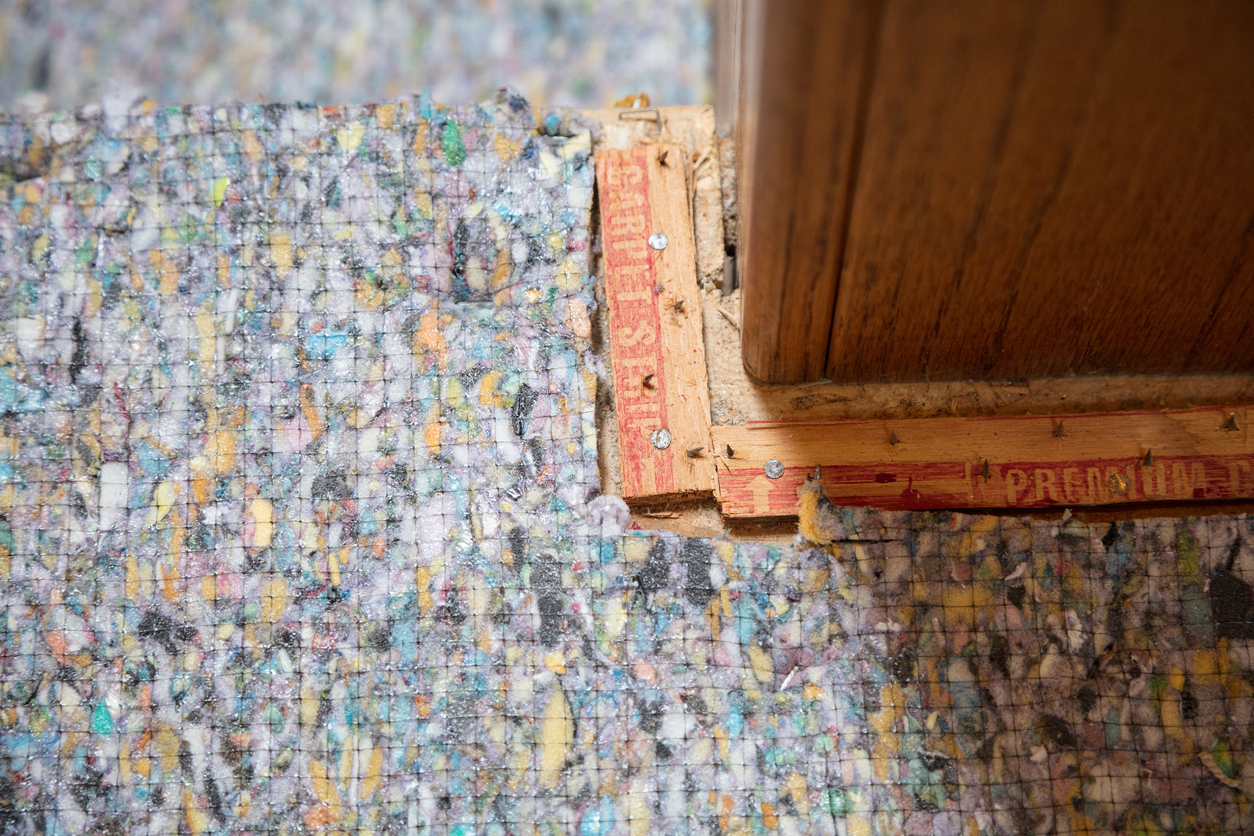
If you are planning to install carpet with a pad, then you don’t need to use glue, but you do need to install tack strips around the perimeter (minus the doorways). The tack strips hold the carpet in place. If you’re replacing a carpet, inspect the old tack strips to determine if they are in good enough condition to reuse. If they’re not, they will need to be pried up and replaced.
When you’re purchasing tack strips, there’s a simple rule of thumb to remember: Wider is better. Position the strips about a half-inch from the wall, with the tacks angling away from the center of the room. Aim to put two nails into each tack strip, butting one strip against the other, end to end. Once you have nailed in the tack strips around the entire room, even around obstructions like air vents, it’s time to install the carpet padding.
STEP 6: Install the carpet padding.
Use a utility knife, or even a pair of heavy-duty scissors, to cut the carpet padding to the correct size. Each strip of padding should extend from the inside edge of the tack strip to the opposite inside edge, and the edges of each strip of padding should butt. It’s a good idea to duct tape the seams between each strip. When the floor has been fully covered, work around the edges of the room with a carpet stapler to secure the padding to the inside edge of the tack strips. The padding should lie completely flat. Any bulges or bumps need to be smoothed out before you can proceed.
STEP 7: Lay out the carpet.
Recently purchased carpeting should be unrolled and laid out loosely in the room for at least 24 hours before installation. This lets the carpet acclimate to the environment. During this 24-hour period, you may find that the carpet shrinks or expands slightly. Allowing this to happen prior to installation helps ensure professional-level results.
STEP 8: Cut the carpet.
Once the carpet has acclimated to the room, it’s time to use the measurements you took previously to cut the carpet to size, although it’s advisable to leave a little extra material to make sure that when the carpet is stretched and secured it will fit as intended.

STEP 9: Roll out the carpet.
Now that the carpet is cut, you are ready to put it in place in the room. Start in one corner and leave about 3 to 4 inches of excess carpet up against the wall. Position the carpet so that it completely covers the tack strips and the floor, while lining up the carpet edges to make tight-fitting seams. Also, make sure that you roll out each piece of carpet in the same direction to ensure that the texture is consistent across the room.
STEP 10: Tape and seal the carpet seams.
For the best results, it’s a good idea to purchase or rent specific tools needed to install carpet, including carpet seam tape, a seaming iron, and a carpet roller. Seam tape is used to join two or more sections of carpet. Apply the tape underneath the carpet seam, adhesive side up, then use a seaming iron to melt the adhesive. As the adhesive cools, press down on the carpet edges you are connecting, then seal the seam with a carpet roller.
It’s important to note that taping, melting the adhesive, and sealing the seams with a carpet roller are essentially all part of one step. Take care of the seams as you work on each section, not at the very end. If possible, try to locate seams in low-traffic or otherwise inconspicuous parts of the room you are carpeting.
STEP 11: Stretch and tack the carpet.
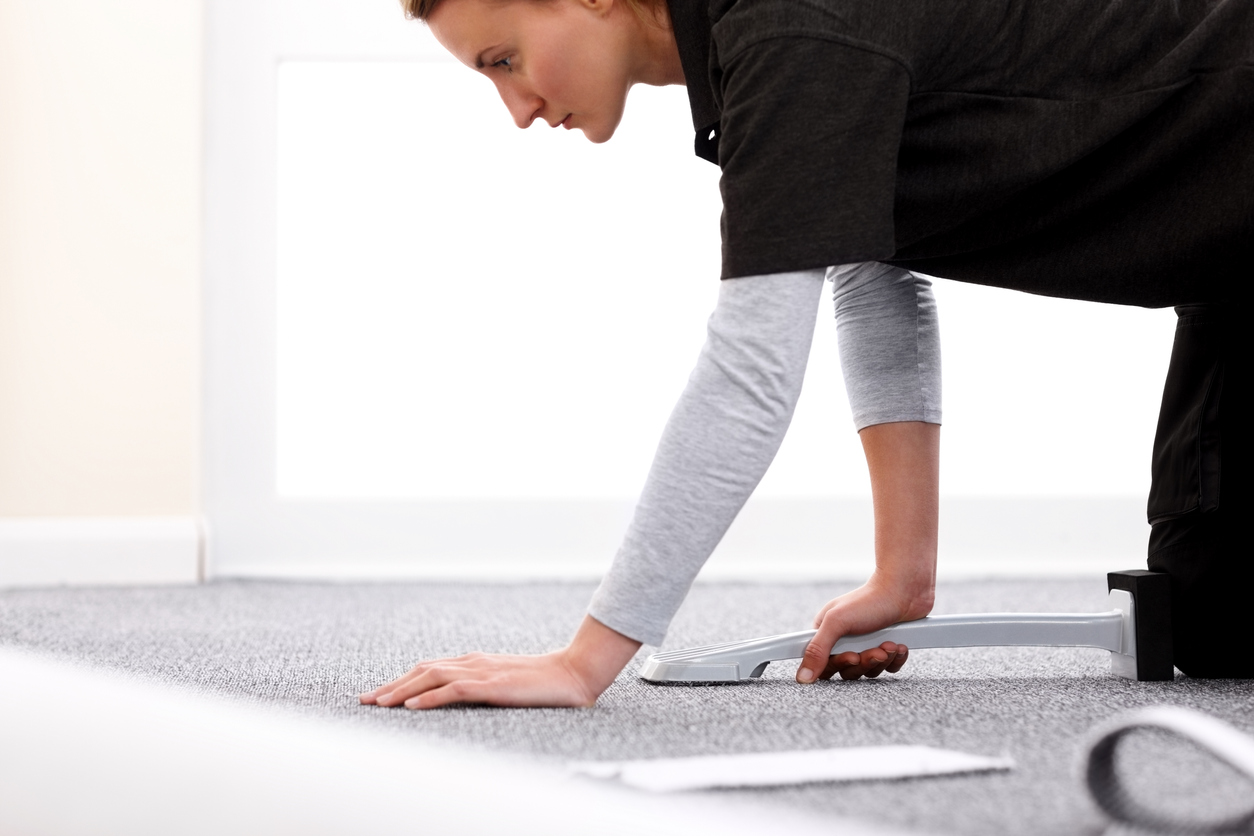
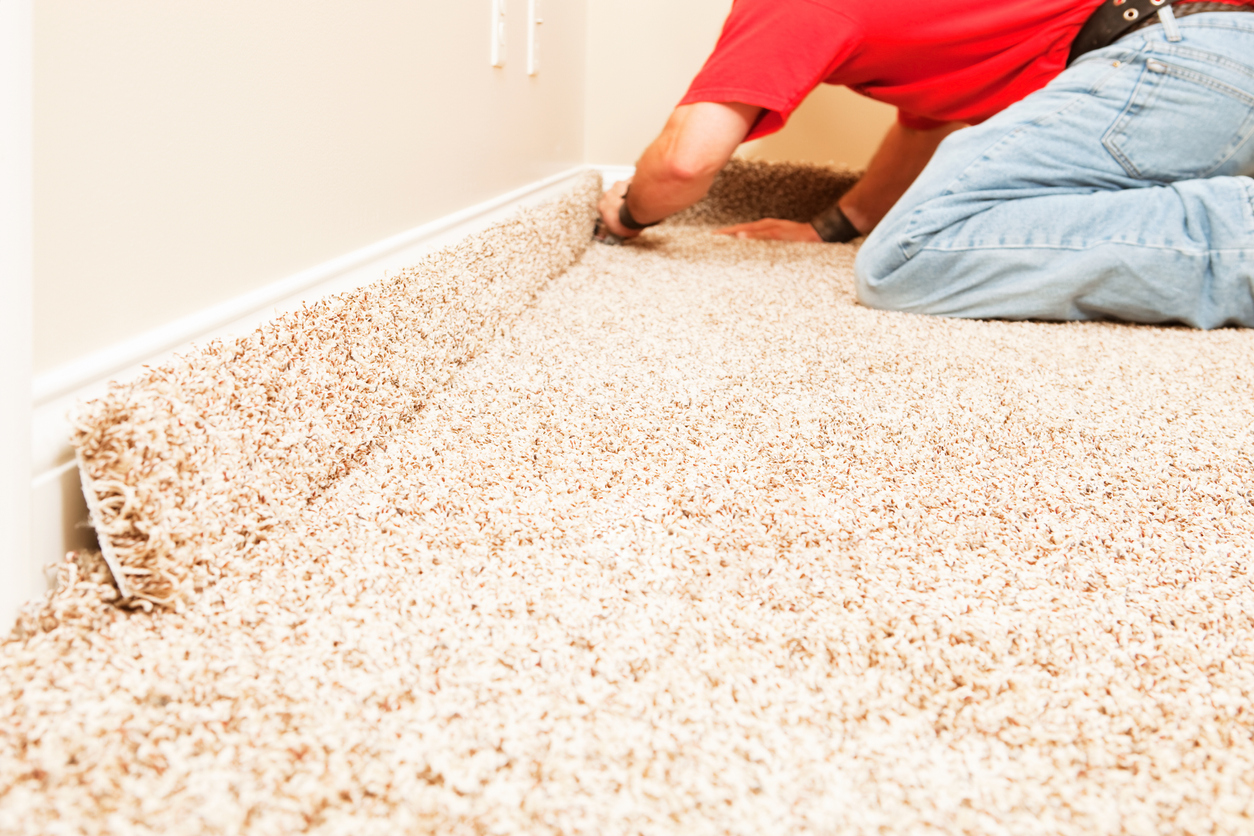
Beginning in a corner and working your way along the wall, attach the carpeting to the tack strips using a knee kicker, which prevents lumps and bumps from forming. To do this, place the knee kicker about 3 inches out from the wall, then hit the flat, cushioned end with your knee to stretch the carpet and secure it to the tack strips. Continue this process as you move along the wall, hitting the knee kicker about once per foot of carpet.
When you’ve finished attaching the carpet along one wall, head over to the opposite side of the room, stretching and pulling the carpet along with you. Repeat the same steps along this wall to stretch the carpet and attach it to the tack strips. With two opposite sides of the carpet in place, move on to stretch and secure the carpet along the remaining walls of the room. For large spaces, consider renting a power stretcher to make easier work of positioning the carpet.
STEP 12: Trim the carpet.
After you’ve used the knee kicker or stretcher to secure the carpet over the tack strips, you’ll be left with excess carpet around the edges of the room. Cut away the excess with a utility knife, ensuring that the remaining carpet fits tightly against the walls so that the edges will be completely concealed when the baseboards are replaced.
STEP 13: Reattach baseboards and doors.
The carpet is now installed, but before you can finally kick off your shoes and enjoy a luxurious stroll across the plush new surface, you will need to reattach the baseboards and any doors that may have been removed. It’s also a good idea to vacuum the carpet after installation to remove any cut carpet fibers, dirt, or other debris.

Final Thoughts
Adding or replacing carpet is a great way to change the appearance of a room, but it also gives you a comfortable surface to walk, sit, or even lie down on. Carpeting has the additional benefit of insulating a room, helping to keep it warm in the winter. With a carpeted floor, air-conditioned rooms will also remain cooler in the summer months. Keep in mind that the process for carpeting stairs is somewhat different, and you’ll need to properly complete each step in the installation process before moving on to the next stage to get the best results.
FAQs
Laying carpet isn’t difficult, it just takes time and patience to ensure that each step in the process is properly completed before moving to the next step. Errors in previous steps can cause trouble down the line. For instance, forgetting to remove glue or old nails from the floor before laying down the carpet padding could leave you with bumps in the final product.
It is possible to install a carpet without a stretcher, but it isn’t advised. Without a stretcher or a knee kicker there is a high chance that the carpet will develop creases or bumps, ruining the appearance and feel of the new floor.
Carpets that are stretched enough should lie completely flat and smooth across the floor. If you are concerned, look for rippled or wrinkled areas in the carpet and also inspect the edge to determine if the carpet is piling up along the baseboards. The carpet is stretched enough if it doesn’t exhibit any of these telltale signs.
Use a stretcher or knee kicker to get rid of ripples in the carpet. Simply release the carpet from the tack strip along one wall, then begin stretching the carpet out with the stretcher or knee kicker until you’ve worked your way along the wall. Secure the carpet on the tack strip and cut away any damaged or overlapping carpet fringe.
You may have heard of tackless carpet installation, but the term is actually a bit confusing. The tack strips used in the typical stretch carpet installation described here are also known as “tackless” strips. The introduction of these strips meant that installers no longer had to tack the carpet directly to the floor, an installation method that is now obsolete. So, while the process really isn’t, as the name implies, “tackless,” the tacks involved sit on the strips and aren’t driven into the floor.

