We may earn revenue from the products available on this page and participate in affiliate programs. Learn More ›
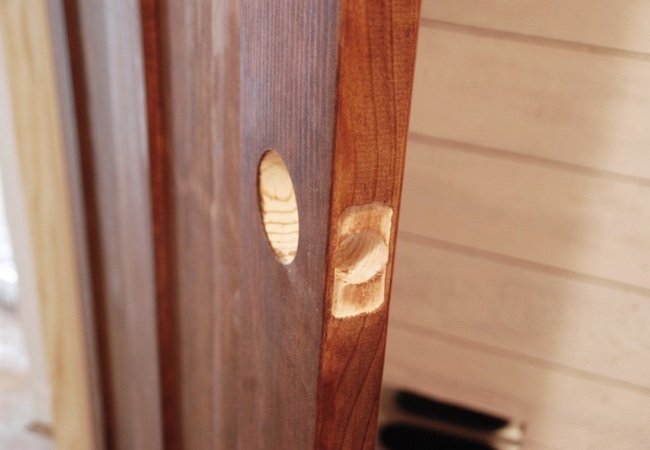
As a person who has recently upgraded from living in a garage to living in a half-constructed house, the novelty of having multiple doors to open and close on a whim cannot be overstated. Over the last several weeks, I’ve gotten used to the convenience of hooking a finger through the empty hole to swing the door open and closed. On the plus side, there’s no knob to turn or lever to push, and you can always see when the bathroom is occupied by peering through the open hole. (Listen, when you spend a year living in 400 square feet with another human being and a cat, privacy becomes a moot point.)
Before You Begin
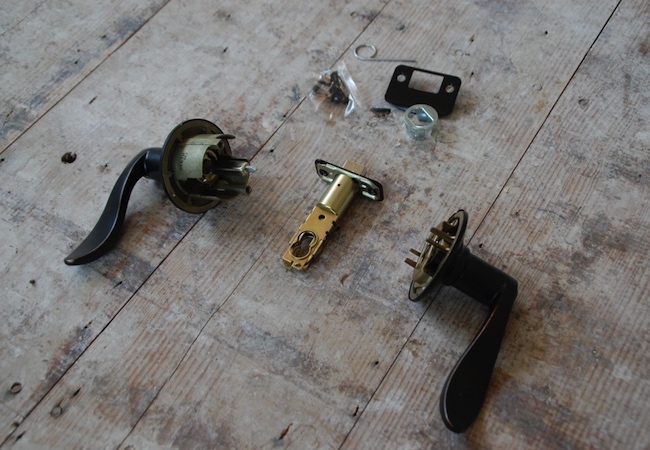
Here’s what basic cylindrical interior door hardware looks like.

It consists of a latch assembly, a handle attached to the cylinder, a second handle and face plate.
Installing an interior door handle is a pretty easy task and doesn’t require any fancy tools. Here’s all you will need:
Tools & Materials
Bobvila.com may earn a commission from purchases made through these links.
How to Install Door Hardware
STEP 1: Installing the latch assembly
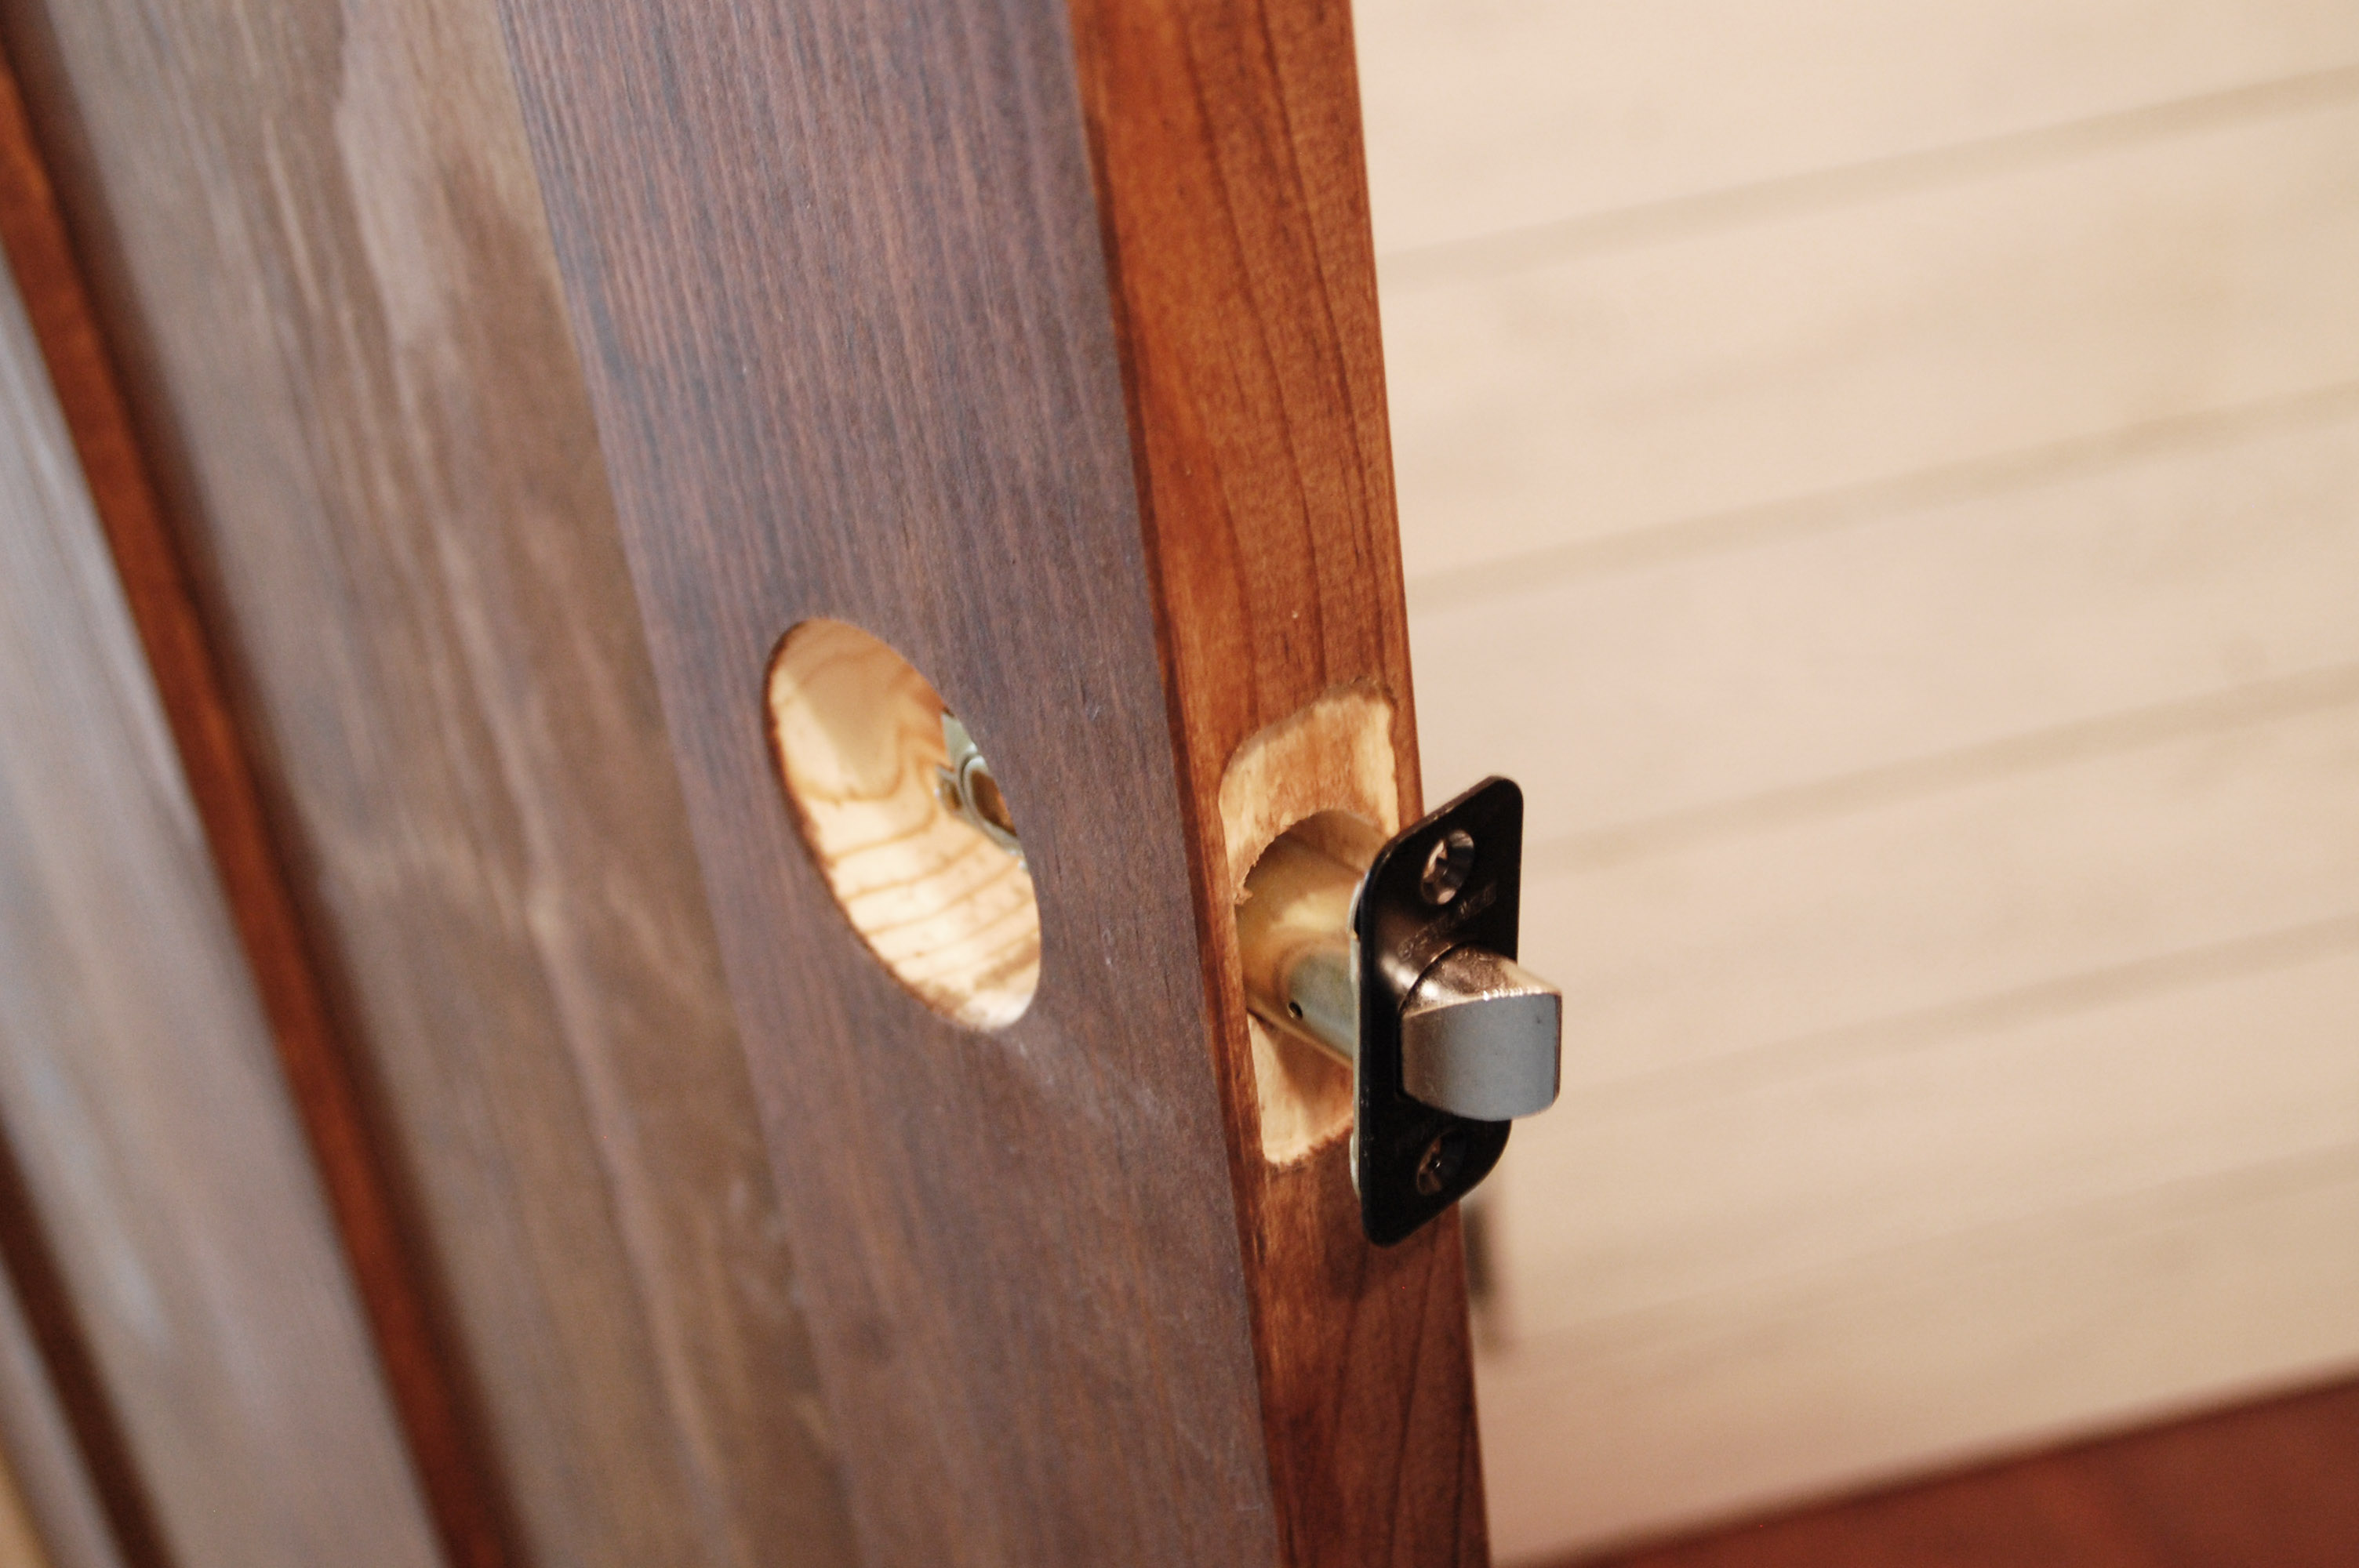
The only trick here is to make sure the beveled side of the latch faces the jamb< so that it pushes the latch back when you close the door. If you do this backwards, you’ll have to turn the handle to get the door closed each time.

Most doors come with space removed to accommodate the face plate. If not, you may need to trace the size of the plate onto the door (making sure it’s centered and level) and then remove some of the wood with a chisel so the face plate sits flush. Once the latch assembly is in place, wait until the rest of the handle is installed to screw the face plate in place.
STEP 2: Installing the handles
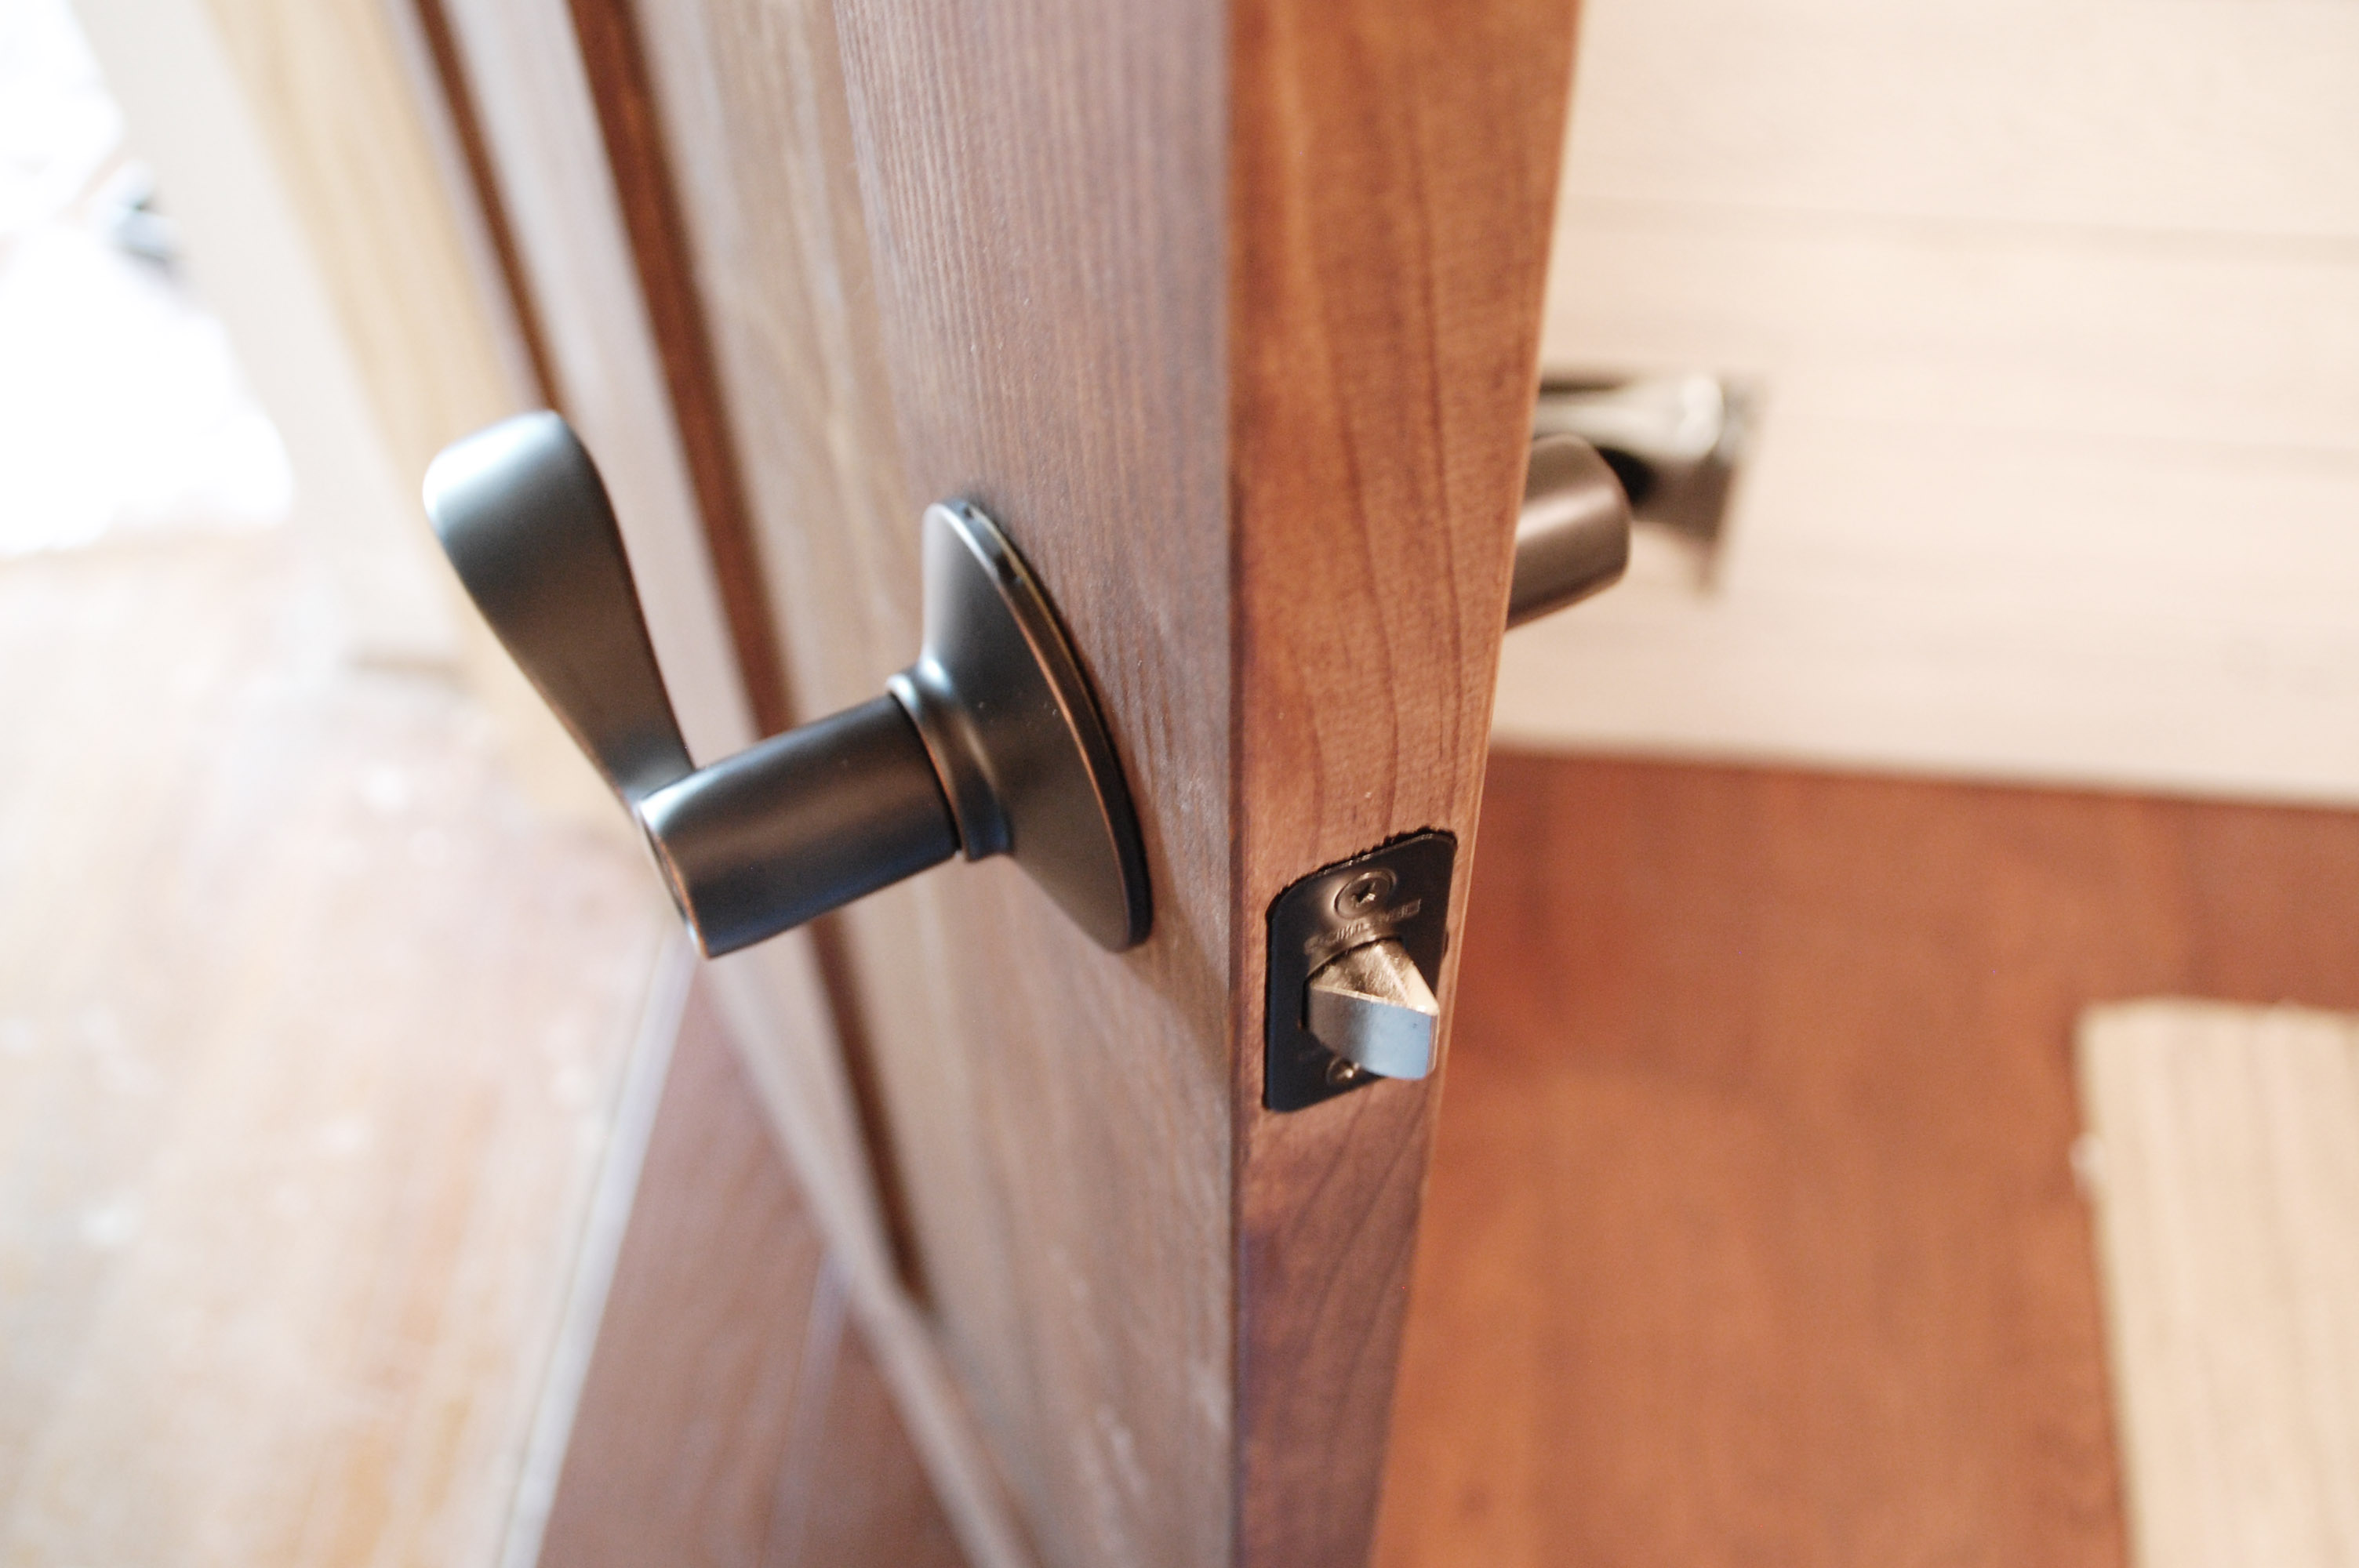
With the latch assembly in place, slide the door handle with the attached cylinder into place. It must line-up with the holes in the latch assembly to function properly. When in place, position the opposite handle to secure the connection. The handles can now be fastened with two screws; generally located on the “locking” side of the door. With lever style handles, like these, you may need to “swap handles” so that they are facing the correct direction. Most models can be released with a small button on the base of the handle.
STEP 3: Fastening the face plate
Bringing our exciting adventure in door hardware installation to a close, just a few screws into the face place, and voila! Securely closed doors and no more peeping toms.


