We may earn revenue from the products available on this page and participate in affiliate programs. Learn More ›
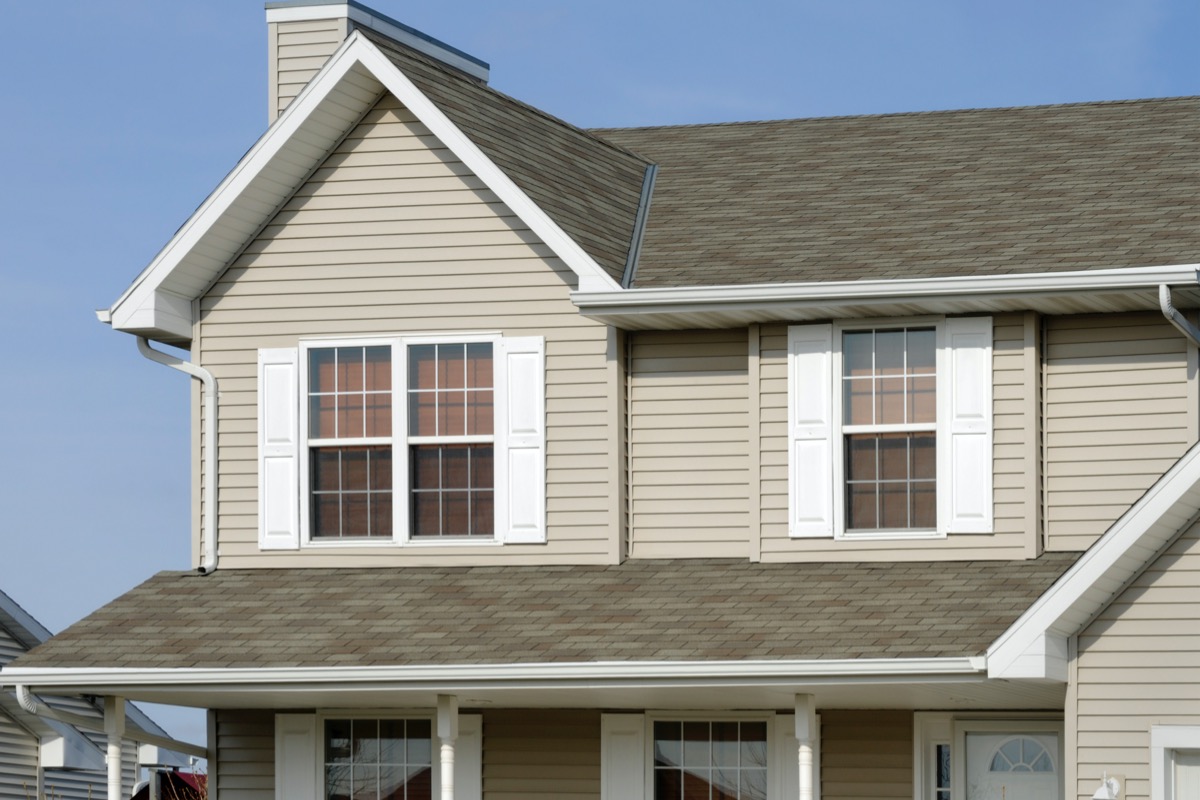
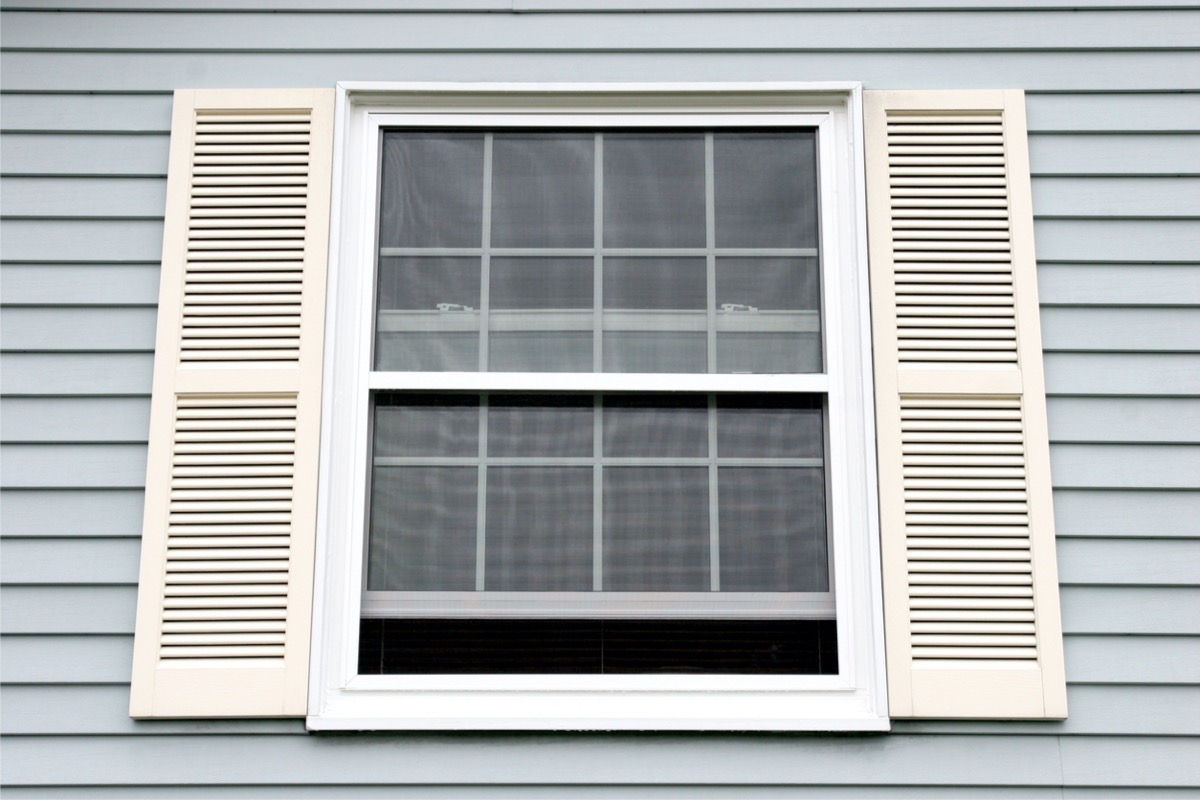
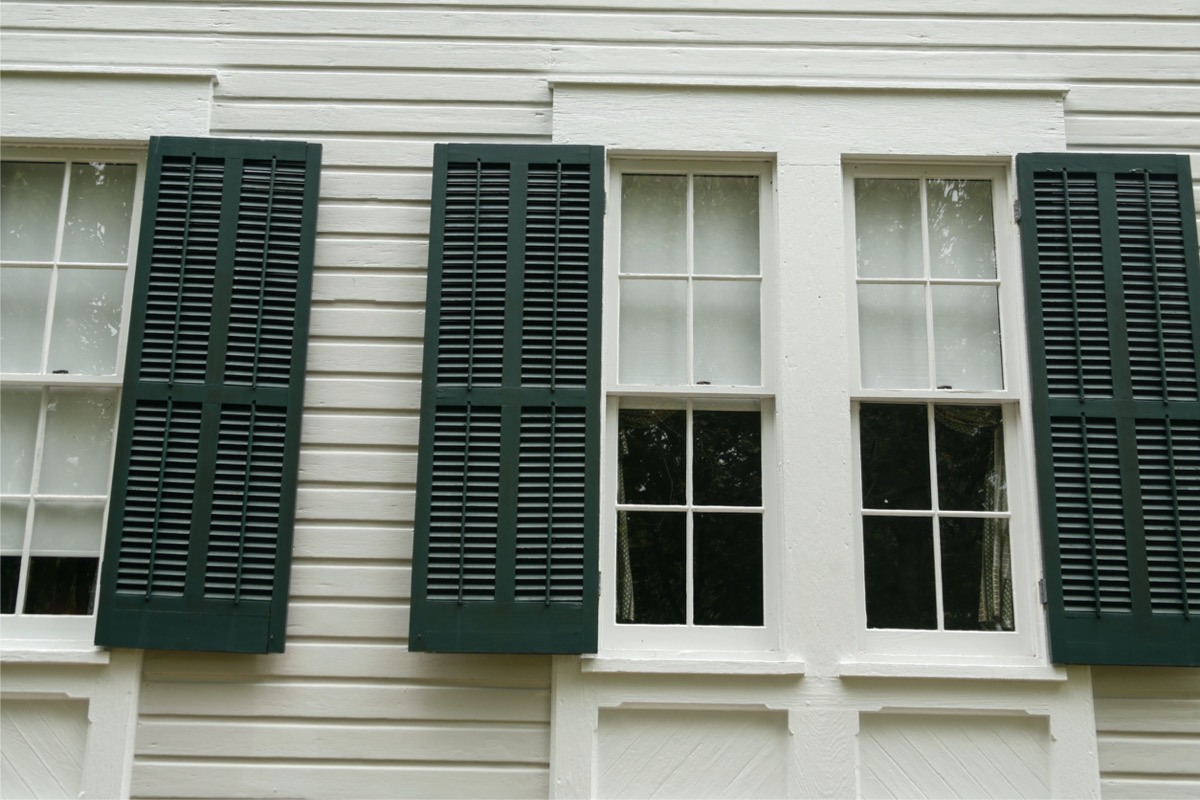
While giving the exterior of your home a new paint job or fresh siding may not be in the budget, one affordable option is replacing those tired old shutters. Upgrading old shutters or adding shutters to windows enhances a home’s curb appeal.
New shutters can accent the primary color of the home or add depth when coordinated with exterior trim. Best of all, decorative exterior shutter installation is a project most DIYers can handle themselves with basic tools they already have in their garage, eliminating the need for costly professional installation.
Ahead, find out how to remove shutters and how to install new ones.
Tools & Materials
Bobvila.com may earn a commission from purchases made through these links.
Before You Begin
While installing shutters is a job most DIYers can handle, it requires an extra set of hands, so make sure you have a partner to help you with the installation. If you’re installing shutters on a second floor, follow the proper safety precautions when using a ladder.
When shopping for shutters, look for pressure-treated wood shutters for exterior use, along with high-quality hardware. To have operable shutters, the shutter dogs and hinges need to be sturdy.

STEP 1: Remove the old shutters (if you have any).
For many DIYers, the first step in how to hang shutters is to remove the old ones. Before you do anything else, you’ll want to figure out how the shutters are attached. If the shutters are wood or metal, they are typically fastened to the home using metal screws. If the shutters are vinyl plastic, you will find plugs or locks.
To remove metal screws, use a cordless drill to back out each screw. Plastic locks are harder to remove. To uninstall shutters with this type of fastener, use a hacksaw to carefully cut the spike between the house and the shutter.
STEP 2: Measure your windows.
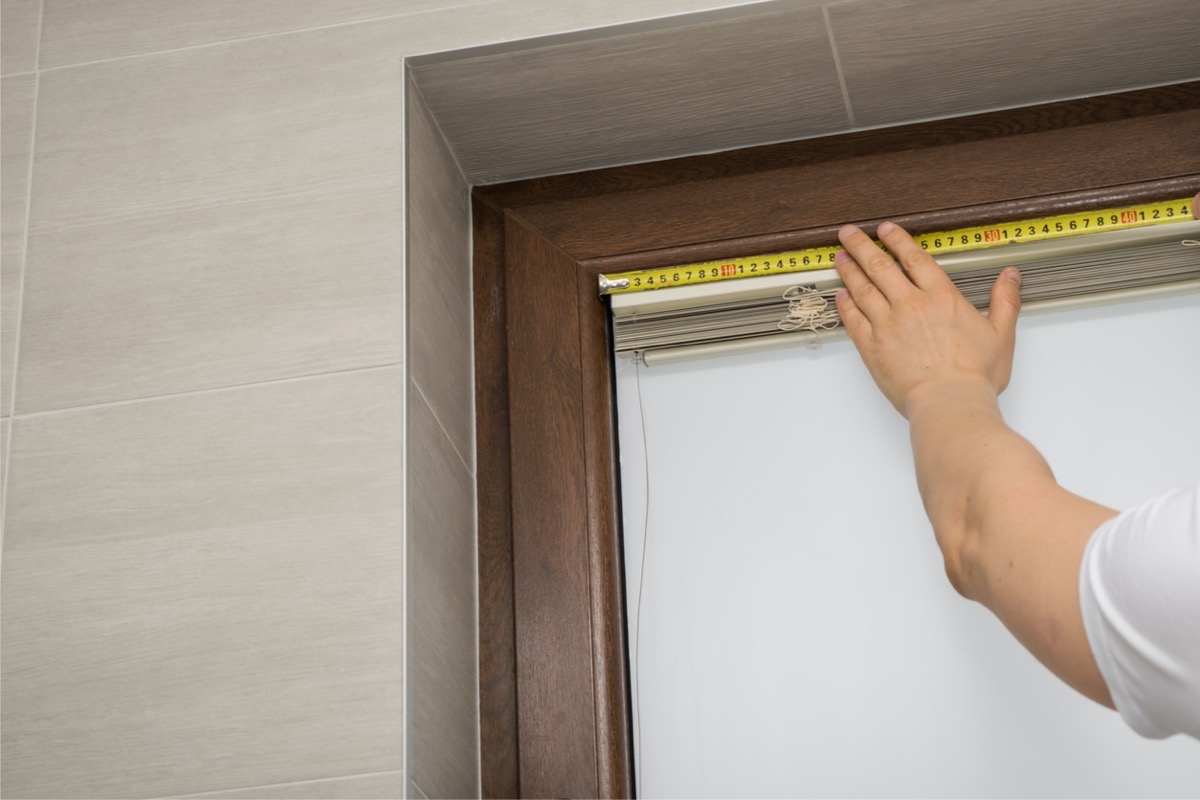
Before buying new shutters, measure the windows. Using a tape measure, measure the height of the window. The shutter height usually matches the size of the window opening not including the sill.
However, many homeowners like to have shutters that are a few inches taller than the window. If you’re purchasing shutters between two windows, measure the space between them to make sure the shutters for both windows will fit without overlapping.

STEP 3: Position and level your shutters.
Before beginning the installation, position the shutter alongside the window. If you’re installing composite or vinyl shutters, you’ll need to leave a 1/4-inch gap between the shutter and the window to allow for expansion and contraction of the material as temperatures change throughout the year. No gap is needed if you’re installing wood shutters.
Using a level, make sure the shutter is plumb and then mark the corners using a pencil.
RELATED: Shutter Style: 9 Designs Everyone Should Know
STEP 4: Mark and drill the mounting holes in the shutter, and make pilot holes in the siding.
Now that you’ve marked the location of the shutters near the window, you’ll need to prep it for mounting. Place the shutters face up on a flat surface over a piece of scrap plywood or on top of two sawhorses. Mark a location in the center of both side rails 2 inches from the top and 2 inches from the bottom.
If you’re mounting longer shutters that exceed 40 inches, you’ll need to use six fasteners–one in each corner and one at the midpoint of each rail. Once you’ve marked the holes, use a drill with a 1/4-inch bit to drill pilot holes through the shutters.

STEP 5: Attach the shutter to the siding.
Begin by marking and drilling pilot holes. When drilling into siding, it’s vital to drill to the proper depth. Measure 3¼ inches from the tip of the drill bit and mark the measurement on the bit with a piece of tape or felt tip pen. Position the shutter next to the window, using the corner marking you made earlier. Drill through each hole in the siding and shutters to a depth of 3¼ inches, using the mark you made on the drill bit as a depth guide.
Exterior shutter mounting options include plastic plug fasteners and metal screws. If mounting wood or metal shutters, use a cordless driver to fasten each screw. Make sure not to overtighten the screws to prevent damaging the siding.
If mounting the shutters to vinyl siding, use exterior shutter fasteners, which lock the shutter to the house while allowing them to expand and contract without damaging the shutter or the vinyl. Install the locking fasteners using a hammer.
Pro Tip: If your shutters don’t come with hardware, you’ll need to purchase the right screws for the job. To determine what length screws to buy, measure the thickness of the shutters and add that to the lap thickness–the place where the vinyl panels overlap–of the siding. Add 1/2 inch to that total to determine the proper screw length.
Final Thoughts
After reading this guide, you should now have a good idea how to measure for exterior shutters and successfully install them. Freshened-up curb appeal at your place is within reach! The key to a successful shutter installation is ensuring they fit squarely to each window, so make sure to take proper measurements when marking the position of each shutter. Also, don’t be tempted to skip pilot holes as driving in fasteners without them can damage the shutters.

FAQs About How to Install Shutters
If you’re still trying to decide between shutters or unadorned windows, read on to learn about how difficult it is to install shutters and how this update affects the value of a home.
Q: How difficult is it to install shutters?
Putting up shutters and shutter removal are easy jobs that most DIYers can handle. Just make sure to have an extra set of hands to help align the shutters and hold them in place during installation.
Q: How do you attach shutters to vinyl siding?
Attach vinyl shutters to siding using plastic exterior shutter fasteners, which are also called locks or plugs. Drill pilot holes, and then fasten the shutters to the home’s exterior by driving the plugs in with a hammer.
Q: Do shutters add value to a home?
While decorative shutters may not have a significant impact on a home’s value, they can improve a home’s curb appeal.
Check out Bob Vila’s top tips for installing shutters in the video below:


