
We may earn revenue from the products available on this page and participate in affiliate programs. Learn More ›
Q: We plan to finish the basement in my house, and there are going to be a couple of sump pumps, so we no longer need the old drain in the middle of the floor. What’s the best way to level a concrete floor?
A: There is no one way to level a concrete floor. Of all the methods available to do-it-yourselfers, which should you employ? That depends on how level you want to make the concrete. And that question, in turn, hinges on a related but different question: What type of flooring do you plan to install in your basement once the floor is level?
Leveling a concrete floor for carpeting

If you envision carpeting or another type of floor that forgives minor variations in subfloor grade, such as engineered wood or click-and-lock vinyl, then you can probably opt for the least labor-intensive method for leveling a floor.
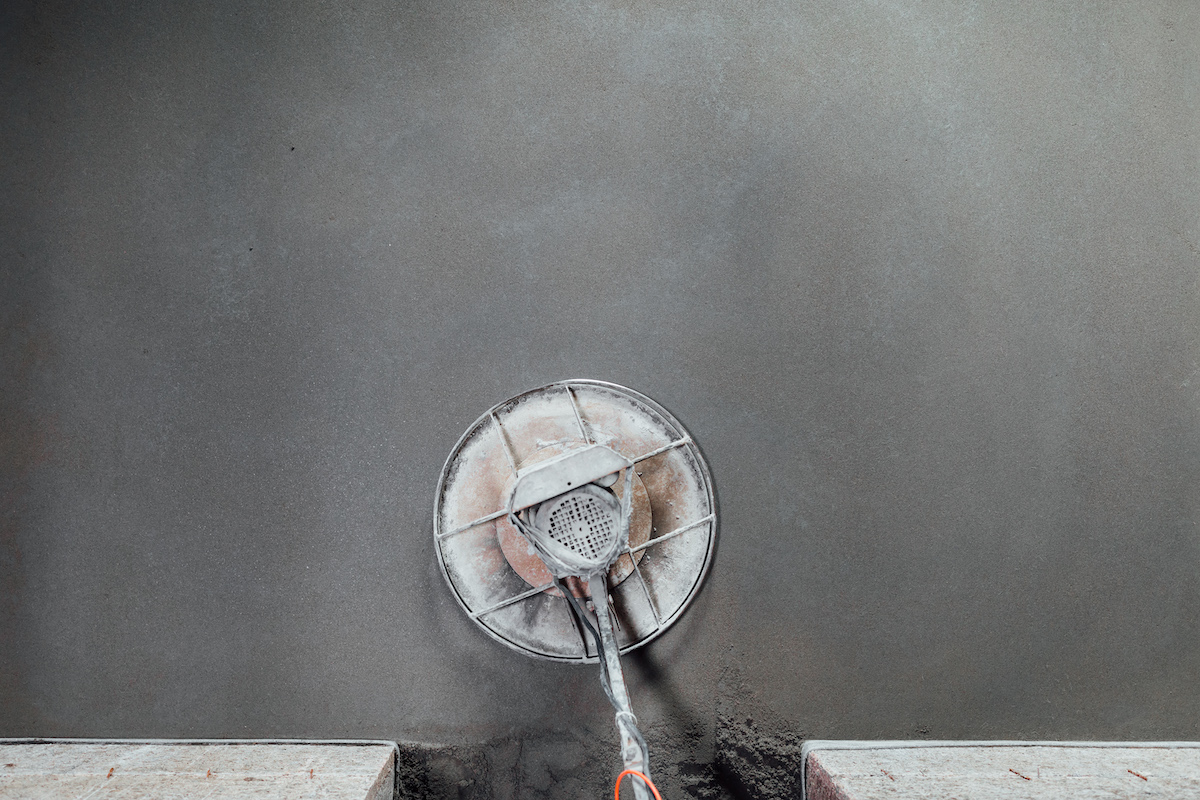
Here, a concrete grinder would do the bulk of the work. (You can rent a concrete grinder from your local home improvement center.) You’d use it to grind down the most prominent ridges in the floor.
To finish the job, you would then mix a batch of concrete and use it to fill in any dips or depressions.

Tried-and-True Advice
“While floor leveler is an easy way to level floors, especially if you’re planning to lay ceramic tile, it can be a challenge to keep it out of places you don’t want it to go, especially if you’re working in a bathroom where there are plumbing fixtures coming through the floor.
To keep leveler from flowing into toilet holes and floor vents, create a cardboard barrier around these holes by cutting pieces out of an old cardboard box. Shape the cardboard around the toilet flange and any floor vents and caulk or tape them into position. When you pour the floor leveler, it will flow around them instead of going down the holes.”
—Tony Carrick, Contributing Writer
Leveling a concrete floor for tile

If you want to install vinyl tile or ceramic tile, things get a bit trickier. For a successful installation, the concrete floor beneath the tile needs to be more or less perfectly level and smooth. That’s true for compact tiles and even more critical for larger ones, including the popular 1-by-2-foot size.
With small tiles, the maximum differential between the lowest and highest point on the floor is 1/4 inch per 10 feet; with larger tiles, the acceptable differential is a mere 1/8 inch per 10 feet.
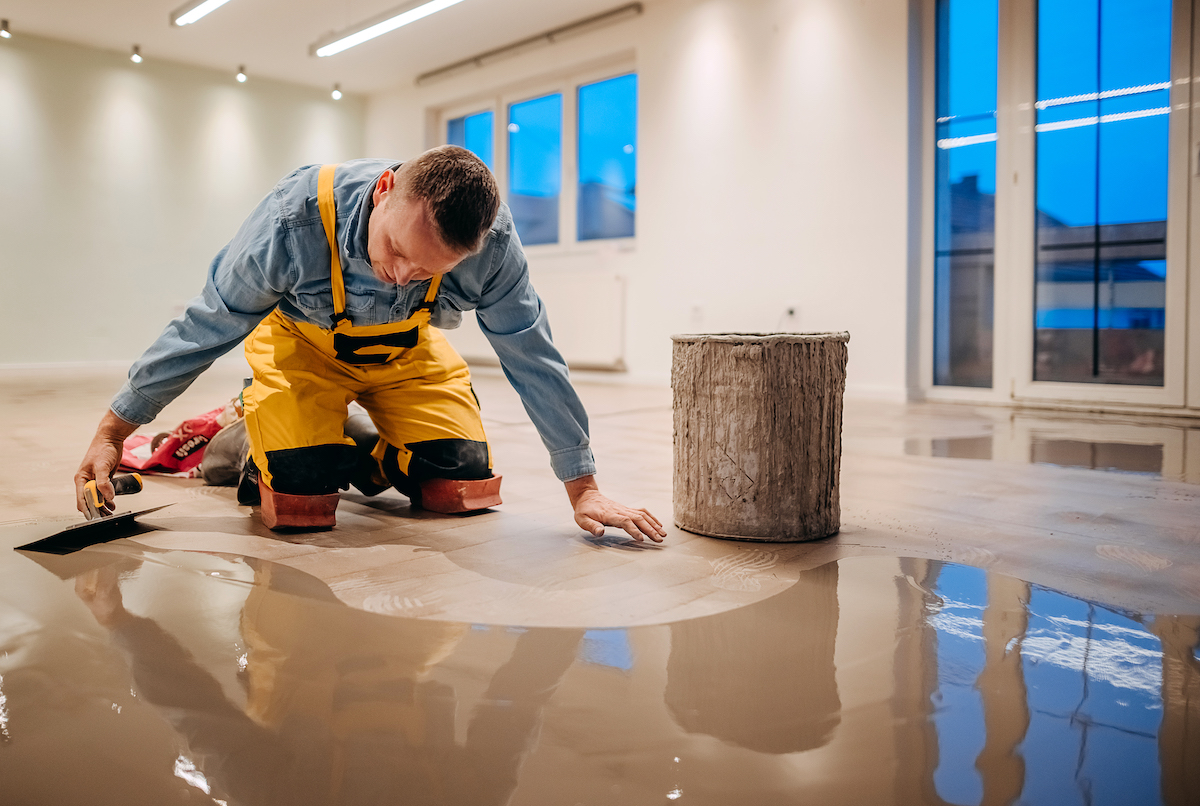
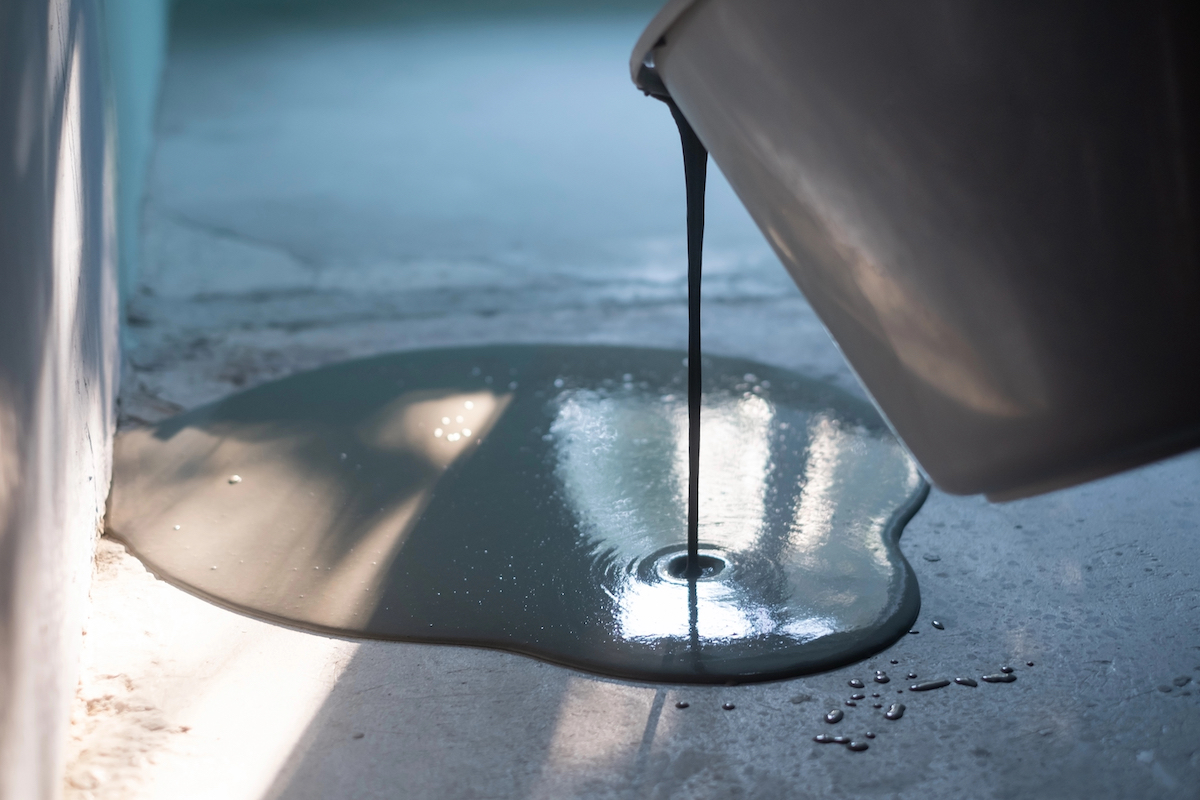
To achieve such flatness, use a self-leveling compound, such as Rapid Set Concrete Leveler Self-Leveling Underlayment. These products come in powdered form and are mixed with water and a fortifying agent. You end up with a thin liquid that when poured from a bucket flows across the existing uneven concrete. Gravity will bring the liquid to a level, but you can help the process along with a broom or trowel.
Mixing and applying self-leveling compound
Closely follow the manufacturer’s instructions, because every product differs slightly. Generally speaking, no matter which compound you choose, you’ll need to take prepare the basement beforehand:
- It’s important to remove any flaking paint or loose adhesive from the floor to ensure that the compound will grip to the concrete.
- So you don’t need an excessive quantity of compound, it’s a good idea to grind down any spots on the floor that are especially high.
- Floor drains must be capped and sealed around the seams.
Pro tip: Wear cleats or rubber boots in case you need to walk across the compound while it’s still wet.
Once the self-leveling compound has set, you can install your chosen flooring. Another option is to eschew a finished floor, and opt instead to stain, paint, or polish the compound that now forms the top layer of your concrete basement floor slab.
