We may earn revenue from the products available on this page and participate in affiliate programs. Learn More ›
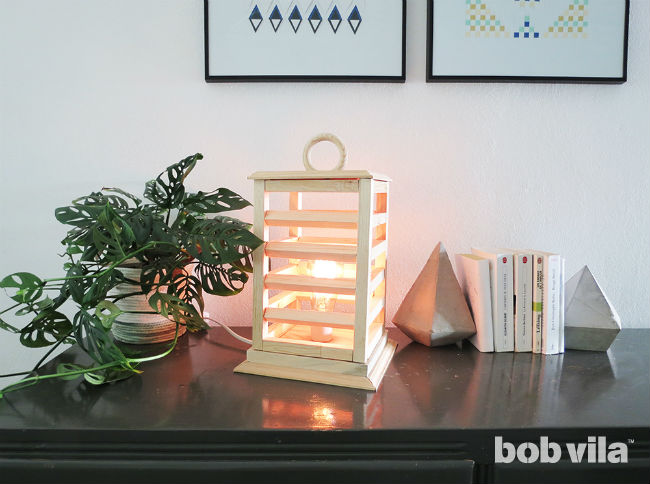
Wooden lanterns placed throughout the home—on the window sill, fireplace hearth, dining table, or the steps up to the front doors—are an easy way to create a cozy, even rustic feel. While you might typically find them filled with candles, those twinkling lights are not always practical (easy to snuff out) or safe (one wrong move away from a house fire) for use hours at a time. That’s why we set out to make this modern version, which won’t involve striking a match or frequently replacing batteries on flameless candles! Keep reading for how to make a lantern-style table lamp that requires only a flip of a switch to shine.
MATERIALS AND TOOLS
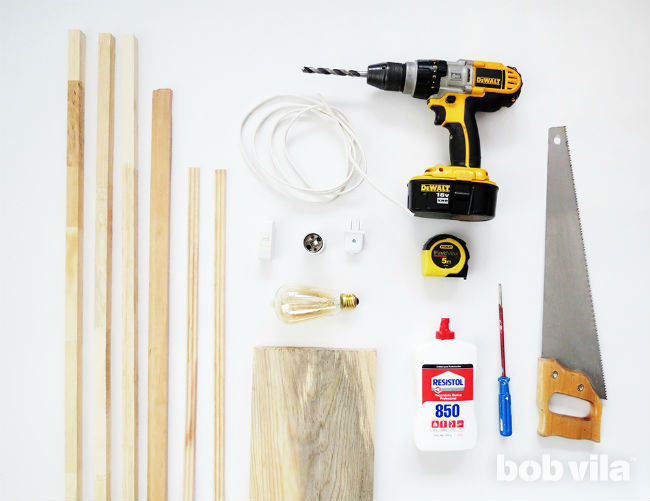
– Scrap wood
– Ruler
– Cordless drill
– ¾-inch square wooden dowels (16 feet)
– 2-inch wooden trim
– Hand saw
– Wood glue
– Wood clamps (4)
– Masking tape
– Wooden ring
– Lamp kit with cable, socket, plug, and switch
– All-purpose glue
– LED light bulb
STEP 1
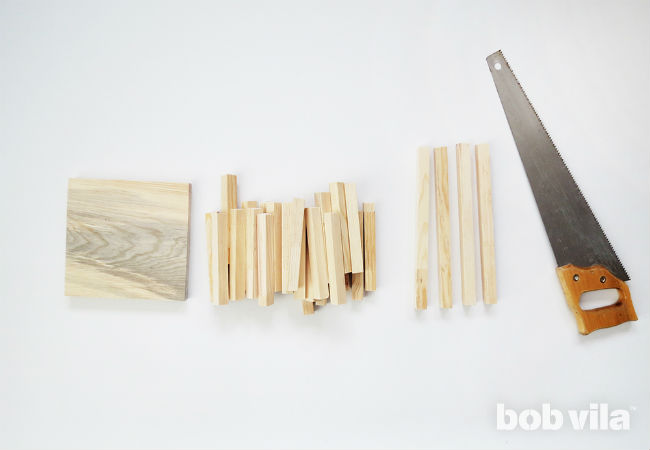
Cut two square shapes from your wood plank: one should have 7-½-inch sides (the base) and the other should have 5-½-inch sides (the lid).
Next, cut the square ¾-inch dowels to size. You will need four 10″-long pieces to make the corners of the wooden lantern, and 24 6″-long pieces to make the horizontal slats. Do your best to make straight cuts so that you can easily glue the pieces together.
Sand all wooden pieces.
STEP 2
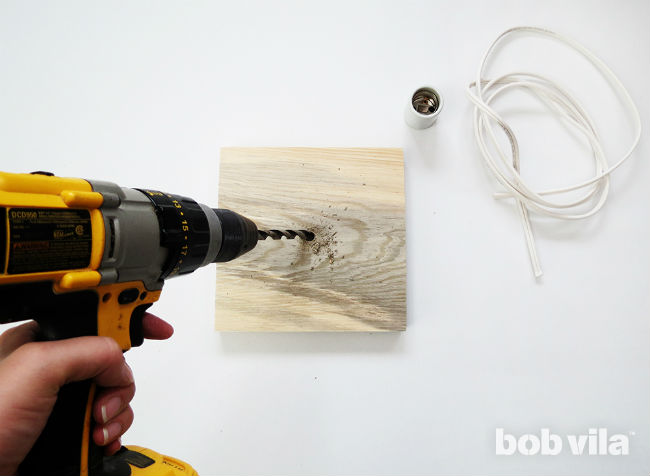
Take the 7-½-inch square base, and use the ruler to find and mark its center. Drill a hole wide enough to pass the wire cable.
STEP 3
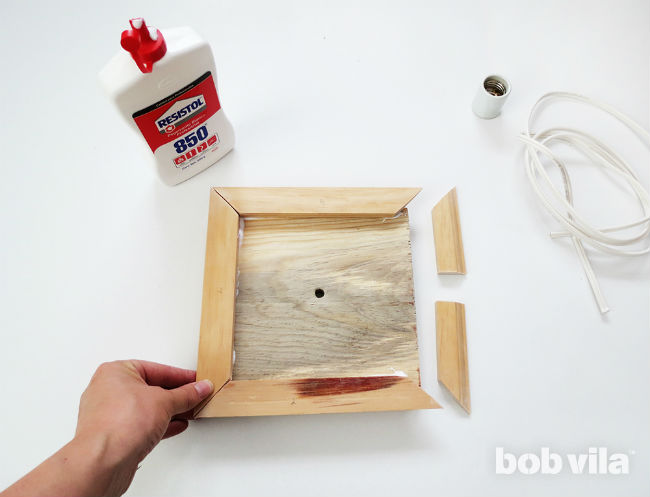
Cut the 2″-wide wood trim into four 9″-long pieces. Then you’ll make 45-degree cuts so that the corners fit together to frame the base. Each piece should now have a 5-inch edge and a 9-inch edge.
Take one piece of trim and cut a ½-inch notch out of its middle to leave for threading an electrical wire.
Apply wood glue to the top of each piece of trim, along the shorter edges. Press them firmly around the 7-½-inch square, and flip it over so that the trim is the very bottom of the wooden lantern. Use four wood clamps to hold the pieces together until the glue dries.
STEP 4
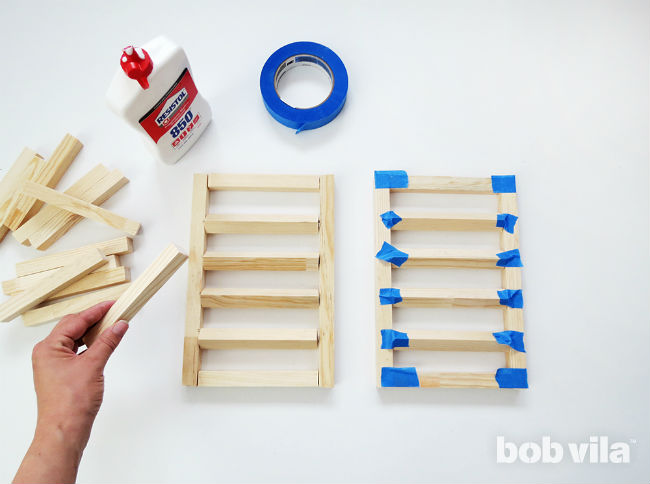
To build the wooden lantern’s sides, lay four 10″-long square dowels vertically on a flat surface.
Between the first two, space six 6″-long dowels perpendicularly and equidistant from one another. (We also rotated our dowels so that sharp edge of the four middle ones are facing out.) Once you’re happy with the spacing, lift the top dowel out to apply wood glue to each end and replace. Use masking tape to hold the pieces together until the glue dries, and proceed down the first lantern panel.
Repeat using the second two 10″-long dowels to make an opposite panel. Wait the full drying time suggested for your brand of wood glue.
STEP 5
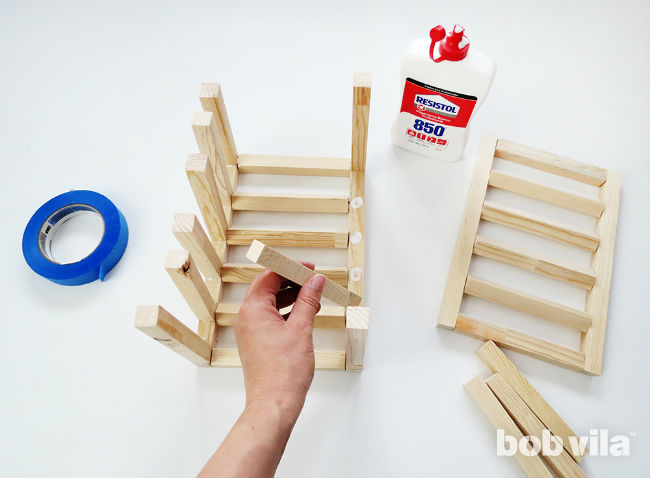
Once the two rectangular sides of your wooden lantern are done drying, you can start assembling them to create a box.
Stand and glue the remaining dowels along the edges of the first panel, six per edge, and try to keep them aligned with the dowels in the panel.
Next, apply wood glue to the exposed dowel ends and lay the second lantern panel on top of them. Wrap the masking tape around each of the freshly glued joints again to hold the wooden lantern steady while it dries.
STEP 6
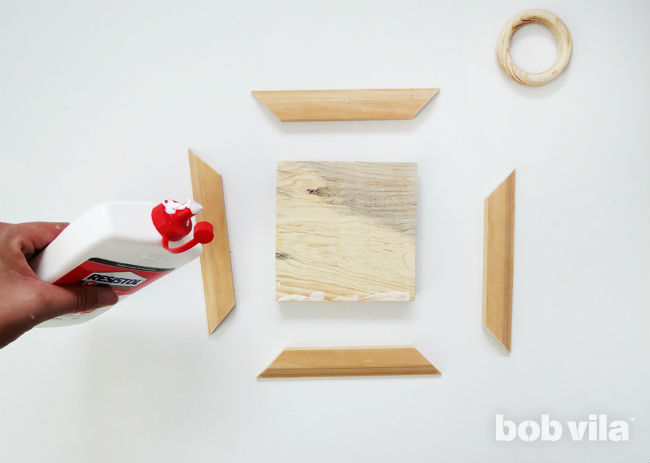
Take the smaller, 5-½-inch square of wood and add a trim frame in the same way you did for the base—this time you’re making a lid.
Cut the remaining trim into four 7″-long pieces, and make 45-degree cuts at each end. Apply wood glue to the bottom of each cut, along the shorter edge, and place them to frame the top of the square. Use your four wood clamps to hold.
Next, take the wood ring and glue it so that it stands upright in the direct center of the lid. It’s easiest if you flatten one edge of the ring with light sanding so that it can adhere to the lid better.
STEP 7
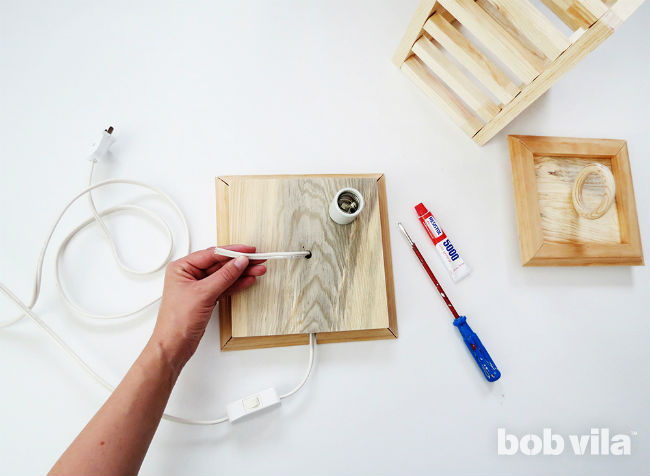
Pull out your lamp kit. Thread the wire through the notch you left in the base, beneath the 7-½-inch square, and through the drilled hole. Attach the light bulb socket to the wire as instructed in the kit and affix the bottom of the socket to the base will all-purpose glue.
Wait the recommended dry time.
STEP 8
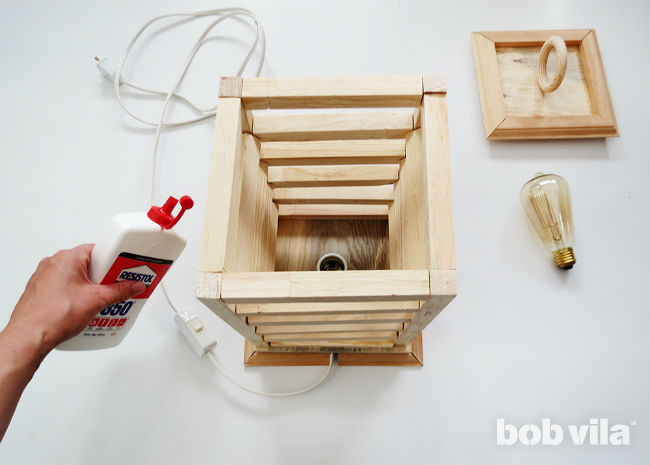
Glue the open-ended box made from lantern sides to the base, and weigh it down with a book so that it adheres well.
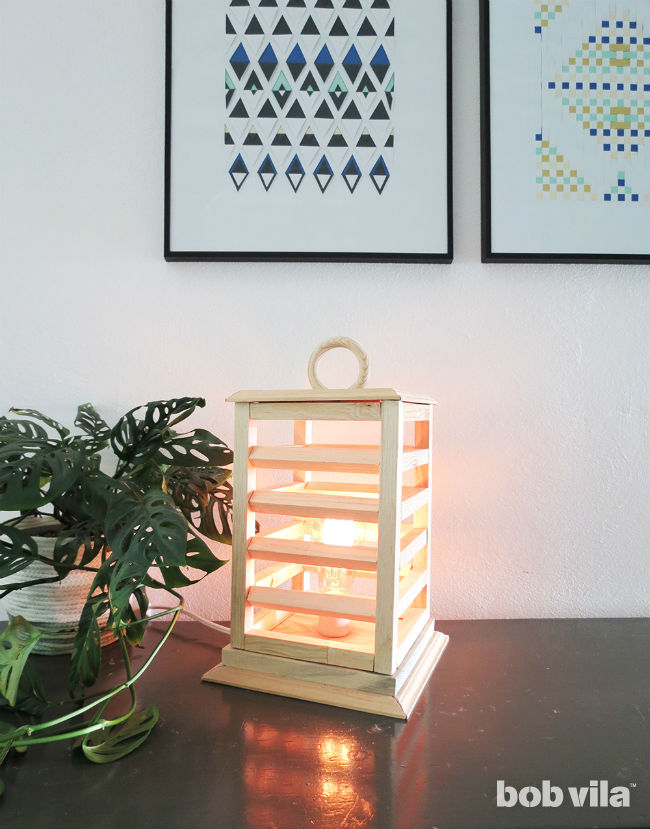
Finish however you’d like! You can opt to paint it white, stain it dark, or simply coat with a clear varnish to follow the Scandinavian trend. Once your finish has dried completely, screw in an LED light bulb—which can last for 50,000 hours—and place the lid on top to close the wooden lantern. Since you made the bottom of the lid to be 5-½ inches square, it should fit snugly between the 6″-wide opening without any glue.
Ama is a DIY addict and the creative mind behind Ohoh Blog. She likes home decor, lighting, and furniture projects that may involve painting, sewing, drilling…no matter the technique! Whatever she has on hand is inspiration to create, and fodder for her serious addiction to upcycling.
