We may earn revenue from the products available on this page and participate in affiliate programs. Learn More ›
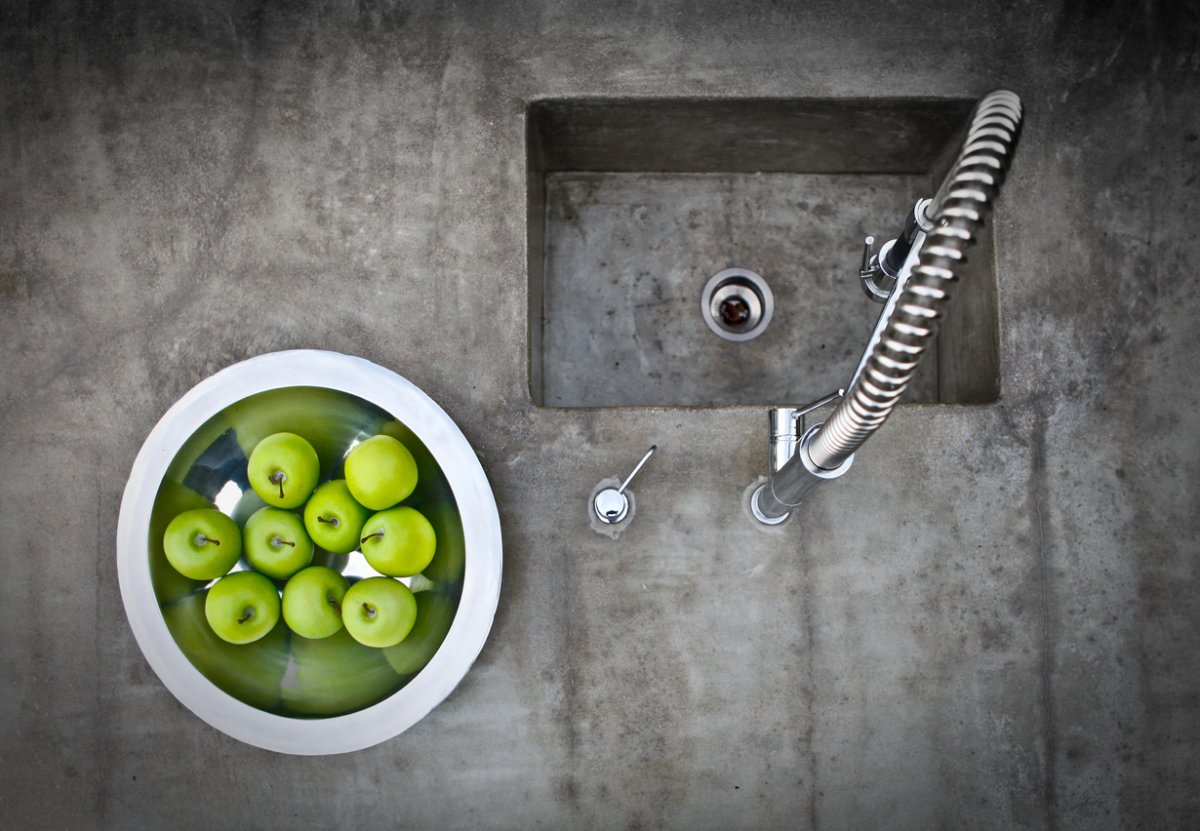
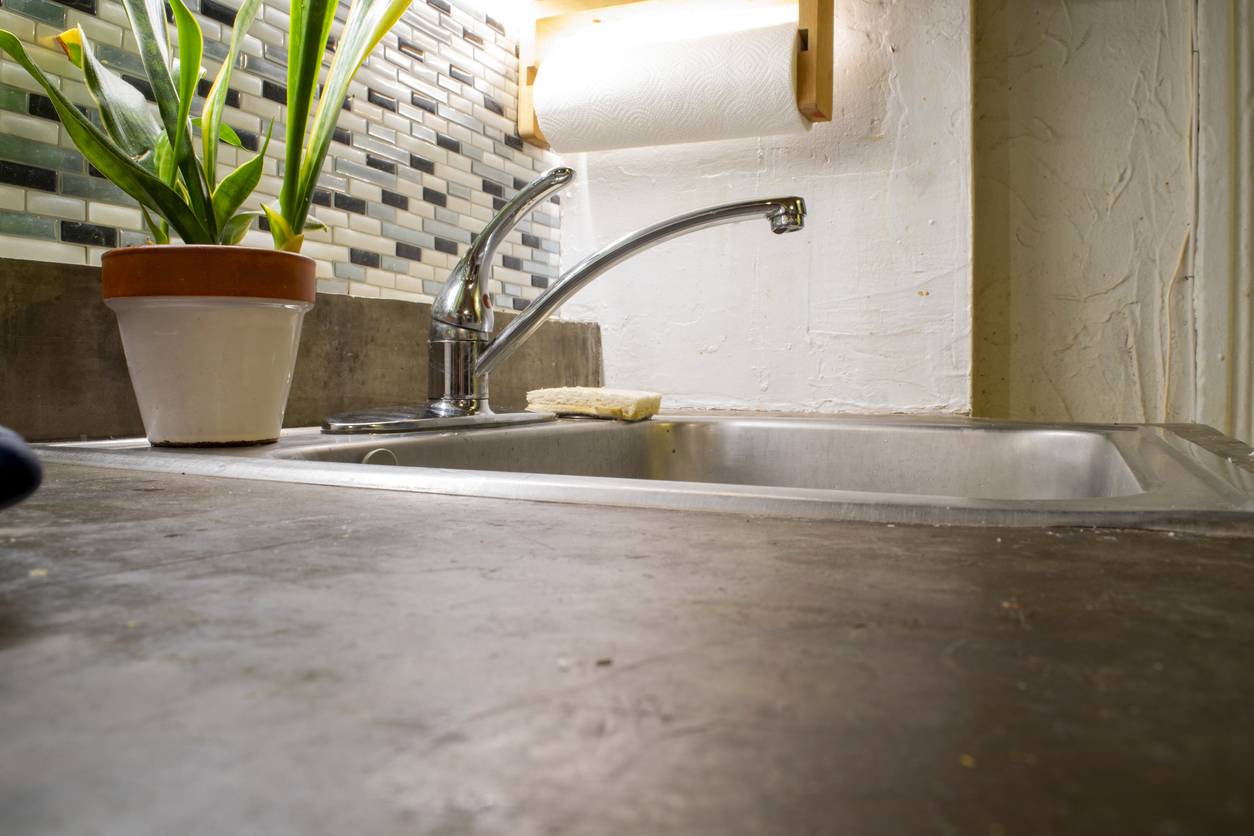
The brute strength of concrete has made it the go-to building material for a variety of such outdoor installations as driveways, walkways, and patios. But there are some who love concrete not only for its high durability and low maintenance, but also for its distinctive look. In fact, due in part to its affordability, concrete has become a popular countertop material in both kitchens and bathrooms.
Learning how to make concrete countertops is a straightforward project, but it requires preparation and timing. In most cases, the concrete countertop is poured outside, and when it cures, it’s carried indoors, flipped over (the bottom of the slab will eventually be the surface) and positioned in place. Since it’s a porous material, concrete then needs to be sealed before it’s food-safe.
What makes concrete an even more budget-friendly option is that it’s relatively simple to work with—in contrast to, say, natural stone. A proficient or even beginning do-it-yourselfer can make a concrete countertop, saving the costs associated with hiring a contractor to do it. If you think you’re up to the challenge, scroll down to read the details of the process. A concrete countertops DIY project can be both creative and rewarding.
DIY Concrete Countertops: Step by Step Instructions
While pouring a concrete countertop isn’t complex, a few rules apply. Have all the necessary materials and tools ready to go and within reach of where the pour will occur.
Once wet concrete begins to set, which can be within 30 minutes on a hot summer’s day, it becomes difficult to work with. By having everything within reach, you won’t have to go hunting for tools during the pouring process.
Materials and Tools
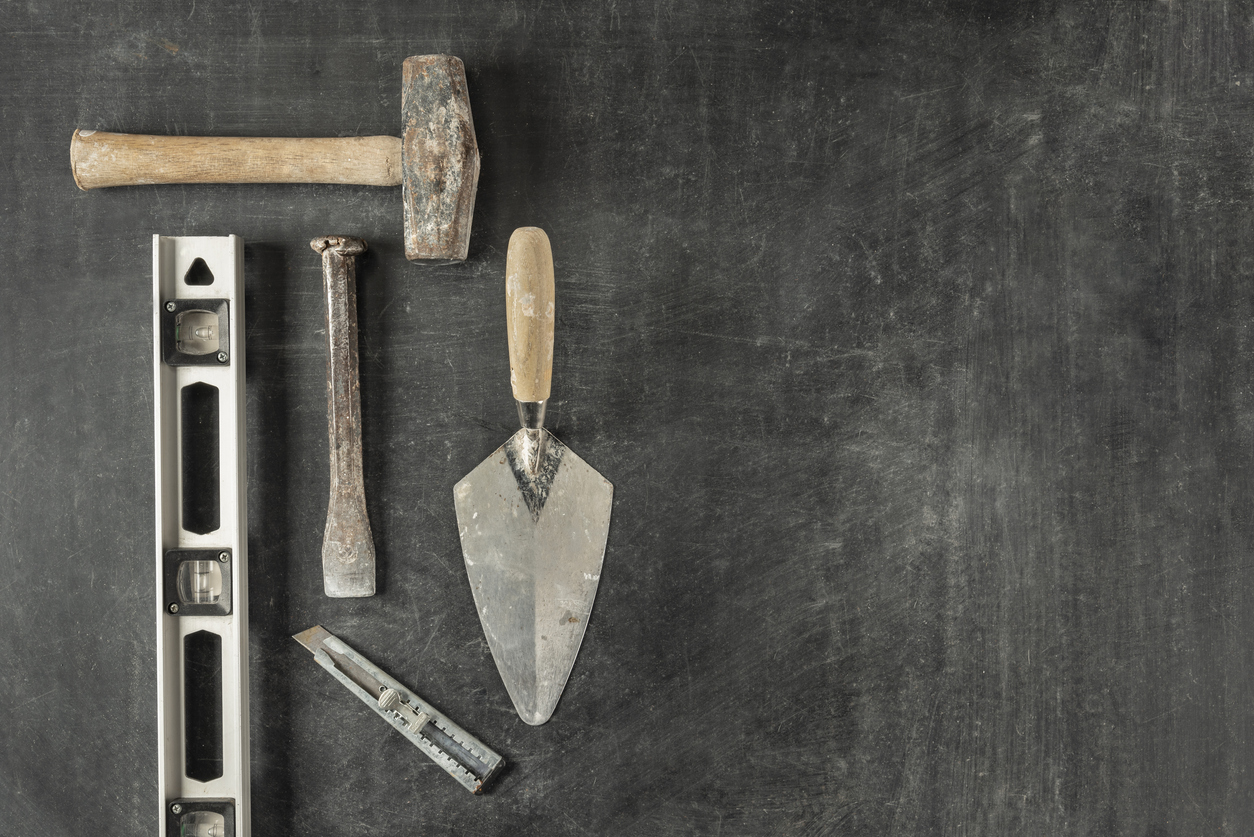
Most of the tools necessary to build the form for a DIY concrete countertop are just standard carpenter and DIY tools, and very few supplies are required. Concrete is heavy, however, so ensure the work area where you’re pouring it can safely carry the weight.
In most cases, the concrete form can be positioned either on a sturdy workbench or on two or more heavy-duty sawhorses with sturdy boards between them to hold the structure.
Tools & Materials
Bobvila.com may earn a commission from purchases made through these links.
- Drill and screws
- Wheelbarrow or large container for mixing the concrete
- Hoe or heavy-duty paddle bit
- Rubber mallet
- Hand trowel
- Food-safe wax or sealant
- Melamine-coated particleboard
- Silicone caulk
- Olive oil or spray silicone
- Steel mesh
- Countertop concrete mix
- Plasticizer additives (optional)
- Sandpaper
STEP 1: Build the form.
First determine the desired countertop dimensions so you can build a form. The concrete will be poured into the form, so that once it dries, the hardened material will conform to the desired specifications.
For this type of concrete form, melamine-coated particleboard usually works best. It’s also readily available, inexpensive, and most important, concrete doesn’t stick to it. Use screws to build the form and insert them from the outside, so you’ll be able to remove them when the concrete has set and it’s time to strip the forms.
Caulk all inside joints in the melamine form to ensure that the concrete can dry with neat edges. If you have only limited experience with caulk, it’s recommended that you outline the joints with painter’s tape. That way, if you misapply any caulking, you can painlessly correct the mistake by just removing the tape. To smooth any imperfections in the caulk bead, run a wetted finger along the silicone before it dries. After it dries, lightly coat the melamine frame interior with olive oil or silicone spray; doing so will let the concrete slip more easily from the frame later on.
STEP 2: Make a sink cutout if you need one.
Is your concrete countertop going to be inset with a sink? If so, the form you build must include a blockout for the sink itself and (if necessary) for a faucet. To leave room for these fixtures, you can create recesses into the form. You also may be able to get your hands on a foam mold of the sink and its accouterments—manufacturers often make these molds available, not so much for DIYers, but for the contractors who do this stuff every day.
Another option—perhaps the easiest—is to buy a sheet of high-density foam of the same thickness as your countertop. Cut the foam into pieces of the appropriate length and width, then sand their edges and cover the pieces with foam tape (sold at hardware stores). Finally, use caulk to secure the foam pieces into the correct positions within the melamine form, and lightly coat the added pieces with olive oil or silicone spray.
Getting accurate measurements on this step is essential—if one of the foam forms is just slightly off, the sink may not fit into the countertop.
STEP 3: Reinforce the form.
Before you can even think about pouring the concrete, one essential step remains: adding reinforcement in the form of steel mesh. For the best results, suspend the mesh at the middle point in the vertical height of your melamine form.
To suspend the mesh, drill screws into the outside walls of your frame. Connect the mesh to the screws via zip ties, strong ties, or even a bungee cord. Then, extend the metal wiring across the breadth of the frame.
Bear in mind that for this approach to be successful, you must be careful to mix the concrete to a watery—but not too runny—consistency. If this all sounds painstaking, consider the alternative: Mix the concrete however you like; pour it to fill the form halfway; set in the steel mesh; then fill the rest of the form.
STEP 4: Mix the concrete.
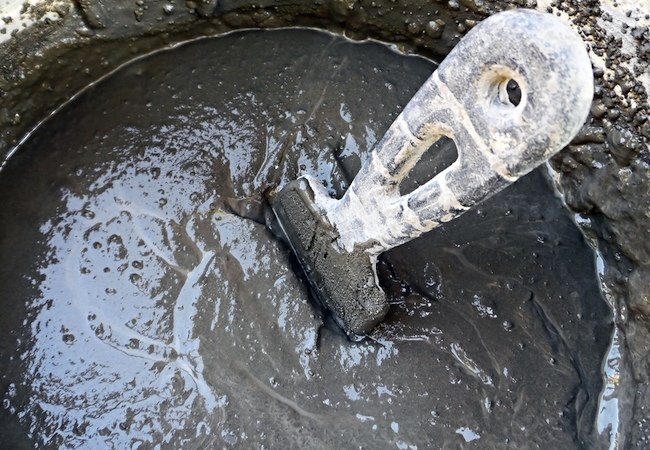
When you’re ready to mix concrete for the countertop, follow the manufacturer’s instructions. For the best results, choose a countertop blend, such as Quikrete Countertop Mix (available from Lowe’s). If you don’t have access to a small motorized mixer, it’s easy enough to mix concrete by hand, either with a hoe in a wheelbarrow or with a heavy-duty drill and paddle bit in a large 5-gallon bucket.
Aim to achieve a soft, oatmeal-like consistency. If you find that the wet mix is too challenging to work with, add a little water (but only a little). The wetter the concrete, the more brittle it becomes upon drying. Consider augmenting the concrete with additives, such as Quikrete Acrylic Fortifier, that inhibit cracking and shrinking. Known as admixtures, these are readily available at your local home improvement retail store.
STEP 5: Pour the concrete.
Pour enough concrete into the form to fill its volume completely, then use a hand trowel to work the material along the edges and into the corners. It’s essential to work it down well to get any air bubbles out now.
If you attached the steel mesh reinforcement to the frame, cut those connections now. Then, use a flat board, such as a 1×4 to level, or screed, the concrete. Move the board back and forth to smooth the surface and fill low spots. Keep a trowel at the ready, so you can quickly deal with any excess.
STEP 6: Vibrate the form to remove any air pockets.
Lightly tap the sides of the form gently with a rubber mallet to create the vibrations necessary to dissipate air bubbles. As you tap, the wet concrete will level out, and a slight amount of water may come to the surface. The taps should be very light, and not hard enough that the concrete in the form sloshes around.
When tapping, pay special attention to the lower portion of the form along the sides and ends. These will be the edges of the new countertop, and as such, most DIYers want them to be as smooth and bubble-free as possible. While some bubbles can be filled later, a smooth, uniform surface offers a professional look.
STEP 7: Use a trowel to smooth the freshly poured concrete.
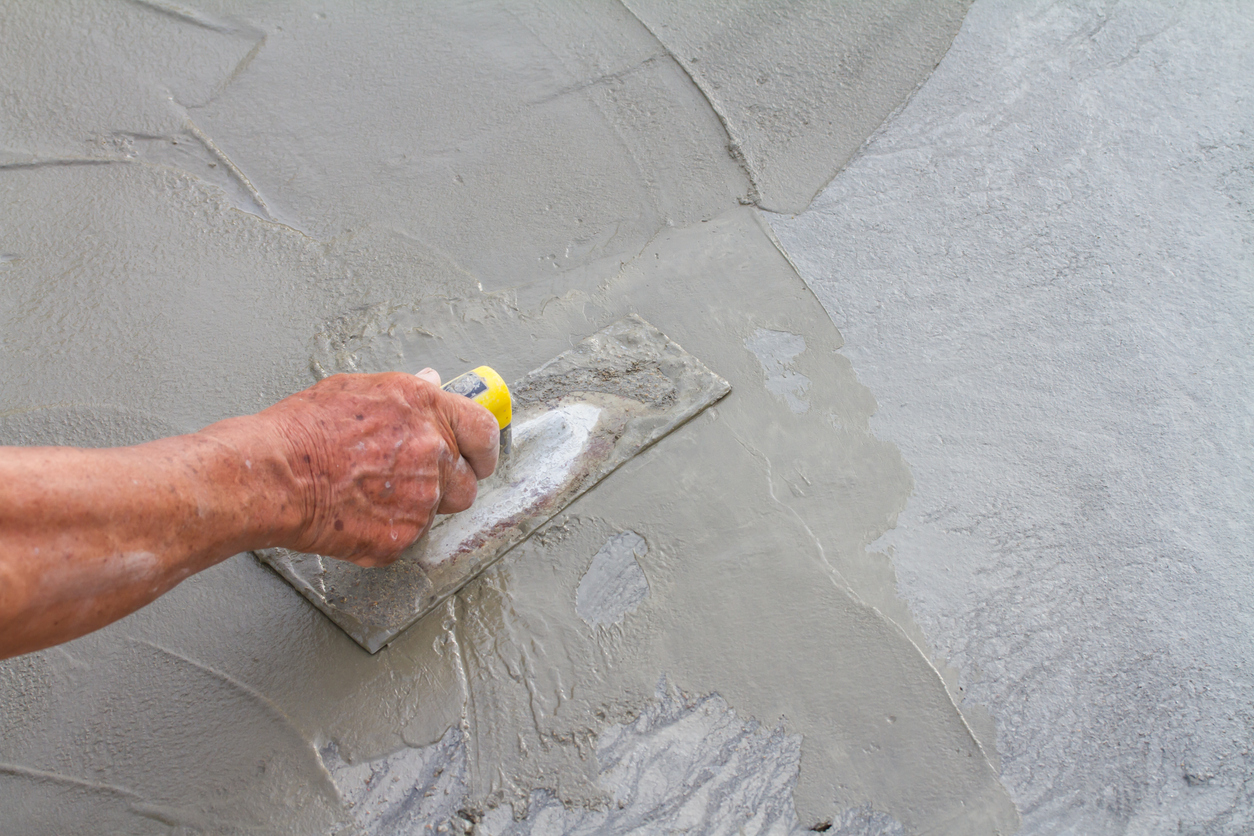
After letting the concrete set just enough that it starts to harden slightly, it’s time to use a hand trowel to smooth the top. Keep in mind that the surface you’re looking at now will actually be the underside when the countertop slab is flipped over, so it doesn’t need to be super smooth, but it should be level from side to side and end to end. Just smooth the surface out to remove any high spots. This will also help work any larger pebbles in the mix downward.
STEP 8: Remove the form.
Lay a plastic sheet over the concrete to prevent it from losing too much of the moisture too quickly. It needs to cure slowly. Generally speaking, the longer it takes for the concrete to cure, the stronger it ends up being.
For maximum strength, you can let the concrete harden for a couple of weeks, but leaving it alone for a few days should be sufficient for the purpose of a countertop. After that time has elapsed, remove the melamine frame. Use a drill to remove the screws you used to construct the frame, and then pull the sides and bottom forms off. If you used olive oil or silicone spray, the boards should release without too much trouble.
STEP 9: Install your new concrete countertop.
Lift the concrete countertop into position on top of your base cabinets. The countertop could weigh more than a hundred pounds depending on the size and thickness, so two or more strong helpers will likely be necessary. If the initial measurements were accurate, the new concrete countertop should fit perfectly in place.
You can add shims underneath if it isn’t sitting level or if it wobbles a bit. Once you get the positioning level and just the way you like it, use a few dabs of silicone caulk on the tops of the counter beneath to set the concrete slab in place. The caulk will act as a mild adhesive and provide a cushioning effect between the counter base and the concrete top. The base for the countertop may have a plywood top or it may only have a few horizontal boards along with the tops of the cabinet boxes to support the countertop. The caulk can be applied to the boards or plywood that will come into contact with the countertop.
STEP 10: Patch fill any holes or cracks.
There’s a good chance at this point that small cracks or bubbles may be visible in your countertop. If you like them, do nothing. Otherwise, you can perform spot repairs with a concrete patching compound. Remember, however, that after applying the patches (and allowing them to dry), you must then sand the countertop with diamond-grit sandpaper (manually or using a power sander).
STEP 11: Seal the finished product.
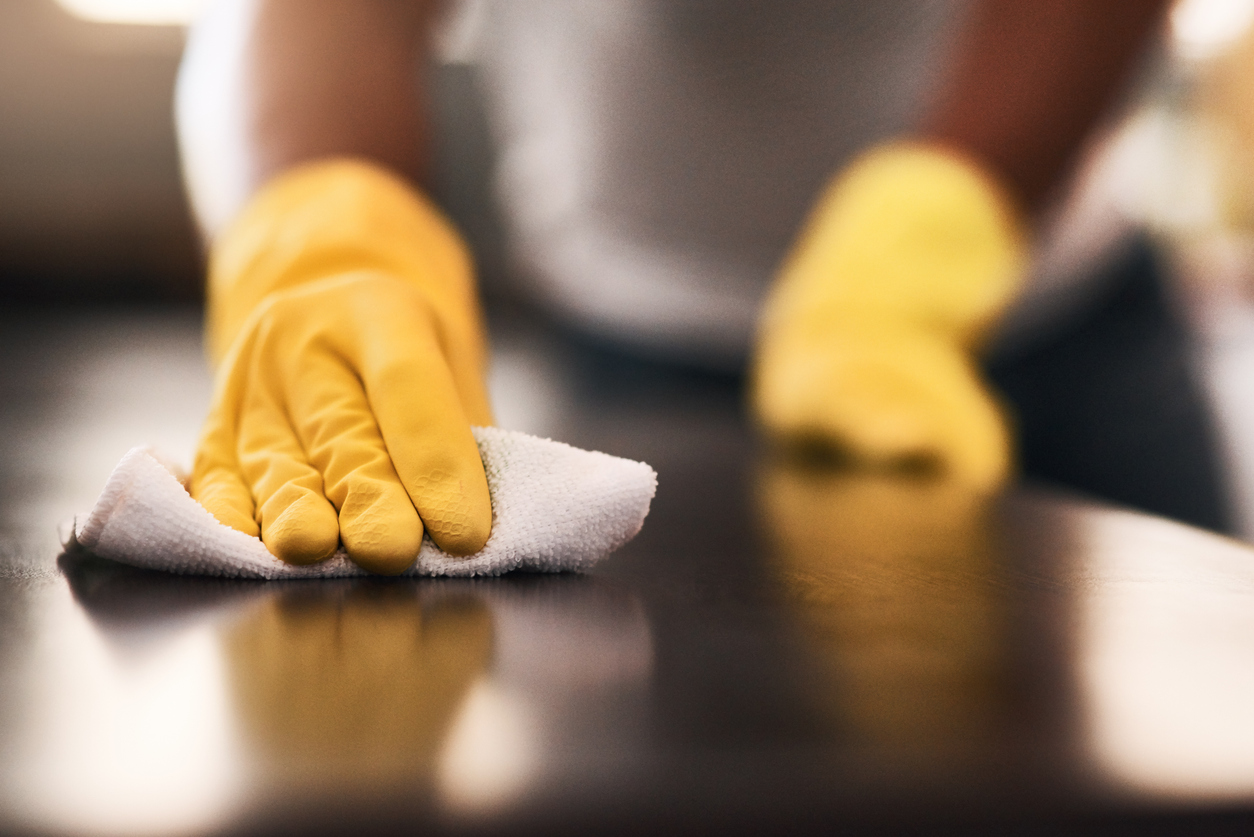
Wash the counter thoroughly with an all-purpose cleaner, such as SimpleGreen (available from Amazon) that does not contain acid to remove all debris and fine particles of dust. Acid-based cleaners, such as vinegar, can etch concrete.
Let the countertop dry thoroughly, then finish the job by applying a concrete sealer or a coating of food-safe polyurethane (optionally followed by an application of carnauba wax). Carnauba provides a light sheen as well as a food-safe barrier between the countertop and anything placed upon it.
The sealer creates a barrier between food preparation, spills, and the concrete countertop. Concrete is naturally porous, and without being sealed, it can absorb spills, such as wine or juice, which can stain it.
Concrete Countertop Cleaning and Maintenance
Wipe the countertop daily with a damp rag to remove food debris, and rub on a new layer of food-safe wax about once a month, or as needed.
Apply a new layer of sealant once or twice a year. To determine whether it’s time to reseal, sprinkle a few drops of water on the countertop. The water should bead up. If it soaks into any area of the countertop, the old sealant has worn off and the countertop needs a new coat of sealant. When sealing a countertop for an outdoor kitchen, make sure the product is suitable for exterior use.
FAQs
Expect to pay an average of $8 to $15 per square foot to purchase all the materials needed to make an affordable DIY countertop.
Yes, a DIY concrete countertop is among the least expensive countertop options, although a professionally poured and installed concrete countertop could cost an average of $65 to $125 per square foot. Compare that to having a granite countertop professionally installed, which ranges in cost from $75 to $250 per square foot.
If they’re poured correctly and maintained, concrete countertops can last a lifetime.
The value of a concrete countertop depends on the style of the home and the quality of the countertops. In an industrial-style home, custom-designed concrete countertops may very well add value.

