We may earn revenue from the products available on this page and participate in affiliate programs. Learn More ›
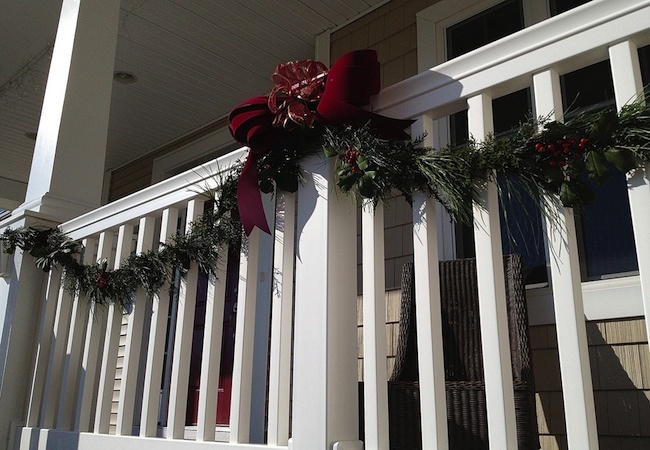
This year, as you dress up your house for the holidays, consider decking the halls with twinkling lights, festive ribbons—and, of course, boughs of holly, pine, cedar, or fir. The beauty and fragrance of a fresh garland cannot be matched by the store-bought, artificial evergreen facsimiles. If you have access to the right types of trees, the project costs next to nothing, and it’s neither difficult nor overly time-consuming. To make your own garland today, simply follow the steps detailed below.
MATERIALS AND TOOLS
– 1/4″ twine
– Floral wire
– Pruning shears
1. Collect Greens
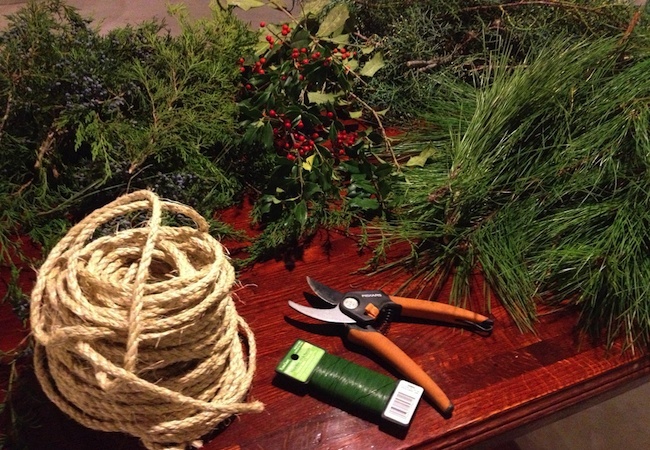
Pine, cedar, holly, and fir branches all work equally well for the purpose of making a garland. Either stick with a single type of foliage or mix a few types of greens into a pattern. As an accent, use pinecones or holly leaves—their red berries provide a beautiful contrast to the green boughs. From whatever types of evergreens you have access to, snip branches that are anywhere between 8 and 18 inches in length. Avoid cutting too many pieces from the same small tree, and try to snip branches that are touching the ground, the sides of a building, or the branches of neighboring trees; if you were pruning just for the tree’s benefit, these would be the best candidates for snipping anyway.
2. Get Started
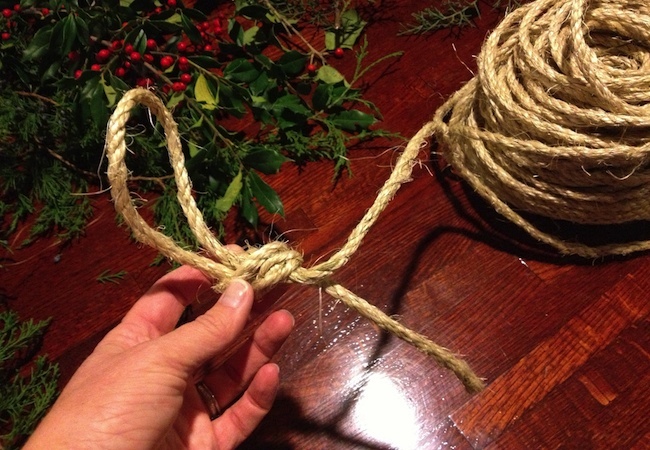
Counterintuitively, the best place to begin is with a step that seems like it should come last: Tie a loop at the end of your rope, so you can hang your completed garland. Next, use floral wire to attach your first piece of greenery to the rope. Wrap the wire two or three times around the branch until you are confident that it’s securely in place. Be sure to position that first bough in such a way that it hides from view, but does not completely obstruct, the loop that you tied into the rope.
3. Add Greenery
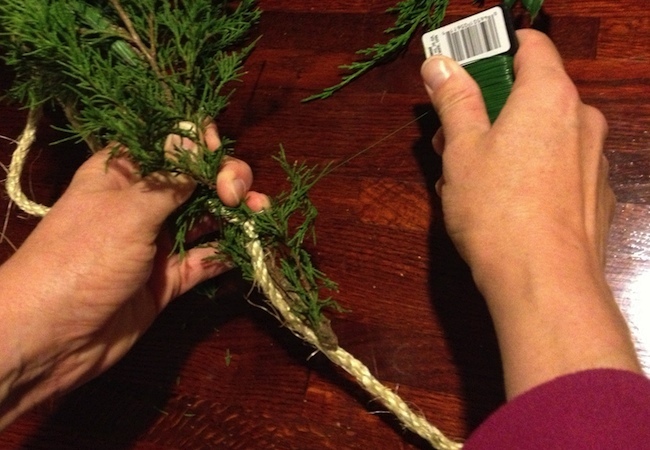
Lay a second piece of greenery so that it slightly overlaps the first, hiding the floral wire that binds it to the rope. Then tightly wrap additional wire two or three times around the second piece, just as you did for the first piece in Step 2. Continue adding greenery in this way, piece by piece, until your garland reaches the desired length.
4. Finish Up
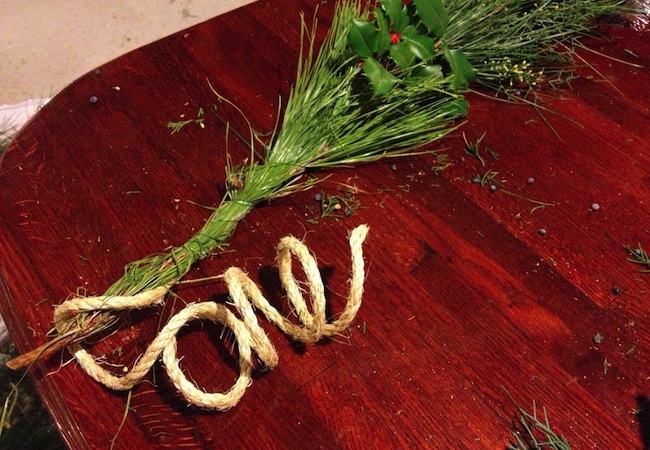
Cut the rope so that it’s two or three feet longer than your garland. That extra rope may come in handy as you set about hanging the completed garland. Tie a loop at this end of the rope to match the one you made in Step 1. Once the garland is hung, spot-check it for any bare sections, adding more boughs where necessary. If the garland is too long for the space in which you’re going to display it, simply snip it to length with pruning shears and use the excess elsewhere in your home.
Go fresh with garland, and you’ll never again be tempted by the artificial variety. There’s no better to start to the season. Happy Holidays!
