We may earn revenue from the products available on this page and participate in affiliate programs. Learn More ›
You’ve just grabbed the mop to clear up a spill or wipe away the day-to-day dirt, but will you actually make your floors dirtier by using this cleaning tool? If you’re left with dingy flooring no matter how much you clean, you may be breaking the first rule of mopping: Vacuum first, mop second. Without a clean sweep or vacuum job, mopping a floor covered in dust, dirt, and hair simply spreads the debris around. If you’ve been making this mistake all your life, there may be a couple of other areas for improvement in your cleaning routine. So, once you’ve successfully incorporated this first step, try implementing the equally crucial components that follow, and your floor will be so clean you could practically eat off of it.
The Right Cleaner for the Job
It’s a common misconception that more soap equals cleaner floors. In reality, using too many suds leaves behind a sticky residue—and that sticky residue can trap more grime. Whether you opt for a homemade or commercial cleaner, choose the one that’s best for your floor type, and use it sparingly.

- Hardwood: Check if your floors are finished with polyurethane or wax. If your floors are sealed with polyurethane, use a mild or pH-neutral soap with water. Avoid cleaning products (natural or commercial) with acidic additives, which can damage wood over time. If your floors are waxed, use a damp (almost dry) mop once a week at most—even a small amount of water may cause warping.
- Laminate: As is the case with hardwoods, less is more when it comes to water; you want to keep it from seeping underneath the laminate planks. Try damp mopping and spot cleaning, but never use a commercial floor cleaner with polish.
- Vinyl: One of the best cleansers for this floor surface is a solution of apple cider vinegar and water. Due to its acidity, vinegar helps remove dirt without leaving behind a buildup, and it disinfects at the same time.
- Linoleum: Not as resilient as vinyl, this floor surface requires a milder cleaner. Mix a few drops of dish soap with hot water in a spray bottle, and then spritz the surface section by section. Finish up by going over the floor with clean water from a dampened mop.
- Stone tile: Mop with a pH-neutral, non-chelating cleaner that won’t react with the minerals in the stone. Skip bleach, ammonia, and vinegar, as even small amounts could damage the seal on stone tile floors.
- Ceramic tile: White vinegar and water create an effective, odor-eliminating, nontoxic cleanser for this floor surface—great for households with pets and children.
Put It Through the Wringer
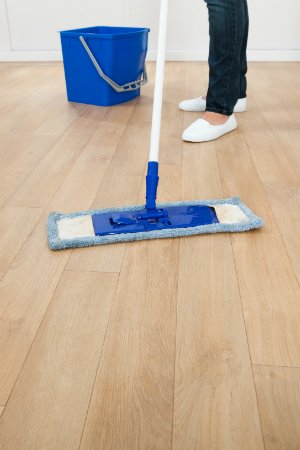
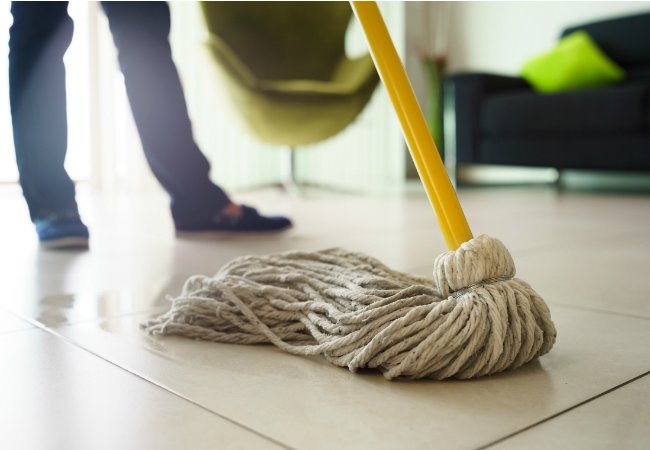
A string mop, or “yacht mop,” is what most people think of when they think “mop.” A sponge mop, however, is worth considering, depending on your flooring type. When choosing between the two, keep in mind that string mops absorb large amounts of water, so they require several rounds of wringing, while a sponge mop holds much less water, making it ideal for hardwoods and laminate flooring.
Once you choose your mop type, dip the mop in your cleaning solution so it’s immersed up to the top of the head. Let the mop absorb the cleaner, and then wring out as much moisture as possible. Remember, you want the mop damp, not wet. In some cases, as with hardwood floors, laminates, and linoleum, the mop needs to be wrung out numerous times until it’s almost dry.
Two Buckets Are Better Than One
Here’s a hygienic idea: Use one bucket for rinsing and one for the cleaner. By dipping the dirty mop into a separate rinse bucket, you can wring out the water without contaminating the detergent bucket with whatever debris was picked up. When the water in either bucket gets too dirty, replace it, but don’t just dump the old batch down your kitchen sink. Mop water is full of germs and dirt, so dispose of it down the toilet—not in the same vessel you’ll use to rinse off your chicken and vegetables during tonight’s meal prep.
Wipe in the Right Direction
As you would if you were painting a floor, begin mopping in one corner of the room and work your way back toward an exit to avoid stepping in the area you just cleaned. Just as important, pay attention to the pattern in which you push your mop, For hardwood floors, swipe in the direction of the wood grain; for floors with a more textured surface, wipe in small figure eights. If you come across some stubborn spots that just won’t get clean, go back over them with some cleaner and a cloth after you’ve completed a full pass on the floor.
Air It Out
To ensure a germ-free mop the next time you clean, after its hard day’s work, soak your mop head in a mixture of bleach and water to disinfect it. Wait 10 minutes, then rinse and wring out the excess water. Never leave your mop sitting in the bucket to dry, or you’ll risk the formation of bacteria and mold in the leftover moisture. The simple preventive step of squeezing out every last drop should make your cleaning routine easier and cleaner the next time you pull out the mop.

