We may earn revenue from the products available on this page and participate in affiliate programs. Learn More ›
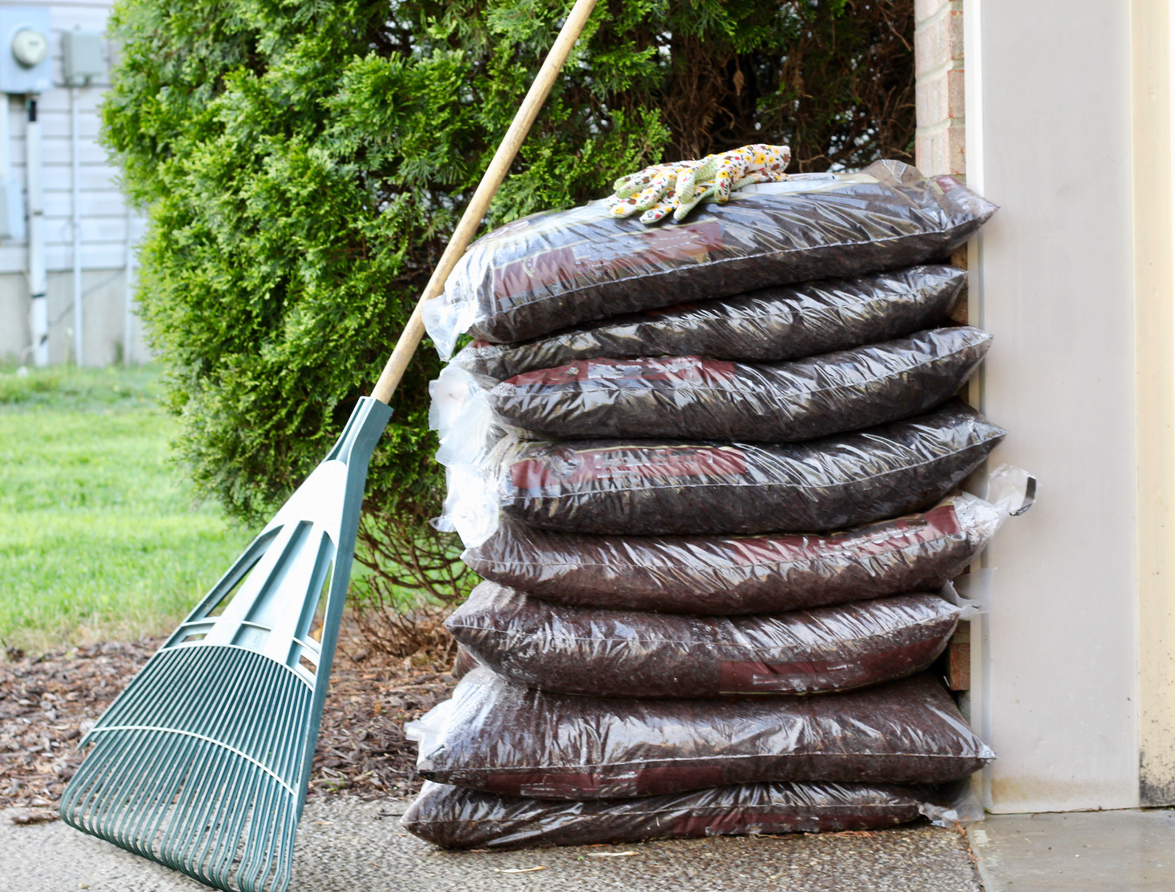
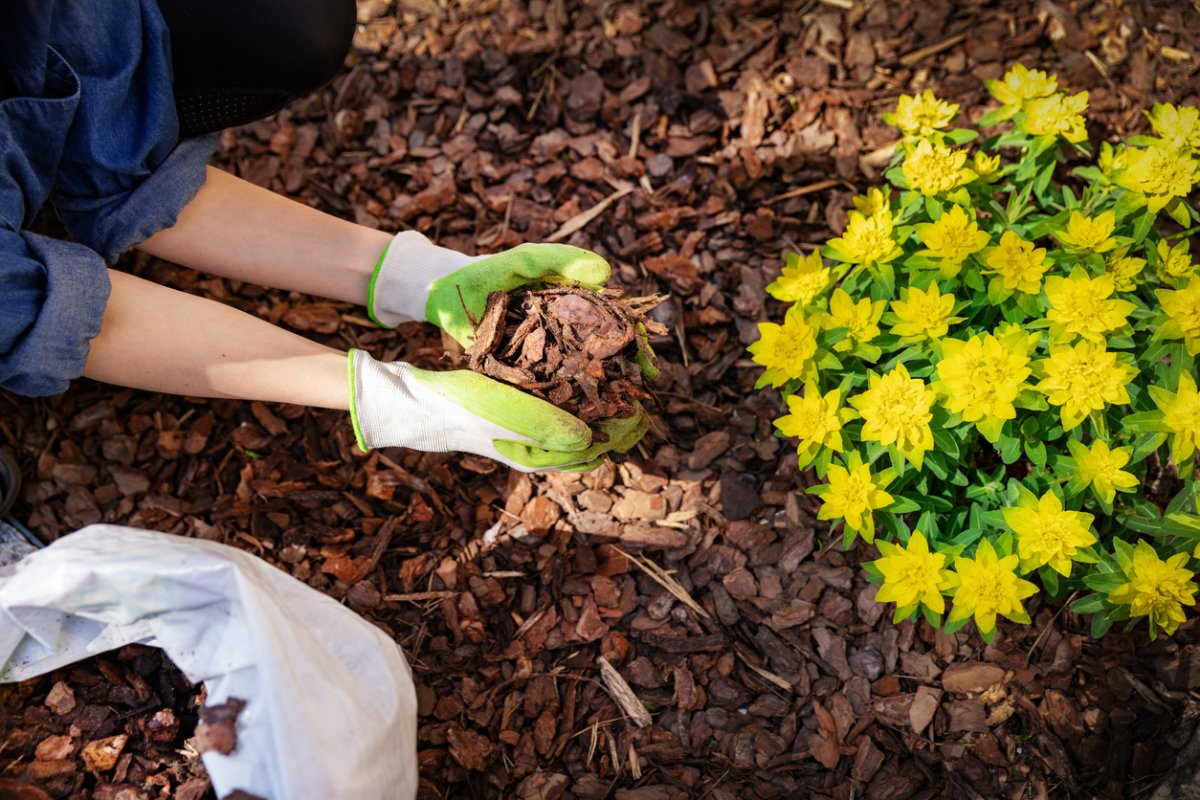
Mulch is any material laid over the surface of the soil to retain moisture, suppress weeds, regulate temperature, and prevent erosion. Bare soil exposed to harsh sunlight means plant roots suffer and require more water; it’s also a literally open invitation to weed seeds. Mulch combats these problems, making less toil for you, the gardener, and in addition adds an attractive finishing touch around trees, shrubs, and flower beds that enhances curb appeal.
You may be wondering, “What is mulch made of?” There are many types of mulches, both natural and synthetic, and several tricks to applying it properly to get best results for blooms, veggies, just about anything you plant. So read on for the secrets to mulching the garden, then sit back and enjoy the grow!
DO learn the best time of year to mulch your plants.
Many homeowners ask, “When should I mulch my garden?” Timing is everything when it comes to mulching plants. In general, mulch applied in early spring prevents soil from warming, restricting early-season plant growth. The exception is plastic mulch, applied in early spring on a vegetable garden prior to planting: It will raise the soil temperature to give seeds a healthy early start. (You can leave it in place for heat-loving vegetables like tomatoes, peppers, and eggplants, but because plastic isn’t permeable, you’ll want to ensure that these plants receive enough water.) Cover the area around trees, shrubs, and perennials with an organic mulch when the soil warms and dries out, which could mean waiting until June or July, depending on your location. Cool-weather crops like greens, broccoli, and cauliflower do better with soil-cooling organic mulches applied at the time of planting at least an inch away from plant stems to prevent rot problems.
DO use natural mulch where you want to add nutrients, and inorganic mulch for landscaping.
Organic or natural mulch breaks down into the soil, adding nutrients in the process. These types of mulch include chopped leaves, manure, straw, hardwood, grass clippings, newspaper, cocoa bean hulls and compost. They are the best options for mulching vegetable gardens or mixed borders that contain a combination of trees, shrubs, and perennials. If you are using mulch for landscaping, consider those that are made of plastic, gravel, or rubber. All of these are inorganic mulches that remain in place until you move them. Certain vegetables like tomatoes and peppers benefit from warmer soil temperatures brought about by plastic mulch that’s heated by the sun.
RELATED: The Best Mulch Options for Your Landscaping Needs
DO consider converting organic materials on your property into mulch.
Give your wallet a break with the mulch-to-be goldmine on your property. If trees are plentiful, shred fallen leaves with a lawn mower and add to your veggie patch in the fall. Growth-inhibiting chemicals in leaves known to stunt young plants and seedlings will have plenty of time to break down in time for spring planting. Or pile fallen leaves in an area of the yard, protected from wind, where they can decompose to form leaf mold. It takes six to 12 months to break down, but the result yields an excellent soil conditioner for mulching the garden. Grass clippings, as long as they haven’t been treated with herbicide or any other toxic substance, are another good mulch for flower beds. Give them a day or two to dry out before mulching around plants.

DON’T use too little—or too much—mulch.
Three to four inches of organic mulch like hardwood or cocoa bean hulls applied around a plant or tree, but not touching it, is ideal. This is just the right amount for suppressing weeds, maintaining proper soil temperature, and conserving water. Be especially careful with hardwood mulch against your home’s foundation. While mulch won’t attract termites to your house, if applied incorrectly, it can create excess moisture and ideal conditions for the pest to set up shop. To prevent an infestation, only apply mulch there if absolutely necessary, tapering it so that the layer thins as it nears the house and leaves six inches of concrete exposed.
DON’T “volcano mulch” around trees—instead, learn how to mulch properly.
“Volcano mulching”—when wood mulch is piled high, tight, and thick around tree trunks so that it resembles the shape of a volcano—is a common but destructive practice that prevents water and oxygen from reaching trees’ roots. What’s more, as hardwood mulch begins to break down and decompose, the temperature of the mulch rises. The result is a tree that may become unable to transport water and nutrients. When landscaping around trees, 2 to 3 inches of wood mulch is enough to keep roots cool and conserve moisture. Just make sure that the mulch is not touching the tree trunk and is distributed out to the drip line (the area directly below the outer circumference of branches).
DO research the types of mulch that are both safe and dangerous for your pets.
Most mulches are very safe for our four-legged friends. In fact, many dogs, and even some cats, may nibble on a wood chip or two with no adverse effects. The American Veterinary Medical Association (AVMA) advises homeowners to avoid cocoa bean mulch, also called cocoa hulls, due to its toxicity to dogs and cats. Like chocolate, another pet poison, they contain caffeine and theobromine, which can cause heart problems and gastrointestinal issues. Ingesting too much of any mulch will likely result in vomiting and diarrhea. Pet owners should consider steering clear of chunky mulches like wood chips or rocks, both of which can cause life-threatening bowel obstructions.
RELATED: The 25 Most Dangerous Plants for Your Pets

DO consider using pine needles as garden mulch (for some plots, that is).
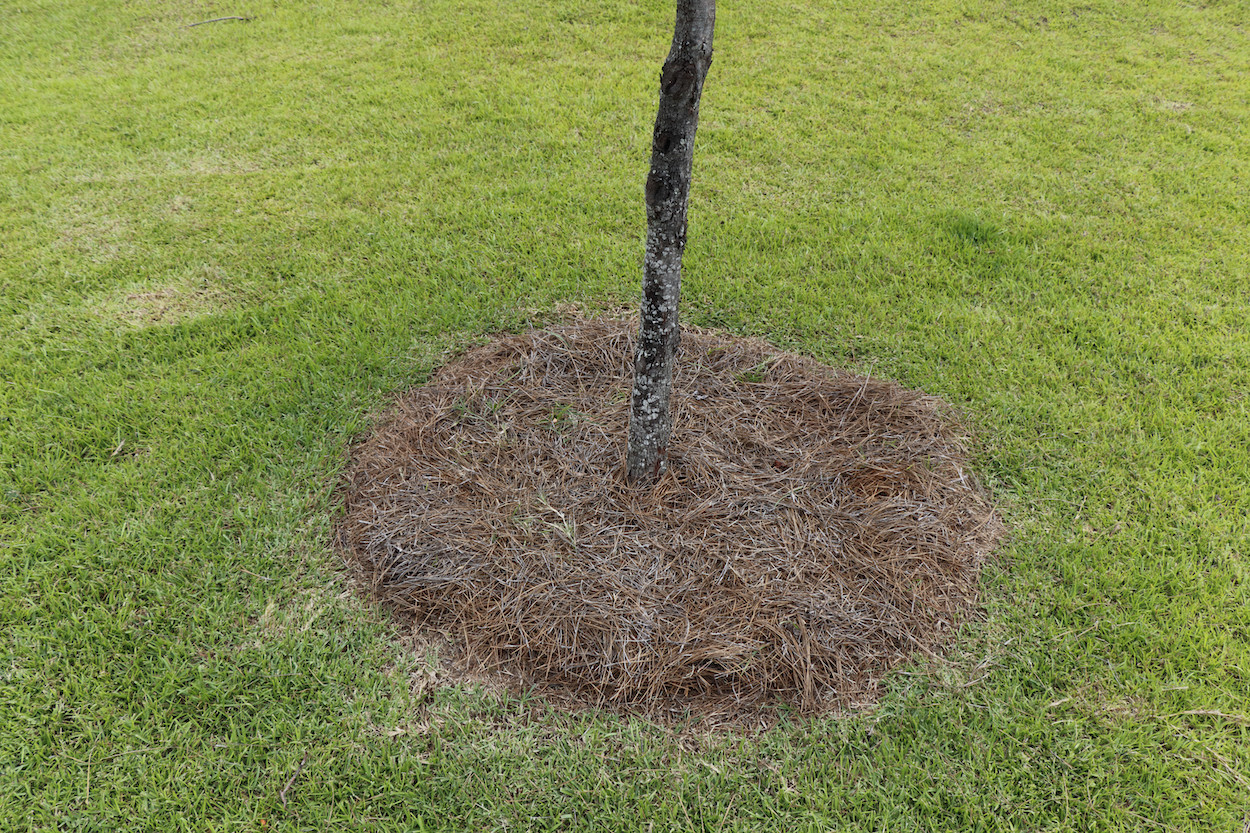
Homeowners who have pine trees on their property can put the needles that are shed to good use in their garden beds, and there’s some real upside for doing so. Contrary to what you might think, the needles will stay put when it’s windy. What’s more, it’s easy for air to circulate around pine needles, and therefore easy for water to travel through them and reach the plants’ roots.
Be aware, though, that as pine needles decompose they may make your soil more acidic. It’s best to use them as mulch around plants that thrive in acidic conditions including blueberries, strawberries, blackberries, onions, and tomatoes. Annual flowers like zinnias and dahlias will also benefit from pine needle mulch.
RELATED: 11 Edible Berry Bushes You Should Grow This Spring
DON’T use rocks as mulch.
Yes, they’re abundant and pretty, but rocks don’t benefit your soil in any way, and can do more harm than good in your garden. Rocks heat up quickly in the sun and hold on to heat, which can raise soil temperature. Warmed-up soil can lead to stressed, thirsty plants. Another problem with using rocks as much? Windblown weed seeds also nestle among the stones and root in all the nooks and crannies, making weeding even more of a chore.
It’s especially important to avoid using rocks as mulch around common foundation plants like azalea, hydrangea, and yews; these plants thrive in acidic soil (soil with a pH level below seven). Rock mulch elevates soil pH, making an acidic soil more alkaline—and potentially harming the plants that you so carefully cultivated. Instead, opt for an organic mulch around these plants and use the stones in a cactus or rock garden, where they belong.

DON’T forget about using cardboard as mulch in a garden.
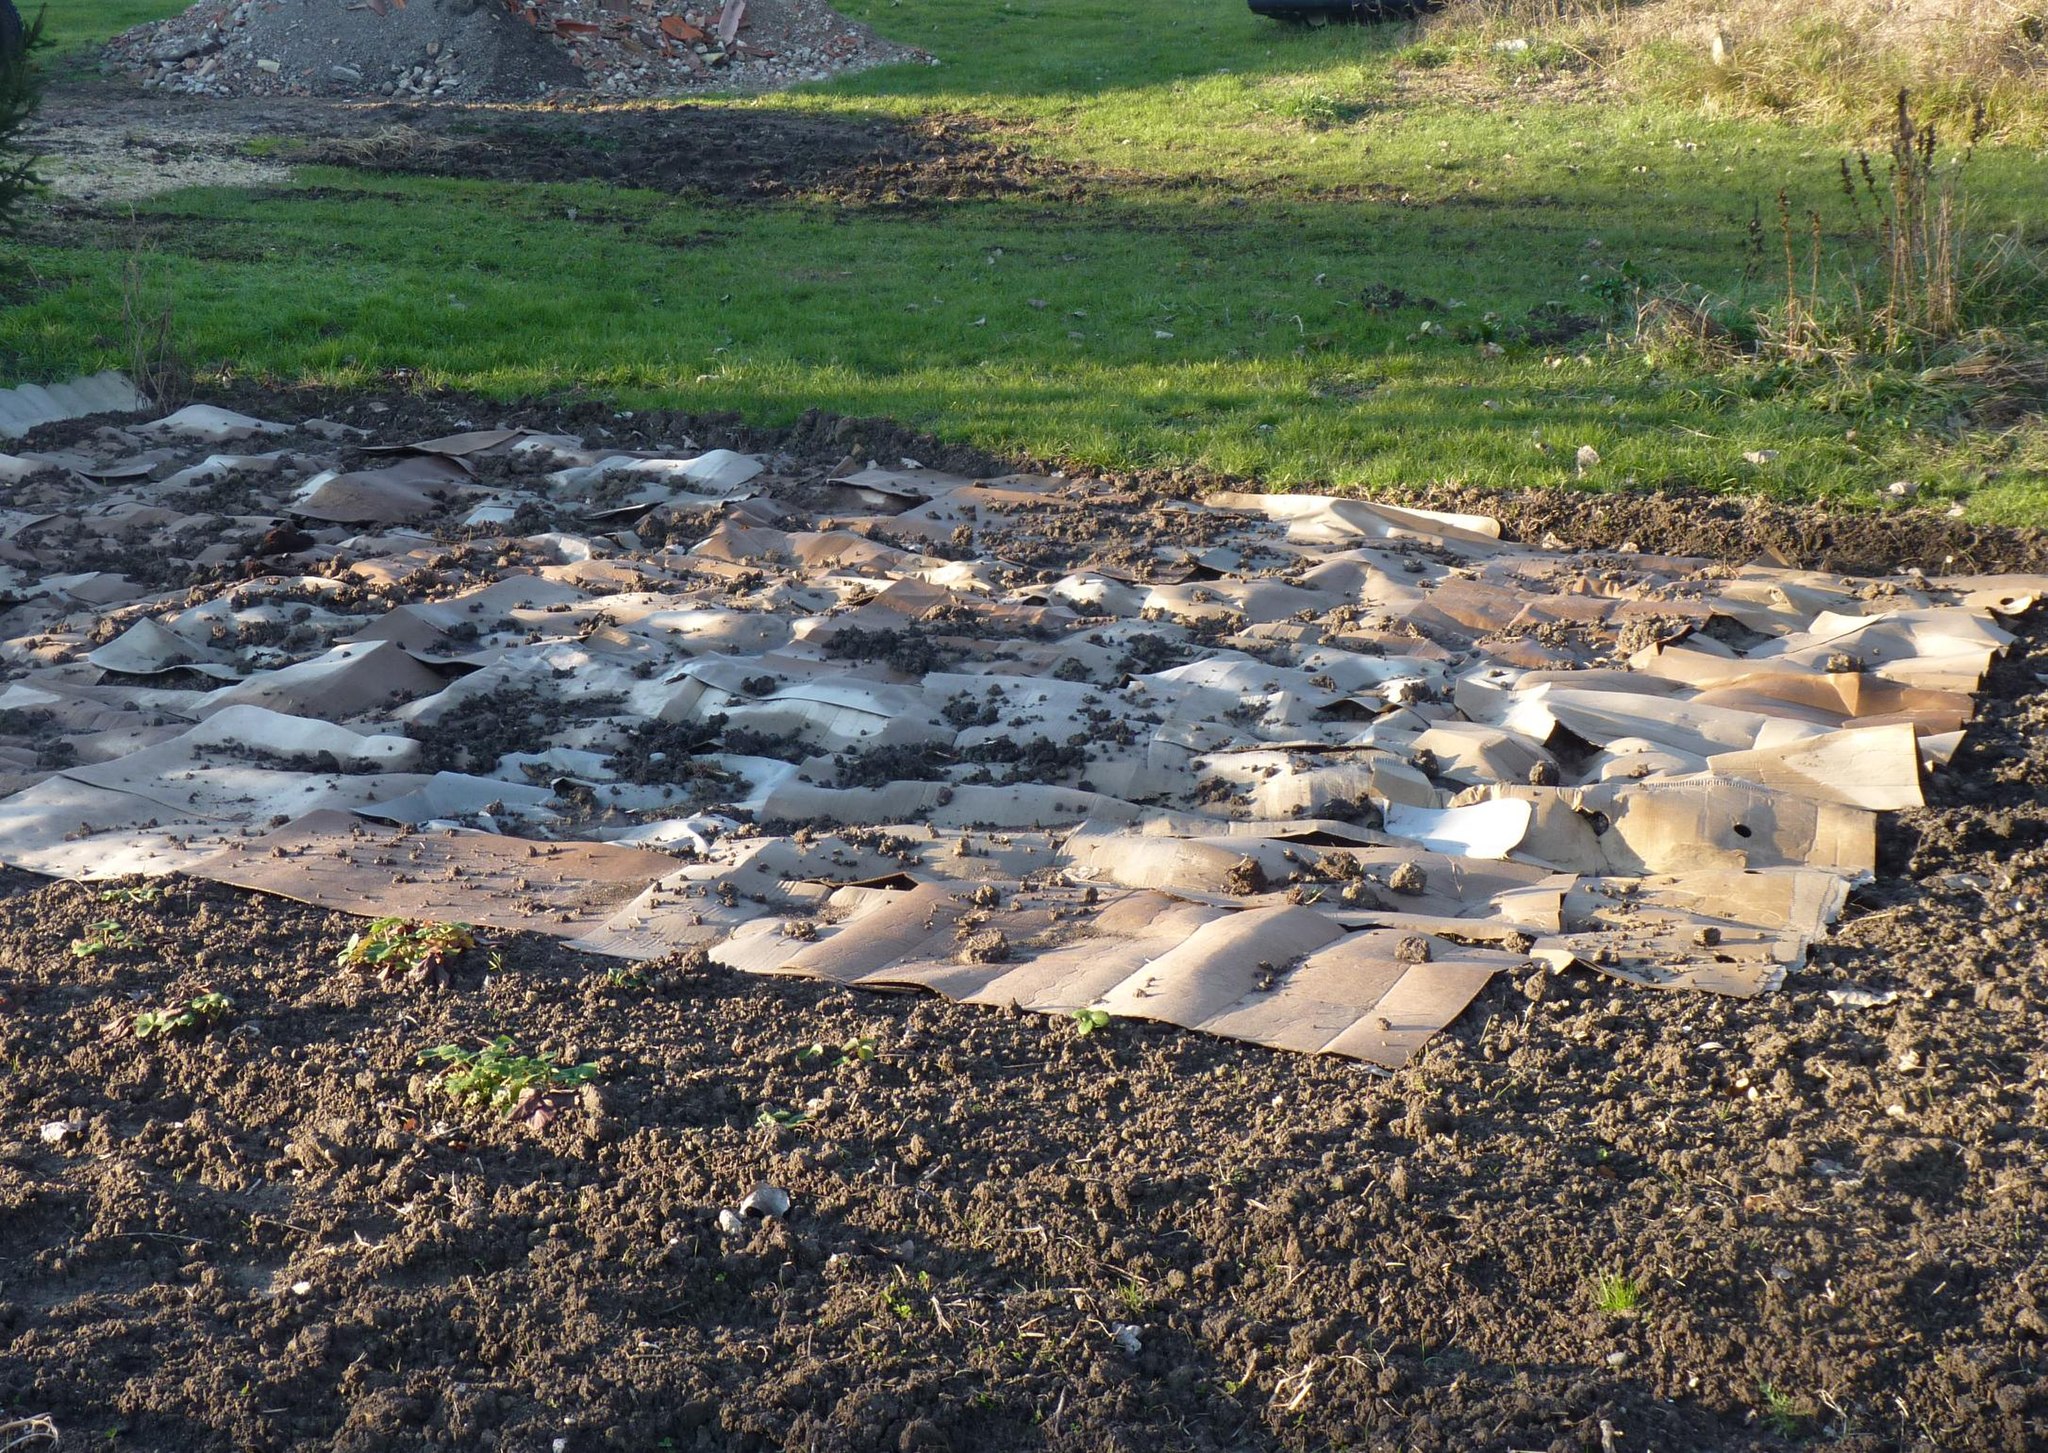
If you’re looking for decorative mulch to accent your carefully manicured flower plantings, cardboard isn’t the right material for the job. If you’re mulching to reduce weed growth and add nutrients to a garden bed, however, cardboard is an excellent option. Sheet mulching, or laying large pieces of cardboard over broad swaths of soil, is also beneficial because cardboard attracts earthworms, and earthworm castings are nutritional gold for fledgling garden beds. To effectively use cardboard as mulch, break cardboard boxes down into one flat layer, and remove tape and labels as best you can. Be sure to overlap the flattened boxes by at least a few inches on each side so weeds don’t come up between them. Moistening the cardboard also helps speed the decomposition process, getting you a step closer to a weed-free, nutrient-rich patch of earth.

