We may earn revenue from the products available on this page and participate in affiliate programs. Learn More ›
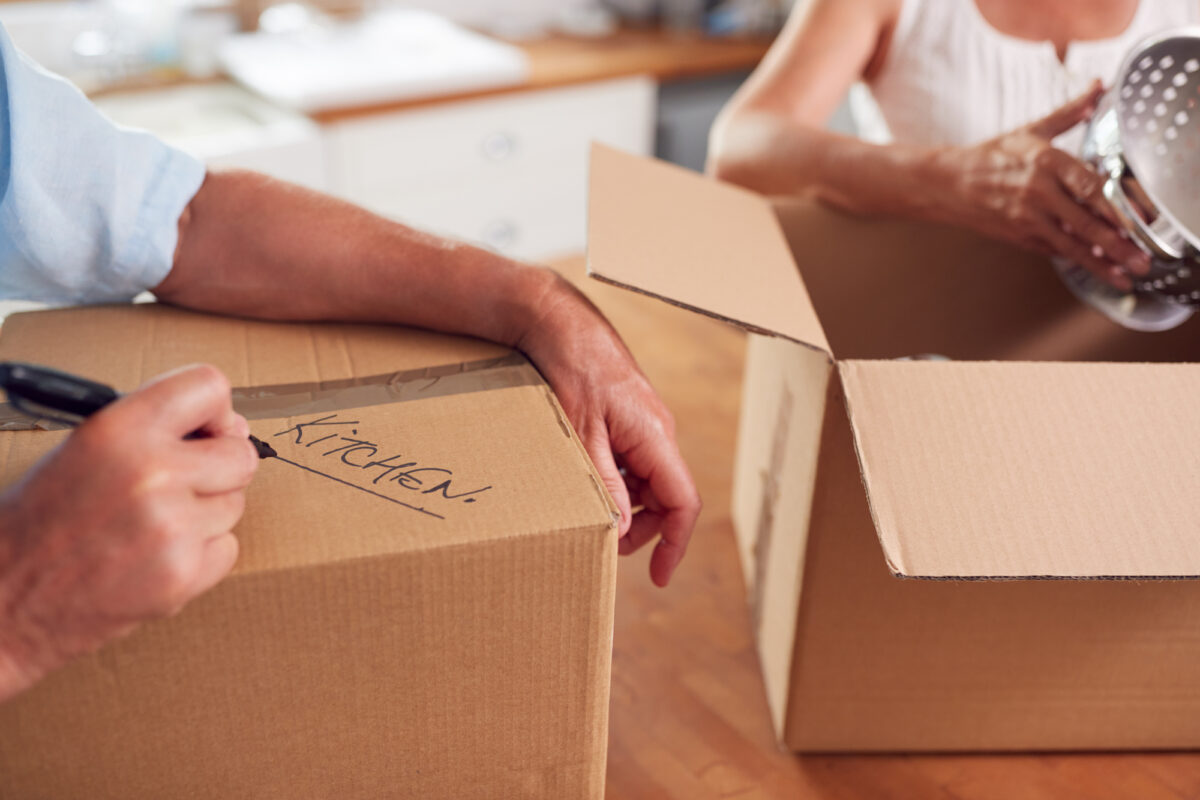
Perhaps no belongings are more at risk during a move than the dishes, plates, glasses, and cookware that inhabit your kitchen. Using the right method and the right moving supplies when packing dishes is crucial to ensure you don’t end up with casualties by the time your boxes arrive at your new location.
Luckily for homeowners on the move, capably packing these items for transport doesn’t require special expertise. Below, we’ll show you how to pack dishes for a move so they all arrive in one piece.
RELATED: The 11 Best Places to Buy Moving Boxes
Tools & Materials
Bobvila.com may earn a commission from purchases made through these links.
BEFORE YOU BEGIN
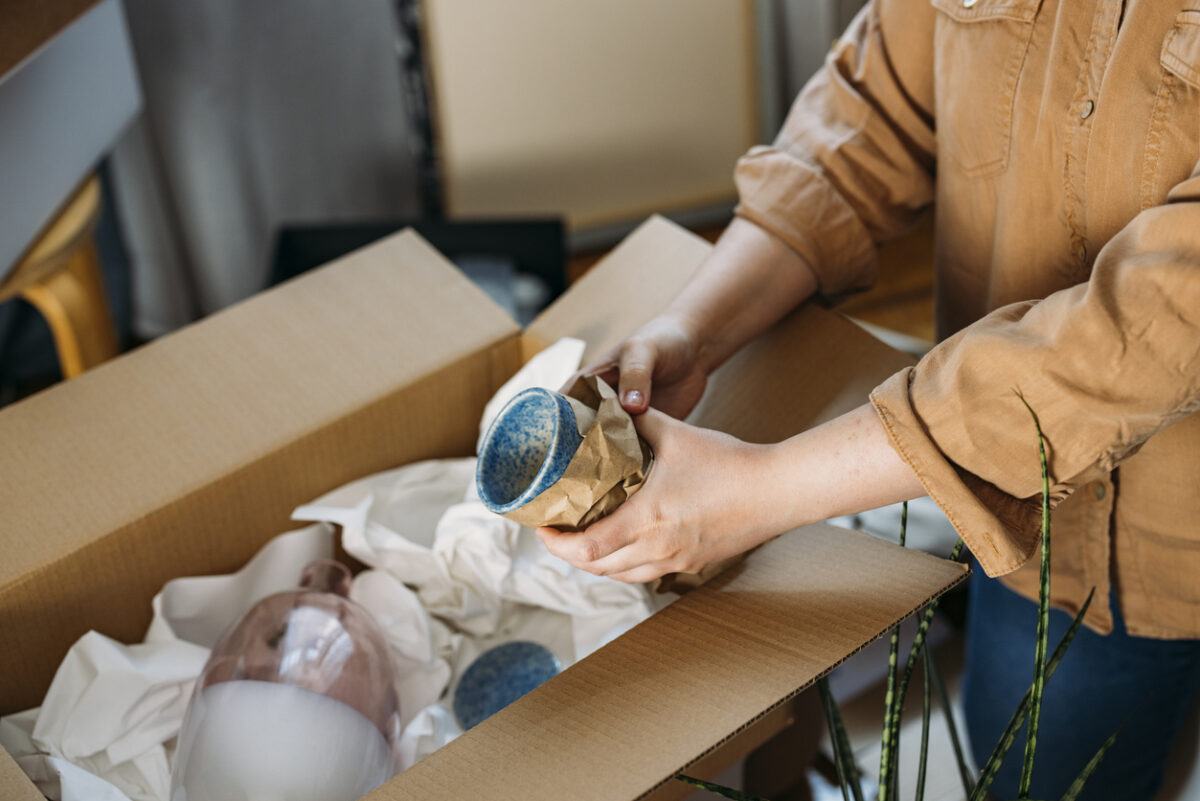
While there are various techniques for wrapping different types of dishware and cookware, the protocol for packing these fragile items into moving boxes remains the same: Always start by creating a cushion for your dishware by placing crumpled paper at the bottom of the box. After you’ve packed the items, put more crumpled paper on top for more cushioning. Always place dishes and cookware on their sides, and never stack.
STEP 1: Plates and Bowls
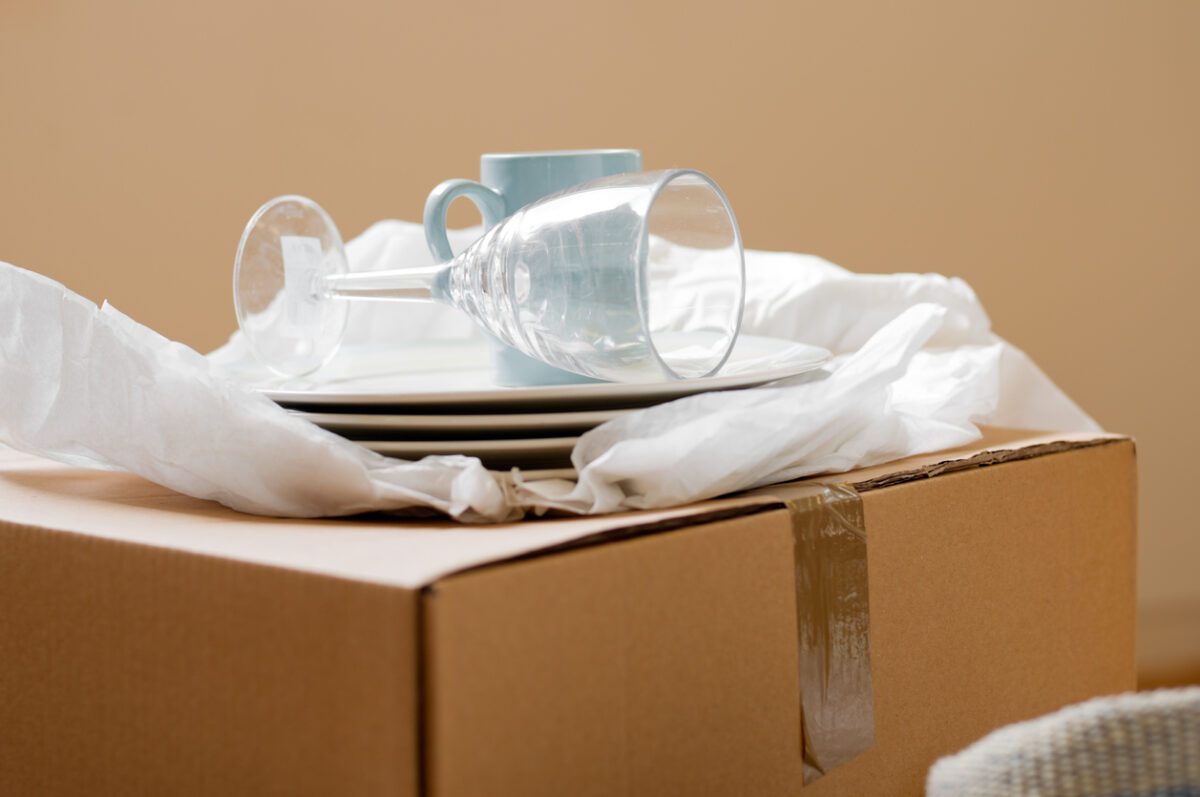
The best way to pack dishes for moving is to wrap them two at a time. Begin by putting a stack of packing paper on a flat surface. Place one dish on top of it, then fold one corner of a double layer of paper over the dish so that the item is completely covered. Place a second dish on top of it, then wrap the other three corners over both dishes. Secure the whole thing with packing tape, and then repeat with the next two dishes. Lay wrapped plates and bowls on edge in the box side by side. Never stack them, as this will place more stress on dishware at the bottom of the stack.
STEP 2: Mugs, Glasses, and Stemware

It can be tricky to figure out how to pack glass for moving, and proper wrapping is key. Place each piece of glass drinkware on its side on packing paper, and then begin rolling it up, tucking the paper around the glass and into the opening as you go.
If you’re wrapping stemware, it’s crucial to make sure that the paper wraps completely around the stem. You should pack glasses and stemware in a cell box (a box with dividers), placing each piece of glassware right side up. Fill any unoccupied cells with crumpled paper to prevent the glasses from shifting inside the box during transport.
RELATED: 21 Brilliant Money-Saving Hacks for Your Next Move
STEP 3: Pitchers, Mixing Bowls, and Platters
Wrapping larger objects requires slightly different methods. For a glass or ceramic pitcher, begin by wrapping packing paper around the handle. Next, fill the pitcher opening with crumpled paper, and then wrap a double layer of paper around the pitcher and use tape to secure it.
For nesting mixing bowls, place the largest bowl in the center of a stack of packing paper, and then fold the corner of one sheet over it so that it fills the bowl’s interior. Place the next biggest bowl inside the larger one, and repeat. Continue until all the bowls are wrapped. The paper between the bowls prevents them from scratching or jostling against each other while in transit.
For platters, use several sheets of paper. Place the platter on top of the paper, then wrap the paper over the platter, starting at one corner and moving around the platter. Make sure to overlap each edge until the platter is completely covered.
STEP 4: Pots, Pans, and Food Storage Containers

To pack various sizes of pots, pans, and food storage containers, nest smaller items inside larger ones. For cookware, begin by wrapping the largest pot using two or three sheets of packing paper, making sure to push the corners of the paper inside the pot or pan. Place a smaller pot or pan inside the larger one and repeat the process. Continue with a third pot or pan, and then wrap a couple of additional sheets around the entire bundle and secure with packing tape. Wrap lids by placing the first one on the stack of packing paper and folding the paper over it. Place the next lid on top of the first one and fold paper over it. Repeat the process with a third lid, and then wrap the bundle in a couple of sheets of paper and secure with tape.
Follow this same process for food storage containers, using extra paper as needed for fragile materials like glass.
STEP 5: Silverware, Cooking Utensils, and Knives
It’s best to wrap silverware in groups of six pieces. Place the first piece near the corner of a sheet of packing paper, and then roll the utensil over in the paper until it’s completely covered. Place the second piece next to it and continue the process until all six pieces are rolled together into one bundle. This method allows you to pack utensils quickly and efficiently while preventing pieces from rubbing against each other during the move. Wrap cutlery and cooking utensils by rolling them in packing paper individually. Wrap sharp knives in both paper and bubble wrap for added protection.
Final Thoughts
While there’s always the potential for plates and glassware to break during a move, if you use these pro moving tips for packing dishes, you’ll limit the chances of that happening. Remember, when loading wrapped dishware into boxes, use crumpled paper to add cushioning, and never stack items. Also, if your collection of dishware includes family heirlooms, it’s always best to pack those items separately and move them yourself to ensure that they make it to your new digs unscathed. If still doubtful of your ability to pack dishes without breaking them during a move, considering hiring one of the best moving companies with packing services, such as United Van Lines.
RELATED: How Much Do Movers Cost?


