We may earn revenue from the products available on this page and participate in affiliate programs. Learn More ›
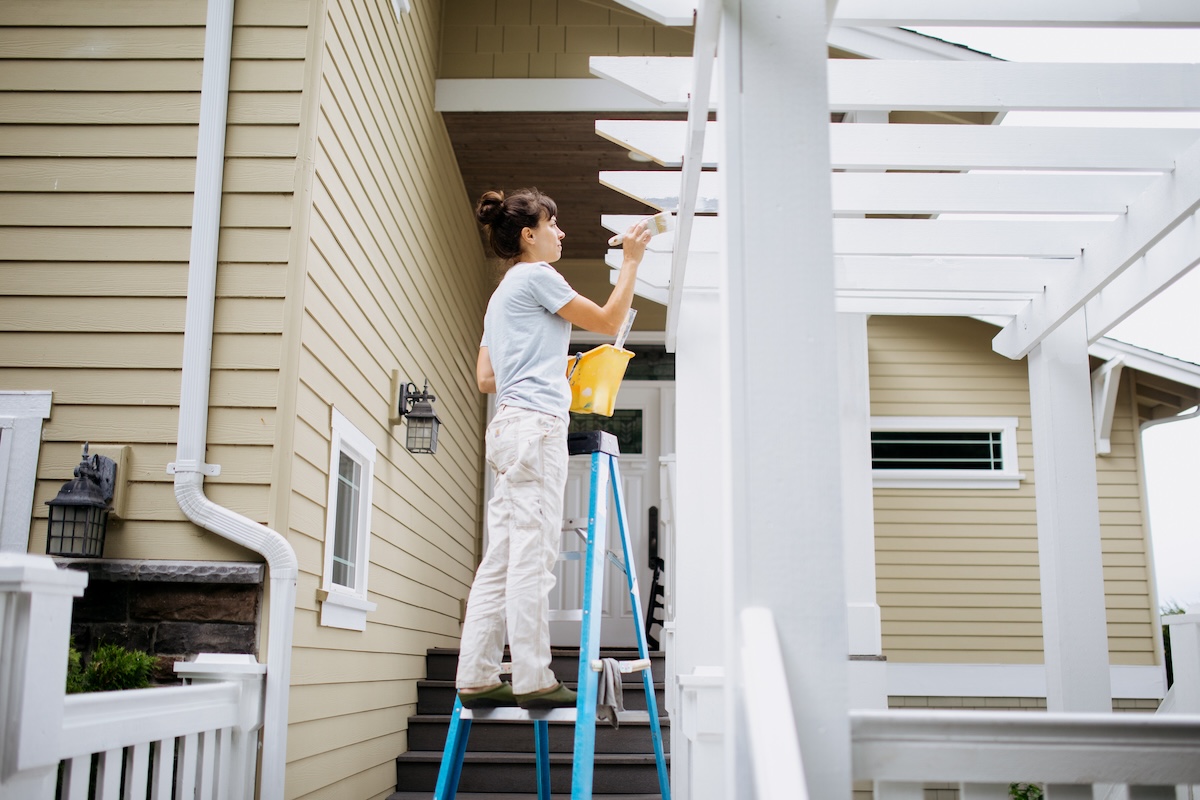
Decks offer a place to set up barbecues and outdoor furniture that make a yard more comfortable. Since most decks are made of wood, it’s necessary to apply a protective layer of paint or stain to keep the wood protected from the sun, rain, sleet, and snow.
While stain can be a good choice for a deck, paint comes with many benefits that make it an equally appealing option, including better UV protection, moisture resistance, and long-lasting durability. But these benefits can only be relied on if the deck is prepped and painted properly. Use this guide to learn how to paint a deck the right way.
Reasons to Paint (or Repaint) Your Deck
- Painting or repainting ensures the wood stays in good condition while being exposed to rising and falling temperatures, moisture, and harmful UV rays.
- Paint can reduce the risk of damage to the deck from regular wear and tear, as well as improving the appearance of the deck with a color or shade of your choosing.
- Deck maintenance will be much easier.
- Many small imperfections in the wood will virtually disappear, as the paint helps to cover cracks, minor chips, and unevenness in the wood.
- When it comes to painting vs. staining a deck, paint tends to offer a wider variety of color options, boasts superior UV protection, and generally has a longer lifespan before repainting is required.
How to Choose Paint for Your Deck
An important part of learning how to repaint a deck or paint a deck is finding out how to choose a suitable paint for the project. The best paint for decks is generally an oil-based paint made for outdoor use, since this type of paint has a high level of moisture-resistance. However, you can also use outdoor acrylic paint on a deck, which is a water-based option that has impressive color-retention abilities.
If the deck has been painted in the past, then you need to consider the type of paint that was used when you are learning how to paint a painted deck. Ideally, you should use the same type of paint to repaint the deck for the best results, though you can also strip and sand the deck to get rid of old paint, which may be a good choice if you are unsure of what to do about badly chipped or peeling paint. Color and opacity should also be taken into consideration, with darker and more opaque options providing better UV protection than lighter, more translucent paint products.

Tried-and-True Advice
“When painting my deck, I initially used a paintbrush for the edges but found it left uneven strokes and took a lot of time. Switching to a paint edger made a huge difference, especially along the house and railings—it created clean, sharp lines without needing painter’s tape. However, one mistake I made was not checking for excess paint buildup on the edger, which can leave smudges if not wiped off regularly. If you’re working with older deck paint, be sure to sand down rough patches first to help the new coat adhere evenly.”
— Paul Rankin, Contributing Writer and EditorAfter learning how to paint a wood deck properly and tackling this project at your home,
Before You Begin
One of the key factors to consider when painting an outside deck is the weather. Rain can cause paint to run, increase drying times, leave streaks in the paint, or even result in only partial coverage, so it’s necessary to check the weather forecast and plan the project for a sunny day that is expected to have at least 24 hours without rain.
You also need to pay attention to the temperature and humidity outdoors when sealing the deck with paint. Generally, it’s best to paint in the spring or summer season as long as the outdoor temperature falls between about 50 to 90 degrees Fahrenheit and the humidity is relatively low, which will help to speed up the drying time. Additionally, DIYers should wear closed-toe shoes, long pants, a long-sleeve shirt, work gloves, safety glasses, and a mask to stay safe while they work.
Tools and Materials
Tools & Materials
Bobvila.com may earn a commission from purchases made through these links.
Project Summary
Working time: 20+ hours, depending on the size of the deck and amount of prep
Total time: 3 to 4 days
Skill level: Beginner
Estimated cost: $140 for a small deck
How to Paint a Deck
Painting a deck can be a weekend DIY project for those with some painting experience. Make sure you read through all of the steps below before you start.
Step 1: Repair any visible damage.
Before painting, there are several steps you need to take to prepare the surface of the deck. Start by checking for any visible damage, like cracked deck boards, chips, or gouges in the wood. Patch these damages using replacement deck boards or exterior wood putty to ensure the deck is in good condition. If there are any fasteners that are broken, bent, loose, or missing, then remove the damaged fasteners and replace them.
Step 2: Scrape off old peeling paint.
If the deck has previously been painted, then you should get rid of any peeling or chipped paint since old chipped and peeling paint will prevent the new paint from bonding with the deck. First, lay a drop cloth under the area where you will be working. Then slide the scraper along the surface of the deck while applying downward pressure to gently scrape off the old paint. Ideally, the scraper should slide under and across the existing paint until you have a smooth surface to work with, while making sure you don’t damage the wood underneath.
Step 3: Sand the deck.
You don’t necessarily need to sand the deck, but it’s a good idea, especially if the deck has an existing layer of paint. Sanding the deck will remove the top layer of paint or deck sealer, making it easier for the new paint to adhere properly. You can accomplish this by using sand paper, a sanding block, or a power sander, depending on the size and parts of the deck. After sanding is done, remove the drop cloth.
Step 4: Clean the deck.
After sanding, wash the deck with a deck cleaner and a pressure washer. The pressure washer will help to get rid of any stuck on grime, as well as washing away the dust and debris from sanding.
Note: After cleaning the deck, you will need to wait until the wood has fully dried before you proceed.
Step 5: Apply primer.
In order to avoid painting any unintended areas, it’s recommended to apply painter’s tape and put down drop cloths to protect the walls, doors, windows, metal railings, flowers, shrubs, or anything else you want to project. Then use a paint brush or paint roller to apply primer to the deck. The primer will improve adhesion and durability, while creating a smoother, more even finish. Give the primer time to dry before moving on to the next step.
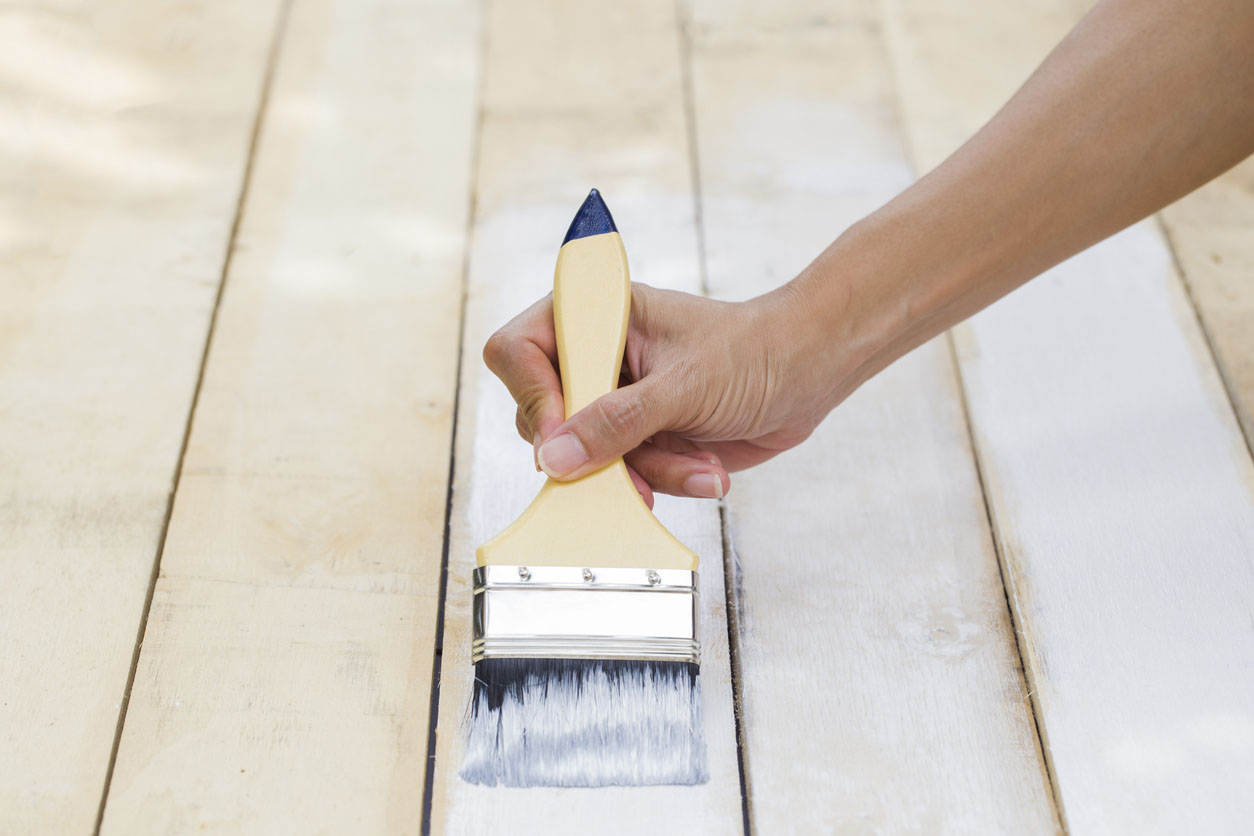
Step 6: Paint the deck.

When the primer is dry to the touch, you can start to apply exterior paint to the deck. You can use a paint brush, paint roller, or even a paint sprayer if you have one on hand and are confident in your ability to safely use and control the sprayer. Apply an even layer of paint to the deck, using a paint roller for large, flat areas and a brush for the edges or hard-to-reach locations. Then allow the paint to dry.
You can add a second layer, if necessary, after the first layer is dry to the touch. When you are done, the paint will typically require 24 to 48 hours to fully dry and cure before the deck can be used. Save any extra paint for future projects or touch-ups.
Need help?
Hire for deck painting ASAP. Get free, no-commitment project estimates from pros near you.
FAQs
Q. How much paint do you need to paint a deck?
In order to determine how much paint you need for a deck, you will have to measure the length and width of the deck to find the square footage, then refer to the specific product you intend to purchase to find the estimated coverage. Most paint products will cover 250 to 300 square feet, so if your deck is larger than this amount, plan to purchase more than one can of paint.
Keep in mind that there may be some paint wasted during the process or you may decide to apply two coats of paint, in which case you will need to purchase additional cans of paint to make sure you have enough to complete the project.
Q. How do you paint a treated deck?
When you are working with a deck that has already been painted, then you should use the same type of paint when repainting the deck. If the deck was stained or you want to switch to a new type of paint, then it’s recommended to strip or sand the existing deck treatment before applying a new type of paint to the deck for the best results.
Q. Is it better to use a paint brush or roller when painting a deck?
Generally, it’s best to use a combination of both brushes and rollers when painting a deck. Rollers are suitable for large, flat areas, while you can use the paintbrush for edges, detailed areas, or hard-to-reach spots, like between the guardrails. Though, with this method, most of the deck will be painted with a roller.
Q. How do you properly maintain a painted deck?
Properly maintaining a painted deck involves regularly cleaning the deck to remove dirt and debris with a pressure washer or a long-handled soft-bristled brush and garden hose. You should also touch-up paint where needed, and inspect the deck for any signs of severe wear or damage. Make sure to fix damages as soon as possible and repair the affected areas to ensure the wood remains protected from the elements.
