We may earn revenue from the products available on this page and participate in affiliate programs. Learn More ›
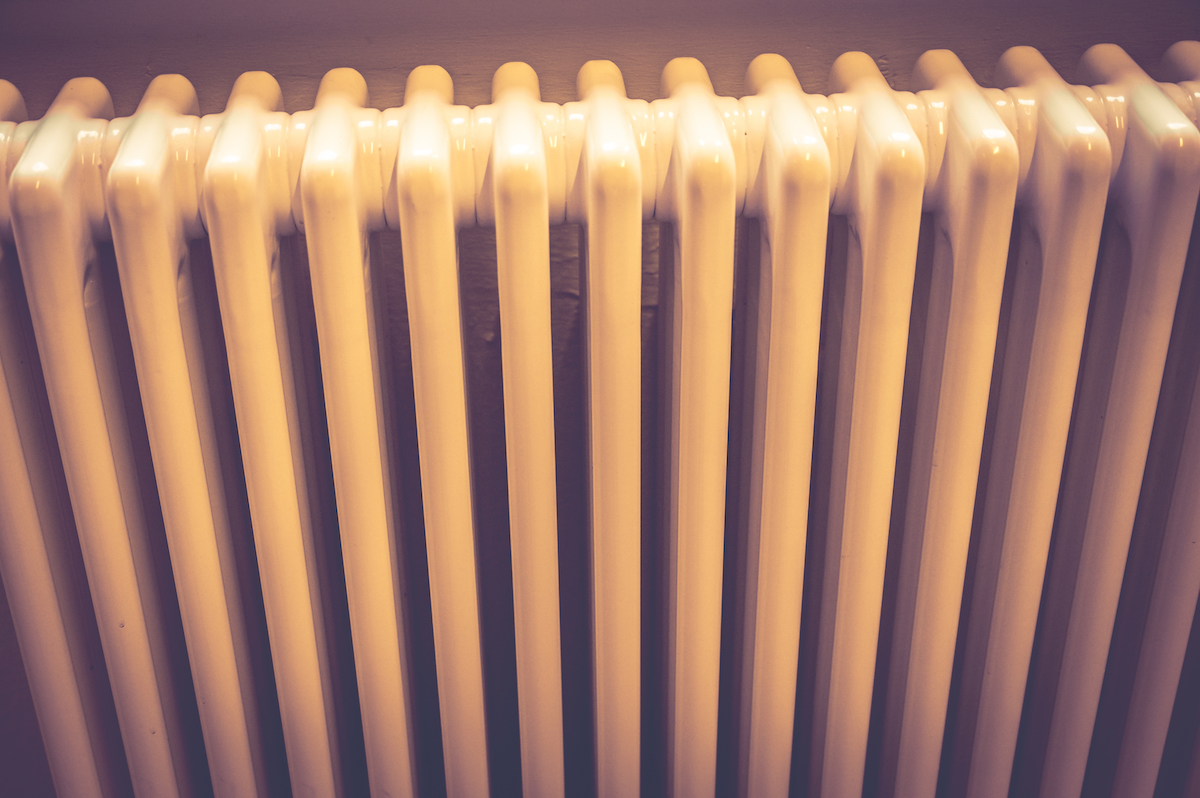
Radiators have been keeping homes warm for about 150 years. While the units in your home probably aren’t that old, they may well bear signs of age: rust, chips, or a color that doesn’t suit your décor.
A fresh coat of paint can turn back the clock on a hot-water or steam cast-iron radiator, whether or not the unit is still operational. paint even dress up a unit made of mild steel, which is steel with a small amount of carbon. (Naturally rust- and fade-resistant stainless steel or aluminum radiators, on the other hand, aren’t usually painted. Those metals are less likely to need restoration in the first place, and these radiators have a more rigid, less pliant surface that isn’t particularly receptive to sanding and painting.) As with any paint project, painting a radiator is all about proper preparation, quality materials, and good technique.
Will you paint an old iron radiator white so it matches your baseboard trim, or select a bright hue that makes the heater a focal point rather than an eyesore? Once you settle on a suitable color and follow this guide for how to paint a radiator, the unit will have a new hue in the space of a weekend.
Note: The radiator will need to be turned off for the duration of this project, so midwinter is probably not the best time to undertake the project.
Tools & Materials
Bobvila.com may earn a commission from purchases made through these links.
Step 1: Select primer and paint.
Though you can certainly go the can-and-paintbrush route, we find that spray paint and primer will reach the curves, nooks, and crannies of this fixture best. Use an oil-based primer and either an oil- or water-based spray paint for metal that is labeled for interior use. Depending on your radiator, look for the following attributes:
- If you are painting a radiator that is non-operational, both the primer and paint that you use should be rust resistant.
- If you are painting a radiator that still works and is used to heat the home, the primer and paint should be rust resistant and able to withstand the high temperatures that radiators generate. Rust-Oleum High Heat Spray Paint is a good option.
If you want your radiator to blend in with its surroundings, go for a shade that closely matches the color of the wall behind it or the trim beneath it; to make the radiator pop, choose a hue that contrasts with the wall.
Step 2: Turn off the radiator, and cover vents and valves.
If your radiator is non-operational, skip this step and move on to Step 3.
For an operational radiator, turn the control valve located near the base of the unit clockwise until it reaches the “off,” or fully closed position, and let the unit cool completely.
Use painter’s tape to cover the valves and vents on your unit:
- On hot-water radiators, tape off the control valve and the air bleeder valve (located near the top of the unit)
- On two-pipe steam radiators, cover the steam vent valve near the top of the unit
- On on-pipe steam radiators, cover the air vent on the side of the unit.
Paint can block vents and make valves difficult to turn, which is why you want to avoid painting them.
Step 3: Prep the work area.
Apply masking tape to the wall around the perimeter of the radiator and lay drop cloths on the floor below the unit—you’ll want to do so thoroughly to protect the surrounding areas from overspray. Open a window in the room to improve ventilation while painting, and wear gloves and a respirator.
Step 4: Sand the metal radiator.
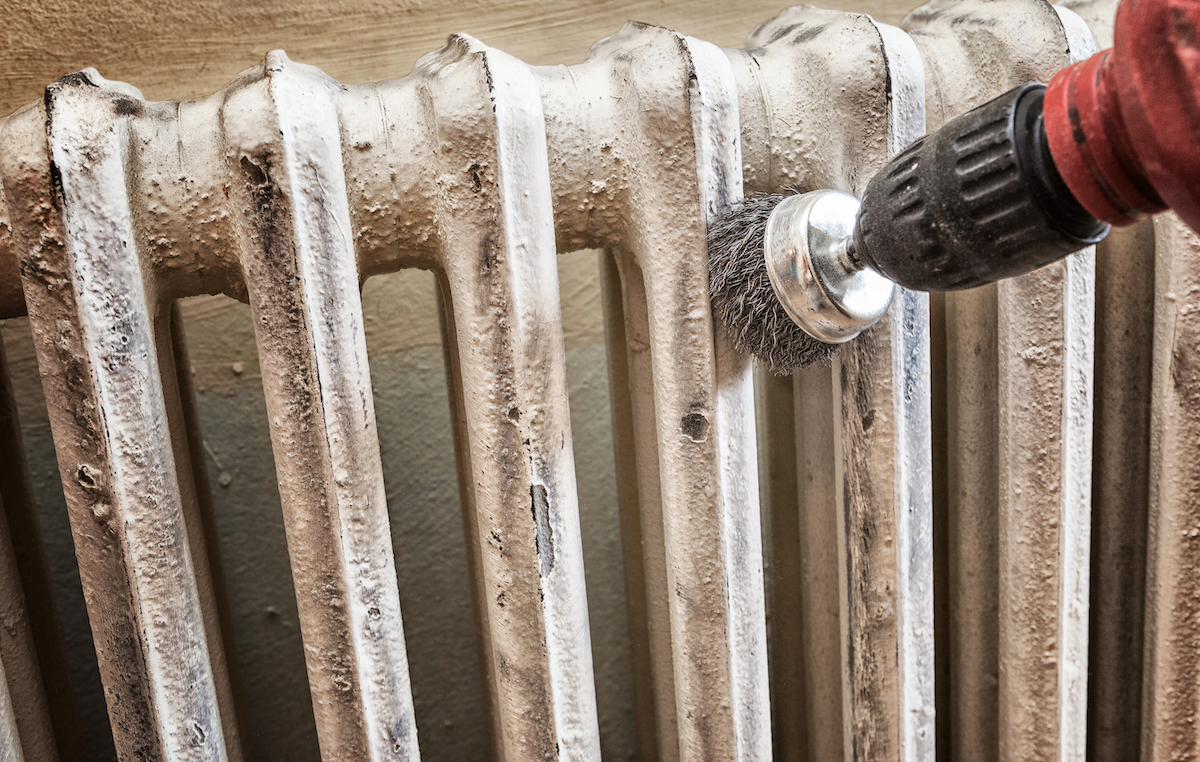
Scrape a small, inconspicuous area on the radiator surface with a screwdriver blade and look for flaking to confirm whether or not it had been previously painted or varnished. If there’s no flaking, go over any pitting from heavy rust with coarse-grit sandpaper, such as 40- to 60-grit. Then sand all surfaces with fine-grit sandpaper (e.g., 80- to 120-grit) to remove light rust accumulations and achieve a smooth, paintable surface.
If you’re covering a radiator that was previously painted, first test the paint for lead with a lead paint test kit (available at home centers for $7 to $15). Paint on radiators in homes built pre-1978 are the most likely to contain lead. Caution: Never scrape, sand, or otherwise disturb the surface of a radiator coated in lead paint, as you risk releasing lead particles, which can adversely affect the central nervous and endocrine systems if inhaled or swallowed and can even be fatal with high levels of exposure. Wait for the results, then sand and/or strip away any cracking paint using one of these methods:
- If the test is negative, use a putty knife to scrape away cracked/chipping paint from any of the radiator surfaces. Then, sand the surface using the sanding technique recommended above.
- If the test is positive, have a professional refinisher remove the paint, or use an environmentally friendly paint stripper such as Citristrip to remove it. These products trap the lead in gel to keep lead particles from going airborne.
Step 5: Wipe away the dust.
Glide a tack cloth over the radiator surface to remove sanding dust. Then, wipe down the surface with a water-dampened cloth to remove remaining dirt and debris. Let the radiator air dry fully.

Tried-and-True Advice
“It’s amazing how a fresh coat of paint can improve the aesthetics of any old radiator. I find it’s best to use compressed air to remove dust after sanding. You can wipe it down but air really helps to prep the surface for paint. A shop vacuum will also assist in full removal of dust particles if needed.”
—Zach Lazzari, Contributing Writer
Step 6: Spray a coat of primer.
Holding the can of primer upright and at a distance of 10 to 16 inches from the radiator, spray an even coat over all visible surfaces using a back-and-forth motion. Let the primer coat dry completely per the product instructions before you move on to paint.
Step 7: Paint the radiator.
Employing the same technique used for the primer, spray an even coat of the high-temperature metal spray paint over all visible surfaces of the radiator using a back-and-forth motion.
Let the first coat dry for 5 to 7 minutes (or according to the product instructions). Apply one or more coats to achieve the desired depth of color, allowing each coat to dry for 5 to 7 minutes before applying the next. Spraying the coats in relatively quick succession minimizes paint run-off of the previous coat. Let the final coat dry completely.
Step 8: Clean up the workspace.
Remove the painter’s tape from the wall and radiator valves, and discard the drop cloths. If the radiator is operational, turn the radiator control valve counterclockwise to the “on” or fully open position.
