We may earn revenue from the products available on this page and participate in affiliate programs. Learn More ›
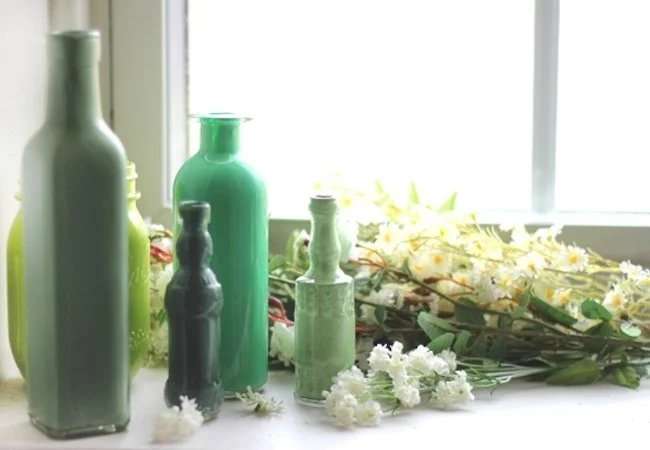
Smooth and reflective, glass makes a lovely canvas for paint. If, however, you’ve never before tried to paint glass, you may be surprised to learn that the approach differs from that used for traditional building materials. Even so, it’s easy for first-timers to achieve satisfying, often remarkable results.
Tools & Materials
Bobvila.com may earn a commission from purchases made through these links.
Notes on Materials
At least three types of paint may be used on glass: acrylic enamel, acrylics marked as suitable for tile or glass, and specially formulated solvent-based paints. Your local store is likely to carry a range of options (view example on Amazon). To make your selection, compare products on the basis of color range, transparency, and degree of permanence.
Step 1
Before you can paint glass with any success, take the time to clean it thoroughly. Use hot and soapy water in combination with a clean cotton cloth. Wait for the glass to dry completely before you proceed. Also, bear in mind that to avoid smudging the glass with your fingers, it’s wise to wear latex gloves while you work.

Step 2
No matter what type of glass paint you have chosen to use, be sure to read the instructions that came with the product. For some glass paints, there are peripheral steps to execute, such as applying an undercoat or overcoat. Ignoring such requirements could mean compromising the quality of your finish.
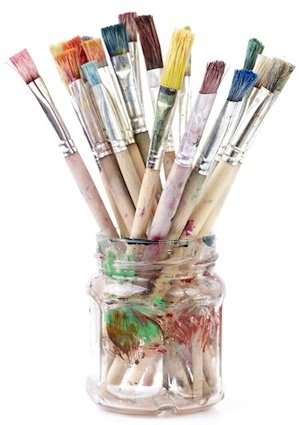
Any type of paintbrush may be used. While synthetic-bristle brushes leave visible strokes, natural-bristle brushes give you smooth, even coverage. Applicator sponges, meanwhile, are the most common choice for painting with a stencil. Do-it-yourselfers typically find a stencil or transfer can make the project easier.
If you can access both sides of the glass surface you are painting, then consider the following approach. It’s not stenciling per se, but the technique is similar, and if you’re aiming to create a specific, preplanned pattern, it’s easier to do it this way (as opposed to freehand). Simply trace your pattern onto a piece of paper, then hold that paper against the glass on the side opposite to the one you are painting. As you go along, the pattern will serve as a guide to help you keep your lines straight and your proportions correct.
Step 3
The necessity of the next step depends on the glass paint you’ve chosen. The issue is that in order to retain its finish, painted glassware often needs to be baked; the oven heat stabilizes the paint and gives it durability. Consult the instructions that came with your product to determine whether this step is required. If you haven’t yet made a purchase, try to find a glass paint that can last without baking. Know too that glass paint markers are an option; their fine tips are particularly good for detail work and writing.


