
We may earn revenue from the products available on this page and participate in affiliate programs. Learn More ›
Whether or not particle board can be successfully painted is a question that crops up quite often, and usually it’s for a few popular reasons. Sometimes particle board was used for construction, and the unfinished surface isn’t very attractive to the owner. Other typical reasons are that particle board furniture has been damaged or worn, or it no longer suits the room decor. Paint can give it new life.
So, can you paint particle board? Absolutely, but success depends on following a number of key steps we’ll look at in a moment. First, let’s discuss particle board’s qualities, as learning more about the material can help increase the chances of a pro-level finish.
What is particle board?
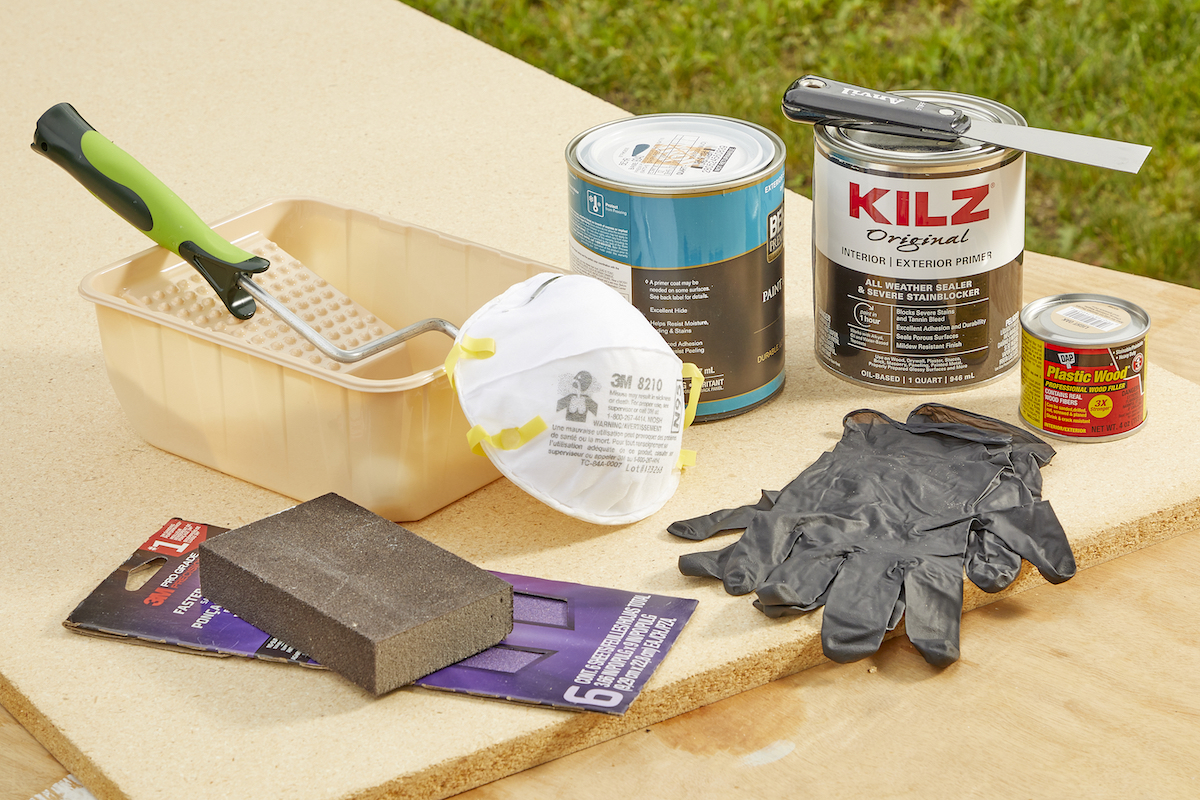
Particle board isn’t just made of one product, but many. Unlike natural wood, it is an engineered product, often composed of wood waste in the form of slices or chips. It is also called chipboard or low density fiberboard (LDF). The particles are usually bonded together with synthetic resins.
Particle board is typically less expensive than solid wood, MDF, or plywood. Density varies, as can the number of layers. It is often sold as bare sheets, but may have melamine, laminated, or veneered surfaces for decorative purposes, especially when used for furniture. Cement particle board is used in the construction industry.
Particle board is a very stable product, and laminated particle board is moisture and impact resistant. However, water and high humidity can cause problems both with bare boards or with damaged particle board surfaces. The particle board can swell, and it may eventually break down.
Tools & Materials
Bobvila.com may earn a commission from purchases made through these links.
Before You Begin
Good planning and preparation are key to the success of any paint project. Have all of the necessary tools and supplies ready, and don’t rush. Read the paint manufacturer’s instructions about the application of their product, paying particular attention to any safety warnings. The following method will work for unfinished, melamine, laminated, or veneered particle board.
How to Paint Particle Board
The following proven step-by-step guide offers clear instructions for the success of most any particle board painting project.
Step 1: Repair any chips, dents, or gouges on unfinished or veneered particle board.
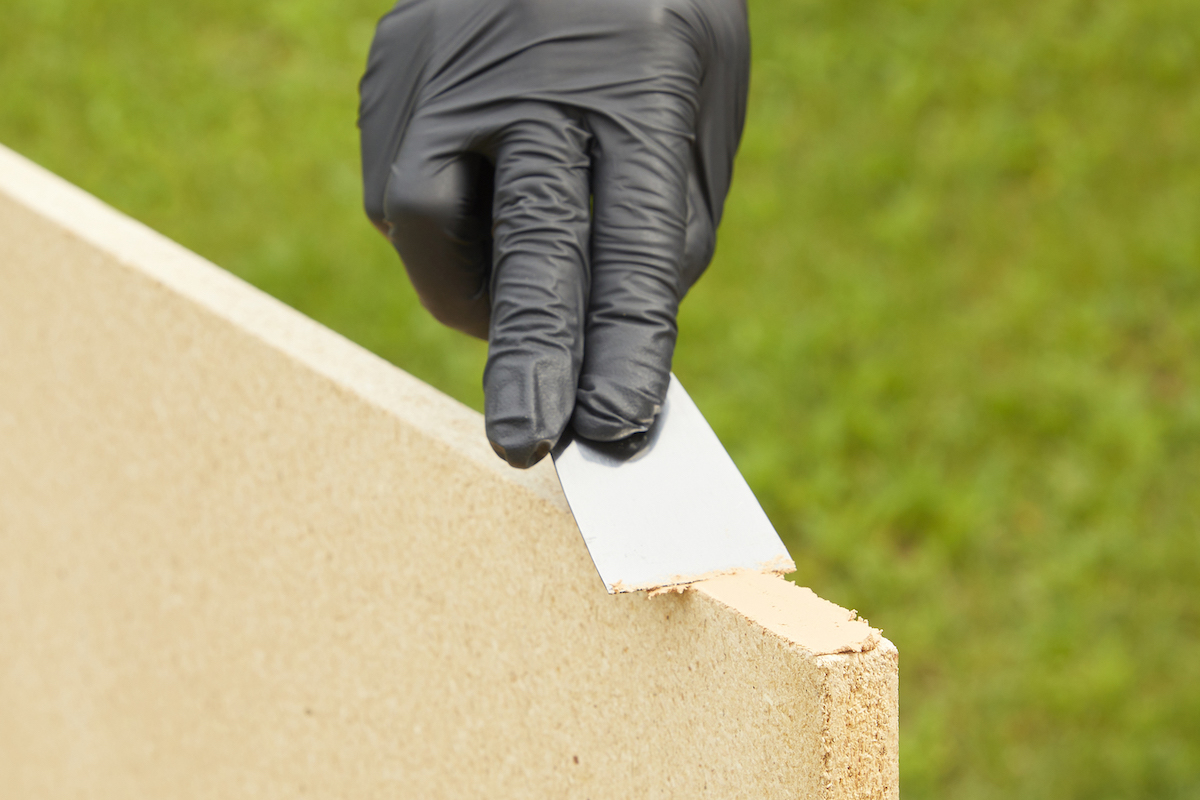
The first step in painting particle board is repairing any damage. Gouges, chips, or dents in both bare and finished particle board can be filled with wood putty using a putty knife. Particle board water damage is another common problem, which causes the fibers to swell. If there is swelling in bare particle board, it can be sanded down relatively easily.
On melamine worktops, or the veneered surfaces of particle board cabinets, bookcases, and other furniture, swelling can be a major problem. If the surface has lifted, and it can lay flat, then squeeze particle board glue into the gap or press it into the opening with a putty knife, and clamp until dry.
If the fibers have swollen so that the surface cannot lay flat again, it may be possible to remove the melamine, laminate, or other veneer. Then, sand the particle board flat, and re-glue the surface (melamine, laminate, or other veneer). However, often these layers are fragile, and will break during removal, so attempt removal on an inconspicuous spot first. If the surface is too fragile to remove intact and the swollen area is obvious, the only easy option is to leave the surface bare, and paint that.
Step 2: Prepare the surface for primer and paint by sanding.
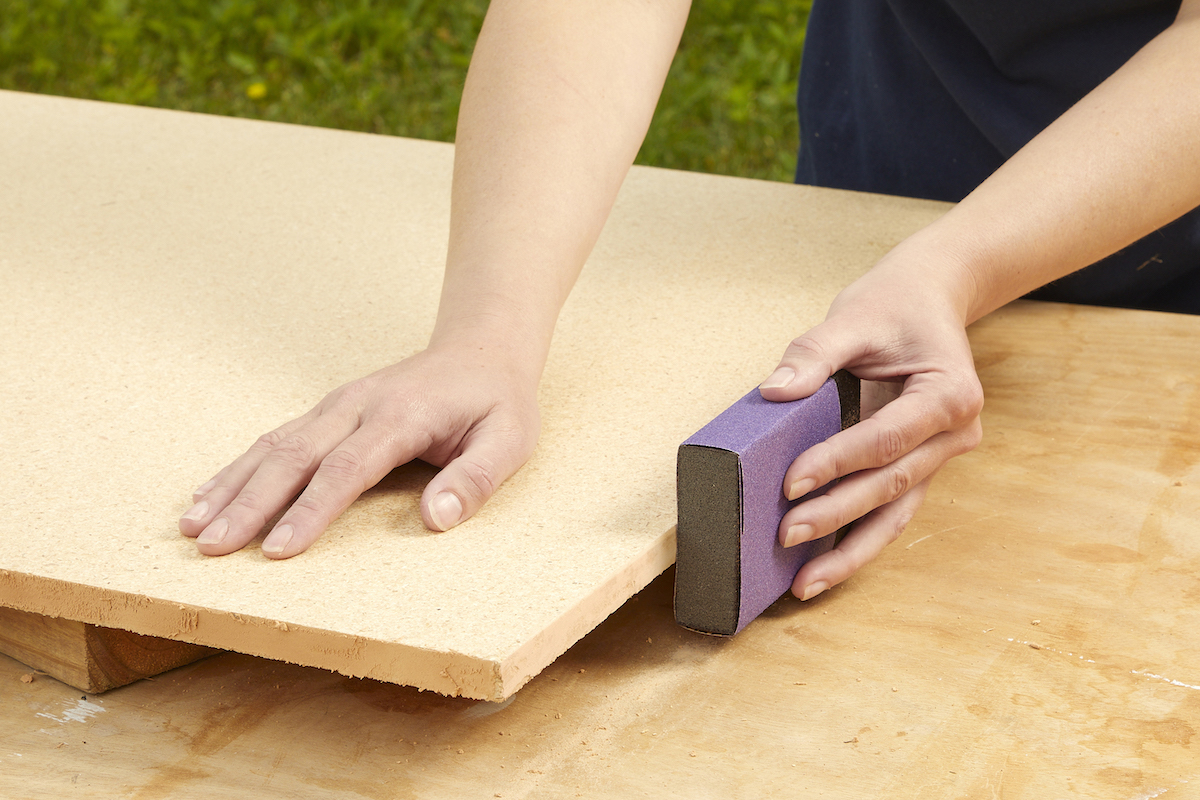
Whether or not a repair has been made in the previous step, the surface will need to be sanded. When wood putty or filler has been used, sanding can bring the repair down to the same level as the rest of the surface so it is smooth. Make sure the repair is completely dry before starting. Bare particle board will usually have raised fibers or irregularities, so these also need to be sanded down.
Use 120-grit sandpaper wrapped around a sanding block (a spare piece of 2×4 or similar scrap of wood will do), or use a sanding pad. Using a block helps keep the surface level. Wear a mask to avoid inhaling dust, and use a shop vac to clear waste from time to time.
Melamine, laminate, and veneer also need sanding, but here the purpose is to roughen the glossy surface slightly so the next stage, the primer, can adhere properly. Again using 120-grit sandpaper and a block, rub lightly across the surface, working in one direction. A couple of passes are all that’s usually necessary. Be careful not to apply too much pressure or you might sand right through to the particle board underneath.
Step 3: Apply one or two coats of oil-based primer to the surface.
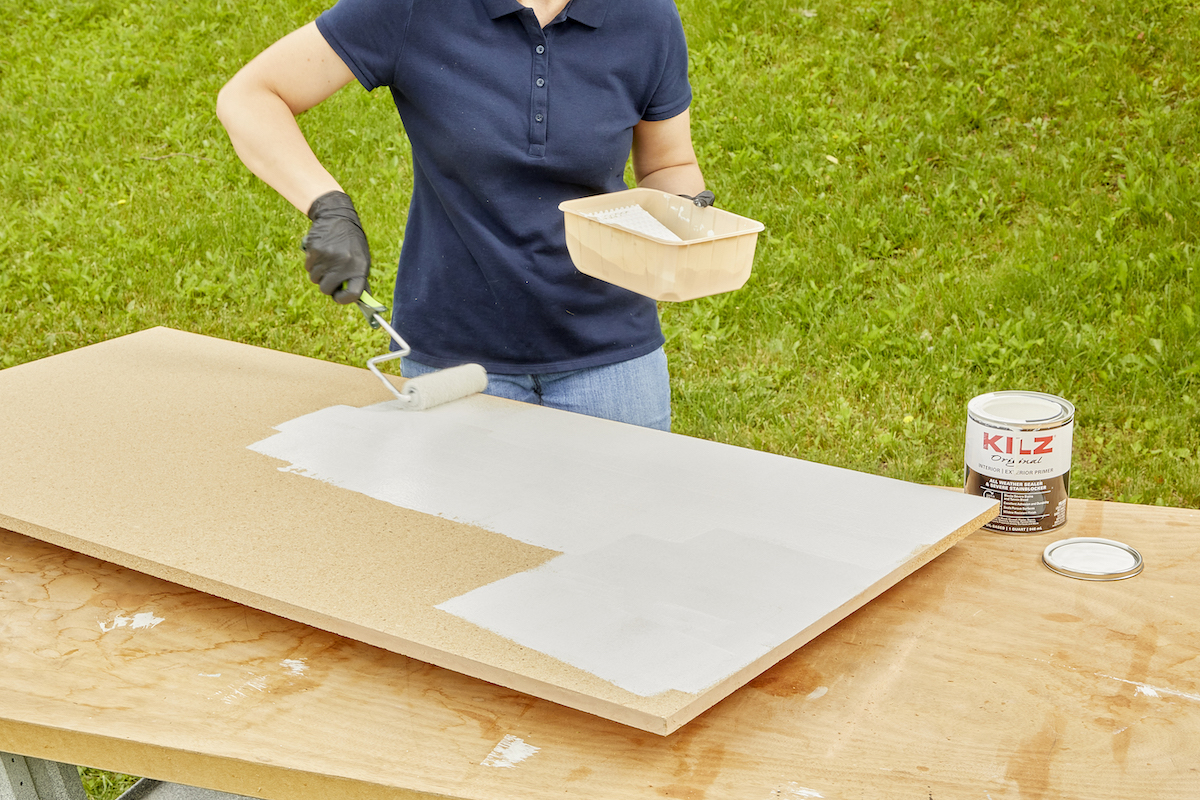
Melamine, laminate, and veneer are designed to be both decorative and easy to clean. Even after sanding, the surface is resistant to most paint finishes. A primer provides the ideal layer between the furniture and the chosen topcoat. Bare particle board will also soak up paint like a sponge. A primer seals and prepares the surface, so that less of the expensive topcoat is needed.
As we mentioned before, water causes particle board fibers to swell. Therefore, water-based primers should be avoided. Oil-based primers don’t cause the same problems, and are strongly recommended. These can give off unpleasant vapors, so wear a mask and work in a well-ventilated area.
Before starting to apply primer, use a damp cloth to wipe away any sanding dust. Then, allow the surface to dry thoroughly. Primer can be applied with a brush or roller, though the latter is usually faster and a roller tends to leave a smoother finish. However, rollers used with oil-based finishes are almost impossible to clean, so it’s easiest to treat the roller cover as disposable.
As always, read the manufacturer’s instructions carefully. Bare particle board will often require a second primer coat to successfully hide the fibers.
Step 4: Apply either oil-based or water-based paint in your desired color and finish.
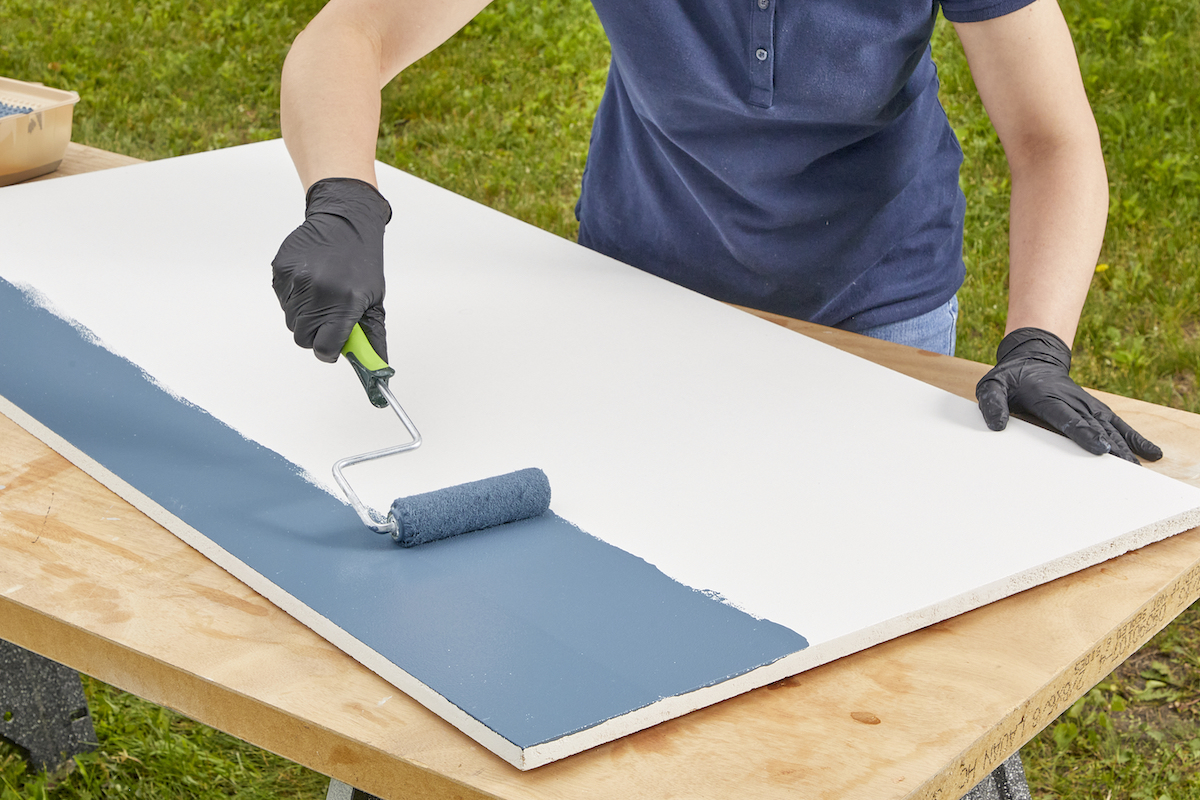
Many primers claim that they don’t need to be sanded before applying the final coat. That may be true, but each job is different. If the primed surface feels coarse, sand lightly with 120-grit sandpaper as before.
Experts often recommend that the best paint for particle board, like the primer, is oil-based. It’s good advice but most modern universal primers allow for a variety of finishes to be applied over them. If the primer has been applied correctly, the chances of a water-based topcoat getting through to the particle board and causing problems are negligible.
Although a gloss finish is often preferred for furniture because it is easiest to clean, those who want to get creative at this stage should feel free to do so. Matte paint, chalk paint, or decorative effects can be applied to suit personal preference.
Final Thoughts
Can you paint particle board? Yes, you can, and for a variety of purposes. It can improve the appearance of areas where the particle board has been used for construction. It can revive pieces of furniture that have seen better days, or it can change the decorative style to match a certain decor scheme.
As with any paint process, the key is proper preparation and patience. Filler, primer, and the final paint finish each take time to dry properly, and rushing things can spoil the result. Even though there is waiting time between each step, most particle board painting tasks can be completed in a couple of days.
FAQs
Oil-based paints and lacquers are often considered to have the best adhesion, and they leave an easy-to-clean surface. However, water-based latex, and other specialty finishes can be used if an universal oil-based primer has been applied first.
Although most aren’t designed for outdoor use, particle board furniture with a melamine, laminated, or veneered surface is resistant to water as long as the surface isn’t damaged. Day-to-day spills can normally be wiped up without problems. If the surface is compromised, water can get into the fibers, causing them to swell and eventually crumble.
Two-in-one primer and paint are often latex products intended for walls. They are water-based and not suitable for particle board. Oil-based two-in-one primer and paint is available in spray form, which can be effective but is also relatively expensive to paint large furniture.
Sanding particle board is vital for a professional result. Bare particle board needs sanding to provide a smoother surface. Particle board with a melamine or veneered surface needs a light sanding so the primer and paint adhere properly.
Yes, you can spray paint particle board. Best results will come from a similar primer and painting process as described in the article above.
Getting a smooth finish on particle board depends on thorough preparation so that the surface is as level as possible before the paint is applied. As with any finishing process, two or more light coats is usually better than one thick coat.
