
We may earn revenue from the products available on this page and participate in affiliate programs. Learn More ›
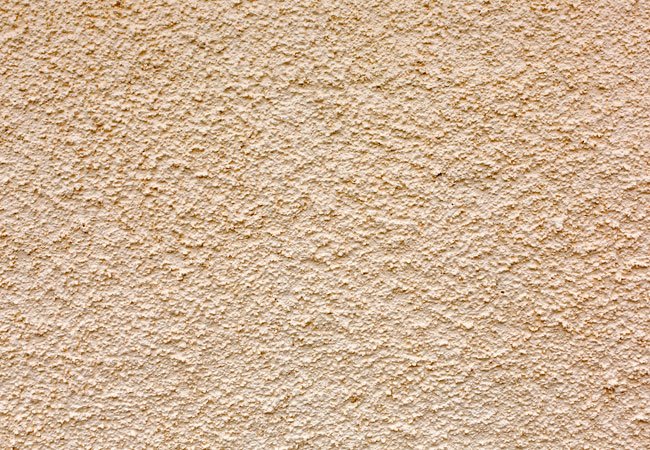
The popcorn effect—so called for its resemblance to America’s favorite fluffy snack—is the result of loose particulate materials mixed into paint and applied to a surface, usually with a sprayer. A common treatment for ceilings from the 1950s through the 1980s that offered a bit of noise reduction, popcorn ceilings lost appeal in the late 20th century, largely because the aggregates used often contained asbestos, now banned as a carcinogen. Plus, the texture proved to be a formidable dust catcher, difficult to clean and repair.
Since removing a popcorn ceiling is messy at best, and a costly headache if asbestos is indeed involved, you may have decided to live with one in your home. But rather than grin and bear it, why not paint it? A fresh coat will instantly lend a lighter, brighter look sure to open up the room. Though not an especially challenging project for the DIYer, painting a popcorn texture properly requires certain tools and techniques. Read on for details, and you just might learn how to paint popcorn ceiling into good favor once again!
Tools & Materials
Bobvila.com may earn a commission from purchases made through these links.
- 5-gallon bucket with screen
- Roller cover with 3/4-inch nap
- Paint roller with extension handle
- Painter’s tape
- Plastic sheeting
- Drop cloths
- Paint
STEP 1
Prep your room carefully, since the texture of a popcorn ceiling is bound to cause a good deal of splatter when you roll on paint. Tape plastic sheeting around the walls and cover the floors with drop cloths. Also cover and mask any ceiling fixtures with plastic and painter’s tape.

STEP 2
Prep the ceiling edges to ensure you’ll be able to achieve a neat edge where the ceiling meets the wall. Don your dust mask and protective eyewear and, using a flathead screwdriver, gently scrape about 1/4 inch of the popcorn surface off the ceiling all along the edges.
If your house was built before 1977 (the year asbestos was banned from textured ceilings), get the ceiling tested first to ensure it’s safe to work on. If it contains asbestos or lead, you’re better off leaving it alone or having professionals handle the work.
STEP 3
Use a feather or microfiber duster—or your vacuum with the soft bristled dusting brush attachment—to banish dust from all nooks and crannies so that it doesn’t speckle the paint you apply to the popcorn ceiling.
STEP 4
Pull out the paint! Popcorn and other textured surfaces require more paint to achieve full coverage, so plan to use twice as much of the supply as you would on a flat ceiling.
Cut in around the ceiling edge with an angled brush. Load the brush with plenty of paint but apply with a light touch. Once the textured aggregate gets wet, it tends to peel off, so don’t overwork any area; just gently apply paint and move on. Plan to do a second coat if you don’t get full coverage in one pass of painting a popcorn ceiling.
STEP 5
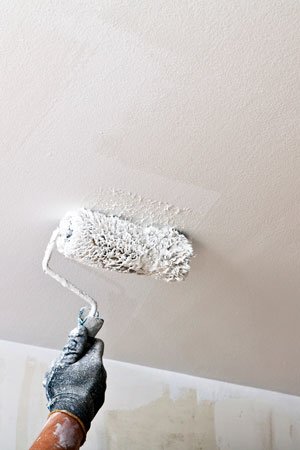
Since you won’t want to be bending to refill your roller more than necessary to paint popcorn ceiling, use a long-napped roller cover to load on plenty of paint in one swoop. And, rather than a roller pan, get the sort of 5-gallon bucket with a screen or grid—that’s what pros rely on to ensure the roller is sufficiently loaded with paint. Load the roller fully, and apply to the ceiling in one direction only. Make just one pass.
STEP 6
Allow the first coat adequate time to dry per the manufacturer’s recommendation, and then roll a second coat, again in one pass only but in a direction perpendicular to the first coat. These two coats will give you the most even uniform coverage across the whole ceiling—minimum overhead for maximum color refresh.
