We may earn revenue from the products available on this page and participate in affiliate programs. Learn More ›
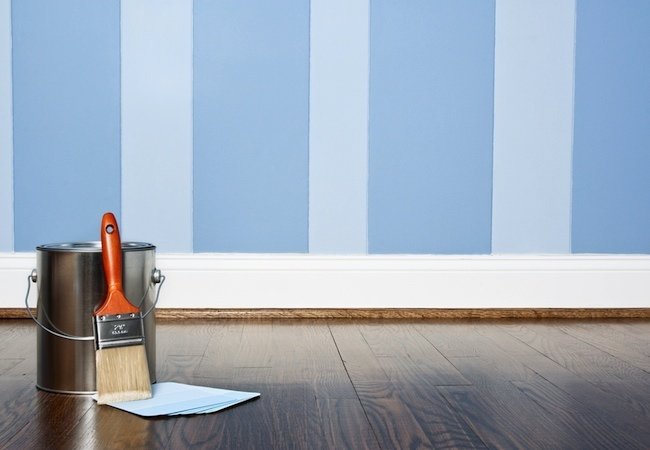
Painted stripes can be bold or subtle, identical or varied in size, horizontal or vertical. But no matter what design you choose, painted stripes pack a decorative punch that greatly exceeds the low cost of their creation. Although it’s important to approach the project with a detailed plan, it’s about as easy to paint stripes on a wall as it is to complete any other basic painting project in the home. Follow these steps to achieve best results.
MATERIALS AND TOOLS
– Cloth or sponge
– Water and dishwashing liquid
– Measuring tape
– Paint and paint tray
– Paintbrush and roller
– Ruler (the longer the better)
– Level
– Pencil
– Painter’s tape
– Ladder
STEP 1
Begin by applying painter’s tape to all trim around windows and doors, and along the ceiling and floor. Indeed, protect anything you don’t want to paint. Once you have finished, proceed to clean the walls thoroughly using either a cloth or sponge dampened with water and dabbed with mild dishwashing liquid.
STEP 2
Decide on a width and color (or some combination of colors) for the stripes, and whether they will run up and down or side to side. Next, measure the surface area of the wall or walls to be painted; that should give you some indication of how many stripes of the desired width and orientation you’ll need to fill the space.
You might find it very helpful to draw the wall or walls as closely to scale as possible. Map your tentative design onto the paper, tweaking the width and/or number of stripes as you go until you have struck upon the ideal scheme. Remember that it’s fine for the top and bottom stripes (in a horizontal design) or the left- and rightmost stripes (in a vertical design) to differ in width from the rest of the stripes; skilled professionals often do the same thing.
STEP 3
With a pencil, faintly mark the position on the wall where the top and bottom (for horizontal stripes) or left and right side (for vertical) of each stripe should go. Then use a level and the longest ruler you own to extend those lines over the surface to be painted. As it can be difficult to juggle three tools simultaneously, it’s wise to enlist a helper, if possible.

STEP 4
Adhere the painter’s tape along the pencil line, obscuring all the areas you plan to leave unpainted or intend to paint at a later stage. Do this carefully, or you’ll end up with jagged edges. Consider using a burnisher or even a credit card to flatten the tape as you place it as firmly as you can on the wall.
STEP 5
For thin stripes, use a paintbrush; for thicker stripes, use a small roller. In either case, it aids accuracy to hold a perfectly straight implement, such as a ruler, to the very edge of the section of tape nearest to where you are painting. Should any paint get on the straightedge, that’s fine—after all, it’s there as a safeguard, but the idea is to coat the wall, not the guide tool. Continue working in sections until you have finished painting stripes on each wall that you set out to decorate.
STEP 6
Allow about an hour of dry time, then apply the second coat. Having done that, wait several hours before carefully removing the tape. The paint should still be slightly wet; that’s actually what you want. If you peel back the tape when it’s completely dry, the paint may come off in flakes, leaving you to start over on Step 1!


