
We may earn revenue from the products available on this page and participate in affiliate programs. Learn More ›
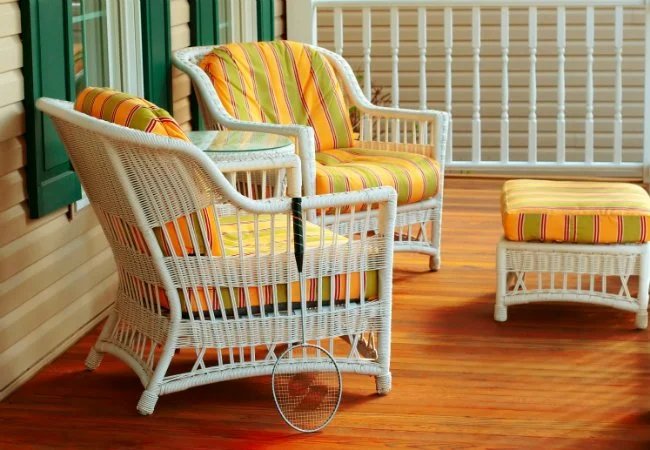
Wicker evokes summertime porch-sitting perhaps more than any other outdoor furniture. But besides all the fair-weather memories and leisure-bent associations that wicker carries, the material also boasts a host of practical benefits. Lightweight yet sturdy, a good piece of wicker furniture can last for decades—with the right care, that is. Every few years, as a way of protecting the wicker from the elements, remember to apply a fresh coat of paint (or sealer). Whether you’re doing a minor touch-up job or a whole-hog makeover of your chair, chaise, or settee, follow these steps to prep and paint wicker furniture in short order, and with ease.
Tools & Materials
Bobvila.com may earn a commission from purchases made through these links.

Step 1
Start by setting up your work area. If possible, try to paint wicker furniture outside, where there’s adequate ventilation. Choose a clear day and for best results, stay out of the wind, lest dirt and leaves blow onto the fresh paint. Also, note that no matter how careful you are, spray paint inevitably over-sprays. To protect your belongings, move them all well out of the way. Place the wicker piece on a drop cloth, not only to catch the paint, but also to prevent debris from interfering with your finish.
Step 2
With the dust attachment on your vacuum, clear away any loose dust, dirt, and cobwebs from the furniture. As you go, look for signs of mildew; if you find any, you can address it in Step 4. Knock off any chipped, loose, or flaking paint with a stiff-bristled brush. Don’t be so aggressive as to cause damage.
Step 3
With a sponge and soapy water, wash down the wicker. If you spotted mildew, now’s the time to kill it. Add one cup of household bleach to your wash water, then apply the mixture to the affected areas with a sponge or cloth. After, rinse the piece by spraying it down with plain water. Allow the wicker to air-dry.
Step 4
Next, it’s time to prime. Use an oil-base spray primer formulated for use on wood, such as Zinsser Cover Stain (view on Amazon). Plan to put on a couple of coats to ensure the best-possible result. Wearing a dust mask, apply the primer to the wicker by holding the spray can about a foot away from the material. Start spraying a few inches to the side of the piece and then, keeping your arm straight, sweep across the furniture. Release the nozzle when you have brought the spray can to a point a few inches beyond the wicker piece. In this way, continue priming the entire thing. Wait for the first coat to dry completely before proceeding to do the second. Yes, two thin coats are better than one thick coat. Fortunately, primer dries very quickly, so doing it the right way doesn’t take forever.
Step 5
Finally, pull out the paint! After the second coat of primer has dried, apply your finish paint in two thin coats, using the technique described above. You may find it easier to paint the underside and back of the furniture first, doing the more immediately visible portions second. Allow the paint to dry completely before applying the second coat (the last). Though the paint may dry within only a few hours, give the wicker a couple of days to cure before you begin to usethe furniture again.
You’ll be amazed by the difference that fresh paint makes to your wicker furniture—it will feel brand-new. Repeat this wicker refresh every few years, and your furniture will serve you beautifully for many seasons to come.
