
We may earn revenue from the products available on this page and participate in affiliate programs. Learn More ›
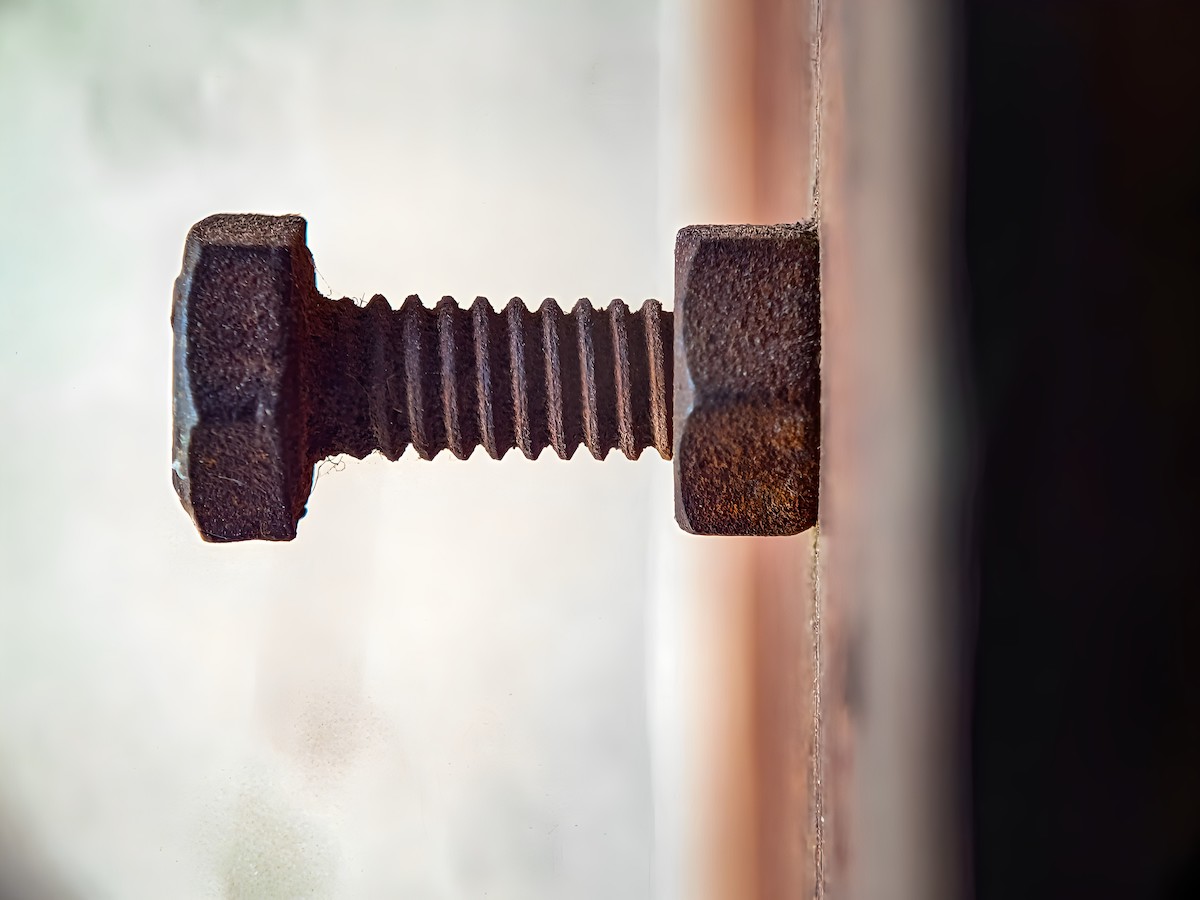
In theory, metal bolts—headed fasteners with external threads that fit into suitable non-tapered nuts—can be removed and even reattached as needed. When they’re over-tightened or otherwise forced, however, bolts can seize and break, and be super difficult to remove. If you need to remove a broken bolt before you can continuing with a home construction or deck building project, follow this procedure. With the right gear and technique, a broken bolt can be extracted successfully so that you can insert a new one.
Tools & Materials
Bobvila.com may earn a commission from purchases made through these links.
Step 1: Hammer the center punch in the middle of your broken bolt.
Place the center punch as close to the middle of the broken bolt as possible. Hit it squarely with the hammer to create a starting point for drilling a pilot hole. A precise pilot hole is critical to help you to avoid damaging the threads of the broken bolt when you extract it. If the threads on either the bolt or the bolt hole are damaged, it may make bolt removal impossible. Furthermore, if the threading on the bolt hole is damaged, you may be unable to use a new bolt once the old one is extracted.

Tried-and-True Advice
“Broken bolts seem like a real dead end but they don’t have to be. Extraction bits can be catch as catch can; there are a few other interventions to try before heading down that road.
Lubricate. Get a good penetrating oil and soak the area overnight, re-applying it every few hours. The reason the bolt head sheared off is likely largely due to the fact the threads are frozen from corrosion, or some galvanic reaction that has fused materials. If a retraction bit is going to work, it’ll work easier if the parts have some lubricant in them.
Heat. Heating the metal can sometimes unlock frozen threads. Using a propane torch to heat the parts after drilling and preparing for an extraction device can’t hurt, other than not following basic fire safety rules.
Drill out. It depends on the size of the fastener, but the basic idea is that using a series of increasingly large diameter bits, you can drill the shank of the bolt out such that all that remains are wisps of the threads which can then be removed manually.”
—Mark Clement, Contributing Writer
Step 2: Slowly, use a left-handed drill bit to create a pilot hole.
Check the table on your extraction kit to select the proper-sized left-handed drill bit (also called a “reverse drill bit”) to make a pilot hole in this broken bolt. Unlike traditional drill bits, which are considered right-handed and threaded in a clockwise direction, left-handed bits are designed with a counter-clockwise thread. This provides a better bite when you use your drill in reverse to remove a fastener.
Pro Tip: If you’re picking up a kit for the job, invest in quality; the last thing you need is a cheap bit breaking during this process.
Set your drill on reverse and as slow a speed as possible (ideally, 20 RPM), and insert the left-handed drill bit. The torque of drilling in reverse (i.e., counter-clockwise) will prevent you from further tightening the threads on the bolt. Place the drill bit on the punch mark you made and, holding the drill securely, slowly reverse-drill a small pilot hole in the bolt, about ¼-inch deep.
Hopefully, reverse-drilling your pilot hole will loosen the bolt enough to let you use vise grip pliers to remove the bolt. Remember, “righty-tighty, lefty-loosey”—turn the bolt left (counter-clockwise) to remove it. If the bolt hasn’t loosened at all, proceed to Step 3 for extraction.
Step 3: Switch to an extraction bit.
For a stubbornly entrenched bolt, you’ll need an extraction bit. Check your extraction kit’s table for the right size bit for the bolt size. The extraction bit is also a left-handed drill bit (but with a different purpose), so you’ll continue using the reverse drilling setting. Exchange the first bit for the extraction bit in your drill, insert it in the pilot hole, and very gently tap your drill and the bit snuggly into place with a hammer.
Step 4: Reverse-drill slowly to remove the bolt.
Still using a very slow reverse-drilling setting, such as 20 RPM, begin drilling into the pilot hole. Slow and gentle is critical here: The bit is likely made of hardened steel, and if it breaks off during this process, you’ll face an even more challenging extraction. The broken bolt should soon “grab” onto the extraction bit while reverse drilling, and begin extracting. Continue slowly and steadily until the entire bolt has been fully extracted, ideally salvaging the threading so you want can put a new bolt in. Phew!
Step 5: Use a magnet to remove metal shavings.
Any metal shavings or filings left in the threaded hole must be removed before inserting a new bolt. Set a powerful magnet over the hole to attract the loose bits, or use compressed air to blast the threading clean. Don’t skip this step or a new bolt could seize or sheer off.
Final Thoughts
This method you just learned ought to safely remove any broken bolt while ensuring you can later reuse the hole to insert a new one. If not, contact a local welding shop, which ought to have the skills and tools to remove a broken bolt. And remember, insert all bolts slowly and carefully in the future to avoid seizing and the top of the bolt snapping off.
