We may earn revenue from the products available on this page and participate in affiliate programs. Learn More ›
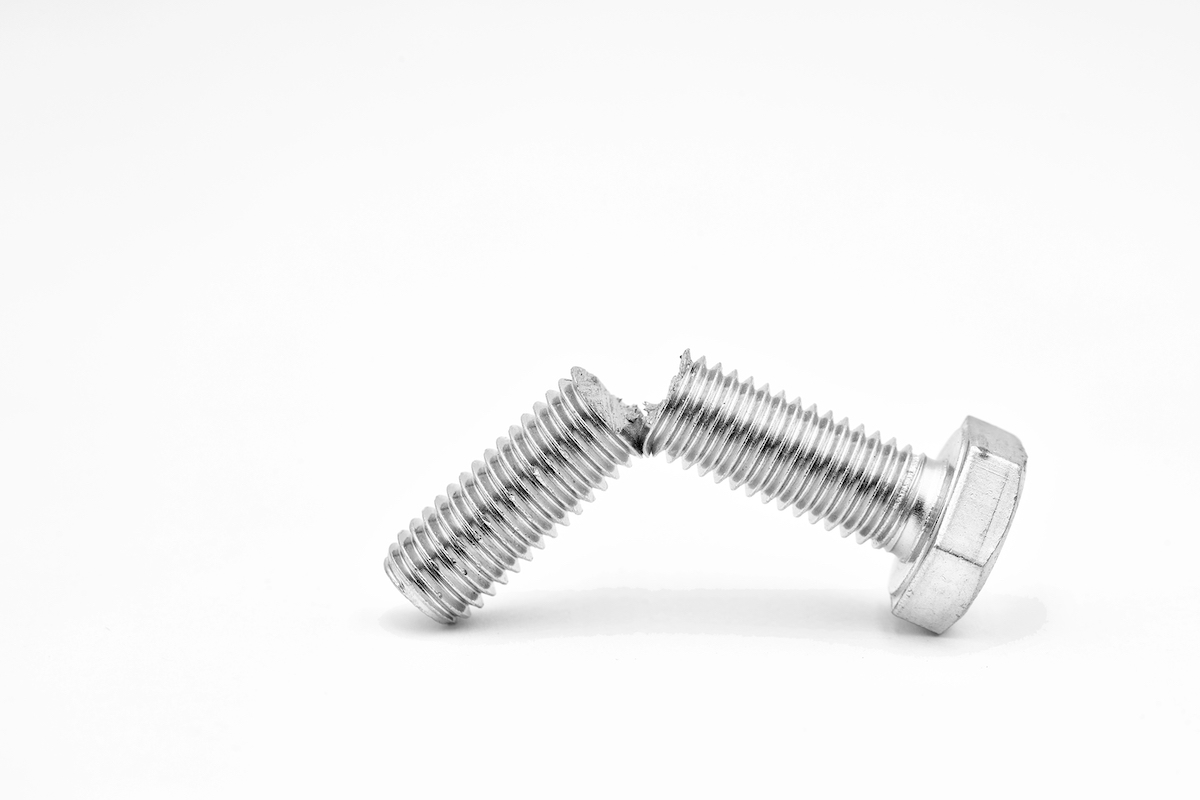
A screwdriver, a screw, and a willing surface to drive it into are familiar features of many home projects. But over-eager twisting, choosing the wrong screwdriver for the job, or using a tool with a damaged bit can strip a screw, making it extremely tough to remove.
Fortunately, this tricky situation doesn’t have to interrupt your artful assembly. Get a grip on that broken screw, and remove it, with the help of a durable duo: duct tape and old-fashioned elbow grease.
- First, wipe away any debris that may have accumulated during your earlier attempts to remove the screw.
- Then, rip off a small piece of duct tape and place it directly over the broken screw.
- Choose the screwdriver that correctly fits the head, and insert it into the duct-taped grooves.
- Gently rotate the screwdriver counterclockwise, and you’ll find that the duct tape fills the gaps, creating the traction needed to quickly and effectively dislodge the pesky fastener.

Tried-and-True Advice
“For broken screws, pressure needs to be put behind the head while backing it out. I like a painter’s 5-in-1 tool for this. I drive the blade in under the screw head and pry while I run my impact driver in reverse. The combination of forces gets the screw to unseat.
For stripped screws, I use a screw extractor bit kit. One tip of it reams the screw head. The other tip is reverse threaded. It engages the stripped screw head and draws it out.”
—Mark Clement, Contributing Writer
No duct tape on hand? For a variation on this flexible solution, cover the screw head with a rubber band or steel wool, and then use a screwdriver to remove the screw as described above.
If the broken screw is slightly raised, another option is to use pliers to get a grip on the screw and slowly rotate it up and out.
With the troublemaker finally removed, all that’s left to do is to grab a fresh screw and get back to work on your crafty construction.
