We may earn revenue from the products available on this page and participate in affiliate programs. Learn More ›
We think of a doorknob as ubiquitous and mundane, yet a closer inspection can sometimes prove puzzling, leaving you to wonder, Where are the screws that hold it in place? They’re there, all right, if not outright visible then hidden beneath the cosmetic collar known as the “rose.” Removing and replacing the knob requires you to reach these screws without damaging the door.
Before You Begin
Before you can tackle the easy-enough-to-DIY chore, first understand the types of doorknobs on the market:
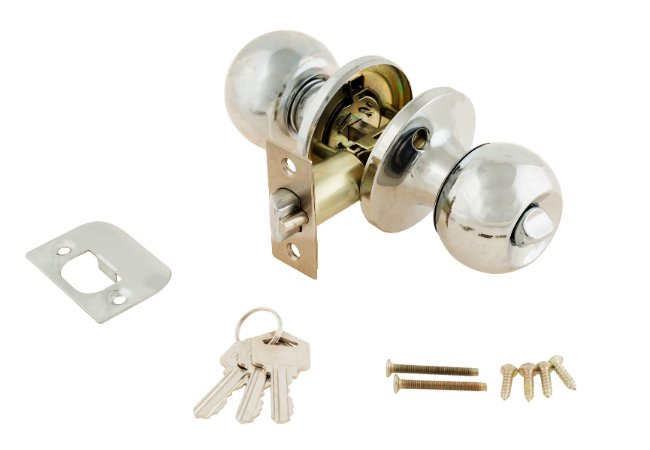
- Most modern, standard-issue doorknobs are sold as a lockset, complete with all necessary hardware—knob, rose, spindle, latch (also called a striker), and latch plate. Some of these knobs have recessed hex-head screws, reachable with a compatible Allen wrench.
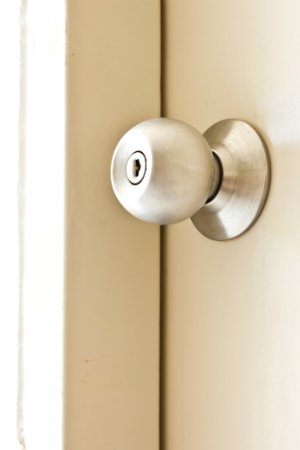
- Others have a thin hole through which you insert a firm wire (a straightened-out paper clip is perfect) to press on a spring-activated pin called a detent; this releases the knob from the spindle or shaft that connects both knobs through the latch assembly.
- On still other knobs, the detent access hole is actually a slot; use a thin, flat-head screwdriver to reach the detent with this type.
Determining which category your existing knob falls into will dictate the best way to remove and replace it for a more updated style.

Tools & Materials
Bobvila.com may earn a commission from purchases made through these links.

How to Remove and Replace a Doorknob
STEP 1
Know your knob. Examine the lock side of the doorknob, looking for a tiny slot or hole; these are the detent access holes. Don’t see it? Check instead for a recessed screw that you’ll loosen with an Allen wrench of the appropriate size.
STEP 2
Now, to how you go about releasing the knob depends on how it’s fastened.
- If you find a slot, insert the flat-head screwdriver and push the detent to release the knob.
- If you find a small hole, use a straightened paperclip or other firm wire to spring it.
- If dealing with a recessed hex-head screw, turn it counterclockwise with an Allen wrench until the knob is free.
STEP 3
Remove the rose. In some cases, the rose must be removed separately in order to expose the screws that hold the backing plate to the door. If that’s the case, locate the thin slot in the seam between the plate and door, insert the tip of a flat-head screwdriver, and pop off the rose.
STEP 4
Then, unscrew the works. Use a Phillips screwdriver to remove the screws that run from one backing plate to its opposite through the bore hole. These screws hold the entire knob and latch assembly together. Remove the old knobs, backing plates, latch, and spindle.
STEP 5
Replace the latch plate, the piece of metal attached to the door jamb through which the latch passes when the door is completely closed (also called a strike plate). Even if it looks fine, you’ll need to remove and replace it, using a Phillips screwdriver, to ensure compatibility with the new knob hardware.
STEP 6
Install the new latch, ensuring that the curved side of the striker faces the same way the original one did so the door latches properly.
STEP 7
Set the new knob in place, starting from the outside, or locking side, of the door. (The rose might be part of the knob assembly, or it might need to be installed separately, before the knob itself.) Repeat on the inside knob. Position the spindle and mounting screws through the latch assembly from the outside and into the base of the opposite knob. Tighten all screws using a Phillips head screwdriver. Slide the knob on the end of the spindle and turn it until the detent clicks into alignment with the access slot or hole. Tighten recessed screws with the Allen wrench if necessary.
Knock, knock! Who’s there? Your brand new doorknob, looking great and functioning smoothly.


